

NVIDIA Chrono Edit enables precise, instruction-based image editing using natural language. It’s designed for small, targeted changes—like adjusting attributes, correcting minor flaws, or editing text—while preserving character consistency and the overall structure of the original image. If you need faithful, high‑fidelity tweaks across multiple images, Chrono Edit is built for that job.
Warning: Chrono Edit is optimized for subtle adjustments—not major scene or subject replacements—and should not be used to generate copyrighted material.
What you’ll learn
- When to use Chrono Edit for high‑fidelity, small-scope edits
- How to write clear, natural‑language instructions that the model follows reliably
- Best practices to maintain character and scene consistency across edits
- Example prompts and real‑world use cases you can adapt to your projects
- Why running Chrono Edit workflows on RunDiffusion streamlines your process
How to use Chrono Edit (general workflow)
Quick-start (TL;DR)
- Pick a sharp, well-lit source image you already like.
- Describe one measurable change in plain language.
- Mask the target area if available to prevent spillover edits.
- Apply, review, then iterate with small adjustments.
Change: [what to adjust, and by how much]
Keep: [what must stay the same: lighting, texture, colors, identity]
Scope: [region or object, if needed]
- Start with a high‑quality source image. Well‑lit, sharp inputs make it easier for the model to preserve structure and detail.
- Define a single, specific goal. Keep each pass focused on one change (e.g., “lighten the jacket two shades”).
- Write a concise instruction. Use clear, plain language that describes only the intended adjustment.
- Target the region (optional). If your workflow supports masking, limit edits to the relevant area to reduce unintended changes.
- Iterate in small steps. Apply incremental edits rather than large jumps; this preserves character and composition.
- Review and refine. If the result is close, tighten your instruction instead of expanding scope.
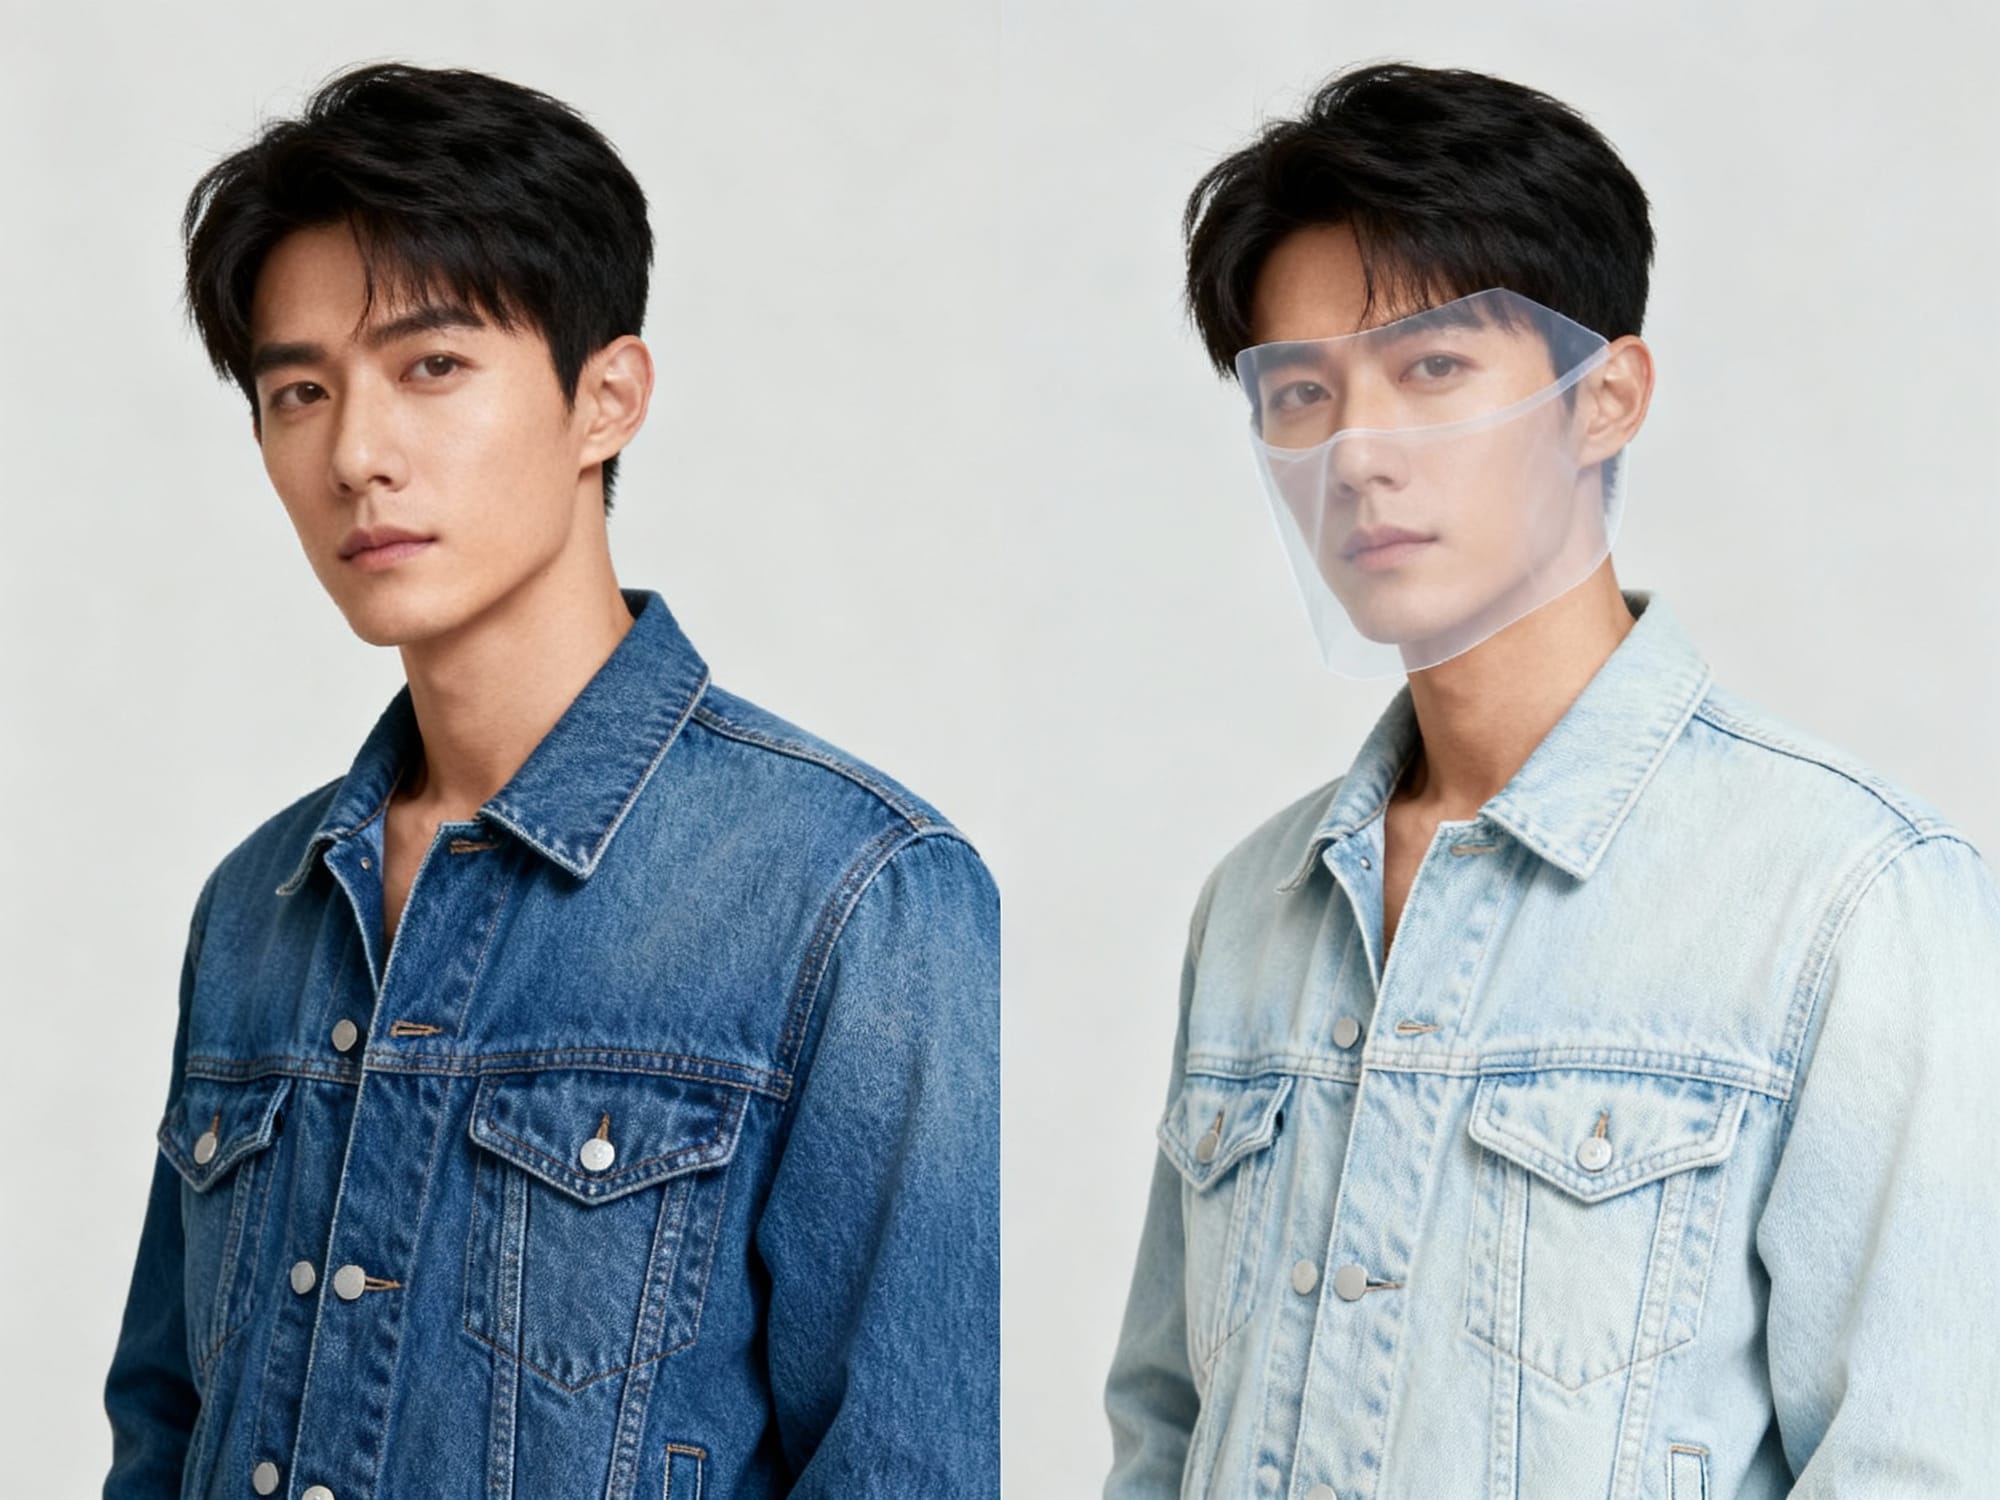
Prompt: Split‑panel demonstration of precise instruction‑based editing: left shows the original portrait of a person in a blue denim jacket; right shows the jacket lightened by two shades while fabric texture and lighting remain unchanged. A subtle semi‑transparent mask overlay indicates the edited region on the right. Natural studio lighting, realistic skin tones, sharp detail, uncluttered backdrop, editorial photography.Why Chrono Edit stands out for precision edits
Quick comparison: choose the right workflow
| Task | Use Chrono Edit | Consider instead |
|---|---|---|
| Subtle color or lighting tweaks | Yes — precise, instruction-driven | — |
| Small cleanups (dust, lint, minor blemishes) | Yes — preserves structure and identity | — |
| Edit short text in an image | Yes — careful wording/kerning fixes | — |
| Replace subjects or backgrounds | No — outside scope | Inpainting or full text-to-image |
| Large style or composition shifts | No — designed for small adjustments | Style transfer, re-render, or compositing |
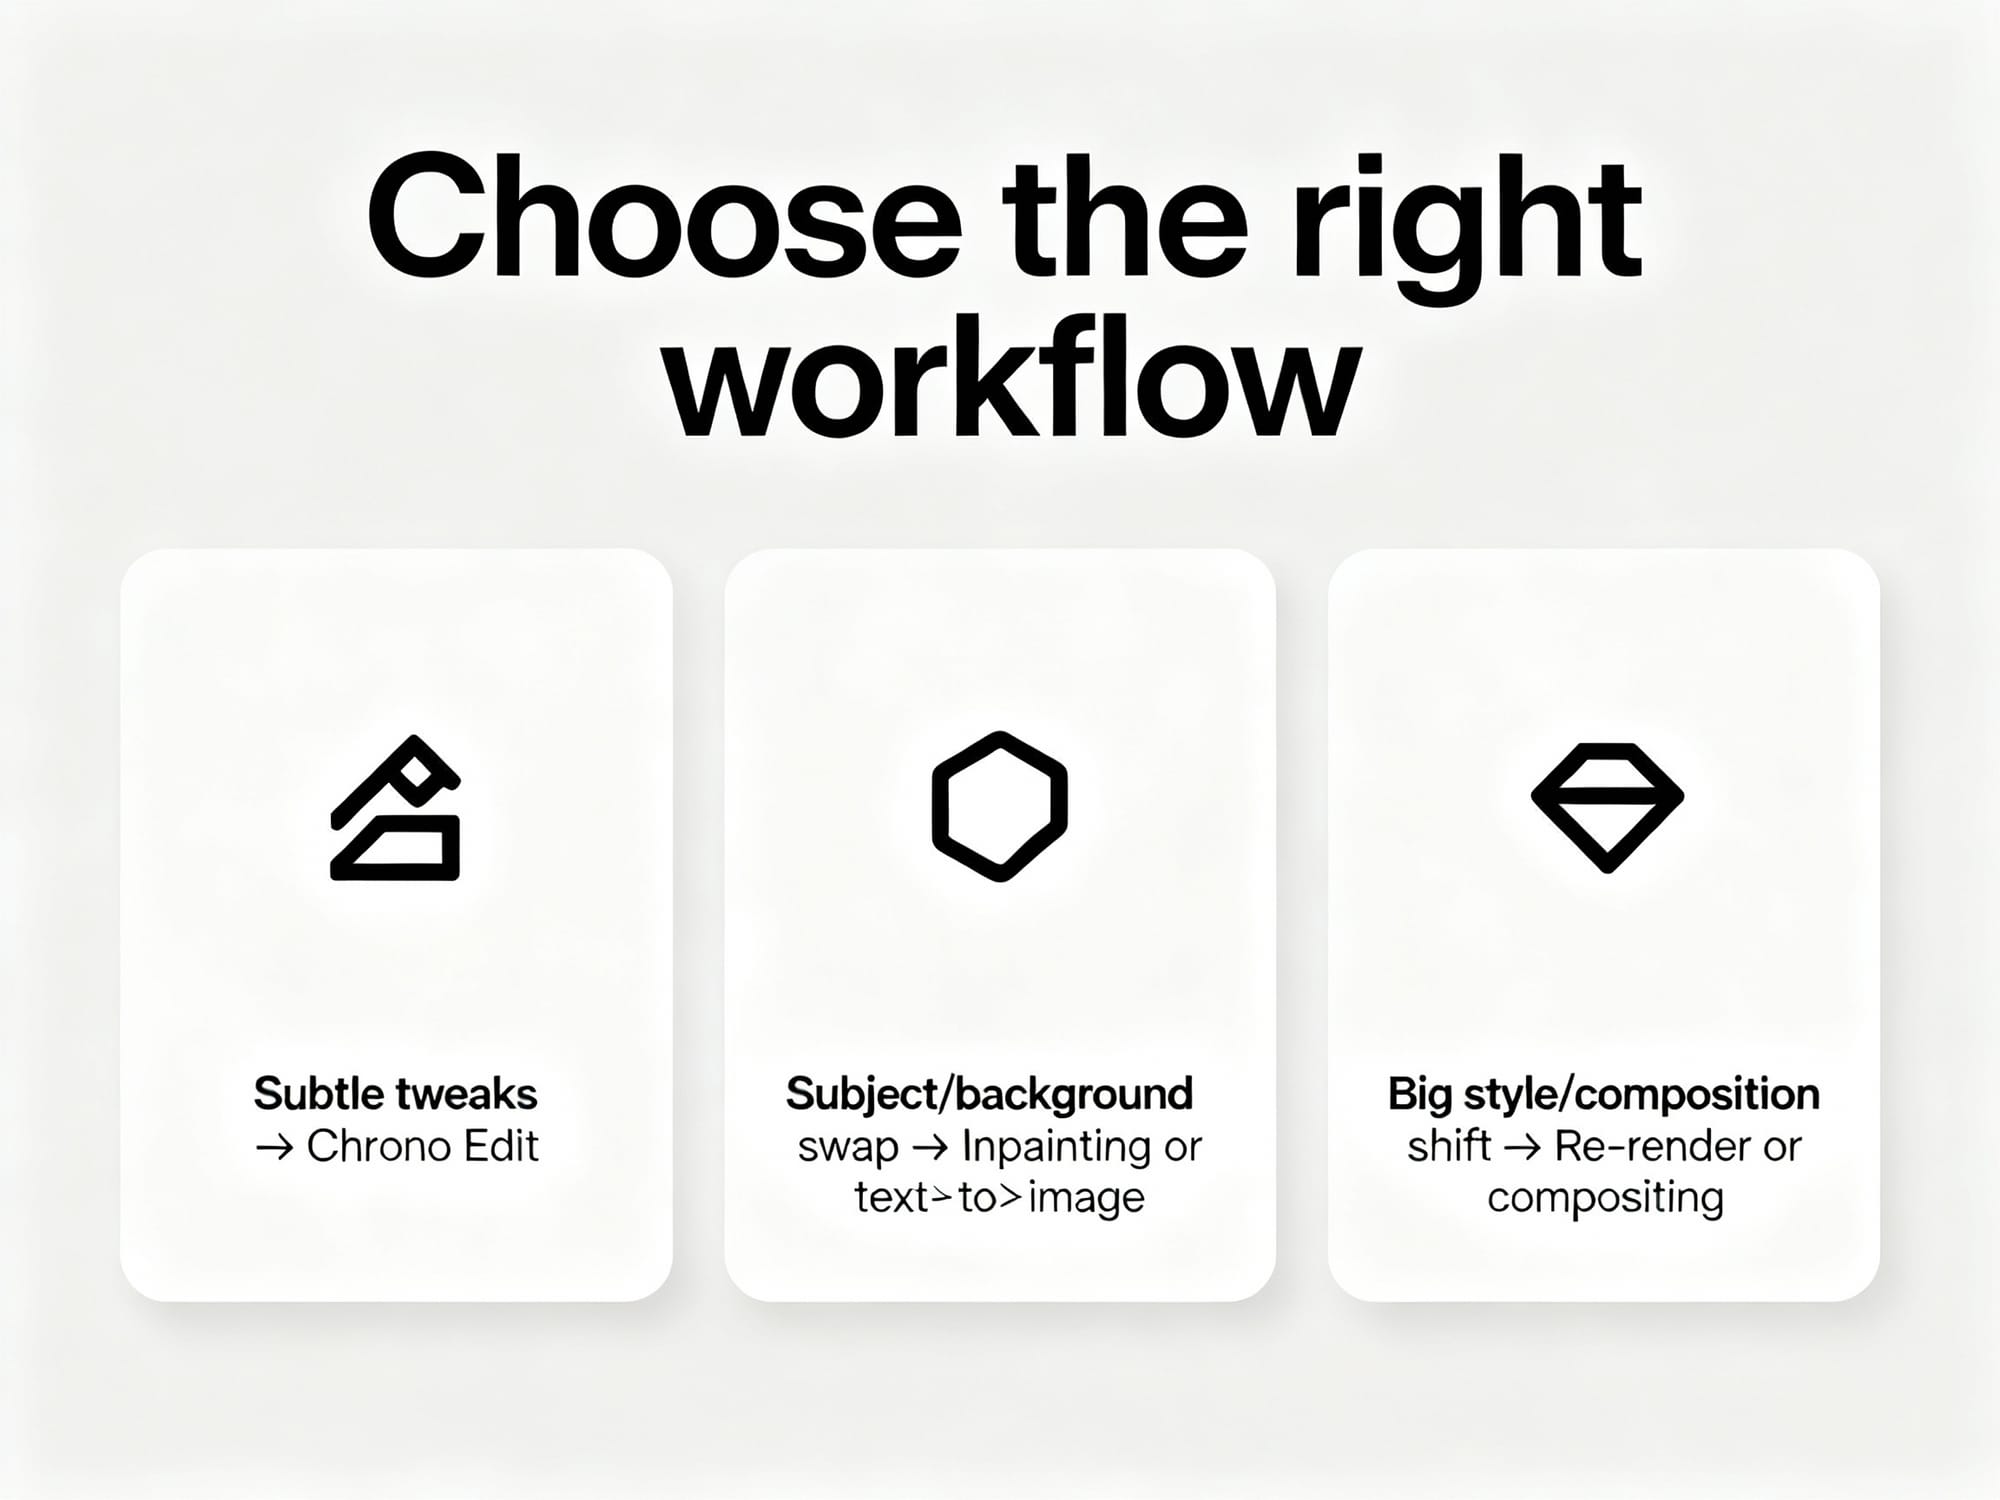
Prompt: Minimal, premium infographic titled 'Choose the right workflow'. Three clean cards in one row with simple icons and very short labels: 'Subtle tweaks → Chrono Edit', 'Subject/background swap → Inpainting or text‑to‑image', 'Big style/composition shift → Re‑render or compositing'. Neutral light background, high contrast typography, abundant white space, editorial look, no extra text, no logos.- High‑fidelity changes: Makes subtle adjustments while preserving the original scene layout and style.
- Character consistency: Maintains identity and key features across multiple edits or frames.
- Instruction‑driven control: Follows natural‑language directions for targeted, surgical edits.
- Text within images: Effective for correcting or refining embedded text where minor, precise updates are needed.
Example use cases
Wedding photography
- Even out skin tones and reduce glare without changing facial identity.
- Adjust bouquet color to match the event palette.
- Refine signage or invitation text embedded in the scene.
Architecture and interiors
- Warm or cool ambient lighting while preserving materials and structure.
- Remove minor blemishes (scuffs, small stickers) without altering geometry.
- Standardize sky tone or window reflections across a set.
Product and fashion
- Swap a garment’s color two shades darker while keeping fabric texture.
- Clean lint, wrinkles, or dust without changing silhouette.
- Correct a label’s text or spacing on packaging imagery.
Multi‑character or group scenes
- Unify white balance and contrast across all subjects.
- Subtly adjust one character’s accessory or expression while keeping identities stable.
- Harmonize background elements without shifting composition.
Sample prompts you can adapt
Small, measurable instructions produce the most faithful edits.
- “Lighten the jacket by two shades while preserving texture.”
- “Change the coffee bag label text to ‘Cocoa Blend’ in the same font and alignment.”
- “Reduce forehead shine and even skin tone; keep freckles.”
- “Make the dress a muted forest green; do not alter lighting.”
- “Soften the window glare by 30% without changing exterior detail.”
- “Remove dust spots on the sneaker sole; keep tread detail intact.”
- “Warm the room lighting slightly; keep wall color unchanged.”
- “Standardize sky to a pale blue across the set; do not shift building colors.”
- “Tighten kerning on the product label text; keep current wording and size.”
- “Subtly increase smile on the left subject; maintain facial identity.”
Tips for success
- Be brief and specific. Short, targeted instructions work best.
- Edit one variable at a time. Chain small edits instead of requesting multiple changes at once.
- Use the highest‑quality input you have. Noise and blur reduce edit fidelity.
- Constrain the area when possible. Masking (if available) minimizes unintended shifts.
- Avoid large scene or subject swaps. Chrono Edit is not designed for major replacements.
- Keep language neutral. Concrete descriptors (“two shades darker,” “reduce glare 30%”) help the model aim precisely.
Why use Chrono Edit on RunDiffusion
1) Launch a new workspace.
2) Import your source image(s).
3) Select an instruction‑based editing model and enable masking if available.
4) Apply one targeted instruction, review, and iterate with small steps.
Ready to try instruction‑based editing? Start a RunDiffusion workspace to organize assets, iterate quickly, and keep runs reproducible.
RunDiffusion centralizes your image editing workflow, making it straightforward to run advanced edit models, keep assets organized, and iterate quickly. You can focus on instructions and visual outcomes while leveraging a managed environment to streamline your process from input to review.
- Fast iteration: Move from idea to refined output with minimal overhead.
- Consistent results: Keep your edits focused and repeatable across sets of images.
- Team‑friendly: Share outcomes and directions so everyone stays aligned on the final look.
Resources
FAQ
What kinds of edits is Chrono Edit best at?
Small, precise adjustments that preserve layout and identity—like subtle color/lighting changes, minor cleanups, or tight text refinements.
Can I replace backgrounds or swap people with Chrono Edit?
That’s outside its intent. Use inpainting or a full text‑to‑image workflow for major scene or subject replacements.
How do I keep fonts and alignment when editing text in images?
Be explicit: request the wording change and say “keep the same font, size, alignment, and spacing.” If needed, add “do not alter surrounding design.”
Should I mask the region I want to edit?
If your workflow supports masking, yes—limit edits to the relevant area to minimize unintended changes elsewhere.
How many changes should I request per pass?
One. Make a small, focused edit, evaluate, then apply the next. Chaining small edits preserves fidelity and reduces drift.
How do I keep results consistent across a set or sequence?
Use the same concise instruction and repeat the workflow per image or frame. Keep lighting and exposure consistent in inputs, and favor small, repeatable adjustments.