


Getting Started with Reforge and Flux on RunDiffusion:
To begin, follow these steps:
- Create an Account: Sign up on the RunDiffusion platform.
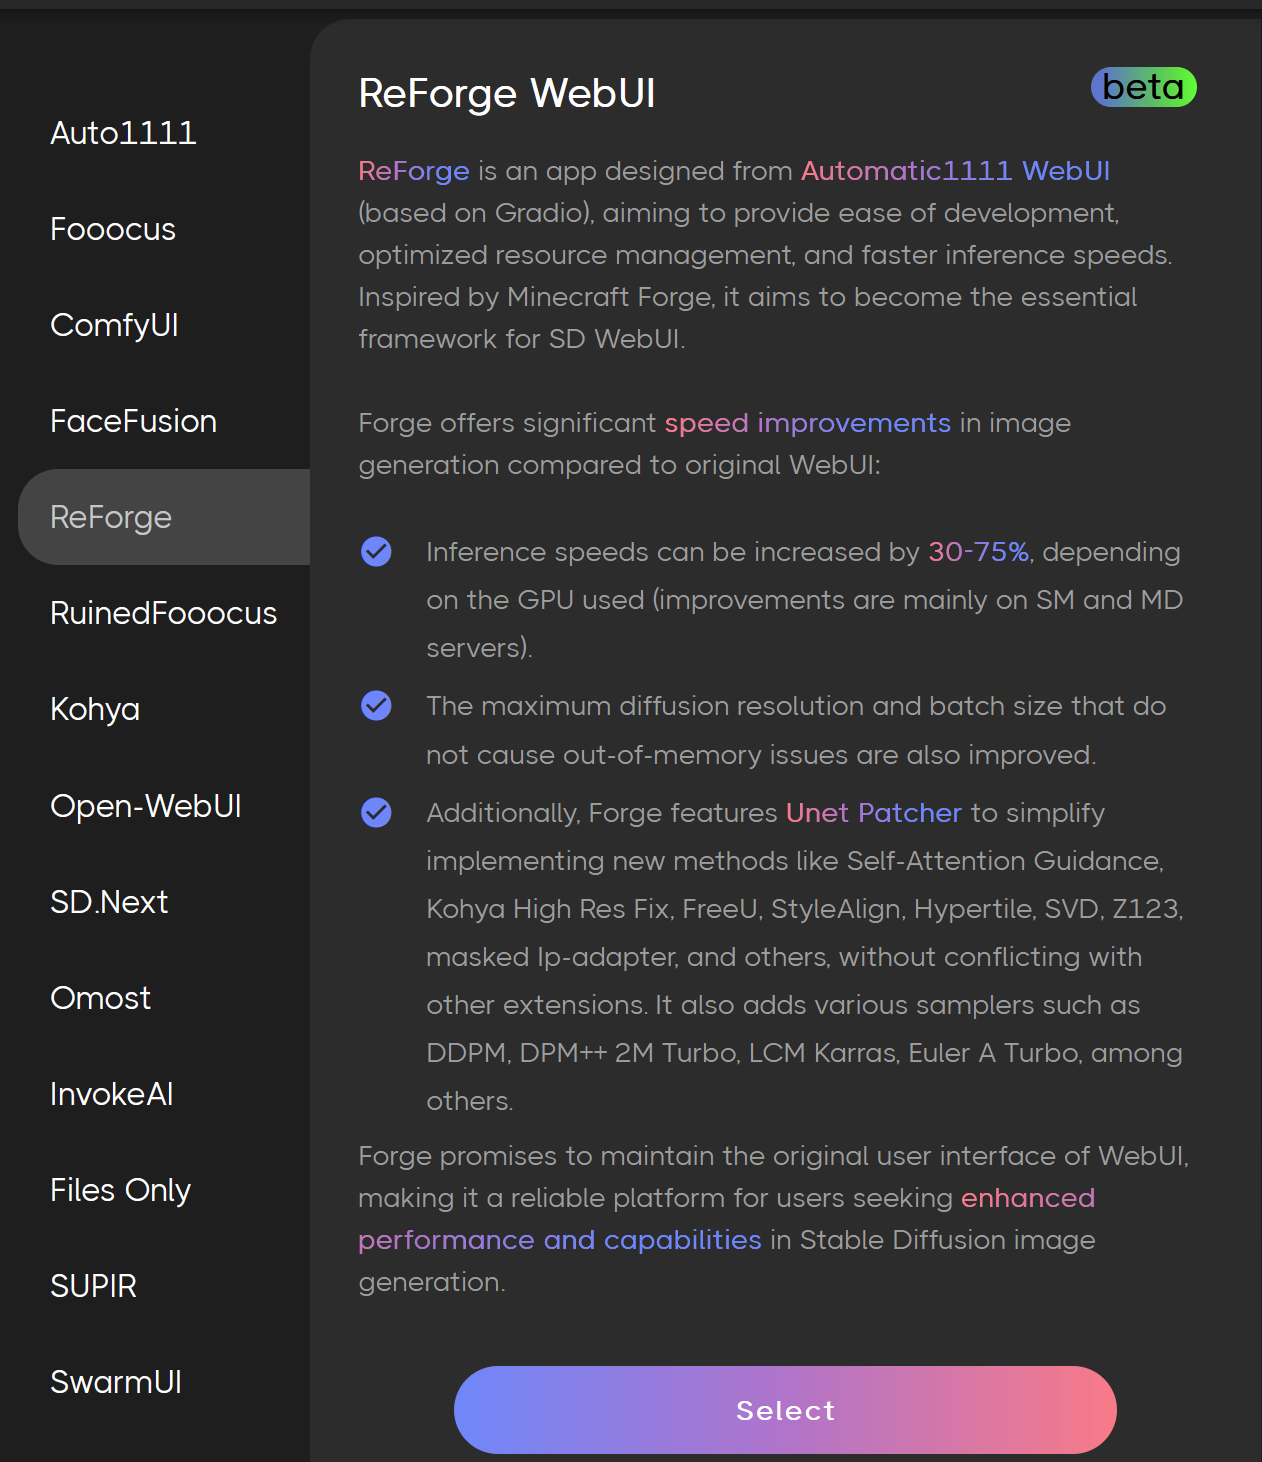
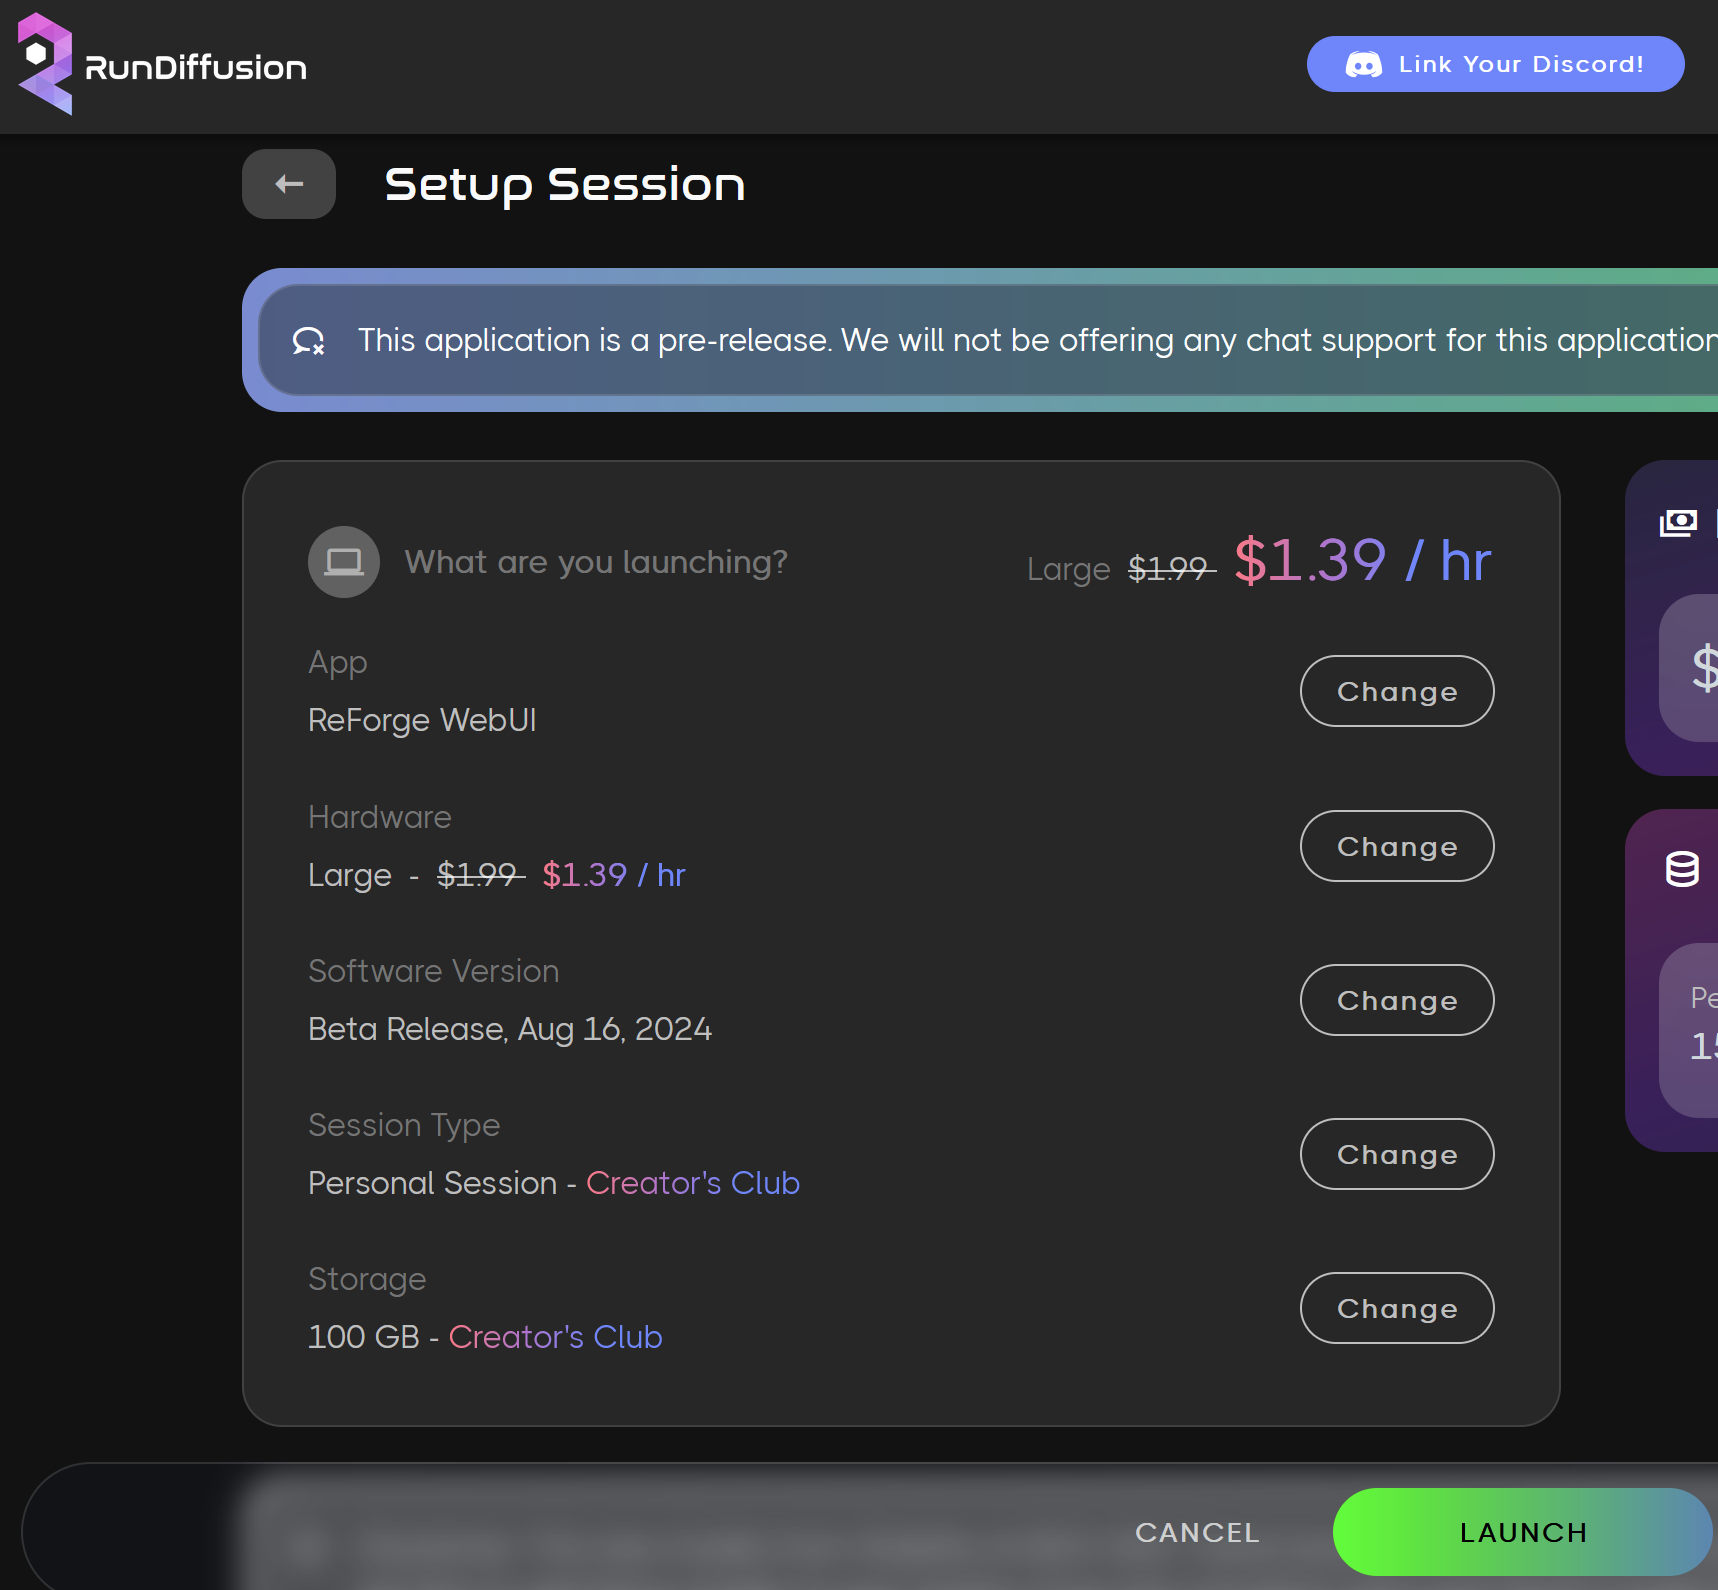
- Launch Reforge: Reforge by selecting the Reforge application on the application page and clicking select. On the next page select the appropriate hardware for Flux we recommend Large and current or beta build then click Launch.
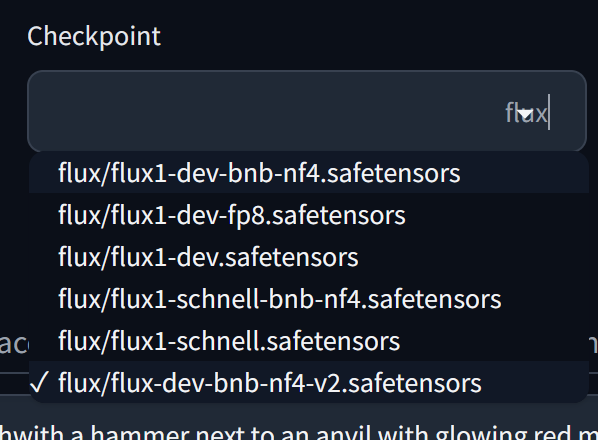
Load the Flux Checkpoint: Select the appropriate version of Flux Dev or Schnell based on your needs.
- Flux Dev: Use
flux1-dev-bnb-nf4-v2.safetensorsfor high-detail and better prompt adherence. - Flux Schnell: Optimized for speed but less prompt adherent.
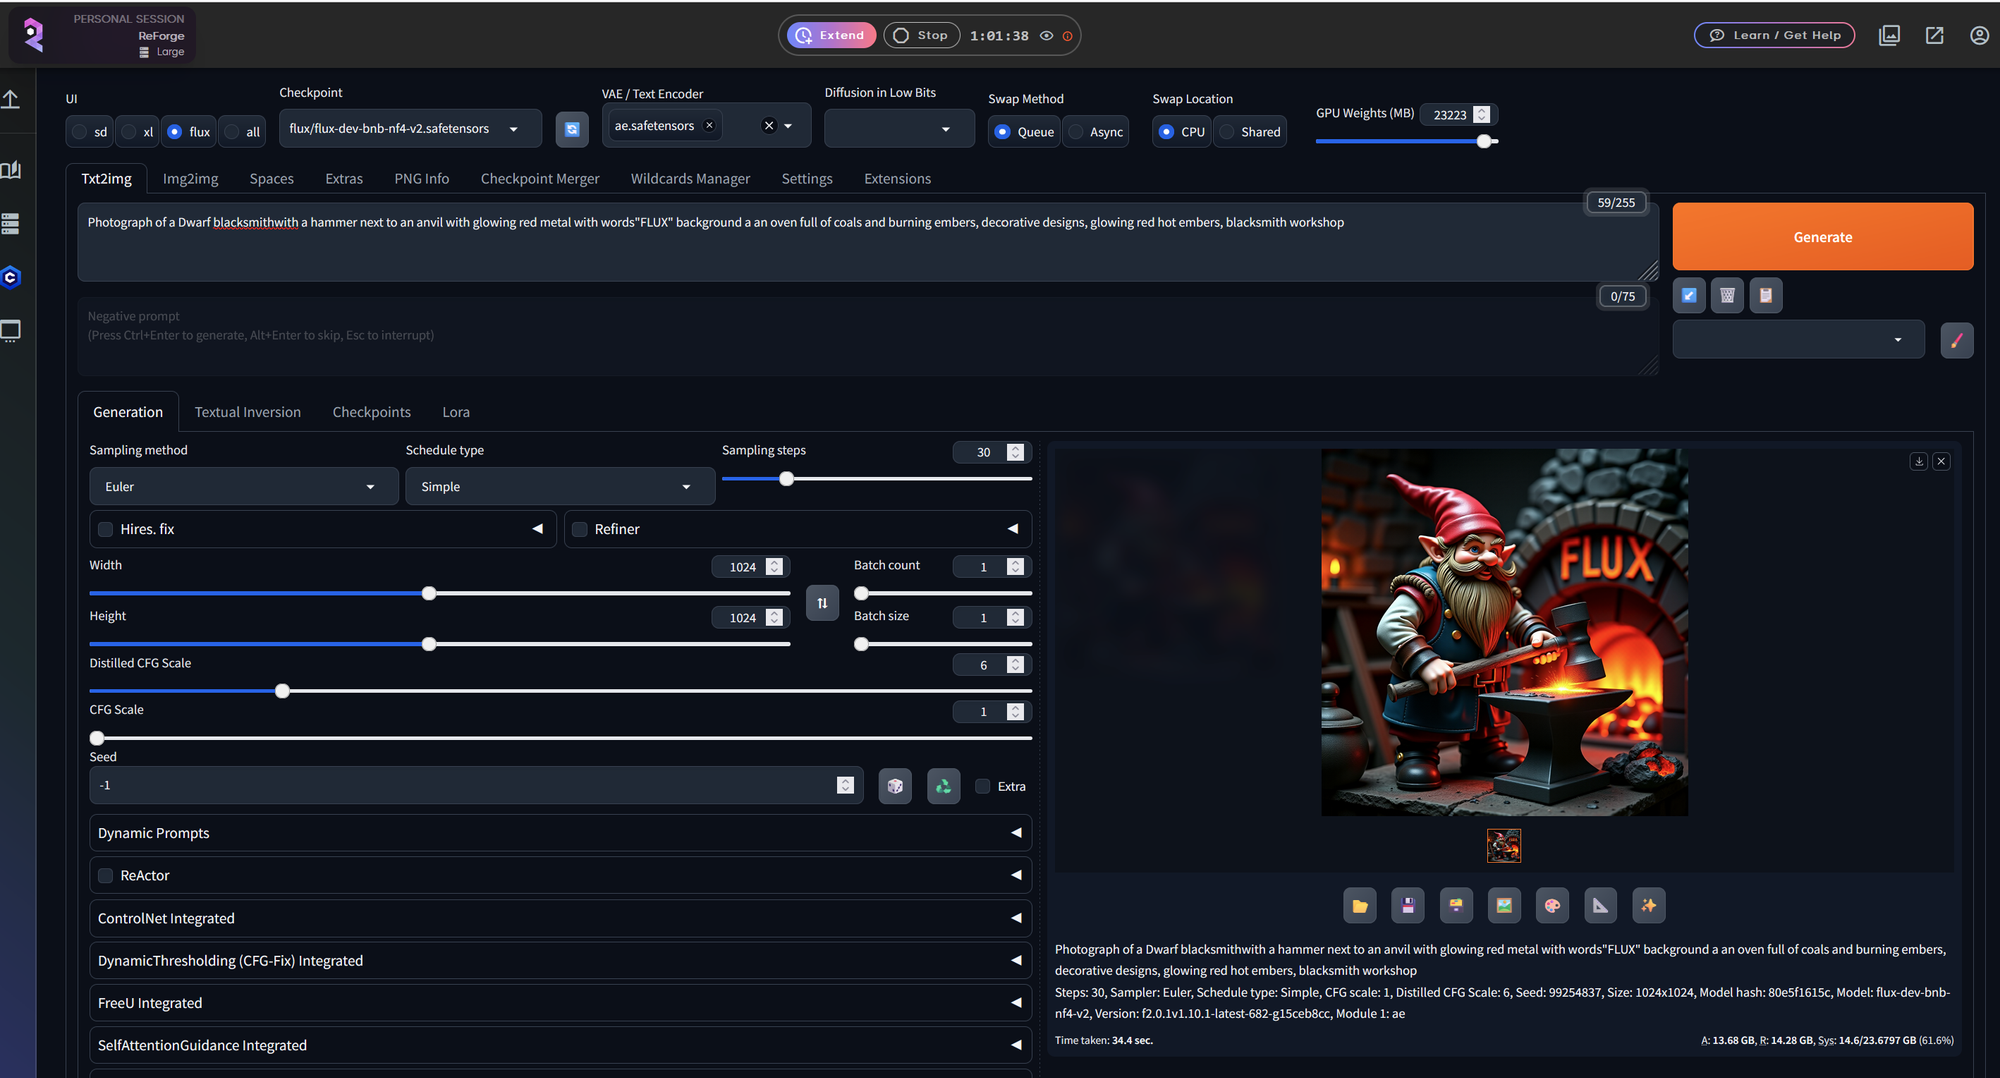
Select VAE: Both Flux Dev and Flux Schnell require ae.safetensors.

Samplers: Euler Sampler works effectively with both models.
Step Recommendations: Flux Dev use 20-50 steps for an optimal balance between quality and efficiency. Flux Schnell use 1-4 steps for faster generation.
CFG Settings: Flux Dev set the CFG to 3.5 for well-balanced prompt adherence. Flux Schnell use a CFG between 1-2 to prioritize speed.
Generate Images: After configuring your settings, enter your text prompts, and let Reforge and Flux handle the rest.
DiffusionLowbits (FP8 and NF4)
- FP8 Models: Ideal for low-VRAM setups, reducing memory usage but may run slightly slower.
- NF4 Models: Faster but require more VRAM.
CLIP Assertion Errors
- When using fine-tuned models from Civitai, you may encounter CLIP Assertion errors. To resolve this, navigate to VAE / Text Encoder and select the following:
- ae.safetensors
- clip_l.safetensors
- t5xxl_fp16.safetensors

Conclusion
For further insights, tutorials, and tips on getting the most out of AI tools like Reforge and Flux, visit RunDiffusion Learning. This resource is a great place to find detailed guides, updates, and answers to any additional questions you may have. Happy creating!
