A Comprehensive Guide to RunDiffusion
Welcome to RunDiffusion, your portal to cutting-edge AI creative applications! This step-by-step guide will help you navigate the platform, from login to generating your first masterpiece. Whether you’re a novice or a seasoned creator, RunDiffusion makes AI art accessible while offering advanced tools for professionals. If you're interested in exploring Runnits, check out this article.

1. Login Screen

- Login Form: Fields for username/email and password.
- Action Button: "Log In."
Steps:
- Enter your credentials in the respective fields.
- Click Log In to access the dashboard.
2. Dashboard Navigation

- Sidebar: Displays available applications.
- Applications:
- Automatic 1111: The most powerful tool for AI image generation with robust plugin support.
- Fooocus: Beginner-friendly, with a simple interface powered by advanced Stable Diffusion technology.
- Comfy UI: Node-based, flowchart-style application for designing advanced AI art workflows.
- Reforge: Optimized for speed and resource management, has most of the features of Automatic1111 but supports Flux.
- Kohya: Ideal for model training and fine-tuning.
- Facefusion: Intuitive interface for face swapping and enhancements.
- Other Applications: Includes SDNext, Omost, SwarmUI, Open-WebUI, and more. Available applications may change in the future.
Steps:
- Browse the applications in the sidebar.
- Click Select next to your preferred app (e.g., Fooocus) to proceed.
3. Setup Session

- App: Fooocus w/Juggernaut XI
- Server Size Options: Small, Medium, Large, Max (based on VRAM).
- Software Versions/Builds: Choose between Beta or Current. As new versions are launched the beta becomes current. Beta is for experimental features and Current is typically the most stable build available.
- Session Type: Here you can select Personal or Team session. This will choose which funds are use for the session.
- Storage: Personal or Team. As a normal user you'll select personal storage but if you are assigned to a team or enterprise you may be using a shared storage. As a personal user you will be Pay as you go (10gb temporary storage) or Creators Club (100gbs persistent storage).
You can change these settings by selecting change button next to each item. To proceed you select the Launch button.
Steps:
- Choose a server size. For beginners, select Small.
- Choose a a software version: Current
- Other settings can remain default.
- Click Launch to start the server.
Server Initialization.

- Ready! Set! Go!: After you launch your server you will be greeted with an initialization screen as the server starts. If you realize you made a mistake you can cancel the session during the Set! step.
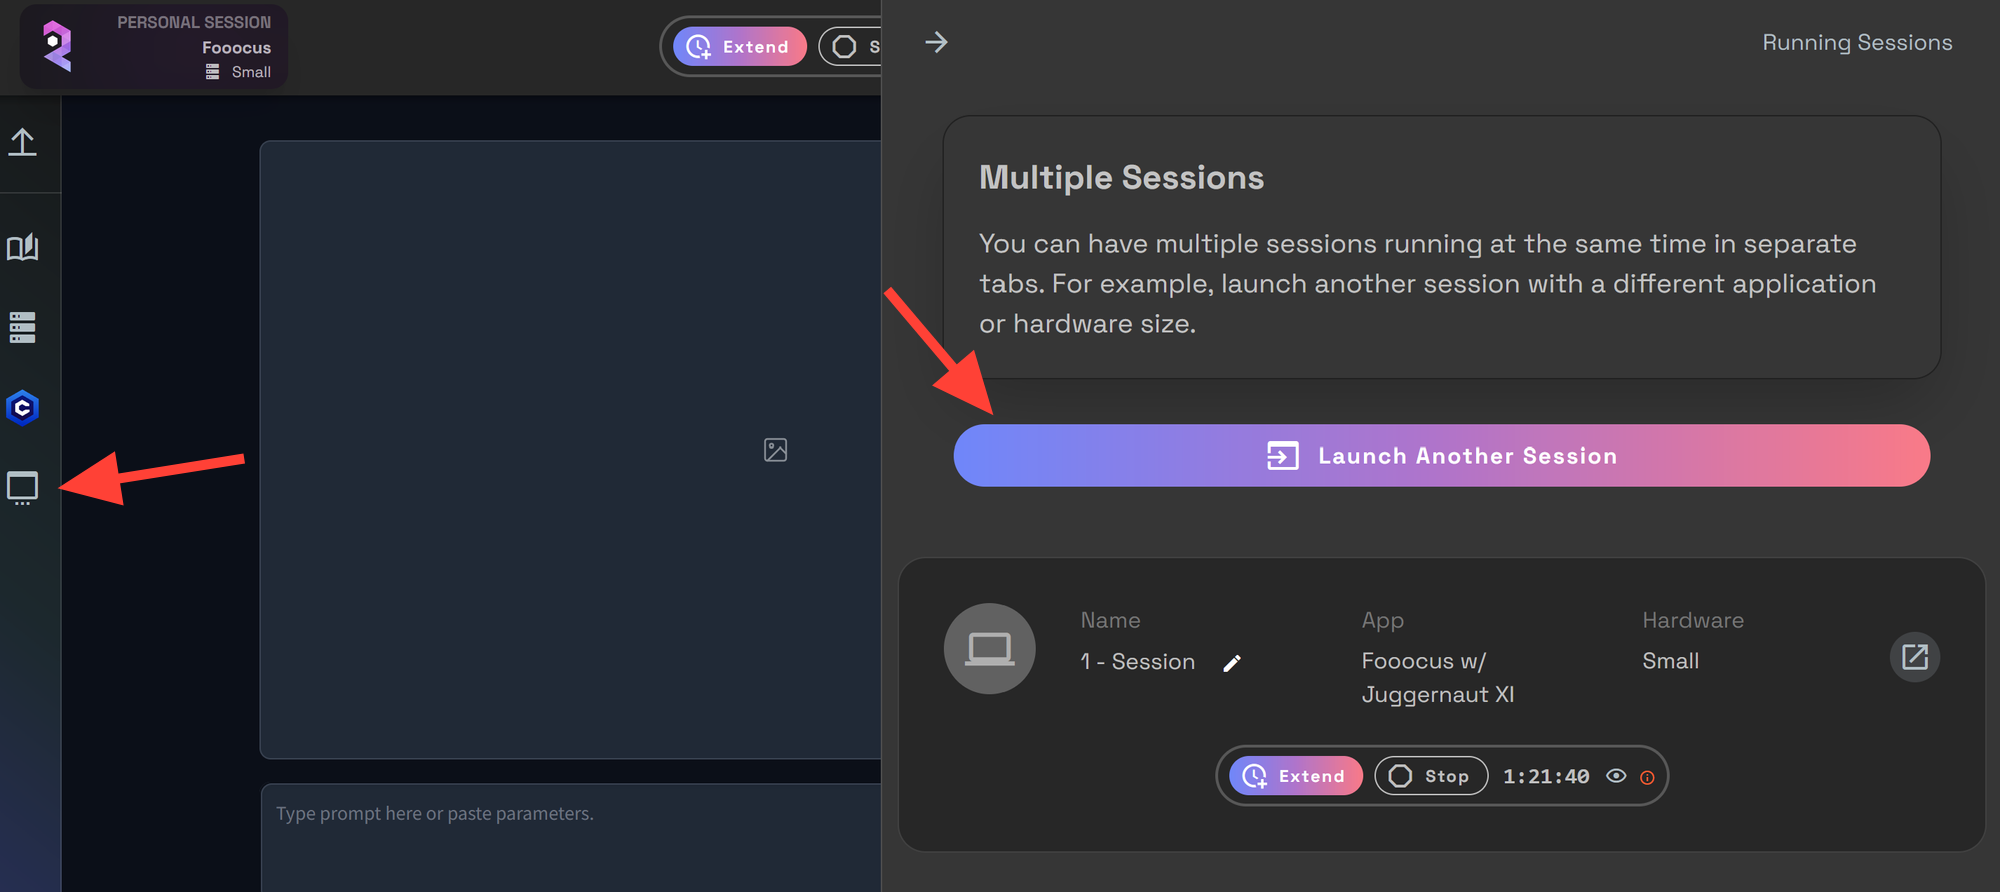
- Multi Sessions: If you need to run multiple servers at the same time during this step you can also click multi session to launch additional applications.
5. Timer Control

- Smart Timer: Displays session duration.
- Controls:
- Stop: Ends the session.
- Extend: Adds more time.
- Eye (Hide): Hides the timer.
6. File Manager

- Folder Structure:
- Images: Stores generated outputs by date.
- Custom: Configuration files.
- Wildcards: Input variations.
- Logs: Application logs.
- Models: Custom or downloaded models.
Steps:
- Navigate the File Manager to locate your work.
- Open the Images folder to view your creations. Images are sorted by application type.

7. Learn / Get Help


- Learn and Get Help Tab:
- Support Chat: Direct customer support.
- Discord: Connect with a supportive and helpful community.
- Learn Website: Tutorials and Guides on RunDiffusion Learning.
8. Server Session Management
- Server Manager
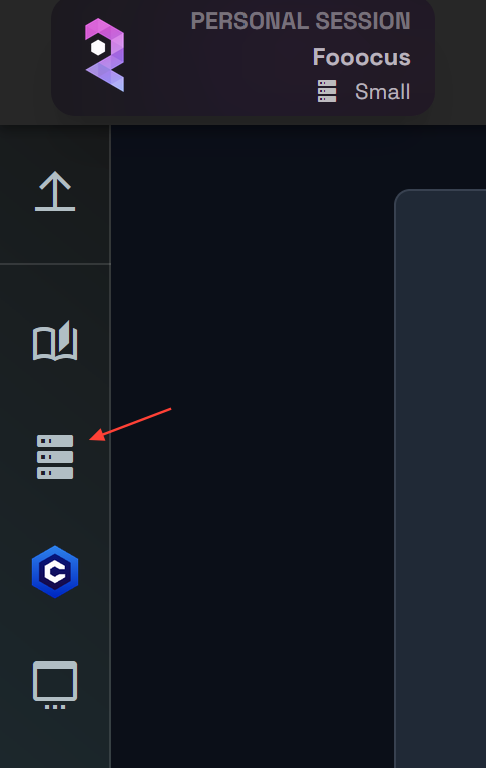
- Console Logs: Real-time activity and troubleshooting.
- Restart App: Restart the server if necessary.


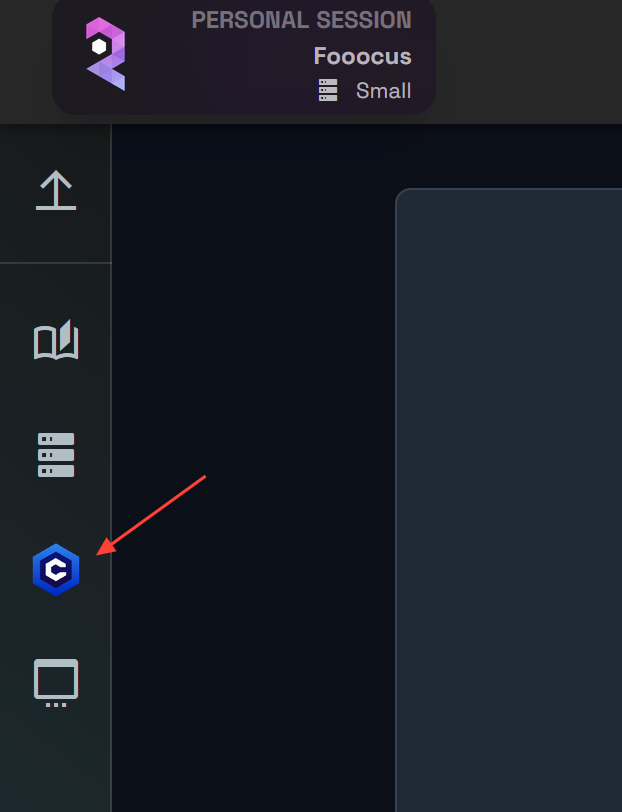
- CivitAI Downloader: Direct model downloads using Civitai URLs.


- Multiple Sessions: Launch parallel instances for multitasking.

9. Image Generation

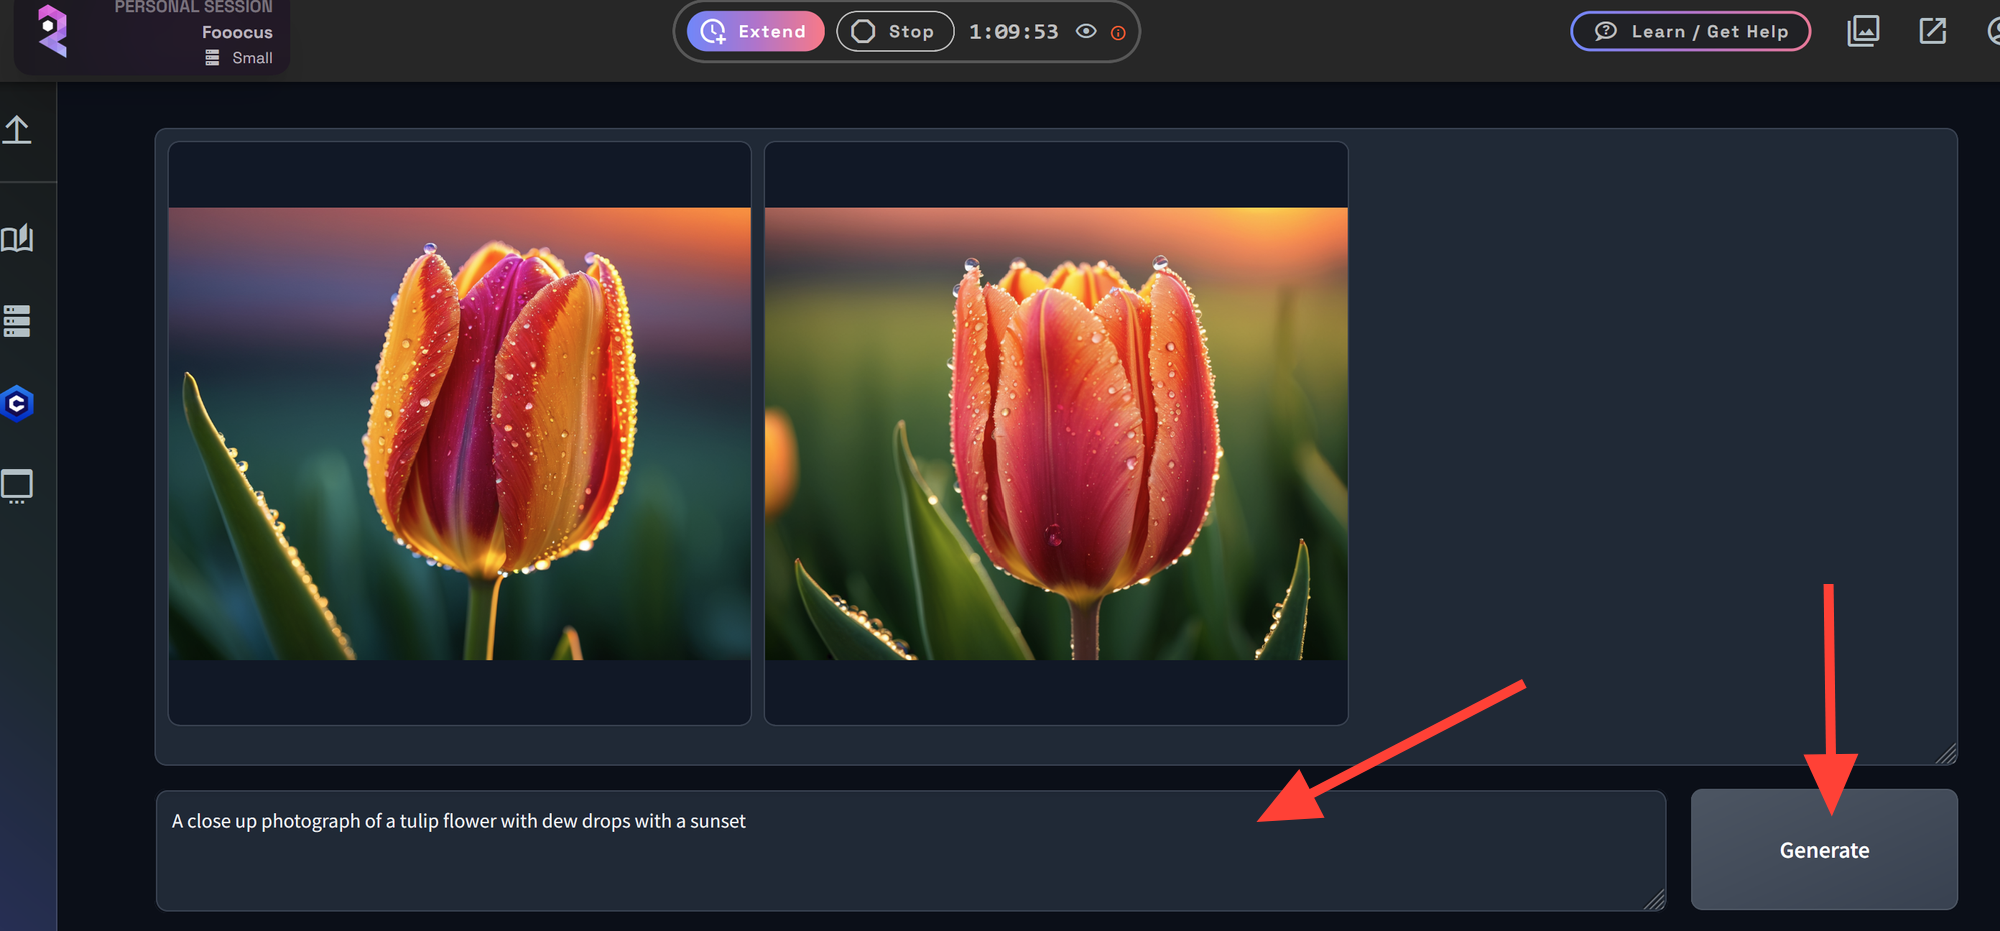
- Prompt Input Box: Enter your creative idea.
- Generate: Start the image creation process by clicking on generate
- Save: view and save the generated images in the Images folder or by right clicking and selecting save image as.
Steps:
- Input your desired prompt.
- Click Generate to create an image.
- View and save the generated image in the Images folder.
Final Notes
RunDiffusion is designed to simplify AI art creation while offering powerful tools for advanced workflows. Whether you’re exploring Fooocus or mastering Comfy UI, the platform has something for everyone. For more resources and tutorials, visit RunDiffusion Learning.
Ready to create? Log in and let your imagination flow!


