

Google Veo 3.1 is the latest release of Google DeepMind’s AI video generation model (October 15, 2025). It turns text prompts and reference images into high-fidelity, cinematic video with rich, synchronized audio. Here’s what’s new, how its creative controls work, and practical steps to prepare your assets and prompts—so you can move fast when Veo 3.1 enters your toolkit.
What’s new in Veo 3.1
Veo 3.1 focuses on realism, creative control, and tighter prompt adherence while delivering higher-quality outputs.
- Richer native audio: Integrated, synchronized audio—including dialogue, ambient sound, and sound effects—directly within generated videos.
- Enhanced realism and consistency: More lifelike textures, lighting, and smoother motion with fewer visual artifacts.
- Advanced creative controls:
- Reference images (up to three) to keep characters, objects, and styles consistent.
- First and last frames to generate a seamless transition between defined start and end images.
- Scene extension via an Extend feature that continues action from a clip’s final frames for longer shots.
- Object-level editing in the Flow editor to add or remove objects while maintaining scene coherence.
- High-quality output: 720p or 1080p at a fixed 24 fps in landscape (16:9) or portrait (9:16) formats.
| Capability | Details |
|---|---|
| Audio | Synchronized dialogue, ambient sounds, sound effects |
| Reference control | Up to three reference images |
| Start/End frames | Specify first and last frames; Veo 3.1 generates a seamless transition |
| Scene extension | Extend shots by continuing action from final frames |
| Object-level editing | Flow editor for inserting/removing objects |
| Resolution | 720p or 1080p |
| Frame rate | 24 fps (fixed) |
| Aspect ratios | 16:9 (landscape), 9:16 (portrait) |
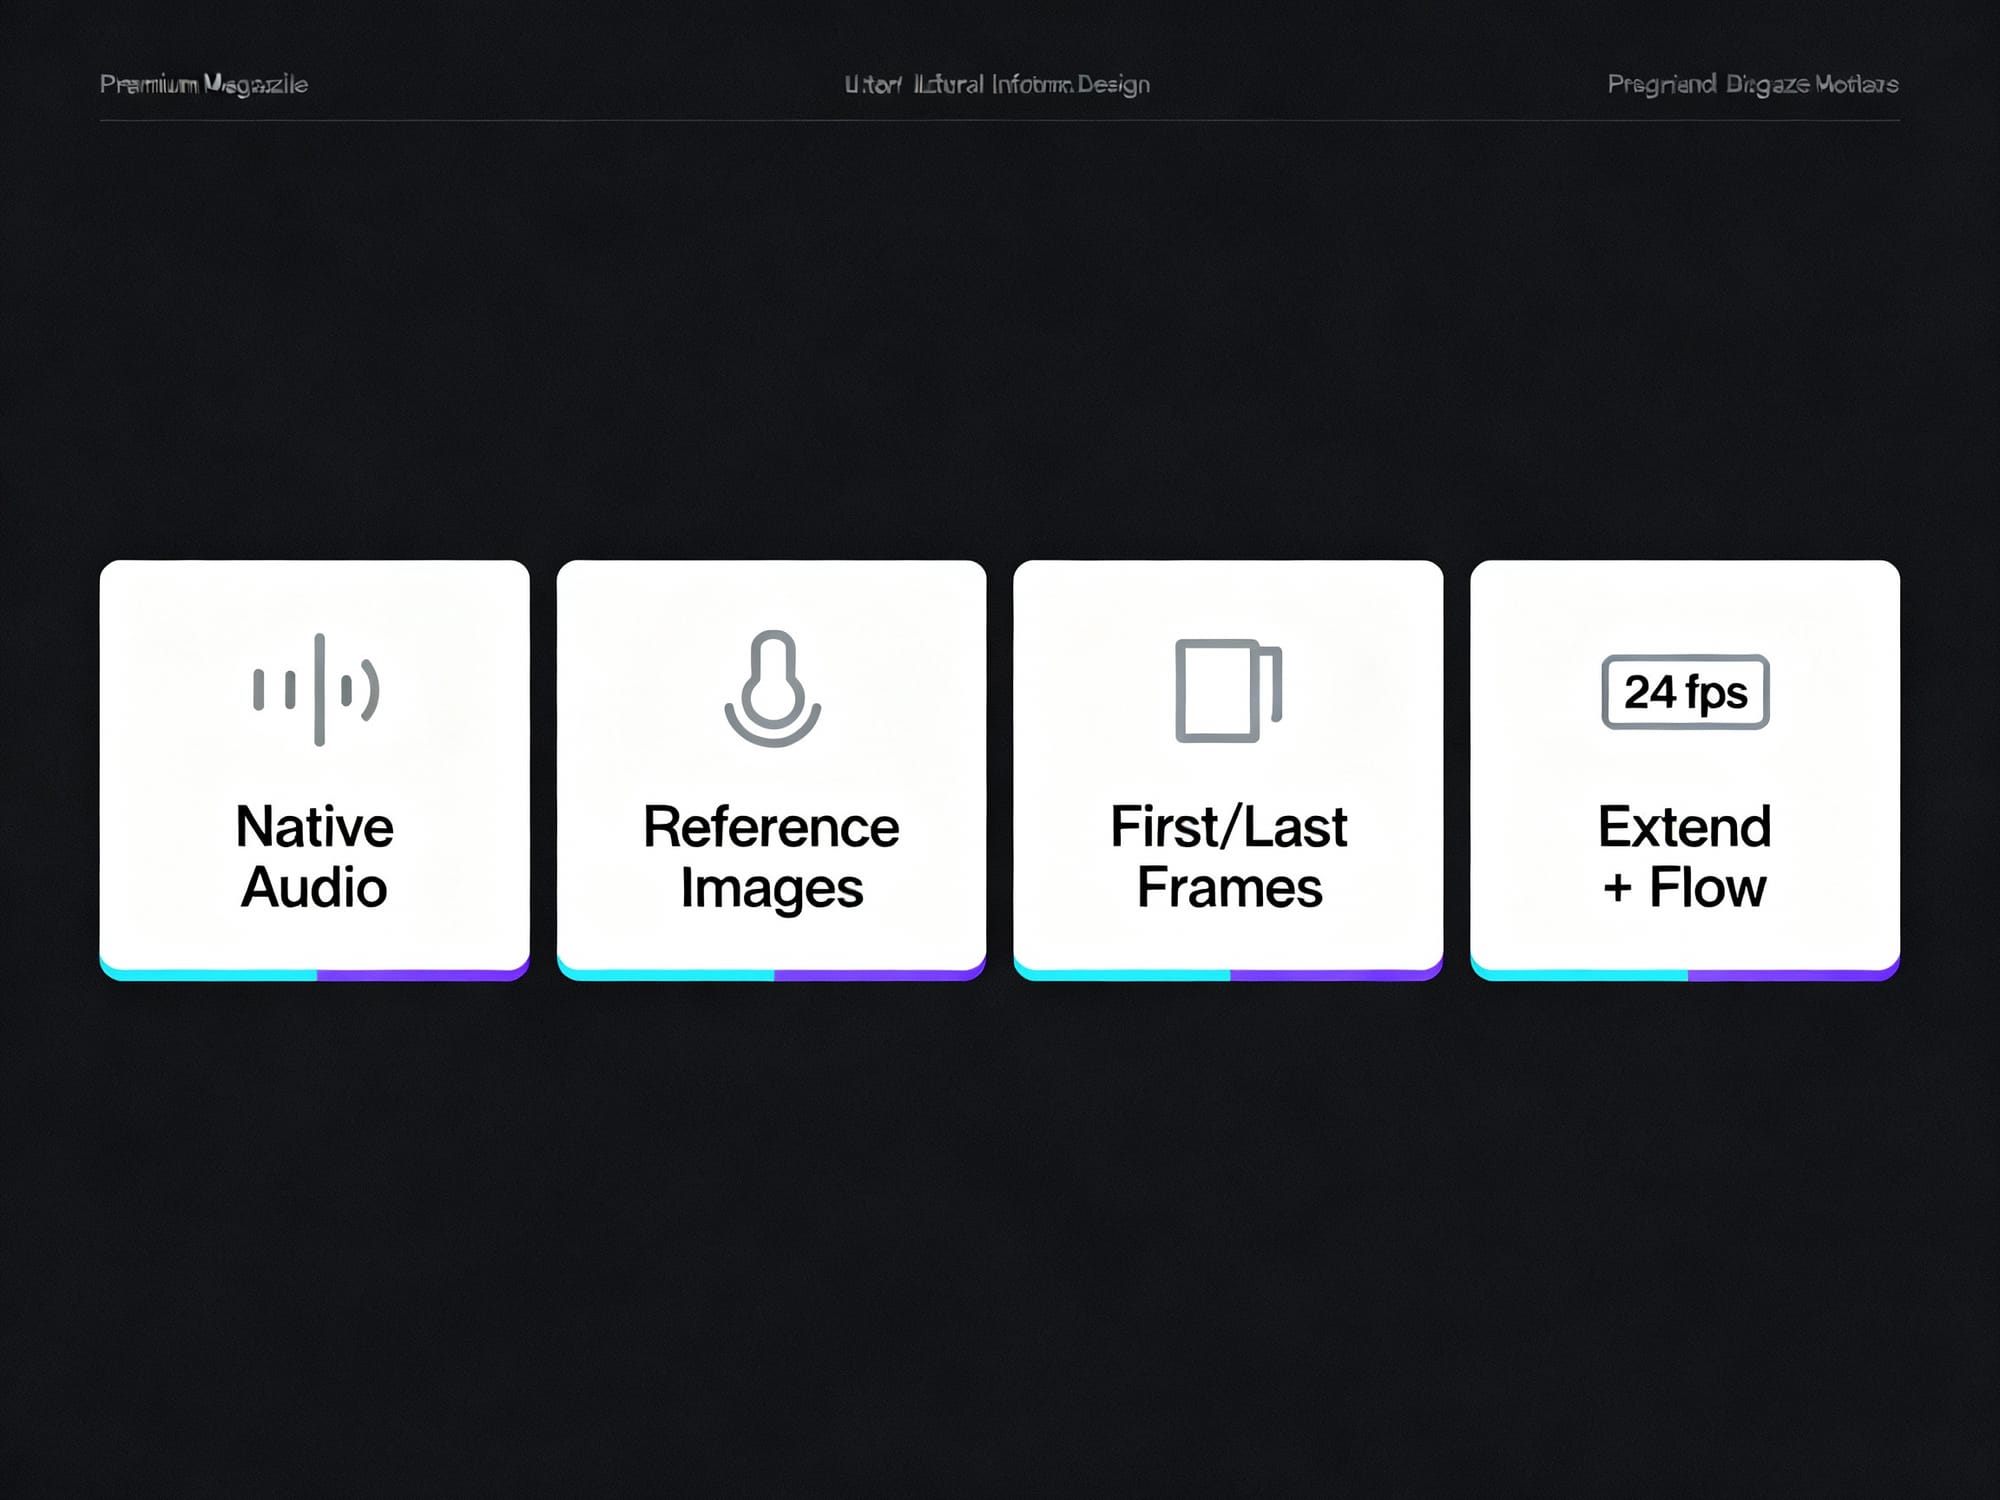
Prompt: Simple, premium editorial infographic summarizing “What’s new in Veo 3.1”: four clean tiles with minimal icons and short labels—Native Audio, Reference Images, First/Last Frames, Extend + Flow—plus a small 24 fps badge; white background, ample whitespace, dark gray text, cyan/violet accent lines; no paragraphs of text; minimalist, high‑end magazine designCreative control, applied
Veo 3.1’s controls help you guide continuity and motion, making it easier to hit a target look without micromanaging every frame.
- Reference images: Keep the look of characters, props, and style consistent across shots by reusing up to three carefully curated references.
- First/last frames: Lock the opening and closing compositions, then let Veo 3.1 interpolate a smooth transition between them.
- Extend: Build longer, continuous scenes by carrying forward motion and composition from the previous clip.
- Flow editor: Insert or remove objects in an existing scene while preserving lighting and spatial cohesion.
Tip: Keep your reference set small (≤ 3) and consistent—match lighting, color palette, and camera angle across references for stronger adherence.
Plan your outputs from the start
Aim for the right deliverables before you prompt, so you don’t fight the format later.
- Choose aspect ratio by channel: 16:9 for YouTube, decks, and web; 9:16 for Shorts/Reels/TikTok.
- Lock 24 fps: Plan pacing and motion knowing the frame rate is fixed.
- Pick resolution early: 720p for quick drafts; 1080p when visual fidelity matters.
- Write for audio: If your concept includes dialogue, ambience, or SFX cues, describe them in the prompt to align with native audio generation.
Prepare on RunDiffusion
While Veo 3.1 emphasizes video generation, your pre-production work—references, frames, and prompts—still determines the outcome. Use your RunDiffusion workspace to get assets ready so you can move fast when it’s time to generate.
- Build reference packs: Create and curate up to three canonical reference images per scene (characters, props, environments) to reuse during generation.
- Storyboard key frames: Draft likely first and last frames as stills; refine composition, lighting, and color until they match your target look.
- Version your prompts: Keep short, structured prompt variants that call out subject, motion, lighting, lens, and any audio cues (dialogue or ambience).
- Organize by shot: Group references, first/last frames, and prompt notes per scene so handoff to video generation is seamless.
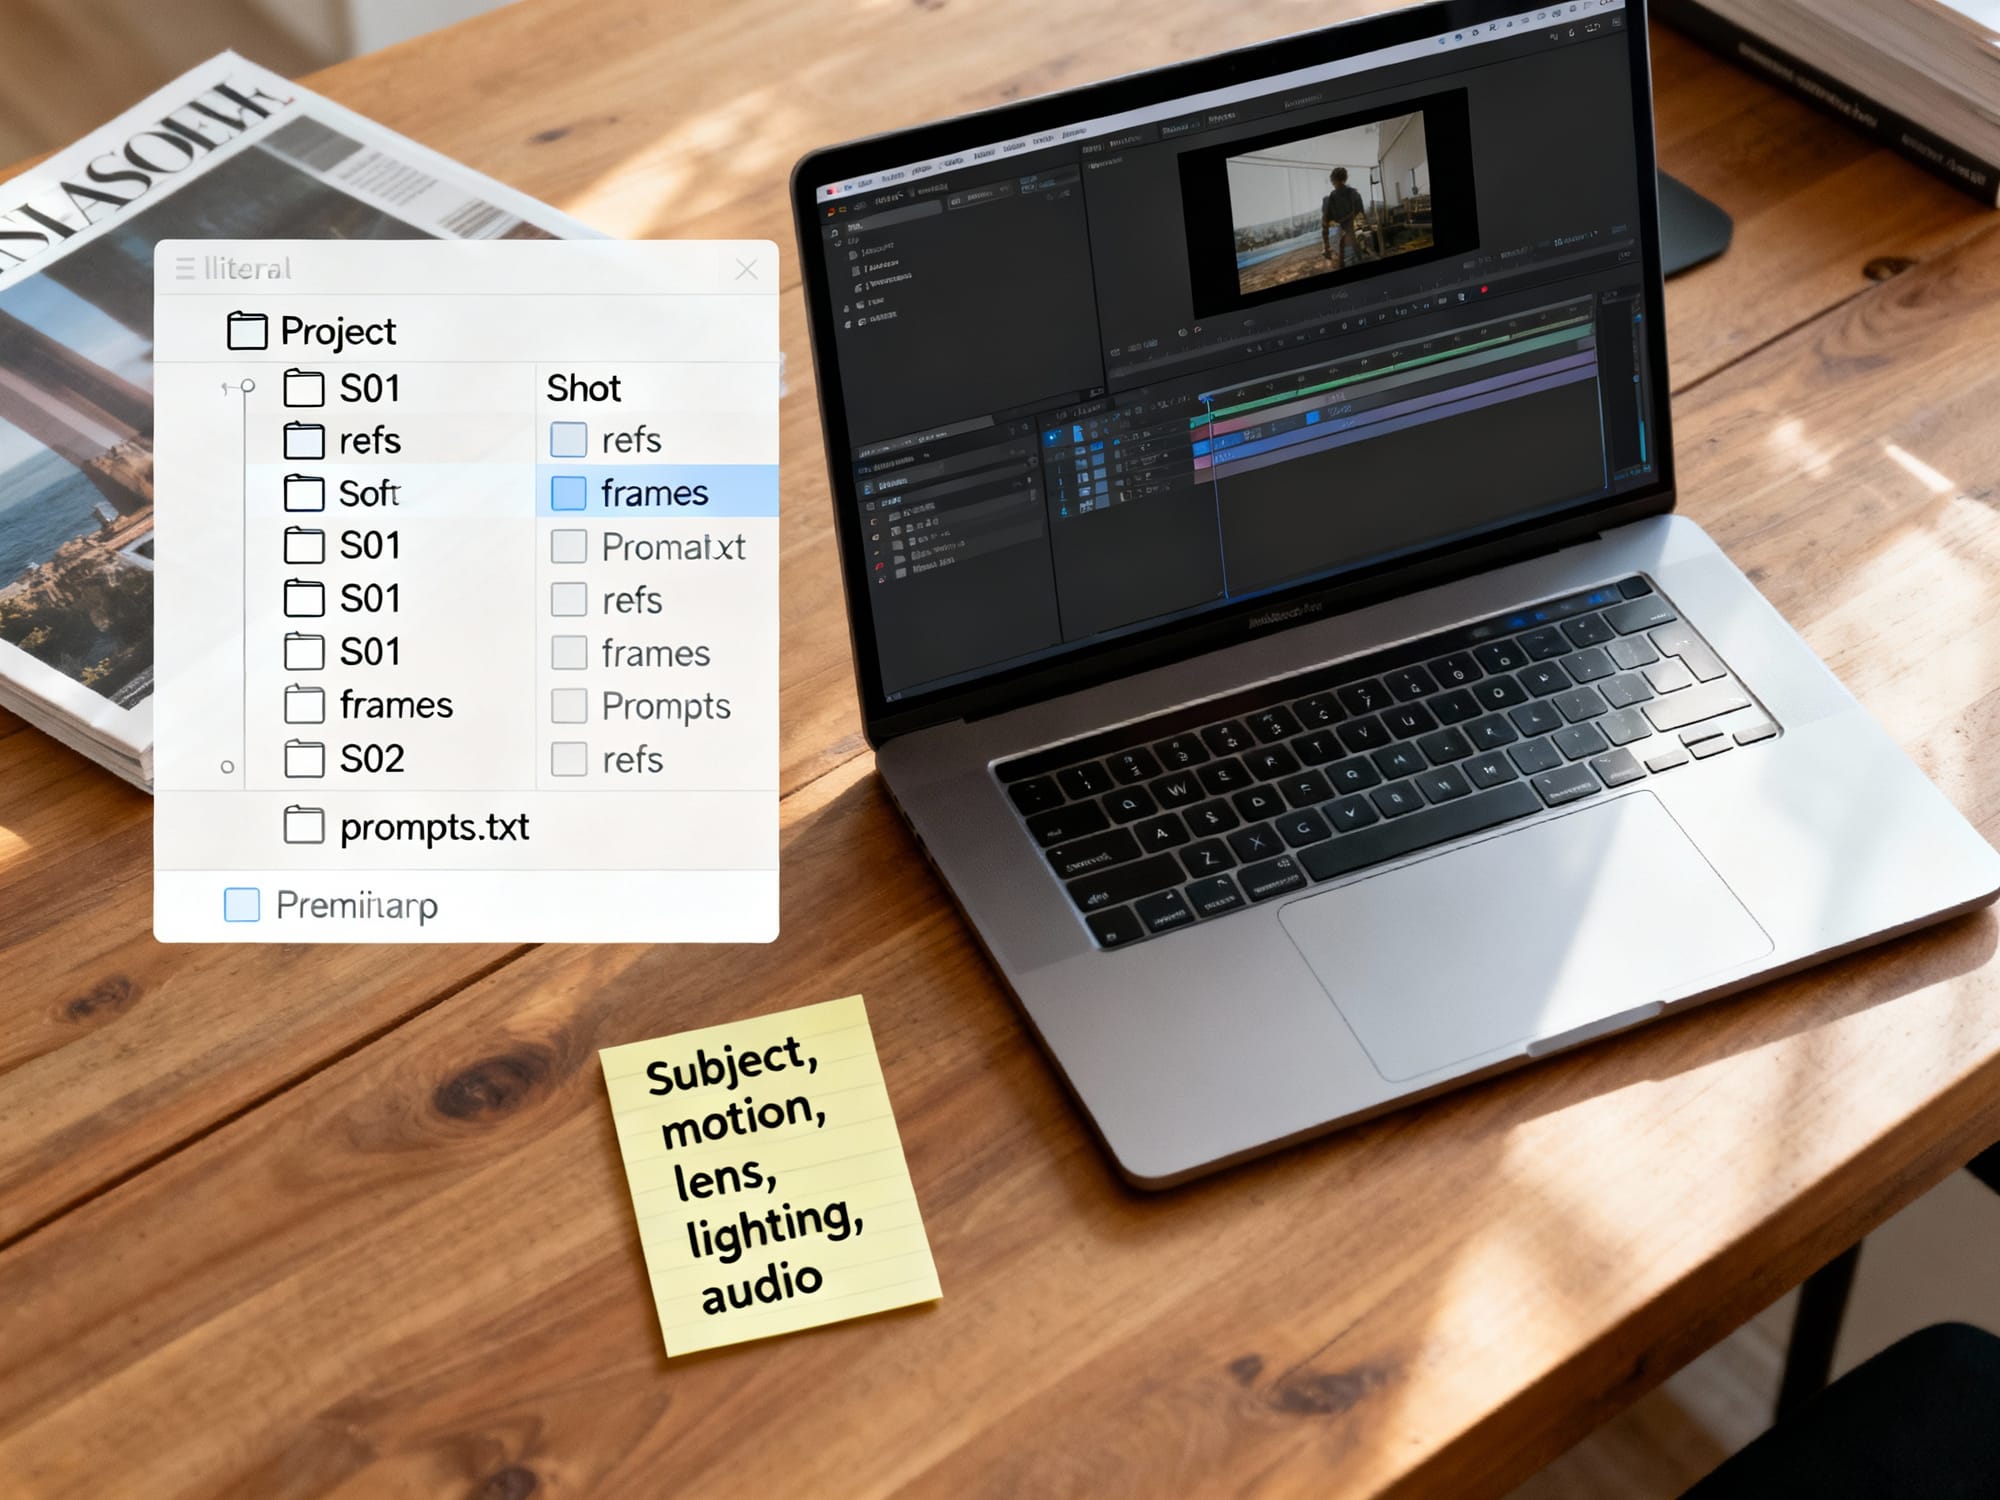
Prompt: Clean top‑down editorial photo of a laptop on a wood desk showing an organized prep workspace for video generation: a file tree with a Project folder and shot folders (S01, S02) each containing “refs”, “frames”, and “prompts.txt”; a sticky note shows a compact prompt skeleton (subject, motion, lens, lighting, audio); soft daylight, minimal clutter, premium tech magazine lookNote: The guidance above focuses on preparing assets and prompts. Use the tools and models you already trust in RunDiffusion to create still references and iterate quickly.
Conclusion
Veo 3.1 brings synchronized audio, scene-level control, and higher-quality output to AI video—making your prep work even more valuable. Tighten your references, lock your first and last frames, and plan formats up front. When you’re ready to move, use RunDiffusion to organize and refine your prompts and reference images so you can execute quickly and consistently across shots.
Ready to try this? Start a RunDiffusion workspace to organize references, iterate frames, and lock prompts before generating video.
Quick-start prep checklist for Veo 3.1
- Define deliverable: choose 16:9 or 9:16, target length, and remember 24 fps is fixed.
- Curate up to three reference images that match lighting, palette, and camera angle.
- Draft first and last frames as stills at the final aspect ratio; keep horizon and lens consistent.
- Write a compact prompt skeleton: subject + motion + lens + lighting + key audio cues.
- Plan audio notes (dialogue, ambience, SFX) even if you’ll polish sound in post.
- Organize by shot in your RunDiffusion workspace: S01, S02… each with refs, frames, and prompt variants.
Tip: A small, consistent reference set usually beats a large mixed set. Keep it ≤ 3 and aligned in lighting and composition.
Which control should I use?
| Control | Best for | Inputs to prepare | Watch out for |
|---|---|---|---|
| Reference images | Character/prop/style consistency across shots | Up to 3 curated refs with matching lighting and angle | Mismatched refs reduce adherence and introduce drift |
| First/Last frames | Camera move between two known compositions | Two stills at the same aspect ratio and lens feel | Big subject/layout jumps can warp transitions |
| Extend | Longer continuous action from the previous clip | Previous ending frames to carry motion and framing | Drift accumulates; re-anchor with a frame or refs after longer runs |
| Flow editor | Insert/remove objects while keeping scene coherence | Clear intent + notes about light, shadow, and occlusion | Edge halos or lighting mismatches if context is unclear |
Tool: 10‑minute RunDiffusion prep flow — Create a workspace > Upload references > Label shots (S01, S02…) > Draft first/last frames > Save 3–5 prompt variants > Export an asset kit.
Ready to prep fast? Start a RunDiffusion workspace, create folders per shot, and keep refs, frames, and prompts side‑by‑side for quick iteration.
Avoid these common pitfalls
- Overstuffed prompts: prefer one clear action and a few style anchors over long lists.
- Mixed aspect ratios in inputs: keep references and frames in the final aspect ratio.
- Too many references: stick to three well-matched images rather than many inconsistent ones.
- Vague audio: note dialogue tone, ambience, and key SFX so native audio aligns with the scene.
Warning: Heavy retiming (e.g., forcing 24 fps to 60 fps) or aggressive upscaling can introduce artifacts. Test short segments before committing.
Prep beats luck—Veo 3.1 rewards tight references, anchored frames, and clear audio cues.
FAQ
Can I use more than three reference images?
Veo 3.1 honors up to three references. A small, curated set with matched lighting and angle will outperform a larger, mixed set. If you need more variety, rotate which reference is most relevant per shot rather than adding extras.
Do I still need to plan audio if Veo generates it natively?
Yes. Include dialogue tone, ambience, and 1–2 lines of dialogue in quotes, plus concise ambience and key SFX cues. Keep it brief so the core action remains clear; plan to refine timing and mix during post if needed.
How closely should first/last frames match?
Keep the same aspect ratio, lens feel, and overall color temperature. Small composition changes are fine; large layout jumps may cause artifacts. If the shot intention changes, create a new pair of frames rather than forcing a big transition.
What if I need 30 fps or 4K delivery?
Veo 3.1 outputs 24 fps at 720p or 1080p. You can retime or upscale in post, but test for motion artifacts and texture changes. For best results, keep the master edit at 24 fps and deliver alternates only if required by the platform.
How do I keep a character consistent across multiple shots?
Reuse the same two or three references shot-to-shot, keep wardrobe and lighting consistent, and add brief descriptors (age, hair, outfit). Lock the first frame when starting a new scene to re-anchor composition and style.
Will Flow editor edits break lighting or shadows?
They can if the edit conflicts with scene lighting. Note key light direction, shadows, and occlusions in your prompt to preserve realism. When possible, re-anchor with a new first frame after major object changes.
How should I organize assets in RunDiffusion?
Create one folder per shot (e.g., S01) with subfolders for references and frames plus a prompts.txt file. Keep names consistent for handoff. Start here: open a RunDiffusion workspace and mirror your shot list before you begin generating.
Next step: Turn this plan into assets. Open RunDiffusion, set up a project workspace, and prep references, first/last frames, and prompt variants so you can move the moment Veo 3.1 is in your stack.
Fast prep templates
Use these lightweight templates to keep assets consistent and handoffs smooth.
Subject: [who/what] doing [one clear action]
Look/Style: [cinematic tone, color palette]
Camera/Lens: [wide/tele, focal length feel]
Lighting: [key light direction, mood]
Environment: [time of day, location cues]
Motion: [camera move, subject motion]
Audio: [dialogue tone + 1–2 lines], [ambience], [key SFX cues]
| Item | Example filename pattern | Why |
|---|---|---|
| Project | PRJ_veo31_product-teaser_2025-10 | Groups all shots and assets by project/date |
| Shot folder | S01_city-intro | Keeps references, frames, and prompts scoped per shot |
| References | ref_01.jpg, ref_02.jpg, ref_03.jpg | Limits to ≤3 curated images for stronger adherence |
| First/Last frames | frame_first.jpg, frame_last.jpg | Locks composition endpoints for interpolation |
| Prompt variants | prompt_v1.txt … prompt_v5.txt | Enables quick A/B testing without rewriting |
| Notes | notes_lighting-camera.txt | Captures lens, lighting, and audio cues for reuse |
Control combos that work
Pair controls intentionally to reach a clear creative goal with fewer retries.
| Goal | Controls to combine | Why it helps |
|---|---|---|
| Lock identity with a defined camera move | Reference images + First/Last frames | References stabilize subject/style; frames anchor start/end composition |
| Smoothly continue action from a shot | Extend + 1–2 reference images | Carry motion while keeping subject and palette consistent |
| Introduce or remove an object mid-scene | Flow editor + new First frame | Edit the object, then re-anchor lighting/composition to avoid artifacts |
| Recover from drift after long extends | New First frame + same reference set | Re-centers layout and look before continuing |
| Deliver both landscape and vertical | Generate 16:9 master, then 9:16 with same refs/frames | Reusing assets preserves style across aspect ratios |
Anchor composition with frames; anchor identity and style with references.
RunDiffusion workflow boost
Prep once, reuse everywhere. Keep your references, frames, and prompts in one place to move quickly when you generate.
1) Create a workspace and add a project folder
2) Add shot folders (S01, S02…) with refs/frames subfolders
3) Upload ≤3 curated references per shot
4) Draft first/last frames as stills and drop them into each shot
5) Save 3–5 compact prompt variants per shot
6) Review naming consistency; keep notes on lens, lighting, and audio cues
Ready to move fast? Open RunDiffusion and set up your project so assets and prompts are ready the moment you generate.
Additional FAQs
Can I combine reference images with first and last frames?
Yes—this is a strong pairing. Use 2–3 aligned references to lock identity and style, and first/last frames to define the camera move and composition. Keep aspect ratio and lens feel consistent across frames and references for the cleanest transitions.
How do I recover from drift or identity loss mid-sequence?
Shorten your Extend runs and insert a new first frame to re-anchor layout and lighting. Reuse the same reference set and restate key descriptors (wardrobe, hair, palette) to snap back to the intended look.
What’s the best way to prompt for dialogue and ambience?
Include tone, pacing, and 1–2 lines of dialogue in quotes, plus concise ambience and key SFX cues. Keep it brief so the core action remains clear; plan to refine timing and mix during post if needed.
What if lighting or time-of-day changes mid-scene?
Create an intermediate first frame that reflects the new lighting and color temperature. Update references to match the new conditions (e.g., wardrobe highlights, shadow direction) before extending.
How long should each clip be?
Plan short beats (e.g., 3–6 seconds) and stitch them in your edit. Shorter, intentional clips reduce drift and keep pacing tight. Test a few seconds first, then commit to longer runs once the look and motion feel right.