Hidden Text and Logos with ControlNet and QRCodeMonster

Step-by-step tutorial on generating hidden text with ControlNet and QR Code Monster.
Hero image for Hidden Text and Logos with ControlNet and QRCodeMonster: Step-by-step tutorial on generating hidden text with ControlNet and QR Code Monster.
Screenshot showing <img src=" class="kg-image" alt="" loading="lazy" width="984" he
Window to the World

Interactive Tutorial


Text Tutorial

Text Tutorial screenshot
Use Stable Diffusion for promotional brand campaigns

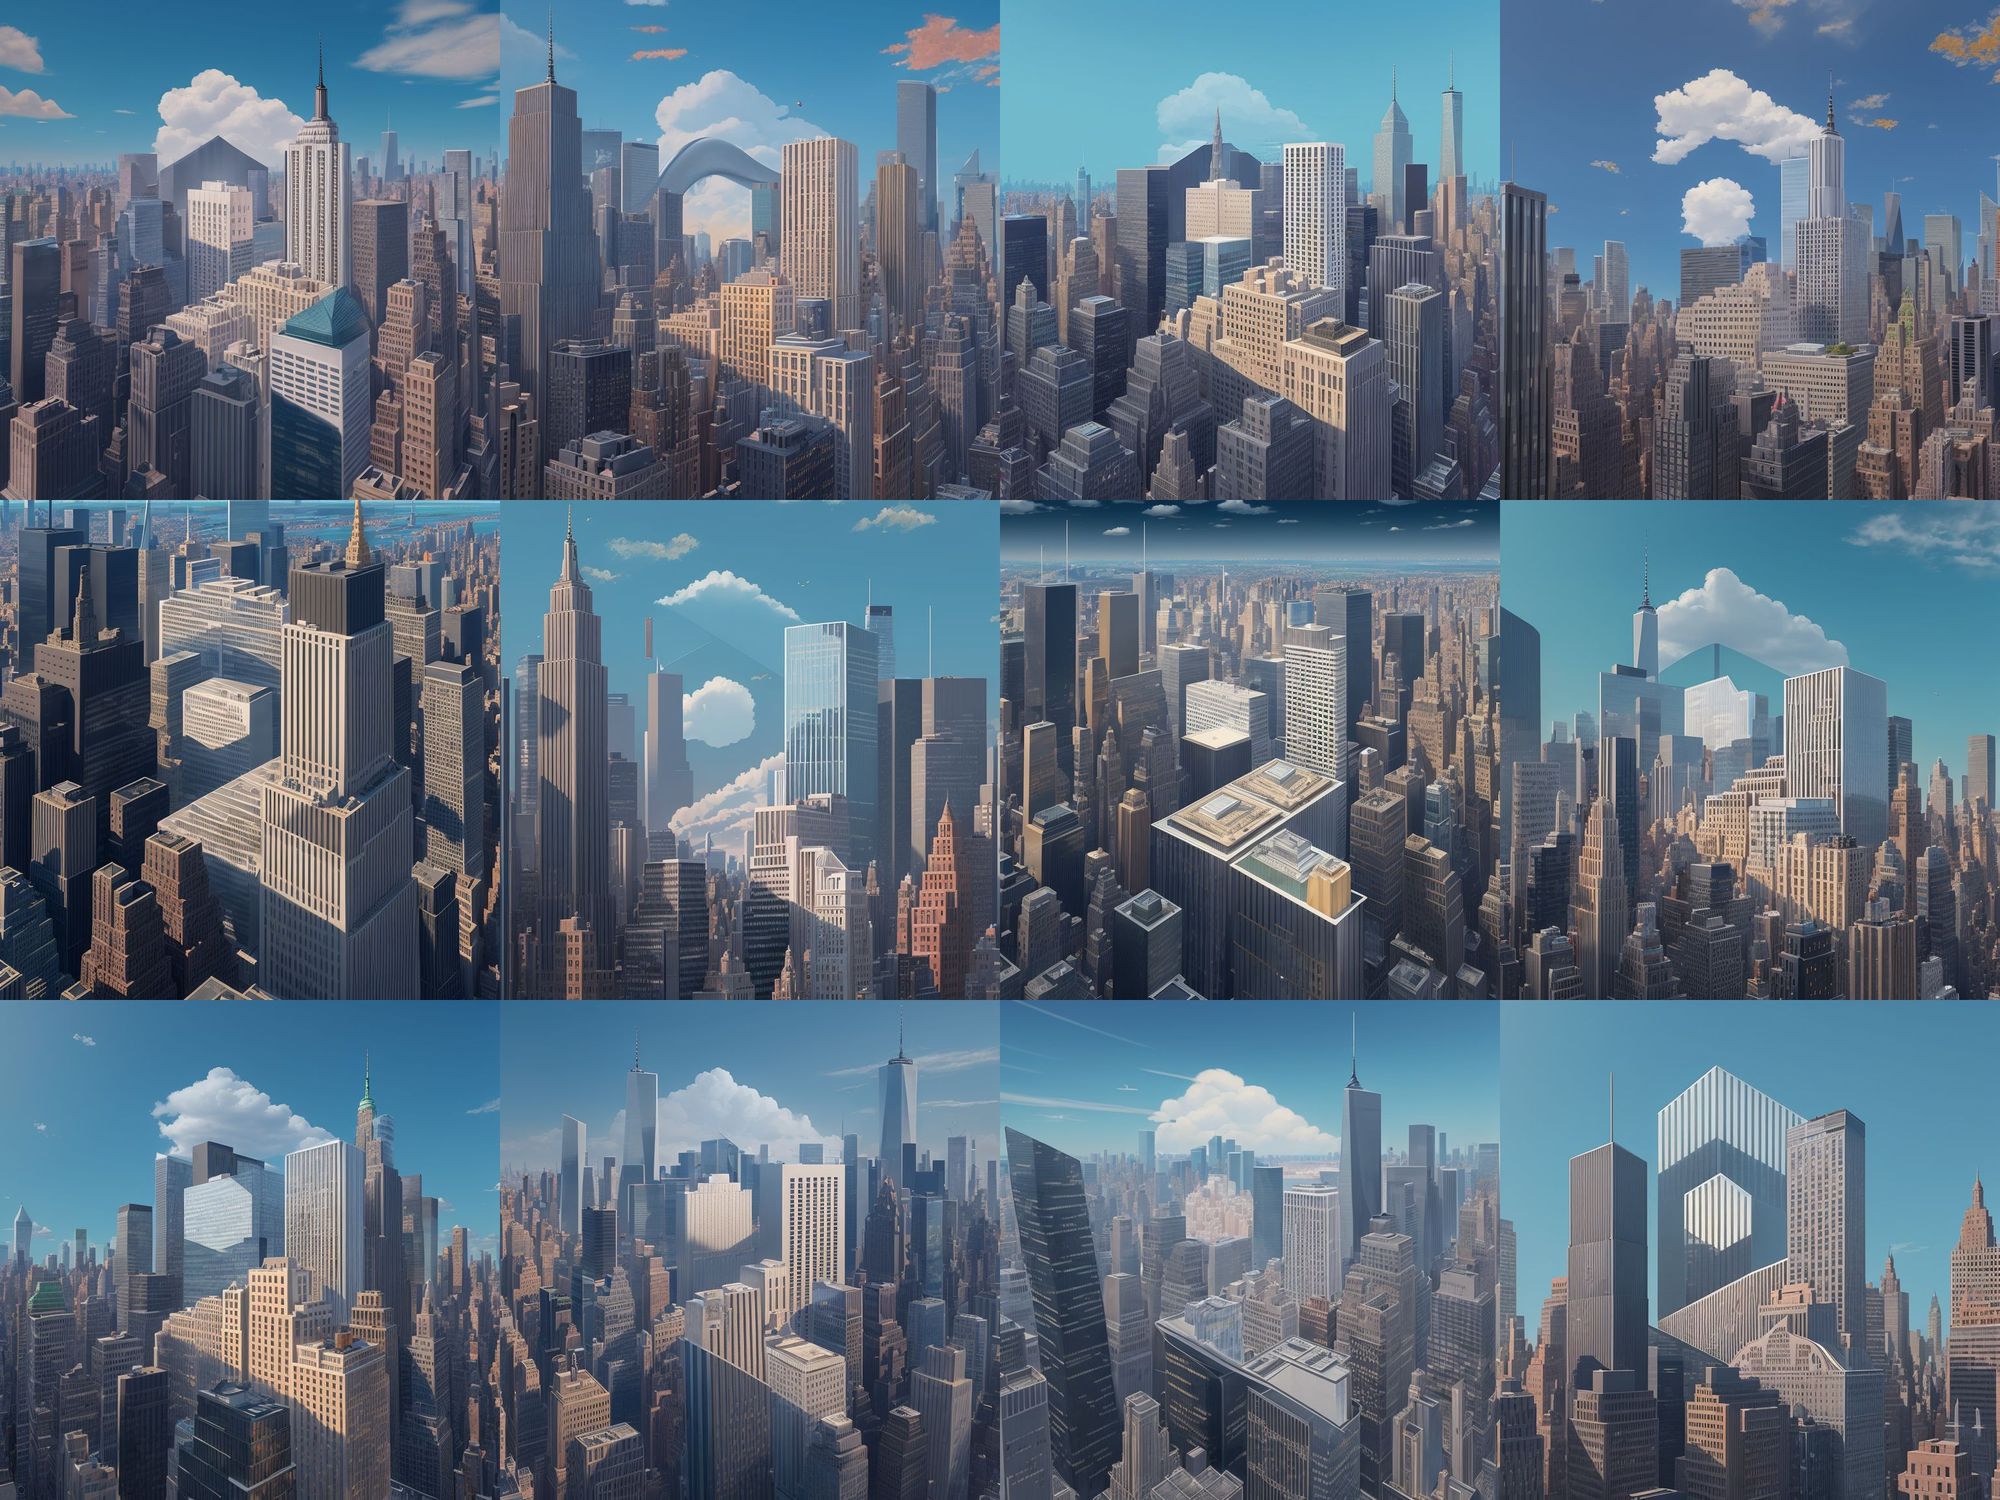
Welcome to our tutorial on generating hidden text with ControlNet and QR Code Monster. In this guide, we'll provide you with step-by-step instructions to set up the essential parameters and activate ControlNet. By the end, you'll be able to craft images embedded with hidden text and logos—perfect for promotional campaigns or enhancing your designs with intricate details.

1. Learn how to generate image hidden text with ControlNet and QR Code Monster

Screenshot showing en text and logos—perfect for promotional campaigns or enhancing your designs with intricate details

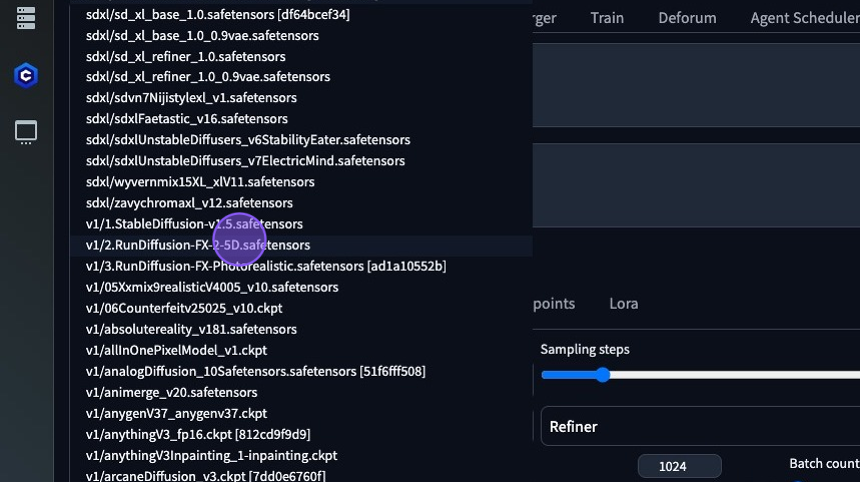
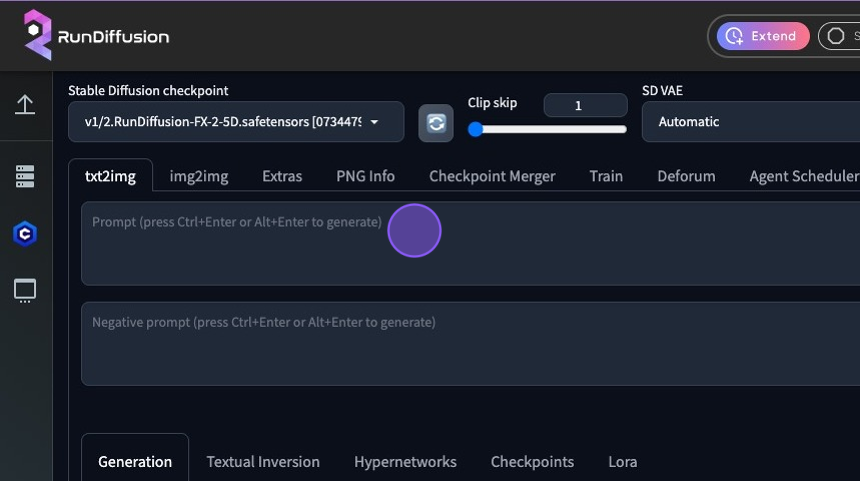
2. Click the checkpoint selection box

Screenshot showing 2

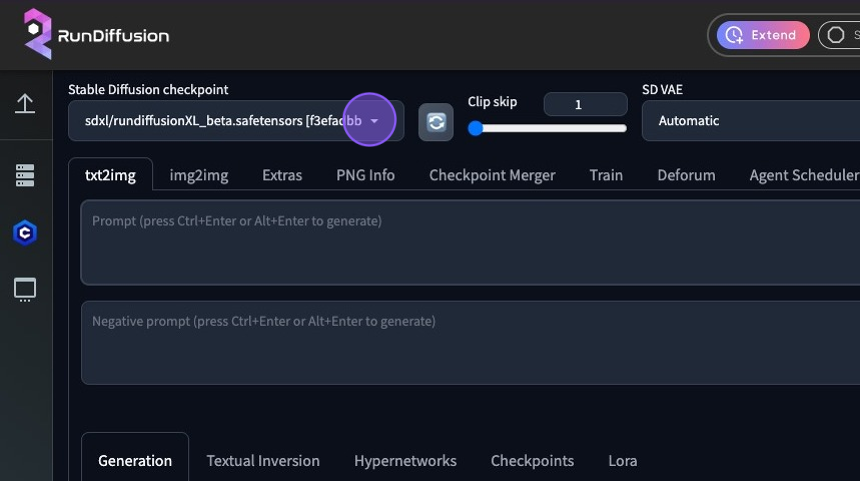
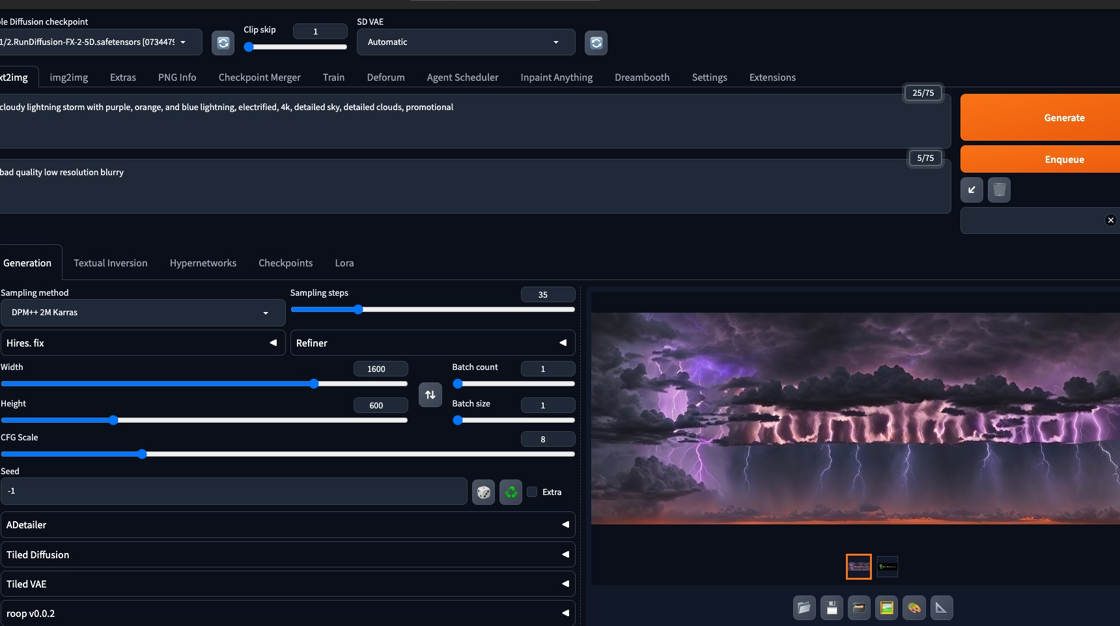
3. Click "v1/2.RunDiffusion-FX-2-5D.safetensors"

Screenshot showing ps://colony-recorder.s3.amazonaws.com/images/watermarks/8B5CF6_standard.&wat_pad=342,92"...

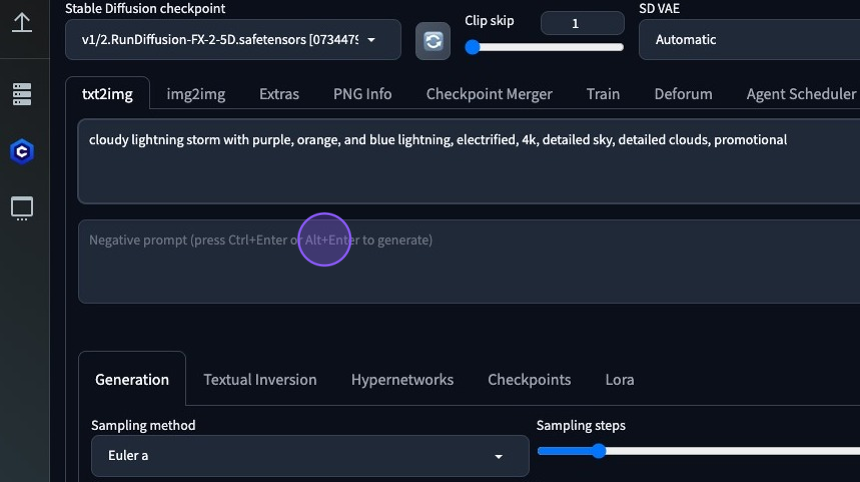
4. Type "cloudy lightning storm with purple, orange, and blue lightning, electrified, 4k, detailed sky, detailed clouds, promotional" into the prompt box

Screenshot showing ge" alt="" loading="lazy"> 4

5. Type "bad quality low resolution blurry" into the "Negative prompt" box

Screenshot showing zonaws.com/images/watermarks/8B5CF6_standard.&wat_pad=387,203" class="kg-image" alt="" loading="lazy"> 5

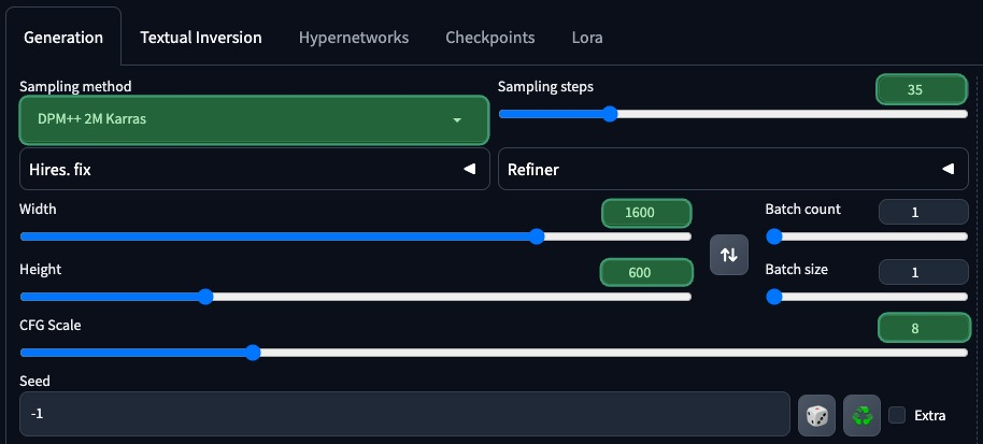
6. Change your sampling method to DPM++ 2m Karras

Screenshot showing //colony-recorder.s3.amazonaws.com/images/watermarks/8B5CF6_standard.&wat_pad=297,212"...

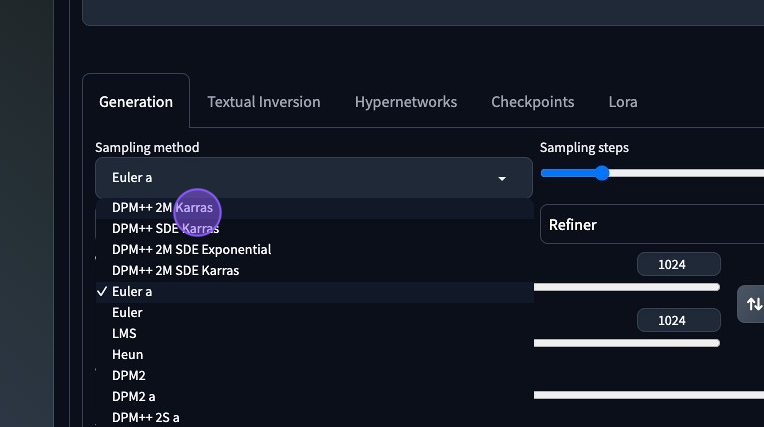
7. - Change your sampling method to DPM++ 2m Karras

  • Change the steps to 35
  • Change the Width to 1600
  • Change the Height to 600
  • Change the CFG Scale to 8
Screenshot showing image" alt="" loading="lazy"> 7

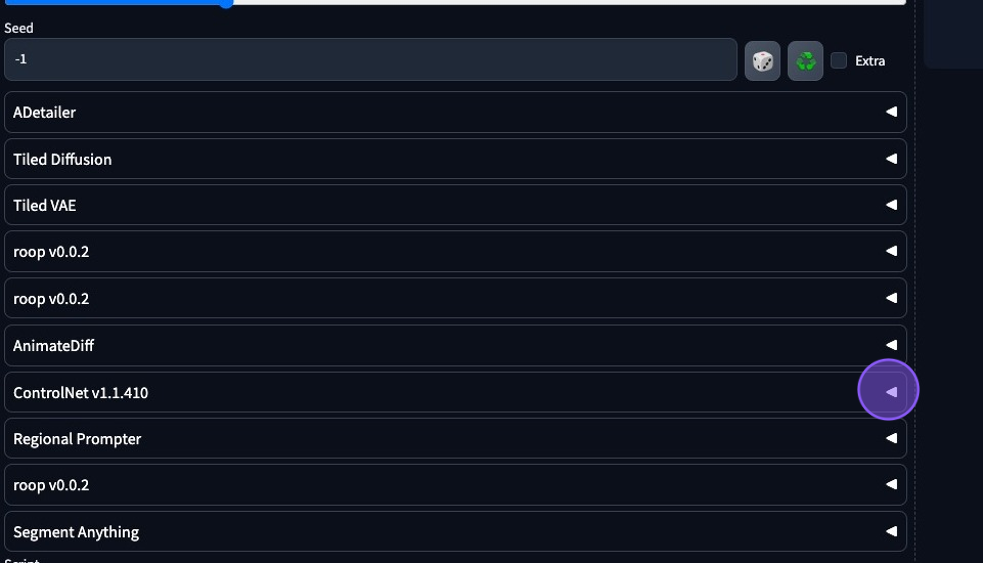
Tip: Great Job! We're now ready to enable ControlNet!

8. Click "▼" on the "ControlNew v1.1.410

Screenshot showing 0,0&br_px=914,413&force_format=&width=983" class="kg-image" alt="" loading="lazy"> Tip: Great Job!

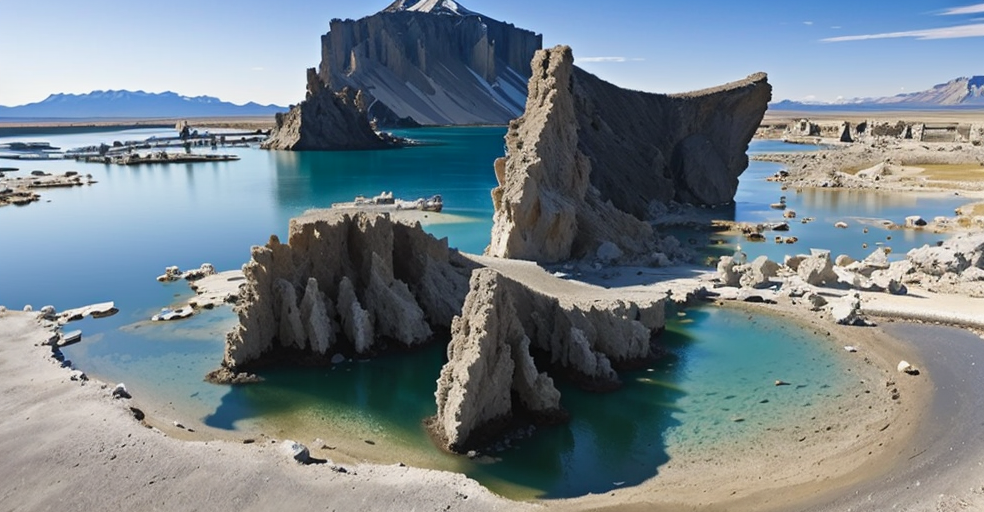
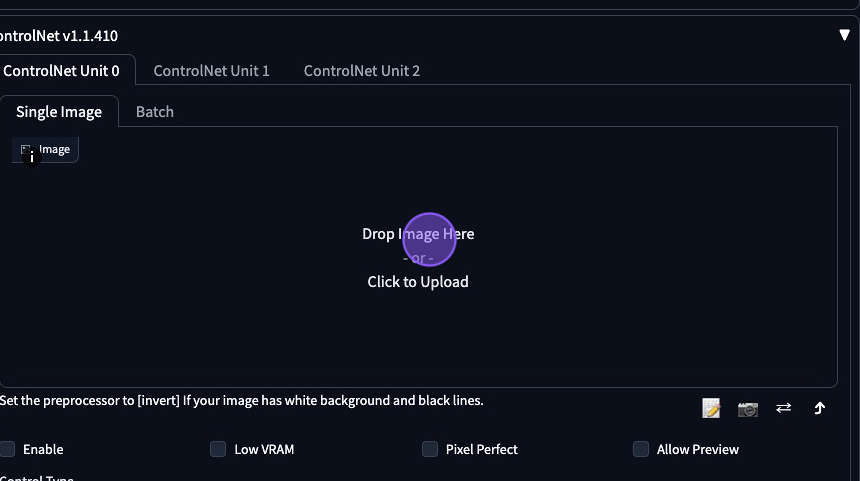
9. Drop the RunDiffusion Image here
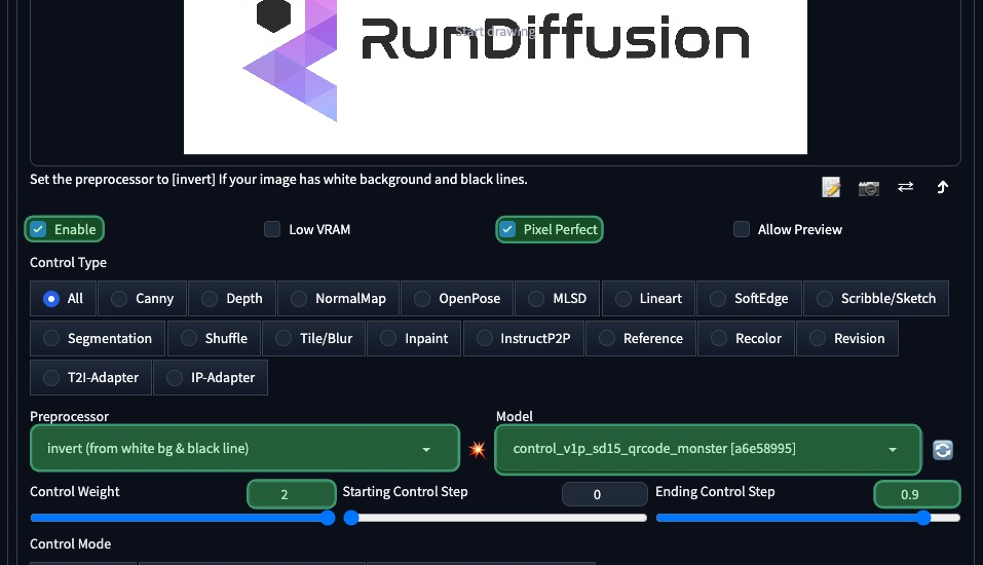
Screenshot showing &wat_url= class="kg-image" alt="" loading="lazy"> 9

10. Click "Enable"

Screenshot showing gravity=northwest&wat_url= class="kg-image" alt="" loading="lazy"> 10

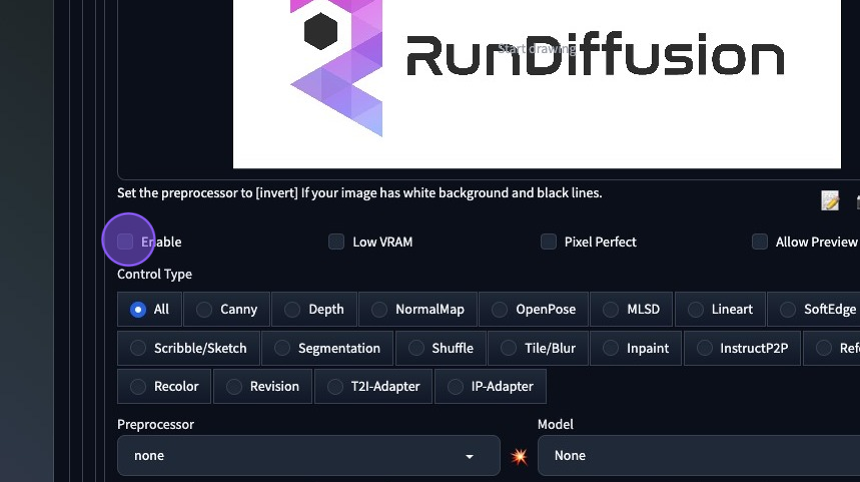
11. Click "Pixel Perfect"

Screenshot showing =northwest&wat_url= class="kg-image" alt="" loading="lazy"> 11

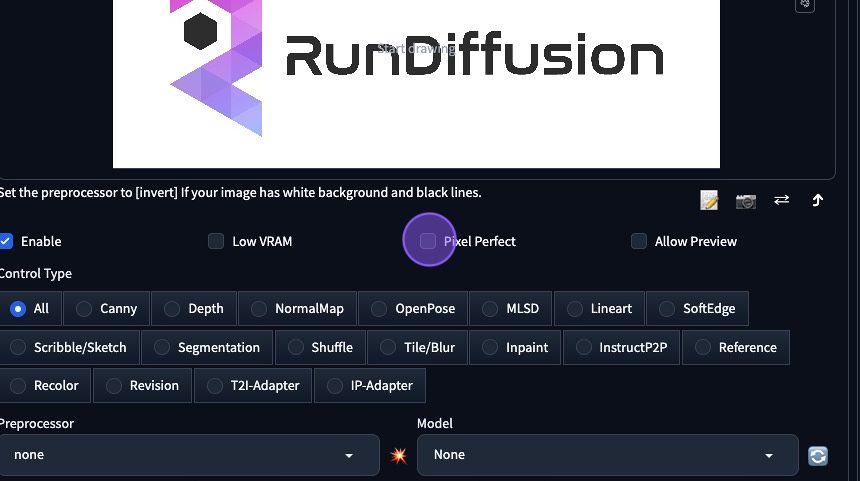
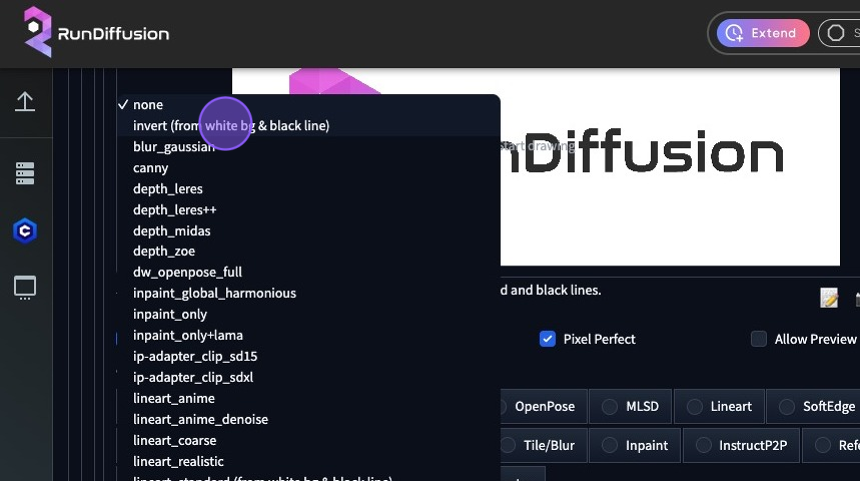
12. Click Preprocessor

Screenshot showing ity=northwest&wat_url= class="kg-image" alt="" loading="lazy"> 12

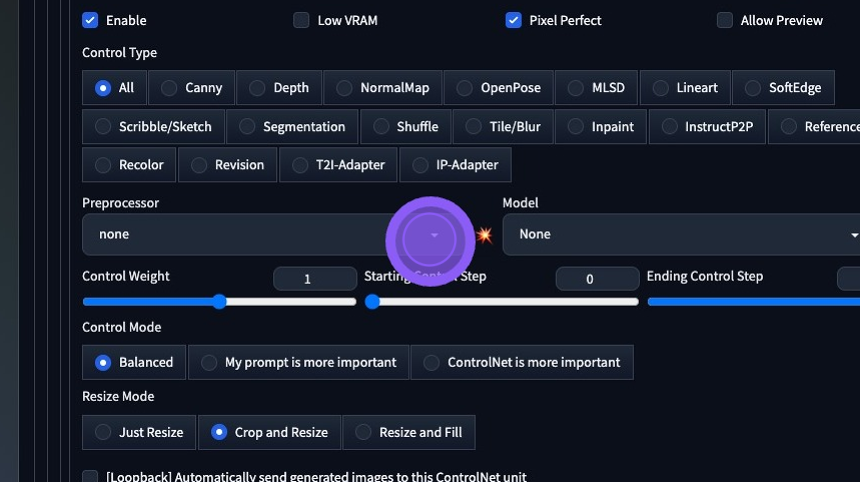
13. Click "invert (from white bg & black line)"
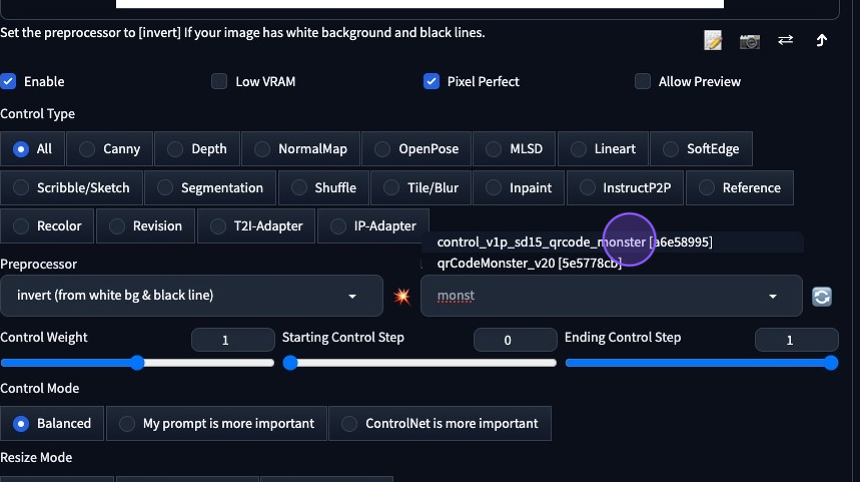
Screenshot showing ps://colony-recorder.s3.amazonaws.com/images/watermarks/8B5CF6_standard.&wat_pad=402,212"...

14. Click "Model"

Screenshot showing t_gravity=northwest&wat_url= class="kg-image" alt="" loading="lazy"> 14

15. Search "monster"

16. Click "control_v1p_sd15_qrcode_monster [a6e58995]"

Screenshot showing onaws.com/images/watermarks/8B5CF6_standard.&wat_pad=566,212" class="kg-image" alt="" loading="lazy"> 15

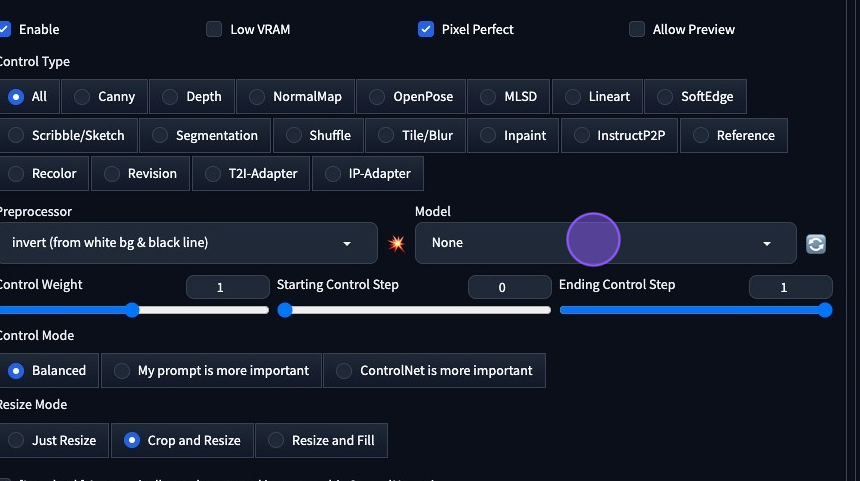
17. Your setup should look like this

Screenshot showing wat_url= class="kg-image" alt="" loading="lazy"> 17

18. Click "Generate"
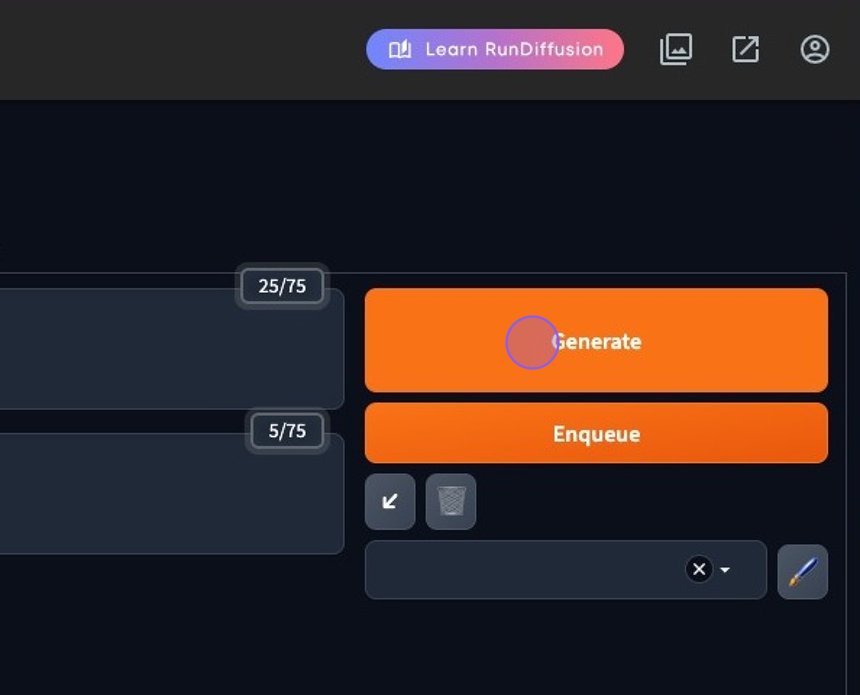
Screenshot showing should look like this 18

19. Done!

Screenshot showing ty=1&wat_gravity=northwest&wat_url= class="kg-image" alt="" loading="lazy"> 19
About the author
Darin H

Great! You’ve successfully signed up.

Welcome back! You've successfully signed in.

You've successfully subscribed to RunDiffusion.

Success! Check your email for magic link to sign-in.

Success! Your billing info has been updated.

Your billing was not updated.