

Welcome to this tutorial on how to use Instant ID for RunDiffusion! This powerful tool allows you to generate high-quality images using deep learning models on Automatic1111. Please follow these steps carefully to set up and use Instant ID effectively.
Step 1: Configure ControlNet in Txt2Img
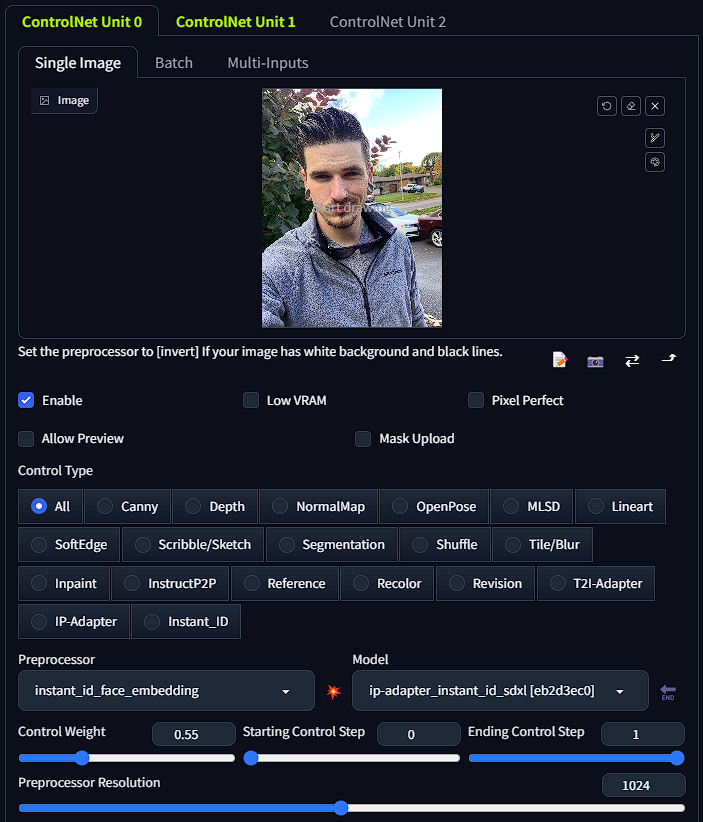
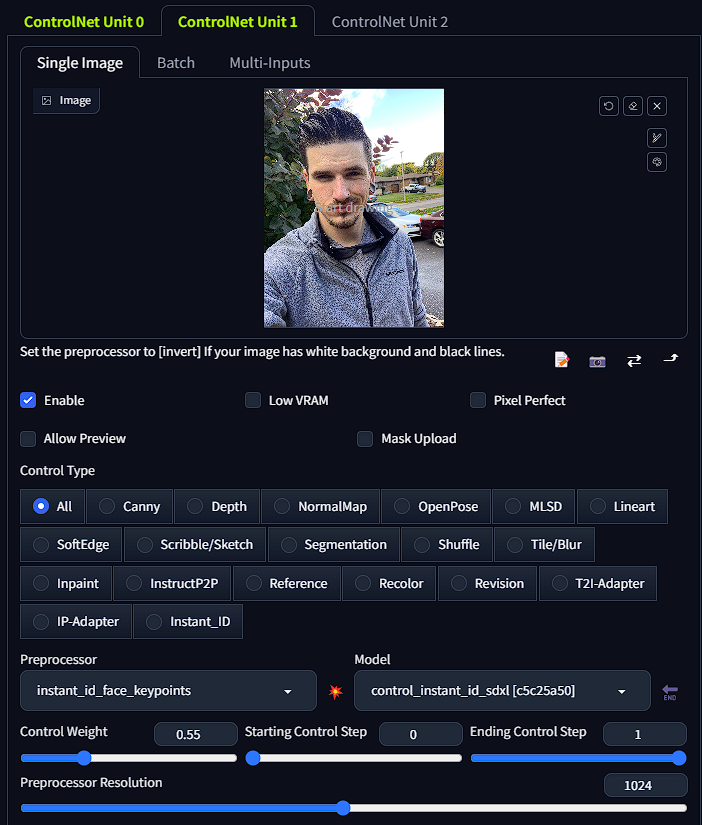
1.1. Head to the ControlNet section in Txt2Img.
1.2. Select the following settings (refer to pictures for visual guidance):
- Use 2 ControlNet net inputs.
- Adjust the control weight between 0.4 and 0.7. You may need to experiment with this value.
- Set the preprocessor resolution to 1024.
- Follow the below pictures for ControlNet 0 and ControlNet 1 for the preprocessor and model.
Step 2: Input Your Desired Prompt
6.1. Navigate to the prompt section.
6.2. Input your prompt according to your creative requirements.
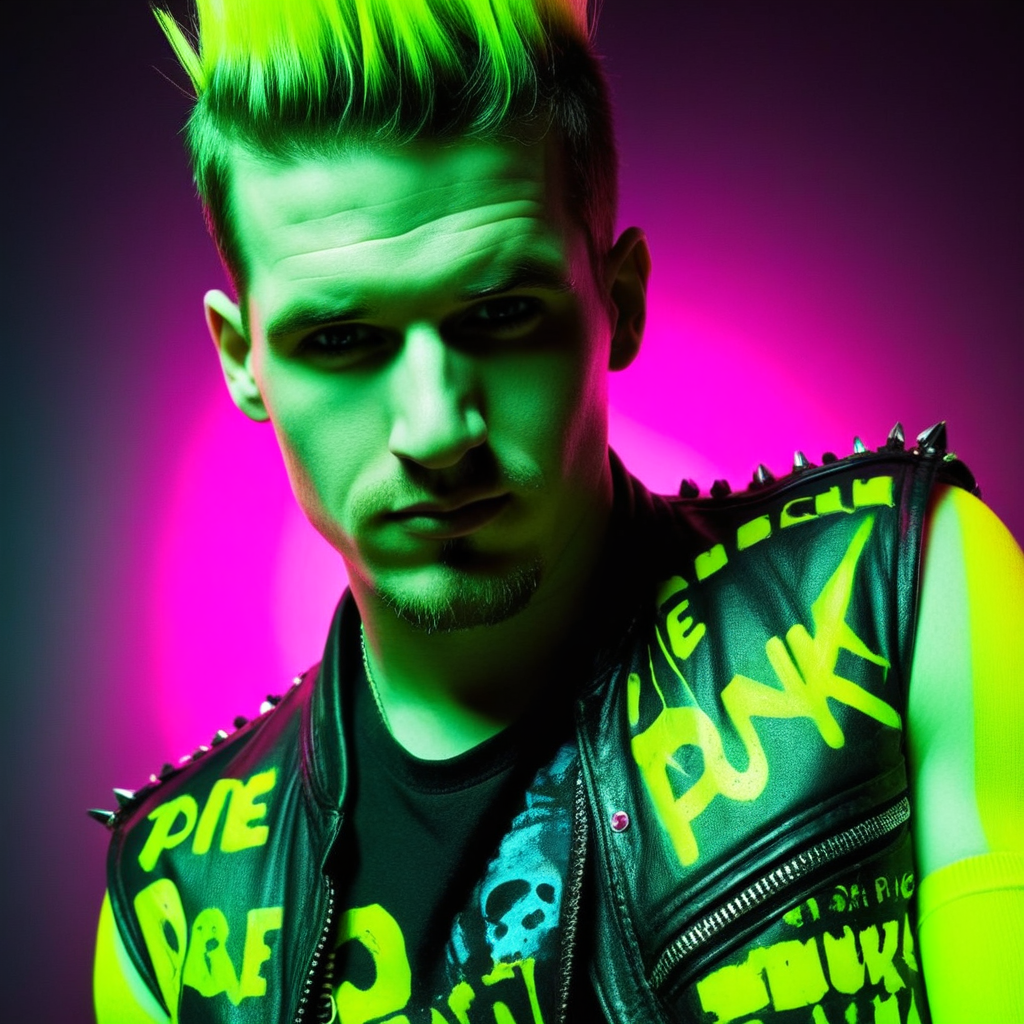
Example Prompts:
Here are two example prompts to get you started:
(highly detailed photograph:1.2), man in neon punk clothing, neon punk background, masterpiece
(highly detailed photograph:1.2), man in wizard's costume, highly accurate

Remember to experiment with the following parameters to match your input image and creative vision:
- Steps
- Cfg
- Resolution - note 1024x1024 will sometimes make watermarks appear so try to stay away from exactly 1024x1024
Additionally, you can include a highly detailed prompt and a negative prompt to influence the generated image according to your preferences.
Now you are ready to create stunning images using Instant ID for RunDiffusion! Enjoy your creative journey and don't hesitate to experiment with different prompts and settings.