Kling O3 Standard Reference Video to Video in RunDiffusion helps you generate tightly guided video results by combining a source video with reference images and subject-specific element images. This gives you much more control than prompt-only video generation, especially when you want to preserve motion, maintain consistency, or steer the final look with specific visual inputs.
In this tutorial, you will learn how each input works, how to prepare your files, and how to get better results from short controlled generations. The goal is simple: use the source clip for structure, then layer in visual guidance only where it improves the output.
Launch Kling O3 Standard Reference Video to Video
Start by opening the tool directly.
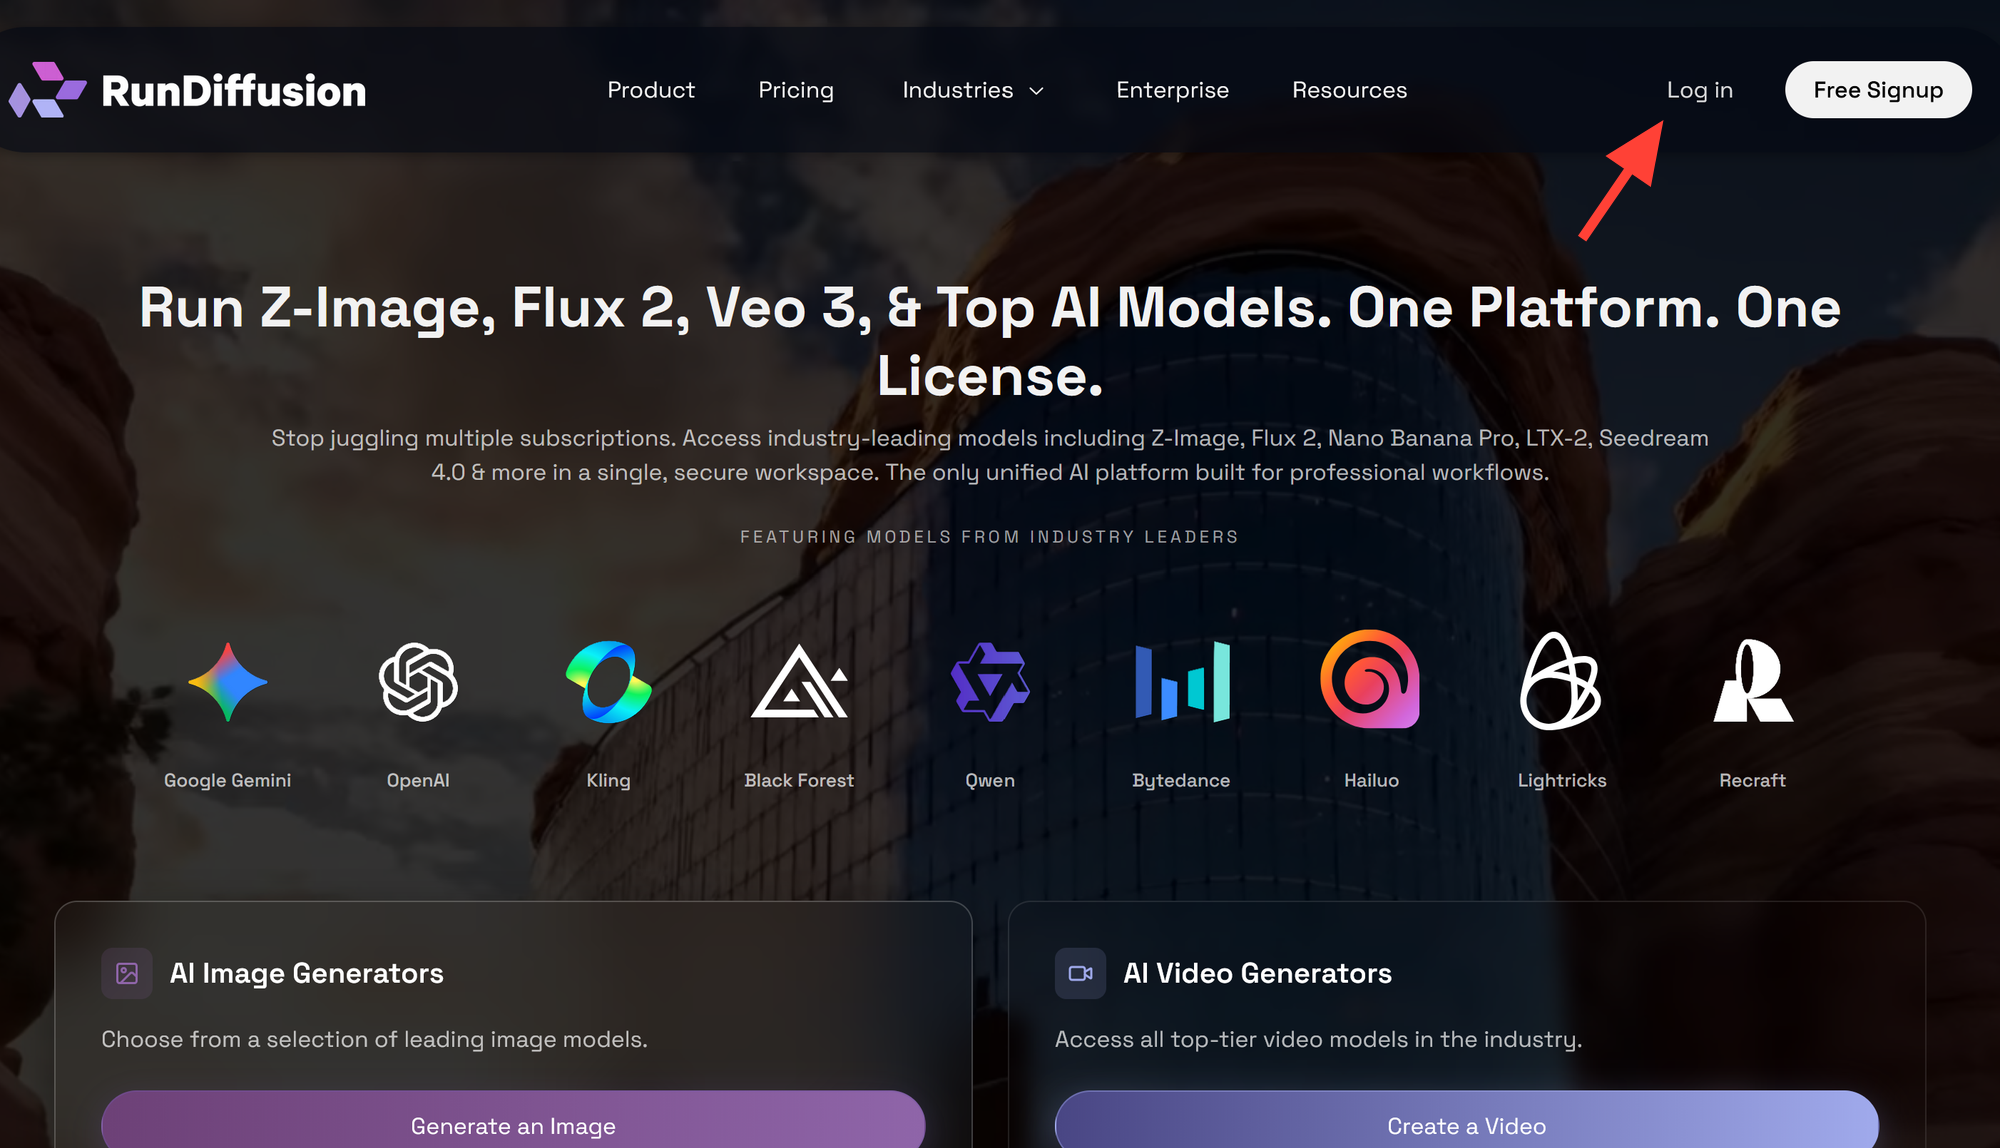
You can also access it manually Login to RunDiffusion
Open RunDiffusion's Runnit Platform
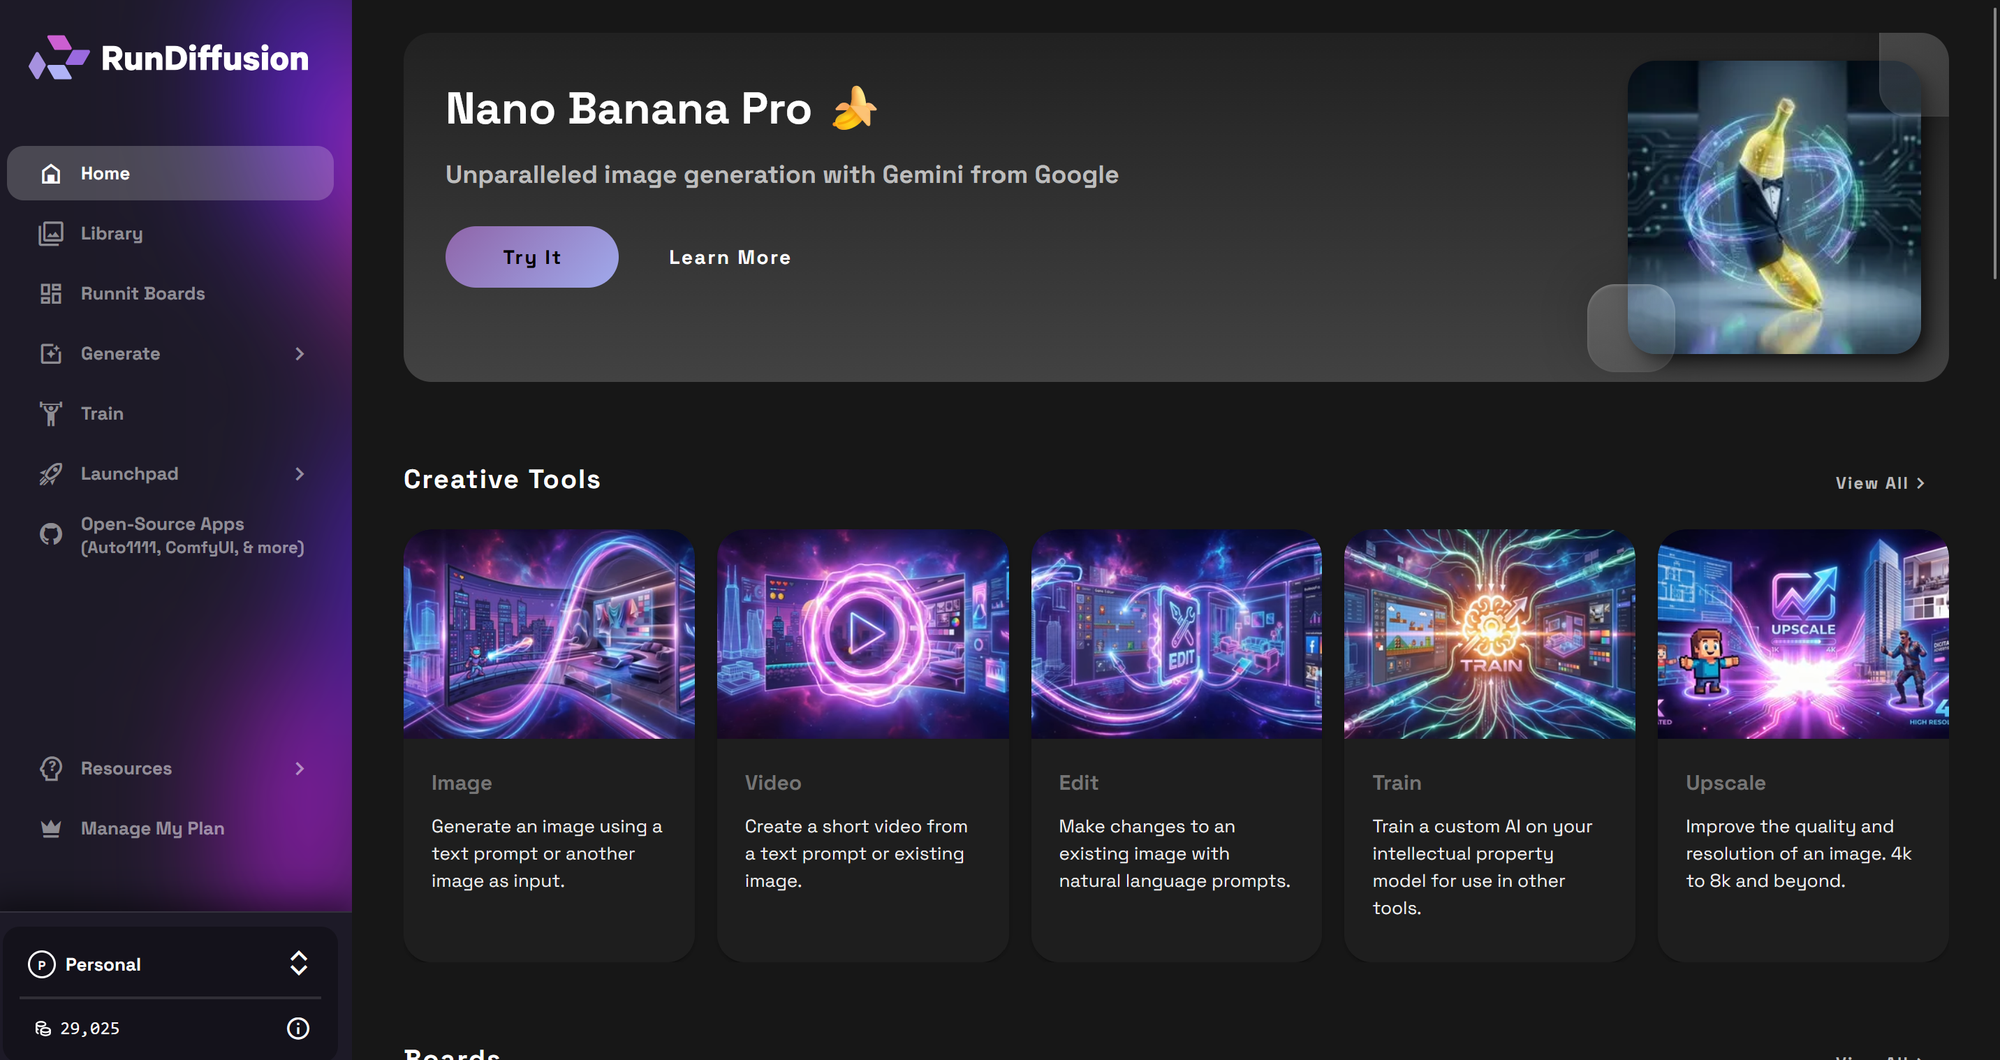
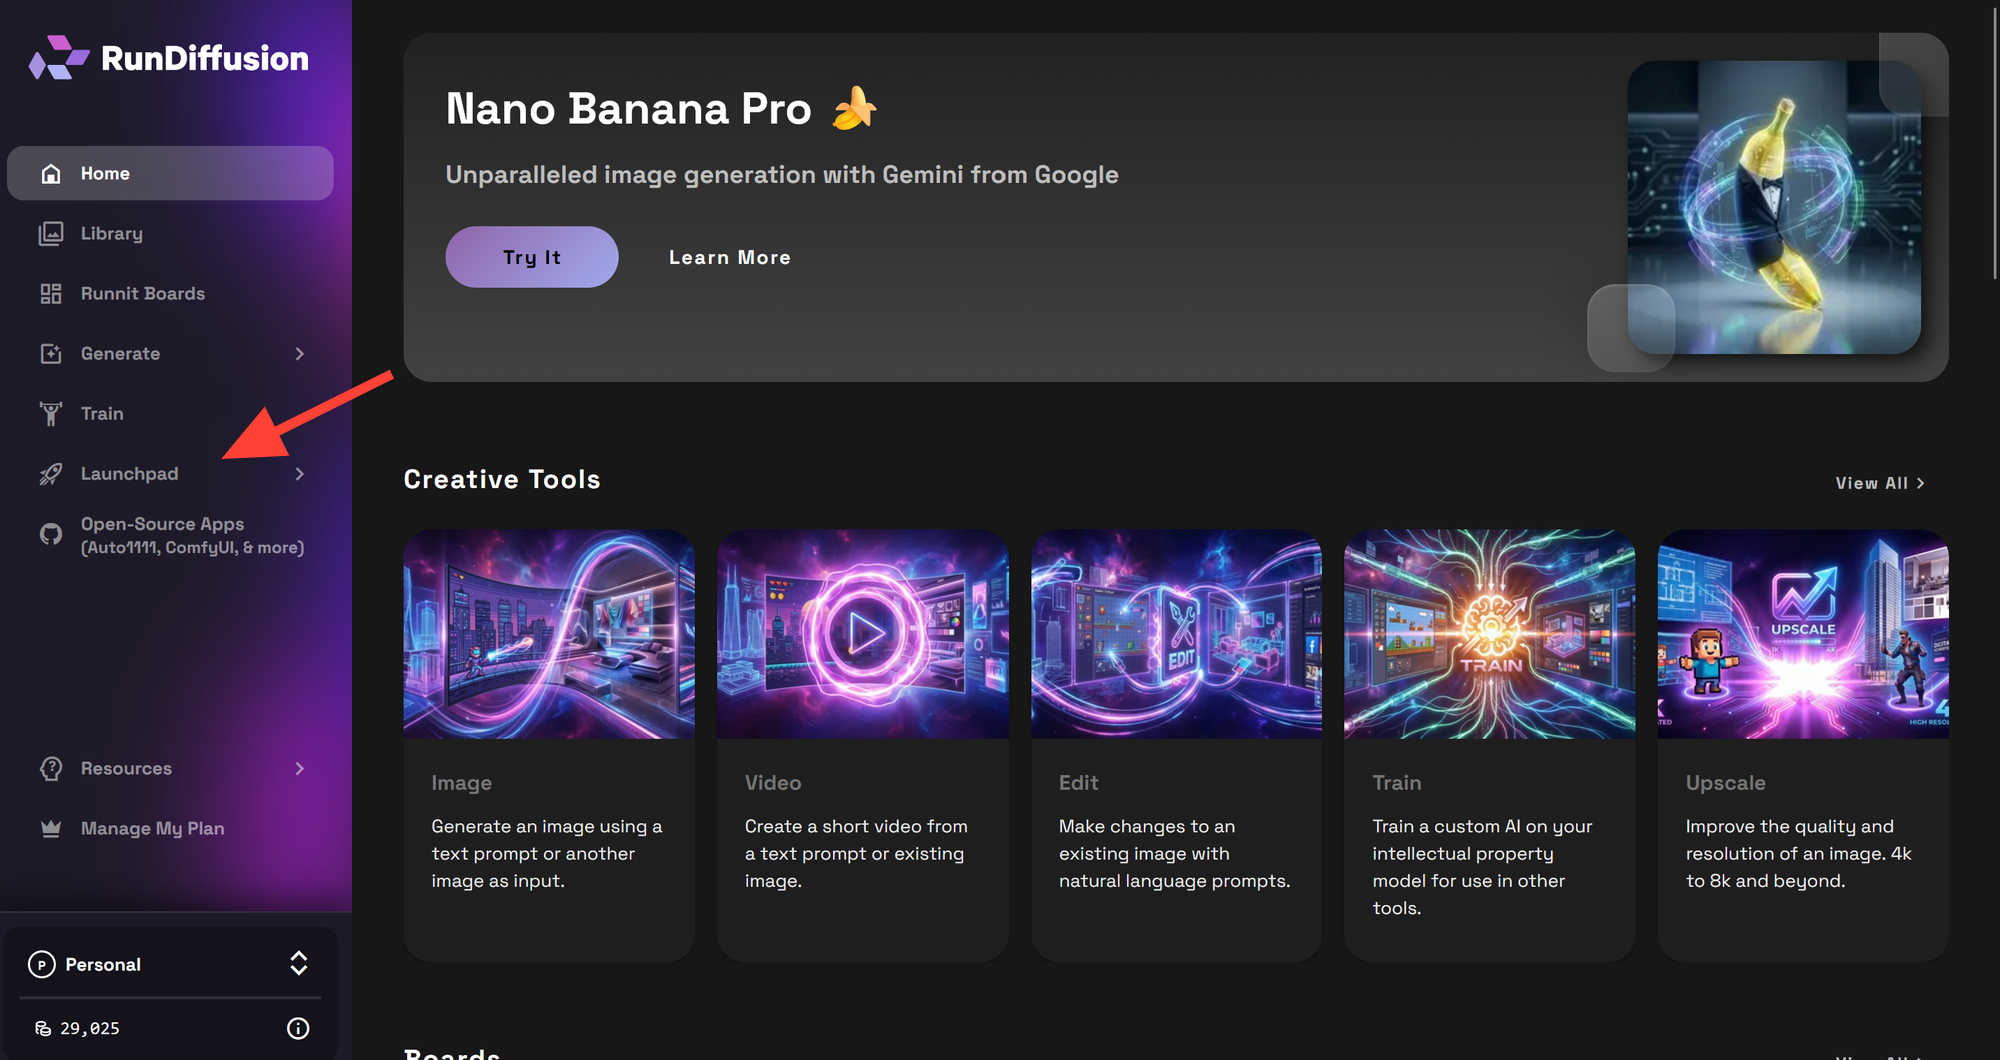
Click on Launchpad on the left sidebar
Click on Tools
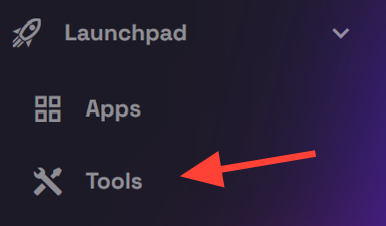
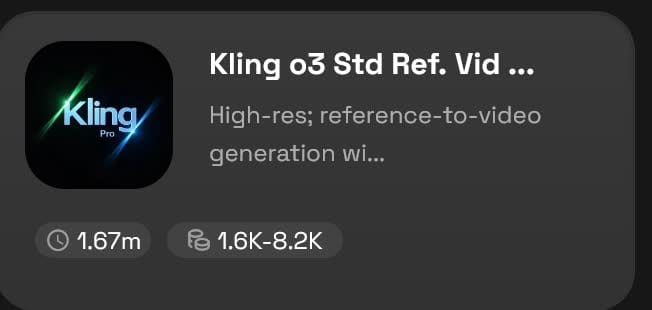
Then Search for Kling o3 and click on Kling o3 Std Ref. Vid to Vid
You can also click here to go directly to the tool:
What Kling O3 Standard Reference Video to Video Does
Kling O3 Standard Reference Video to Video is designed for controlled video generation. Instead of asking the model to invent motion from scratch, you provide a reference video that shapes the movement, pacing, and shot structure of the final result.
You can then add two other layers of guidance:
- Reference Images for general visual direction
- Element Images for subject-specific consistency
This setup is useful when you want to:
- Preserve motion from an existing clip
- Keep a featured subject more consistent
- Guide color, composition, or frame styling
- Transform a clip while keeping its original timing
- Retain the input audio when needed

Understand the Main Controls
The interface includes these key fields:
- Prompt
- Reference Video
- Keep Original Audio
- References Images
- Element 1
- Element 2
- Video Duration
- Aspect Ratio
Each control influences a different part of the result. The strongest outputs usually come from using each section with a clear purpose instead of loading every possible input at once.
Reference Video Requirements
Your uploaded reference video must meet these limits:
- .mp4 or .mov other video files are not supported.
- 3 to 10 seconds long
- 720px to 2160px resolution
- Maximum 200MB
These limits matter because the model depends on the source clip as the structural guide. A clean, short, well-framed video usually produces more predictable results than a long or visually messy clip.
Best Practices for Your Source Clip
Choose a reference video that has:
- One clear action or camera move
- Stable framing
- Good lighting
- Minimal cuts
- Limited motion blur
A strong input video gives the model a cleaner motion blueprint to follow.
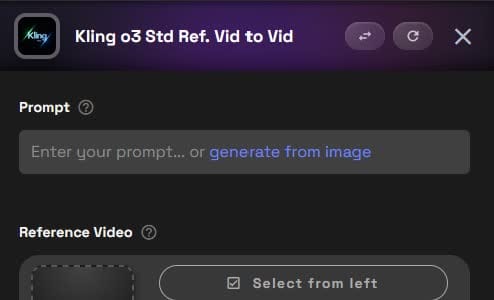
Step 1: Write the Prompt
Start with a direct prompt that explains what should happen in the final clip. Keep it focused on the result, not on vague style words.
A good prompt usually includes:
- The subject
- The action
- The look or mood
- What should stay consistent
- How the references should be used
The clearer the job of each reference, the easier it is for the model to follow your direction.
Step 2: Upload the Reference Video
In the Reference Video section, upload your main source clip. You can select one from the left panel, upload a new file, or pull it from your library.
This is the most important input because it influences:
- Motion
- Camera movement
- Sequence pacing
- Framing cues
- Overall timing
If your source video is shaky, cluttered, or visually confusing, the generation can inherit those problems. Start with the cleanest clip you have.

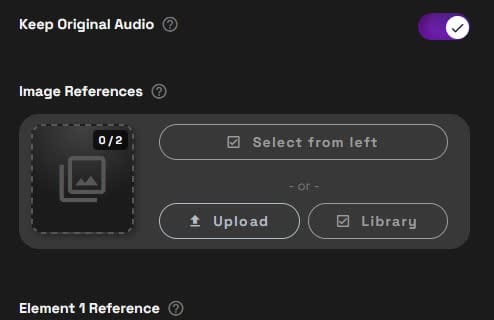
Step 3: Choose Whether to Keep Original Audio
The Keep Original Audio toggle lets you preserve the audio track from the uploaded reference video.
Turn it on when:
- The original audio already fits the clip
- You need ambient sound, synced effects, or dialogue
- You want the transformed video to stay aligned to the source sound
Turn it off when:
- You plan to replace the audio later
- The visual transformation no longer matches the source sound
- The input audio is not useful for the final output
If you generate multiple variations and need to manage exports, the bulk download in Runnit article can help streamline your output workflow.
Step 4: Add Reference Images for General Visual Control
The Reference Images section lets you upload up to 2 general reference images. These are flexible visual guides that can shape the overall result without locking the model to one exact subject identity.
You can refer to them in your prompt as:
- @Image1
- @Image2
What Reference Images Are Good For
Use them to guide:
- Composition
- Color palette
- Mood
- Lighting style
- Starting-frame direction
- Broad visual influence
Example Prompt Uses
- “Use @Image1 as the starting frame.”
- “Match the soft lighting and interior palette of @Image2.”
- “Adopt the composition of @Image1 and the color treatment of @Image2.”
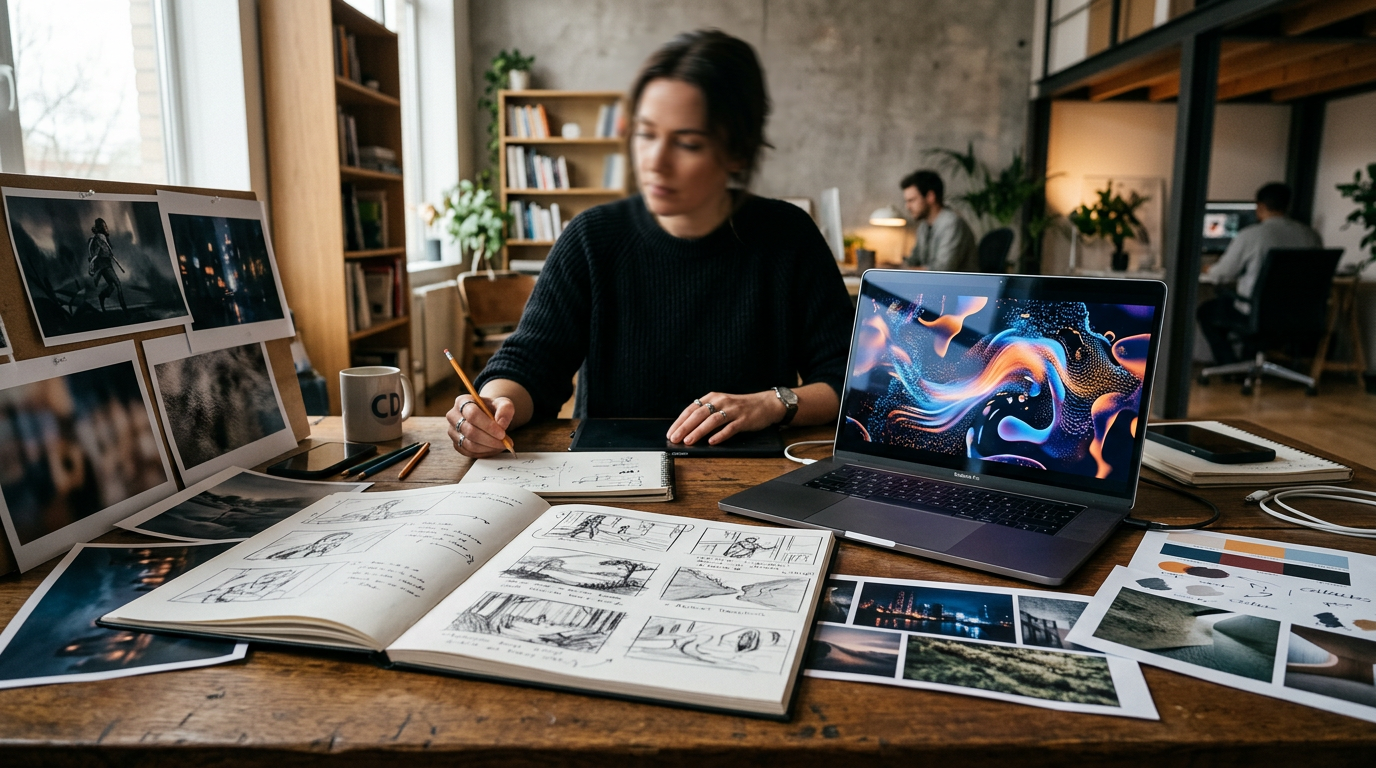
These are especially helpful when you are building toward a specific look instead of just describing that look in text. That is similar to how visual planning works in the mood board workflow in Runnit article.
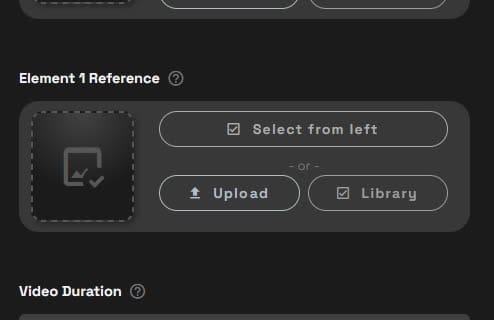
Step 5: Use Element Images for Subject Consistency
Element images are more specific than general image references. They are meant to help the model understand a particular subject that should remain recognizable in the video.
This could be:
- A person
- A character
- A product
- A vehicle
- A prop
- A furniture item
- A building feature
Important Rule for Element Image Inputs
You can define up to 2 elements:
@Element1
@Element2
If you upload a primary image for an element, you also need to provide one or two additional images of that same element from different perspectives.
This matters because the model needs more than one view to understand the subject’s shape and appearance. A single image often is not enough for reliable consistency.
Best Practices for Element Images
Use images that are:
- Clear and high resolution
- Well lit
- Visually consistent with one another
- Focused on the same exact subject
- Taken from different angles
Avoid cluttered backgrounds, heavy filters, and mismatched photos. When element images conflict with each other, the output tends to drift.
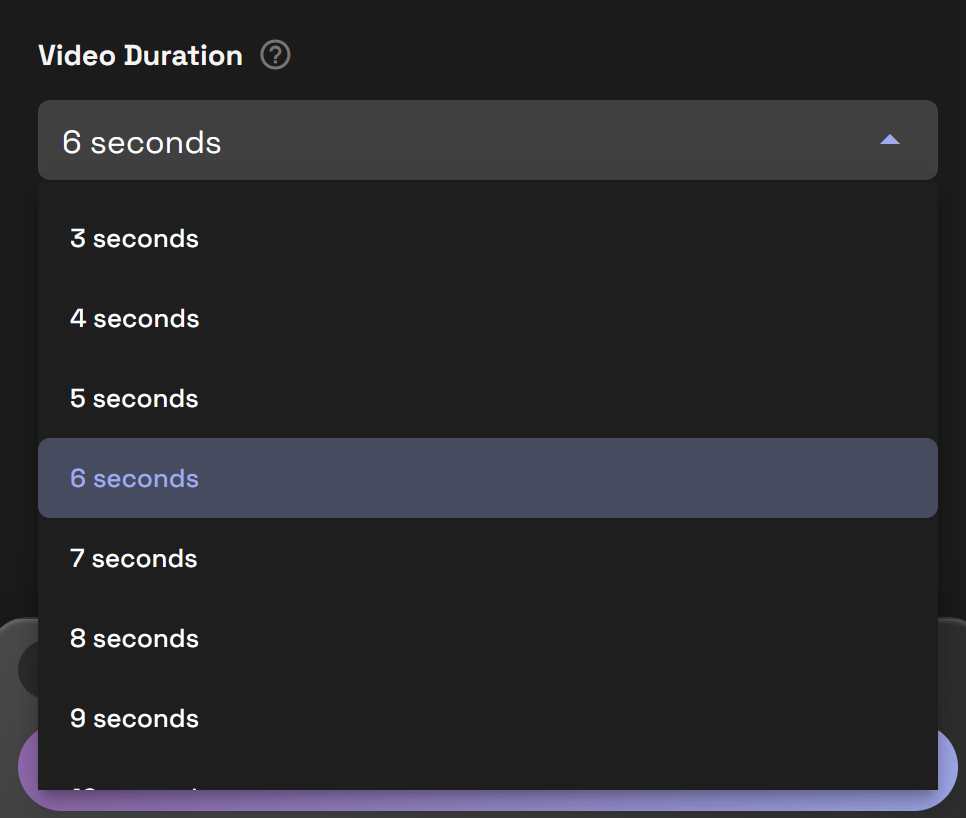
Step 6: Set Video Duration
Use the Video Duration field to choose the target output length offered in the interface.
For most testing, shorter is better. Short clips are easier to control and let you validate your prompt and references before spending more credits on larger runs.
A practical approach is:
- Start with a shorter duration
- Test your prompt and reference setup
- Refine weak areas
- Only then generate longer versions
This workflow usually saves time and reduces wasted iterations.
Step 7: Set the Aspect Ratio
The Aspect Ratio menu controls the output frame shape. In many cases, Auto is the easiest place to start because it lets the tool follow the shape of the source material.
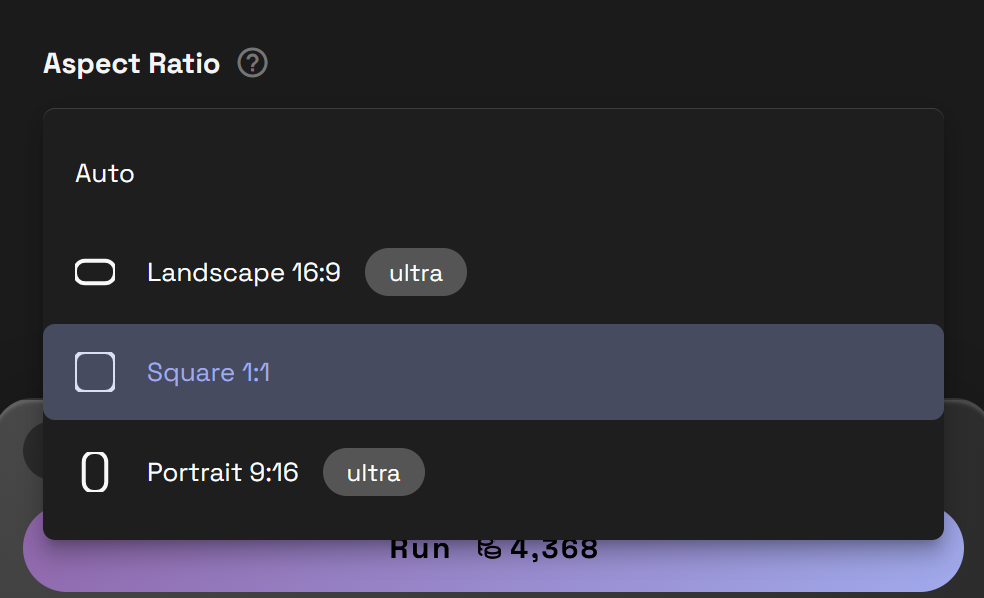
Choose a specific ratio when you already know the final destination of the video, such as:
- Landscape for presentations or long form YouTube content
- Vertical for mobile-first delivery and many social media platforms and shorts
- Square for social placements that need centered framing and presentations
If you are unsure, test with Auto first and only force a manual ratio when your delivery format requires it.
How to Choose Between Reference Images and Element Images
This is one of the most important parts of using Kling O3 Std Ref. Vid to Vid well.
Use Reference Images When You Need
- General art direction
- Color guidance
- Composition examples
- Mood or lighting influence
- Starting-frame inspiration
Use Element Images When You Need
- A specific subject to stay recognizable
- Better consistency for one featured object or character
- More reliable subject appearance across the clip
A useful way to think about it is this: reference images shape the scene, while element images help preserve the subject.
A Simple Starter Workflow
This sequence works well for most first tests:
- Upload a clean 3 to 6 second source video
- Decide whether to keep the original audio
- Add one reference image for overall style
- Add element images only if a specific subject must stay consistent
- Write a prompt that clearly says what the model should preserve and what it should change
- Run a shorter test first
- Review the result and adjust one variable at a time
That last point matters. Change one part of the setup between runs so you know what improved the result.
Prompting Tips for Better Results
Prompting works best when you explain the role of the references instead of assuming the model will infer everything.
Useful patterns include:
- “Preserve the camera motion from the reference video”
- “Use @Image1 as the visual anchor”
- “Match the lighting and color palette of @Image2”
- “Keep @Element1 consistent across the full clip”
- “Use the input video as the timing guide”
Example Prompt Template
You can use a structure like this:
[Subject] + [action] + [style/look] + [what to preserve] + [how references should be used]
Example:
“Create a polished showroom video of the same watch from the reference clip, preserve movement and timing, use @Image1 for lighting direction, and keep Element 1 consistent throughout.”
Common Mistakes to Avoid
Conflicting Inputs
Do not upload a source video that suggests one scene, then add references that push toward a completely different result. Align your prompt, video, and image guidance.
Weak Element Packs
If your element images show different products, angles with poor visibility, or inconsistent lighting, the model will struggle to understand what should remain stable.
Overcomplicated First Runs
Start simple. One source video plus one strong image reference is often better than trying to control everything on the first pass.
Busy or Low-Quality Source Clips
Fast edits, shaky footage, and heavy motion blur reduce the usefulness of the reference video.
Troubleshooting Weak Results
The Subject Keeps Changing
Try adding stronger element references and make sure all images show the same subject clearly from different angles.
The Look Is Not Following the Images
Mention @Image1 or @Image2 directly in the prompt and make the instruction specific, such as lighting, palette, or composition.
The Motion Feels Wrong
Swap in a cleaner source clip with simpler movement and test a shorter generation first.
The Output Feels Inconsistent
Reduce the number of instructions. A smaller number of aligned references often performs better than many mixed signals.
Final Tips for More Reliable Kling O3 Results
Kling O3 Standard Reference Video to Video works best when you treat it as a guided video workflow, not just a text prompt box. The source video gives the model structure. Reference images guide the overall look. Element images improve consistency for a featured subject.
Start with the strongest single visual idea, keep the prompt clear, and expand only after the base setup is working. That usually leads to cleaner results and more repeatable outputs inside RunDiffusion's Runnit platform.