


Introduction
Multi-image support unlocks powerful editing and compositing workflows on RunDiffusion's Runnit boards. When working with more than one image, you must clearly define which image is being modified and which image provides the reference, subject or object. This prompt guide for multi-image support explains how to avoid ambiguity and get predictable results when using RunDiffusion and Runnit tools.
Why Image Referencing Matters in Multi-Image Prompts
When multiple images are uploaded, the AI does not inherently understand intent. It does try to infer what you want but depending on the images, your requests and the model being used it may become confused. Without clear direction, it may:
- Insert objects into the wrong image
- Merge scenes unintentionally
- Replace content instead of adding it
- Apply styles to the wrong reference
Explicit image targeting ensures the AI performs the exact edit you expect.
Best Practices for Multi-Image Editing
These best practices apply across the entire multi-image workflow, including image targeting, annotations, and reference usage.
- Reference images, annotations, or labeled areas explicitly in your prompt
- Keep edits minimal in each pass for better accuracy
- Avoid combining too many changes in a single generation
- Use multiple iterations instead of one complex instruction set
- Pair clear image targeting with short, focused prompts
Following these principles reduces ambiguity, improves consistency, and leads to more predictable, repeatable results across multi-image workflows.
The Core Rule: Always Specify the Target Image
Every multi-image prompt should answer two questions:
- Which image is being changed?
- Which image is the source of the object, style, or reference?
A reliable habit is to state the destination image first, followed by the source.

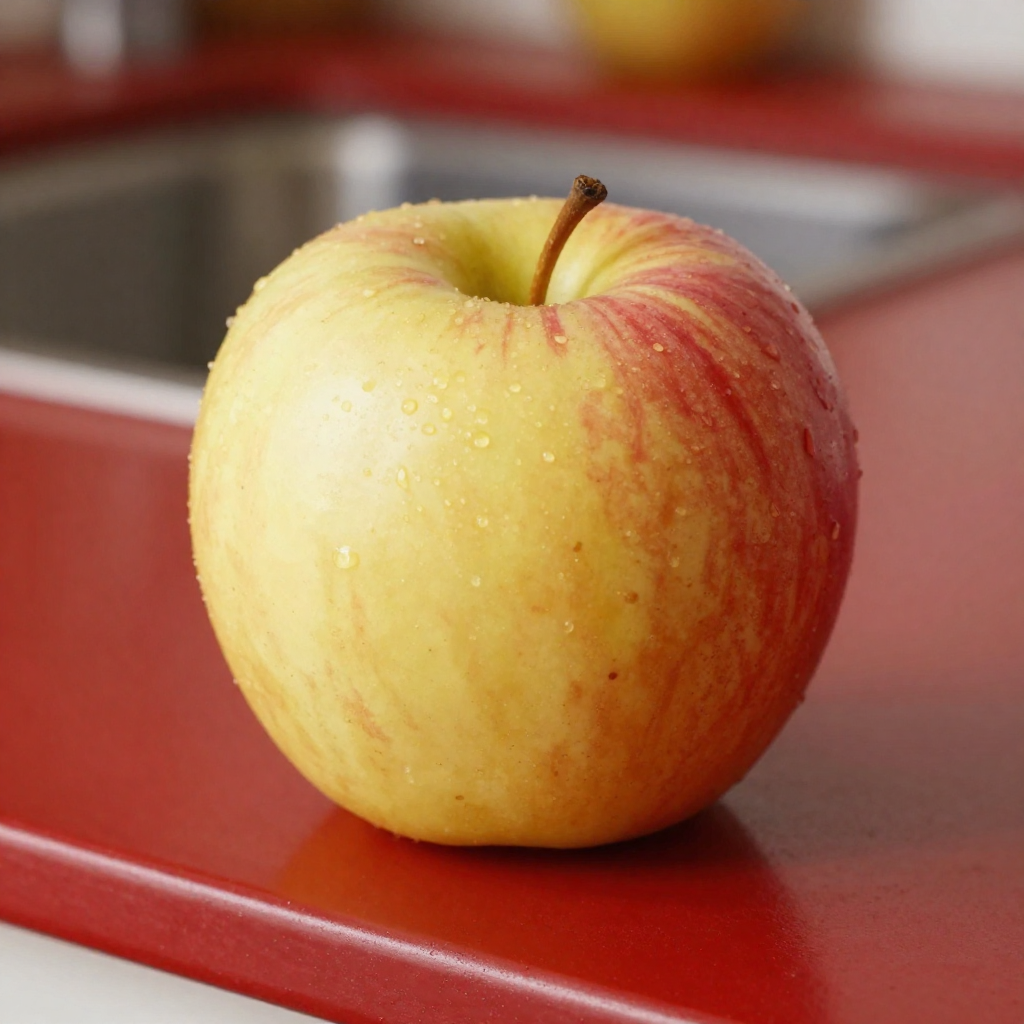
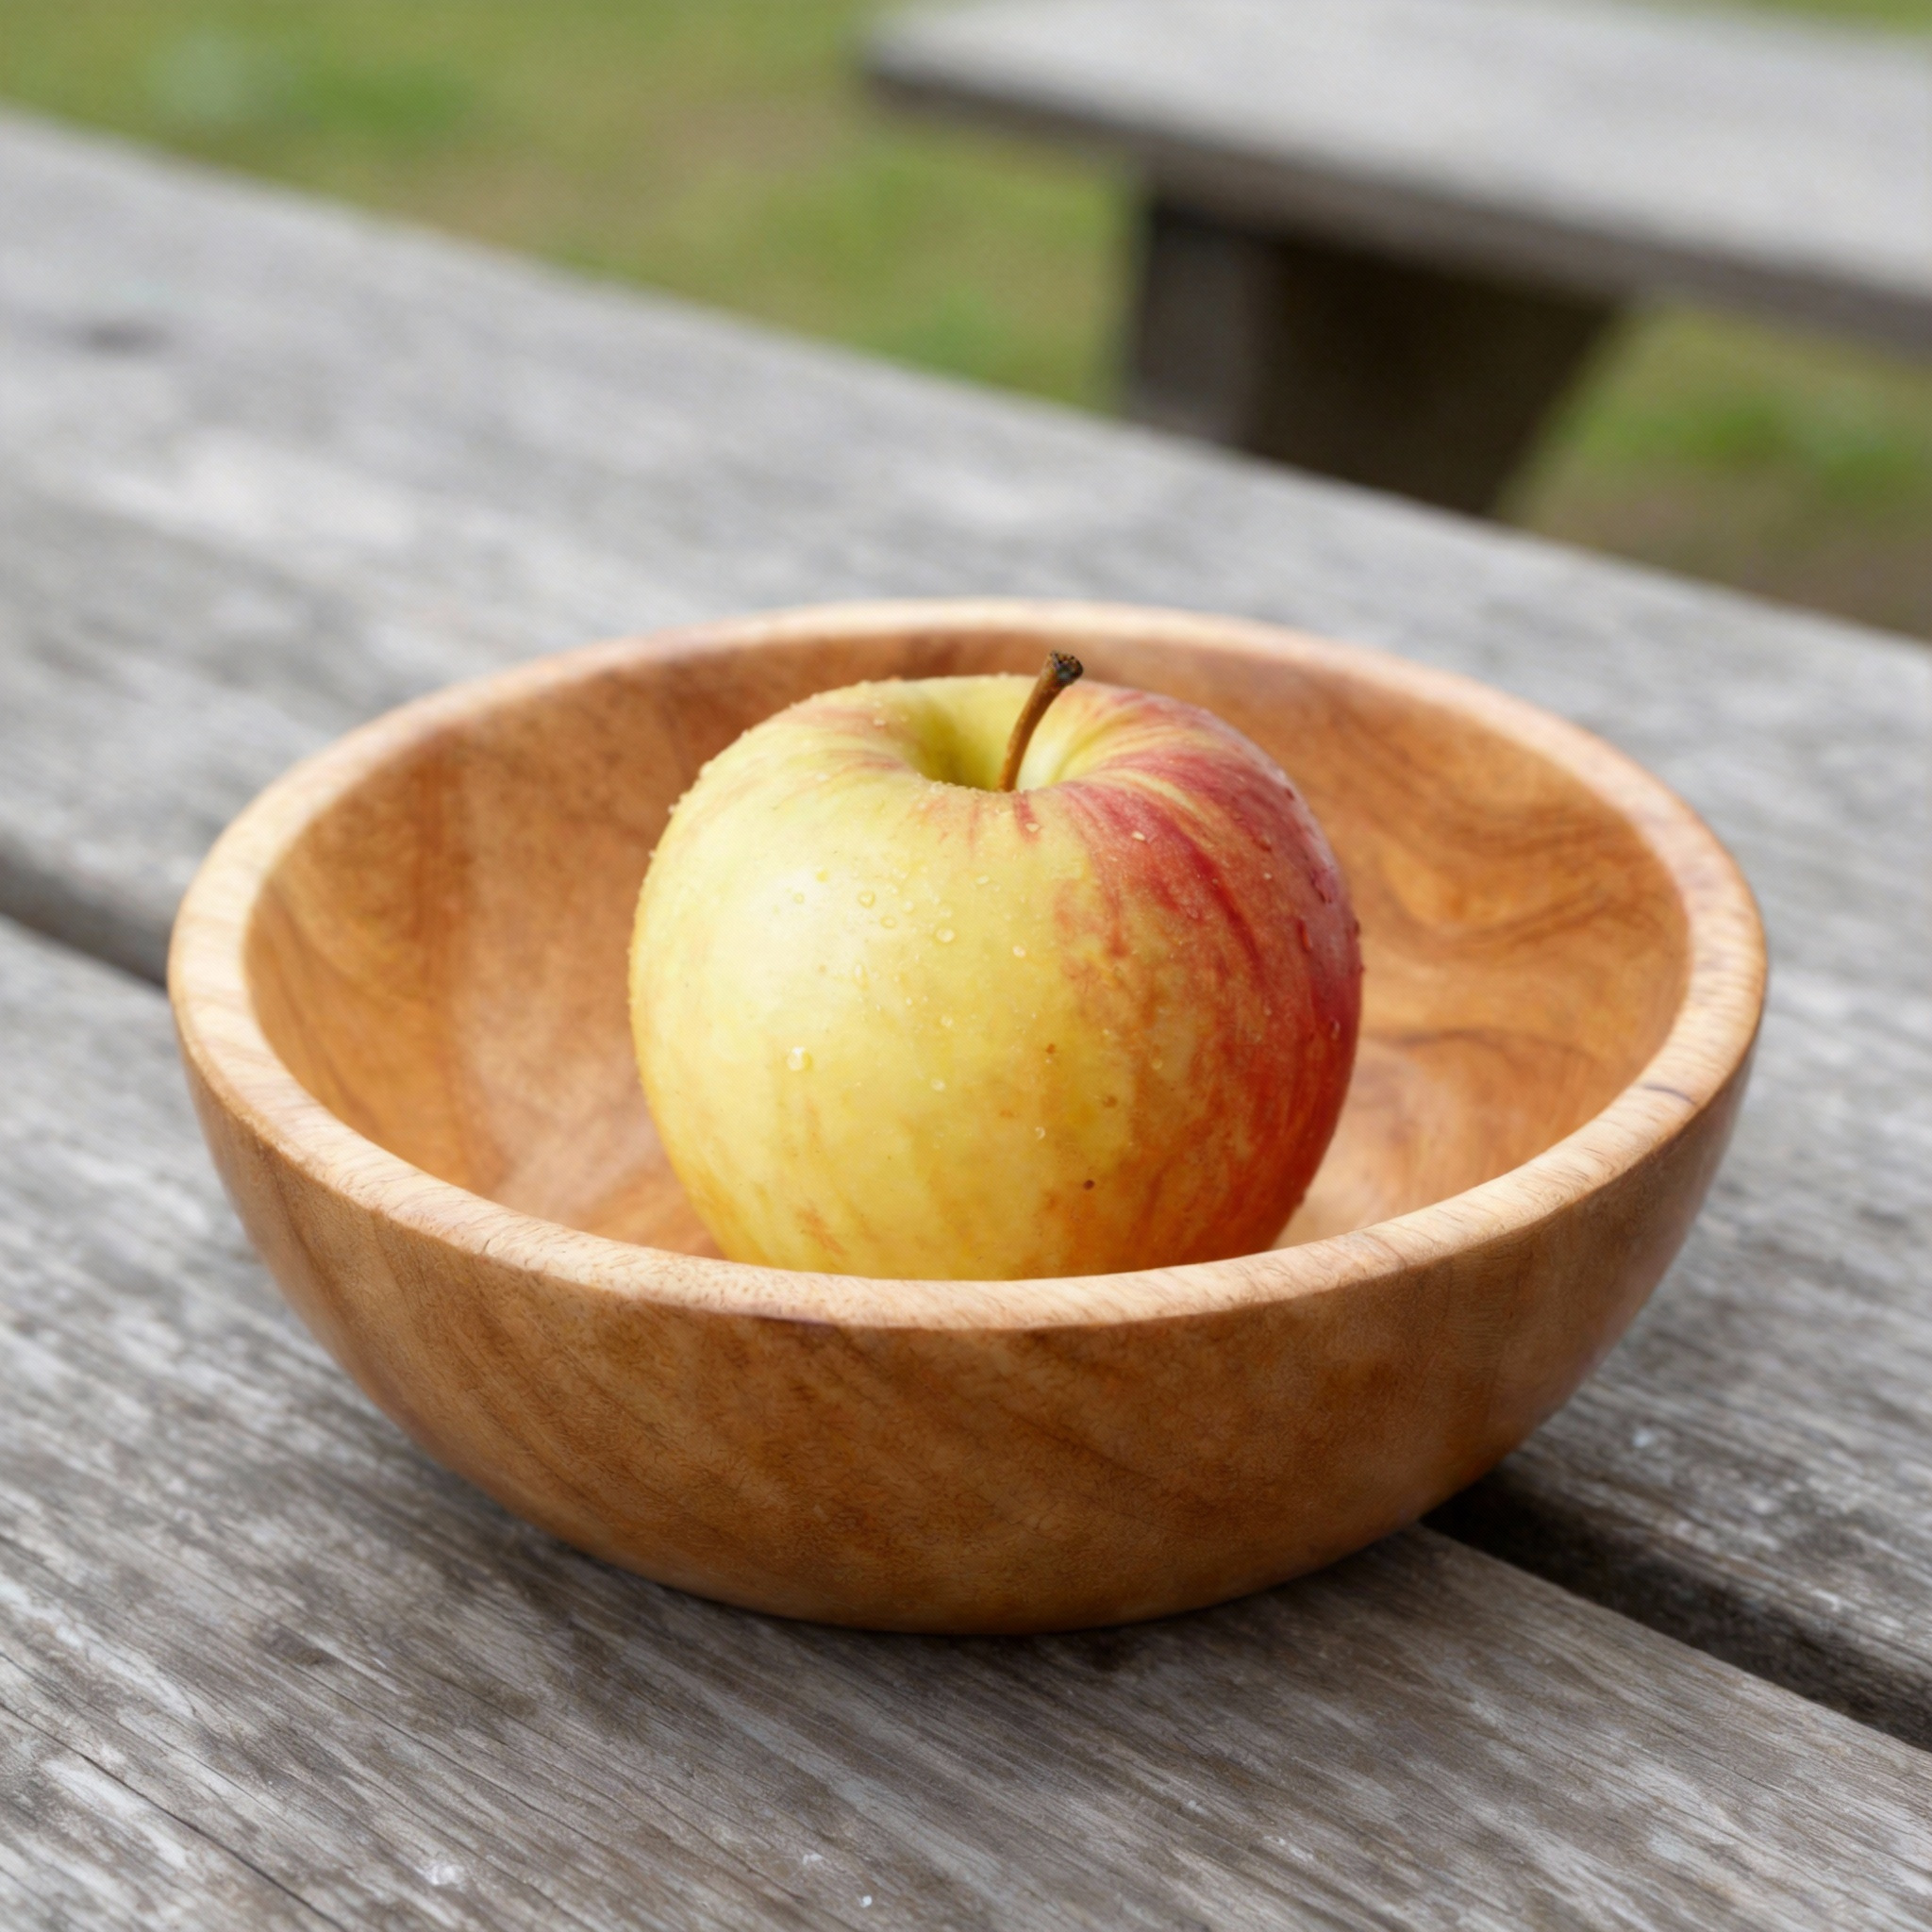
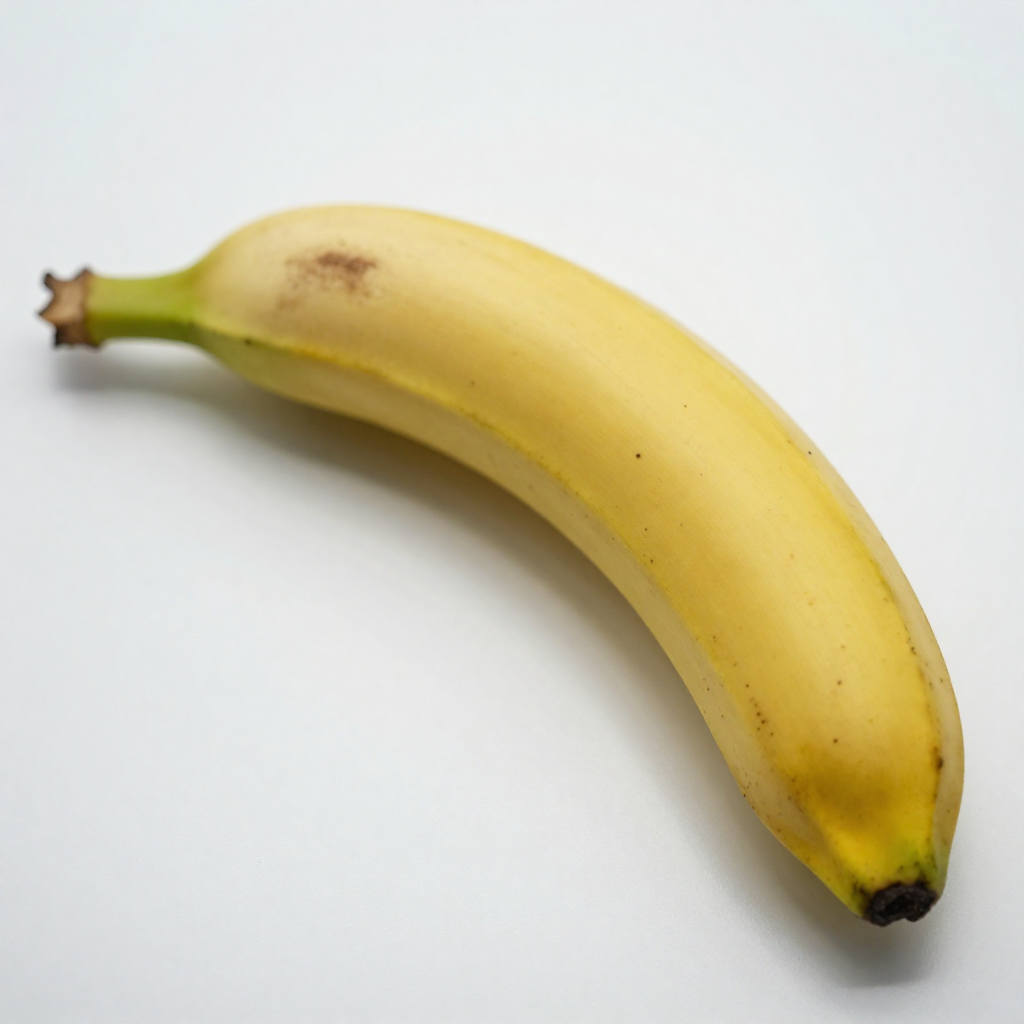
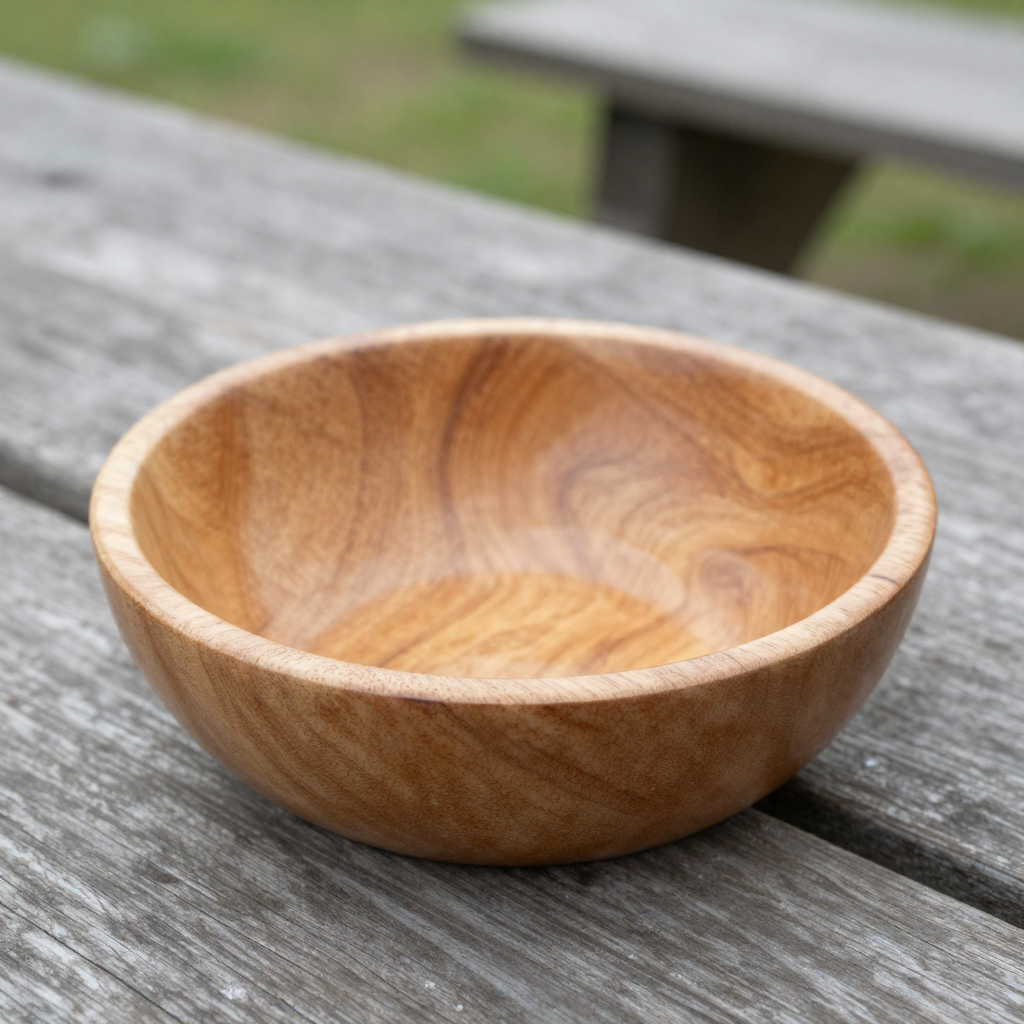
Simple Example: Apple and Bowl
You upload two images. Image 1 is an Apple and Image 2 is a Bowl. Your goal is to combine these two images. Possibly you want the apple to appear in the bowl. If you simply tell the AI to combine the images it may place the bowl on the apple or the apple behind the bowl. You may be fortunate to get the apple in the bowl on your first try. Even if the AI places the apple in the bowl it may combine them in the wrong image.

Avoid Vague Prompt
Example: Combine the apple and the bowl.
You are depending on the AI's ability to infer. It is better practice to take control of your prompts.
Clear Prompts (Best Practice)
Prompt: Add the bowl to the image with the apple, place the apple in the bowl.
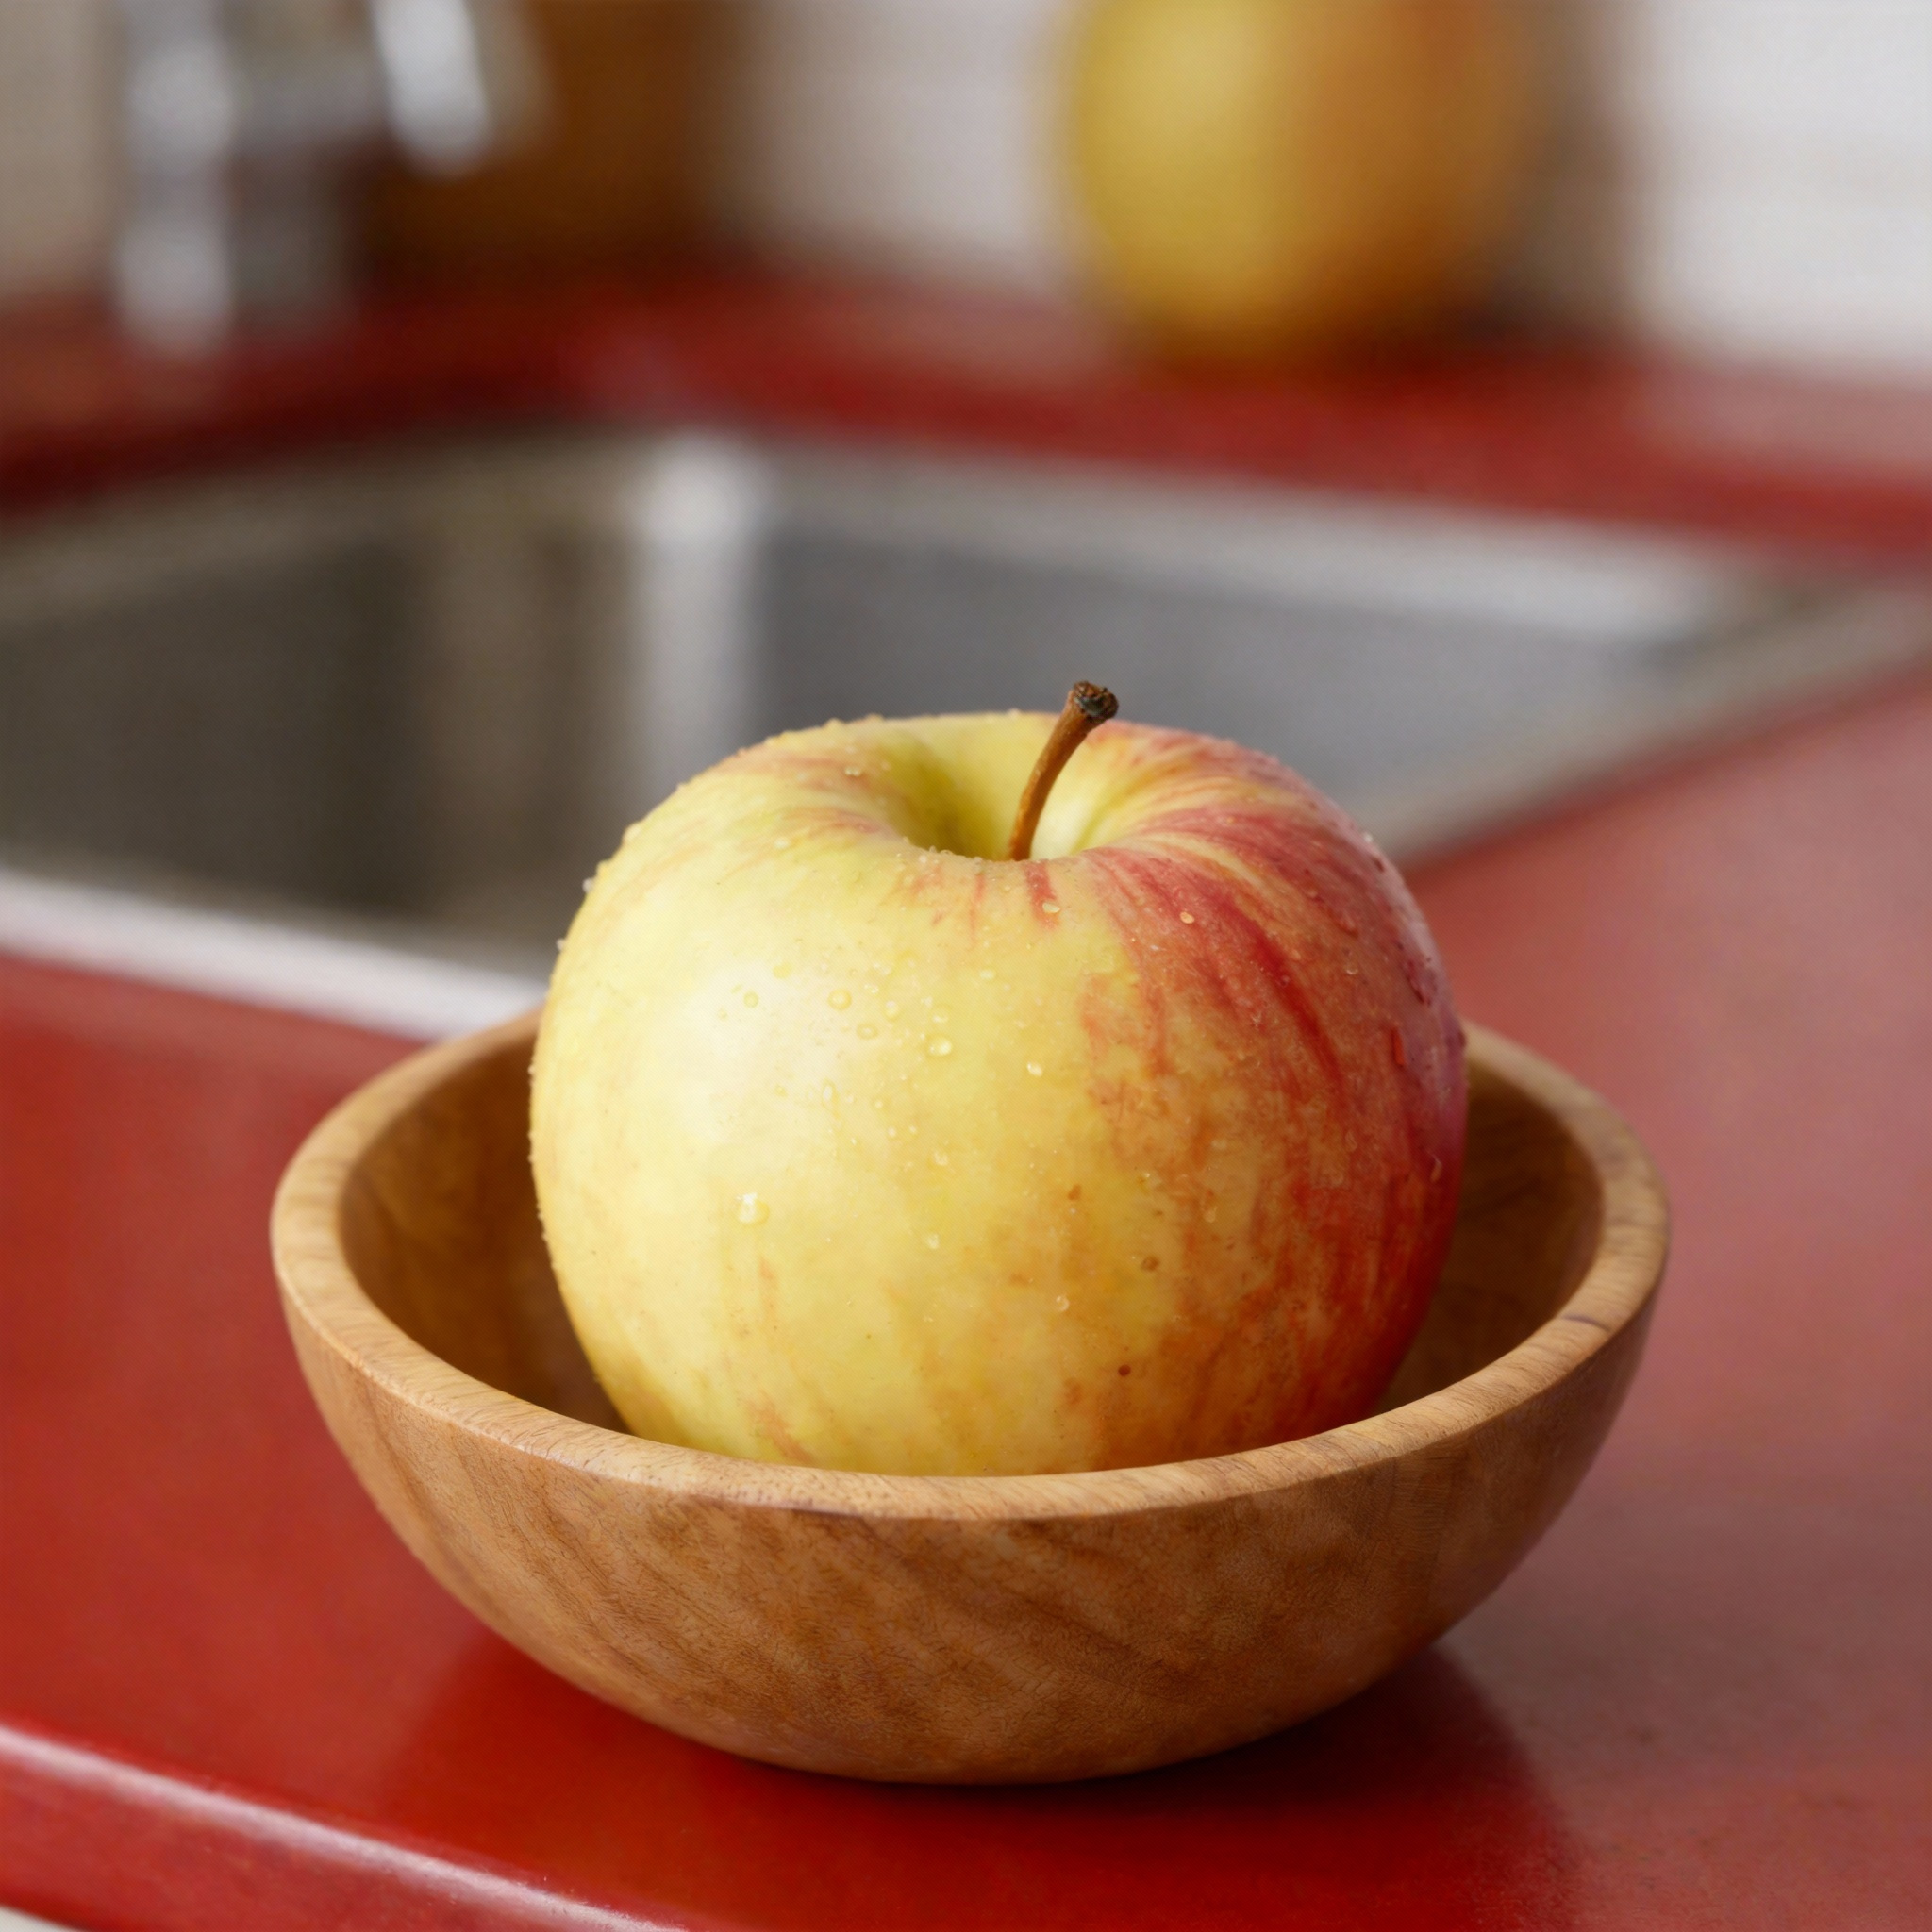
Prompt: Add the apple to the image with the bowl, place the apple in the bowl.
These prompts remove ambiguity by explicitly naming the target image. This aligns our intent with our prompt increasing accuracy. Give us control over our outputs.
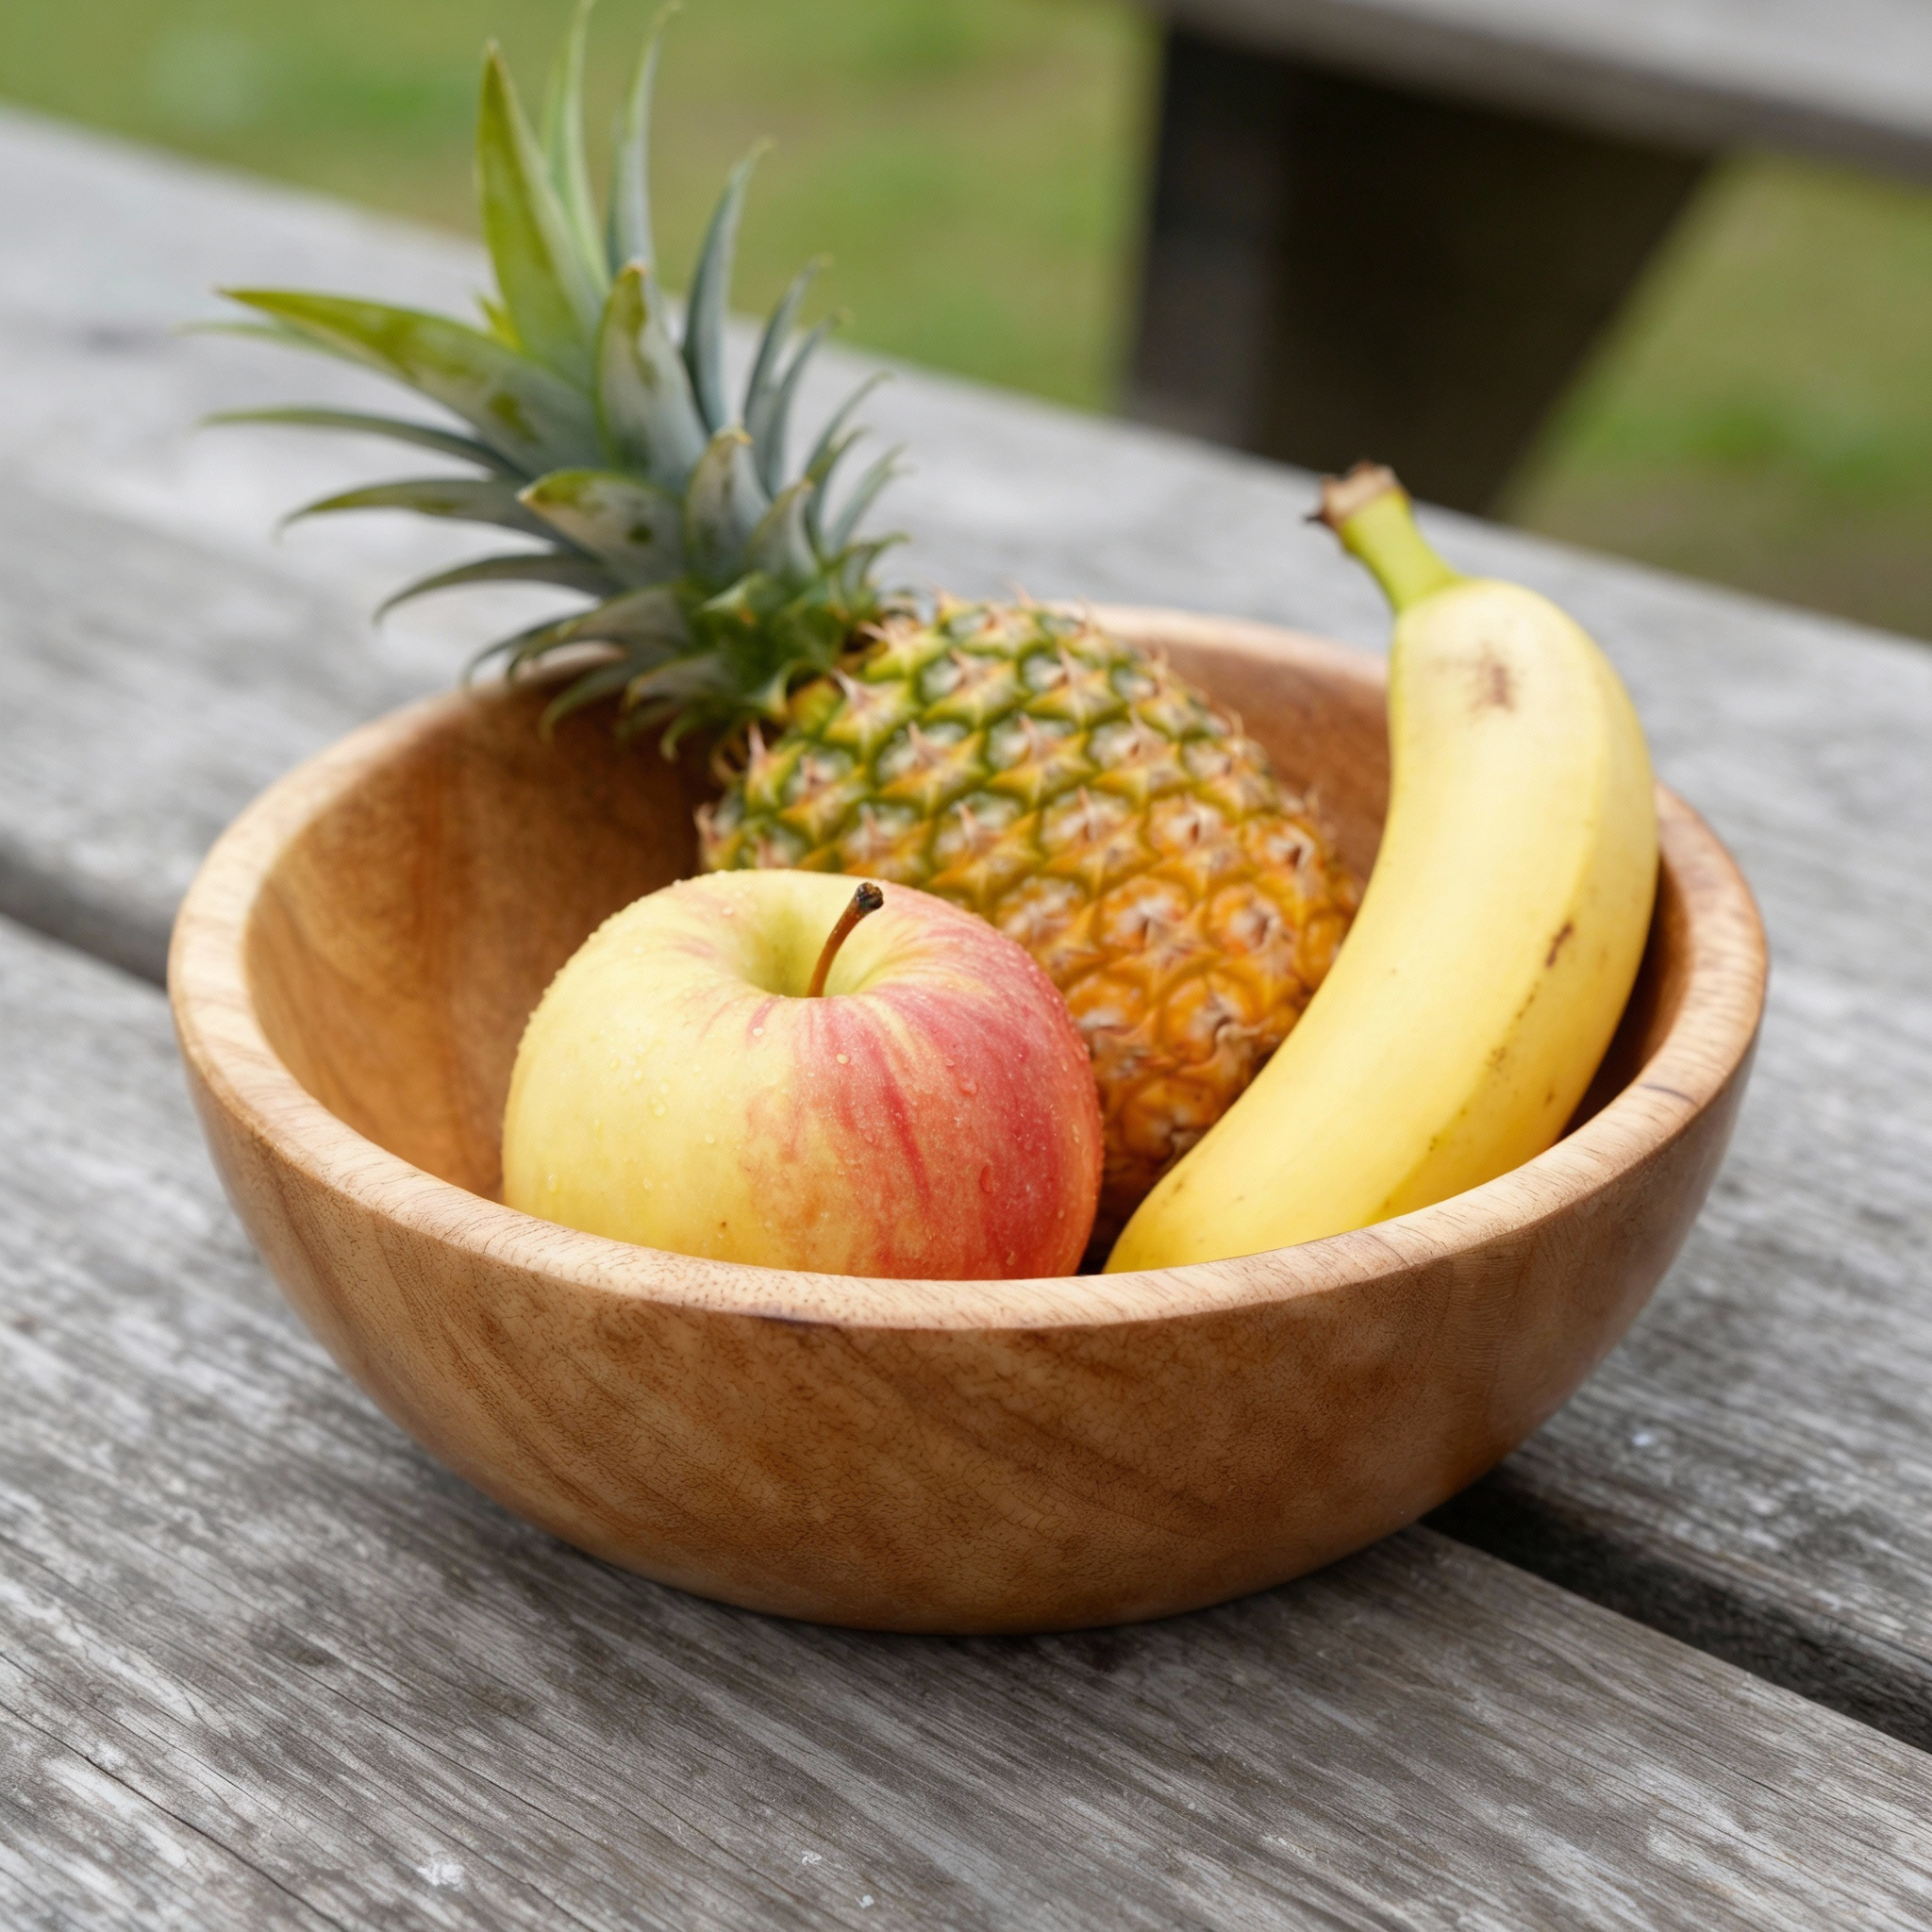
This works when using multiple reference images.


Prompt: Add the apple, pineapple and banana to the image with the bowl. Place the fruit in the bowl.
Recommended Prompt Structure for Multi-Image Edits
Use a consistent structure to improve accuracy across tools. Avoid using Image 1 and Image 2 unless your images are already labeled as such.
Prompt Formula
Action + object or reference + source image description + target image description
Reference Images


Examples:
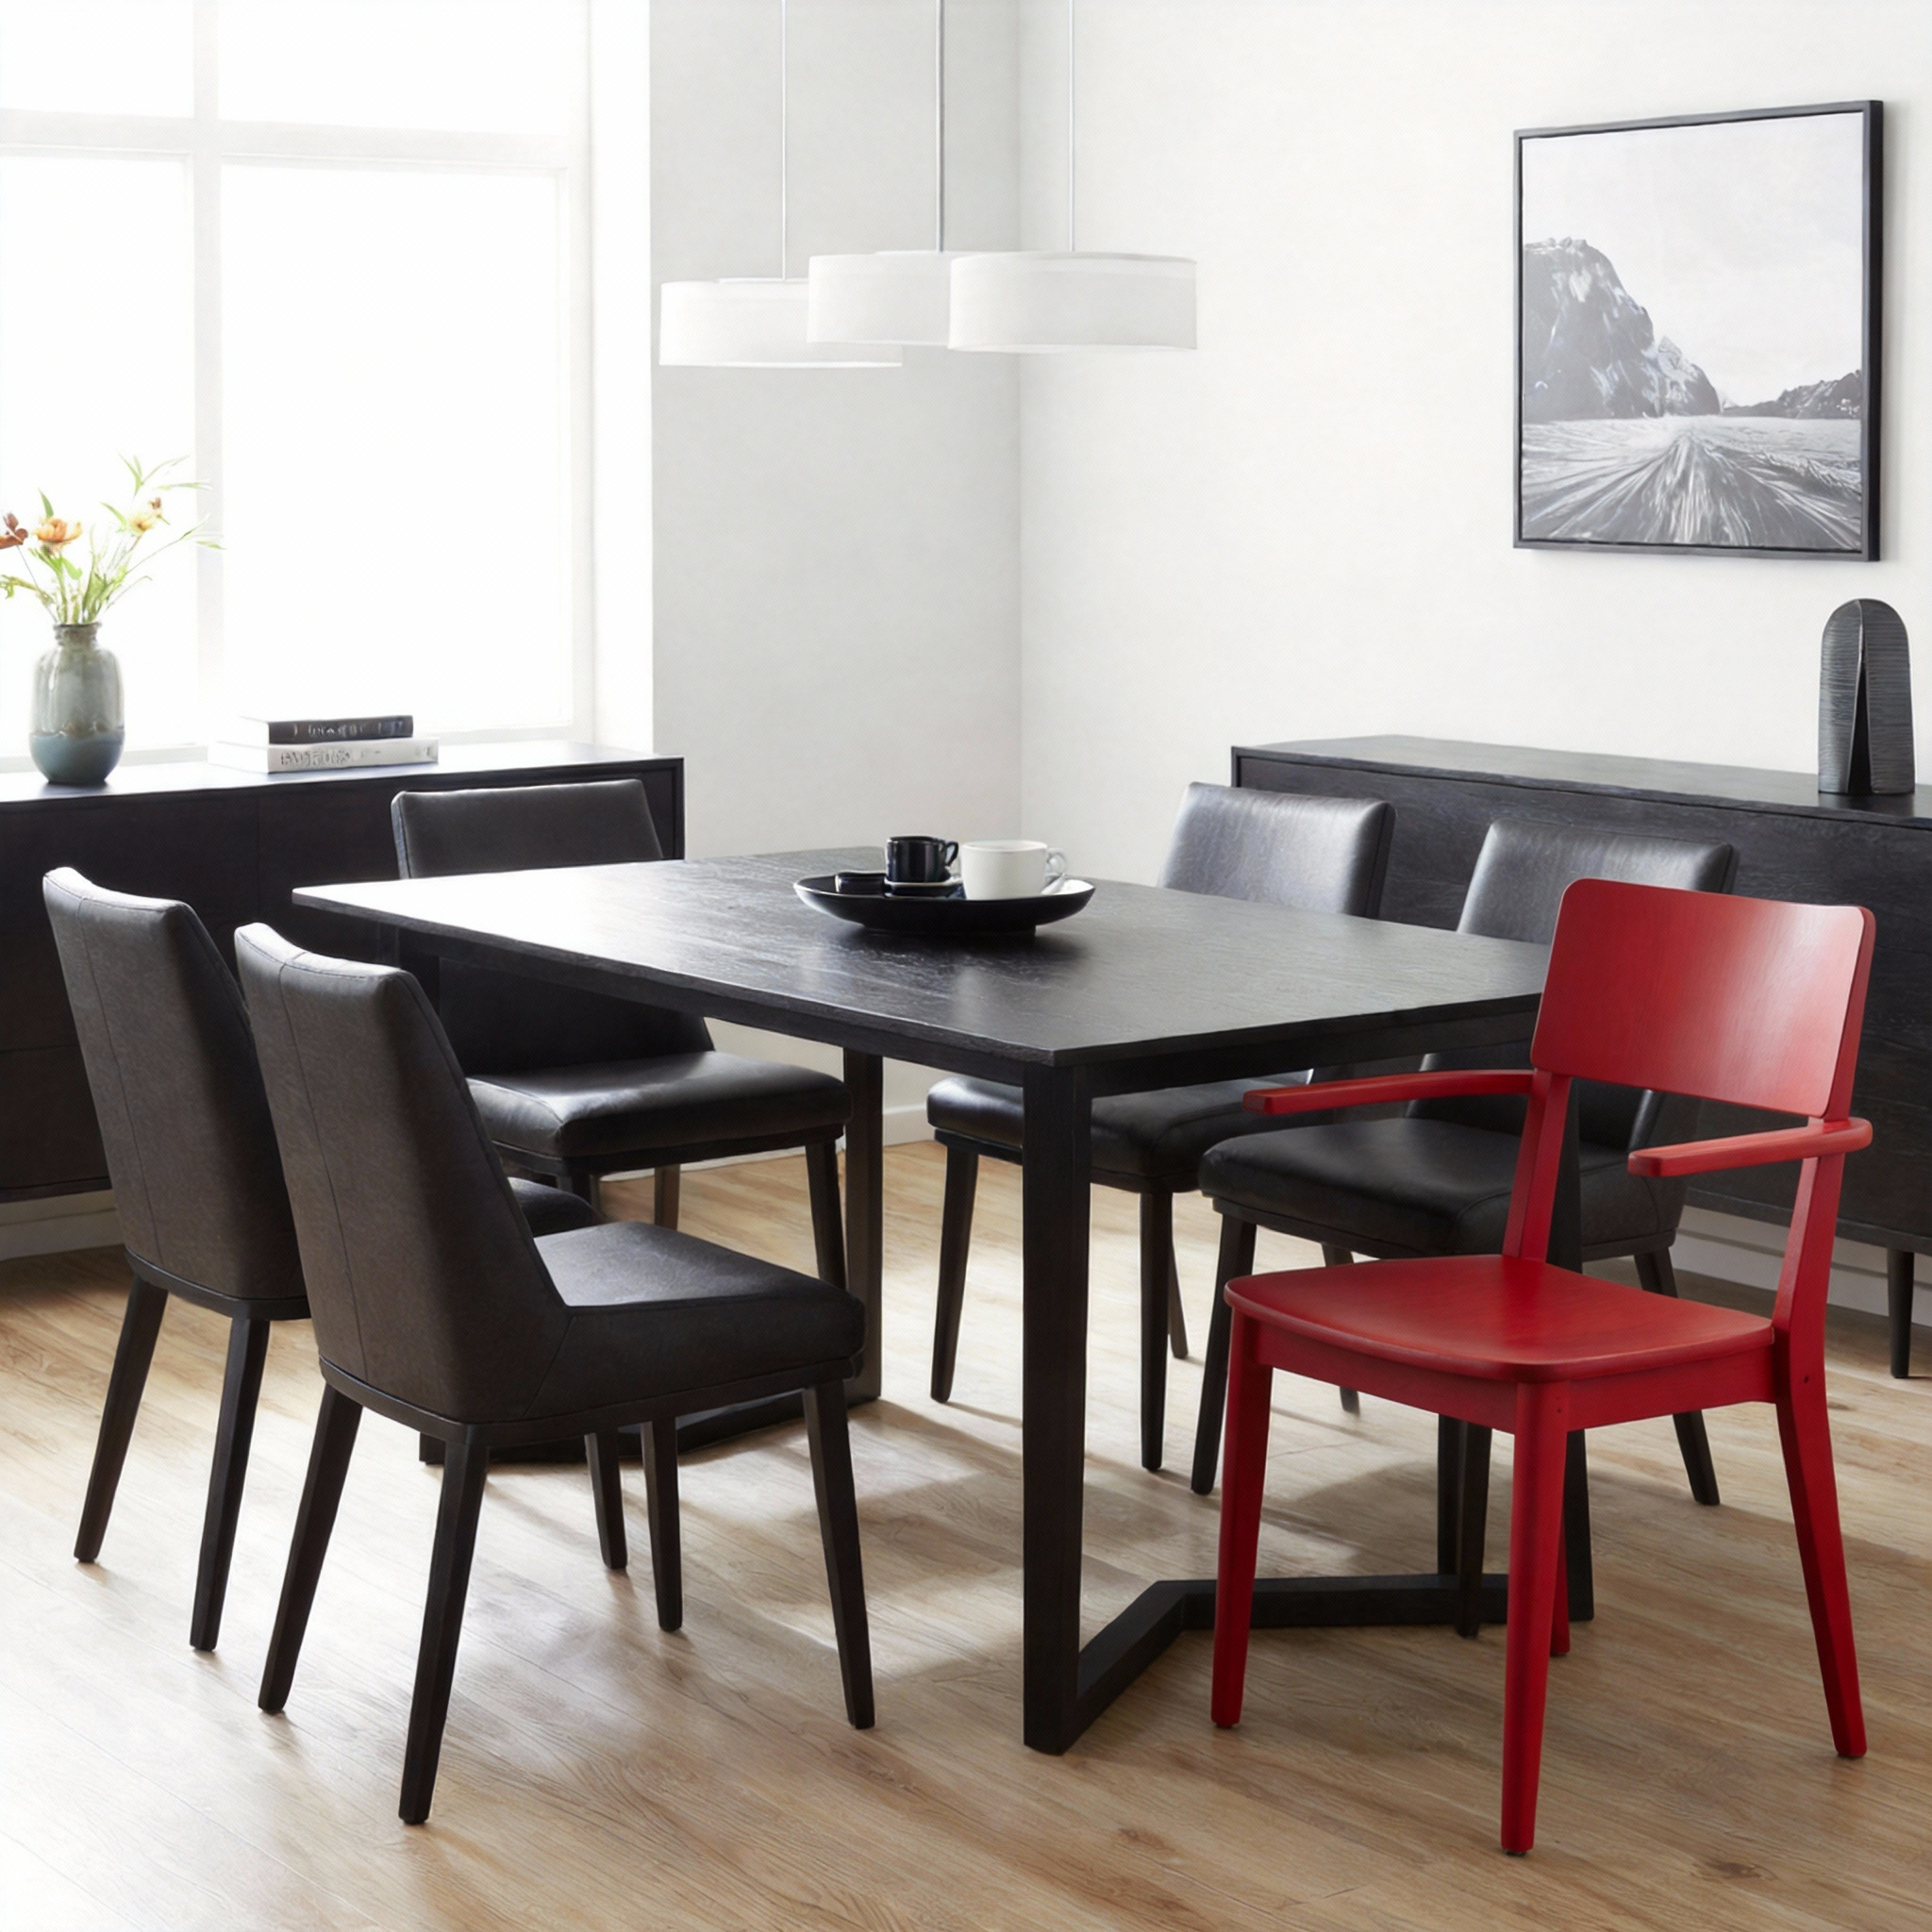
Prompt: Add the chair from the modern living room reference image into the dining room scene, placed next to the wood table.
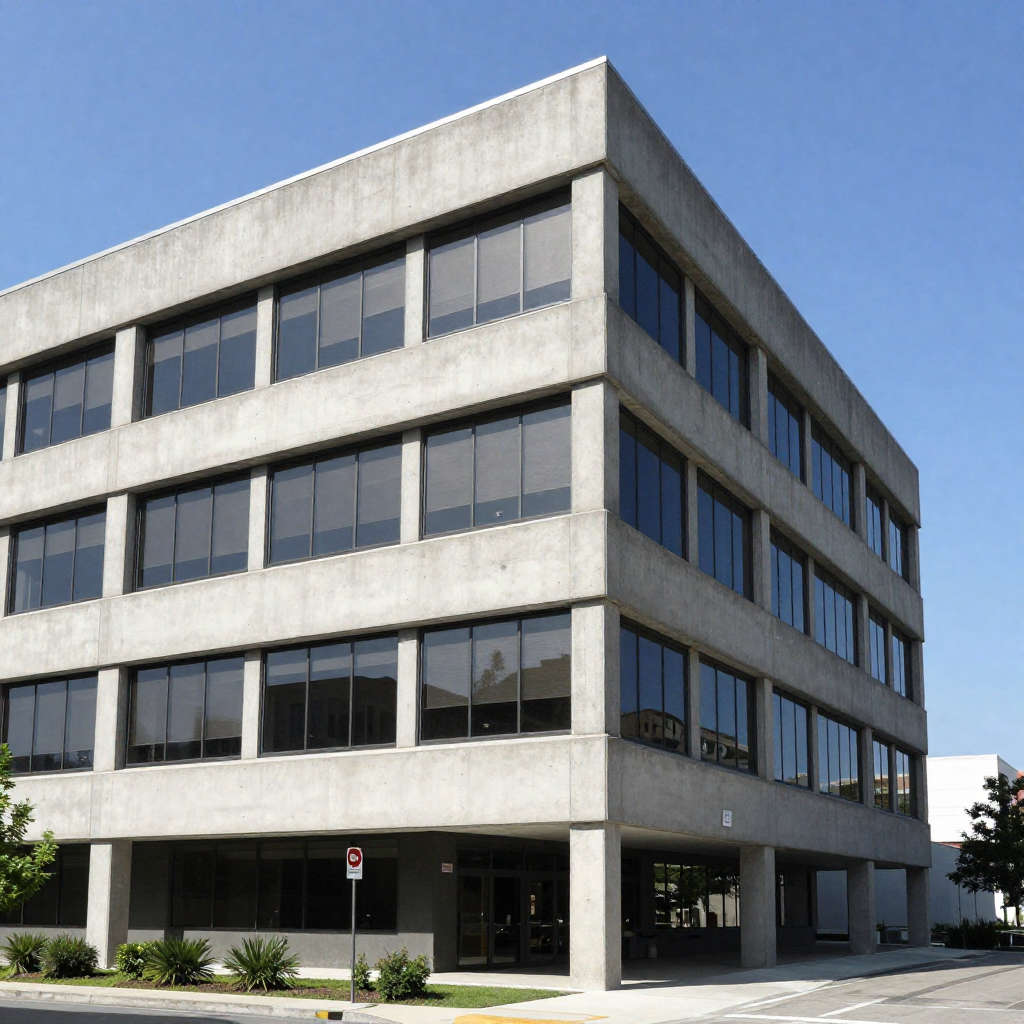
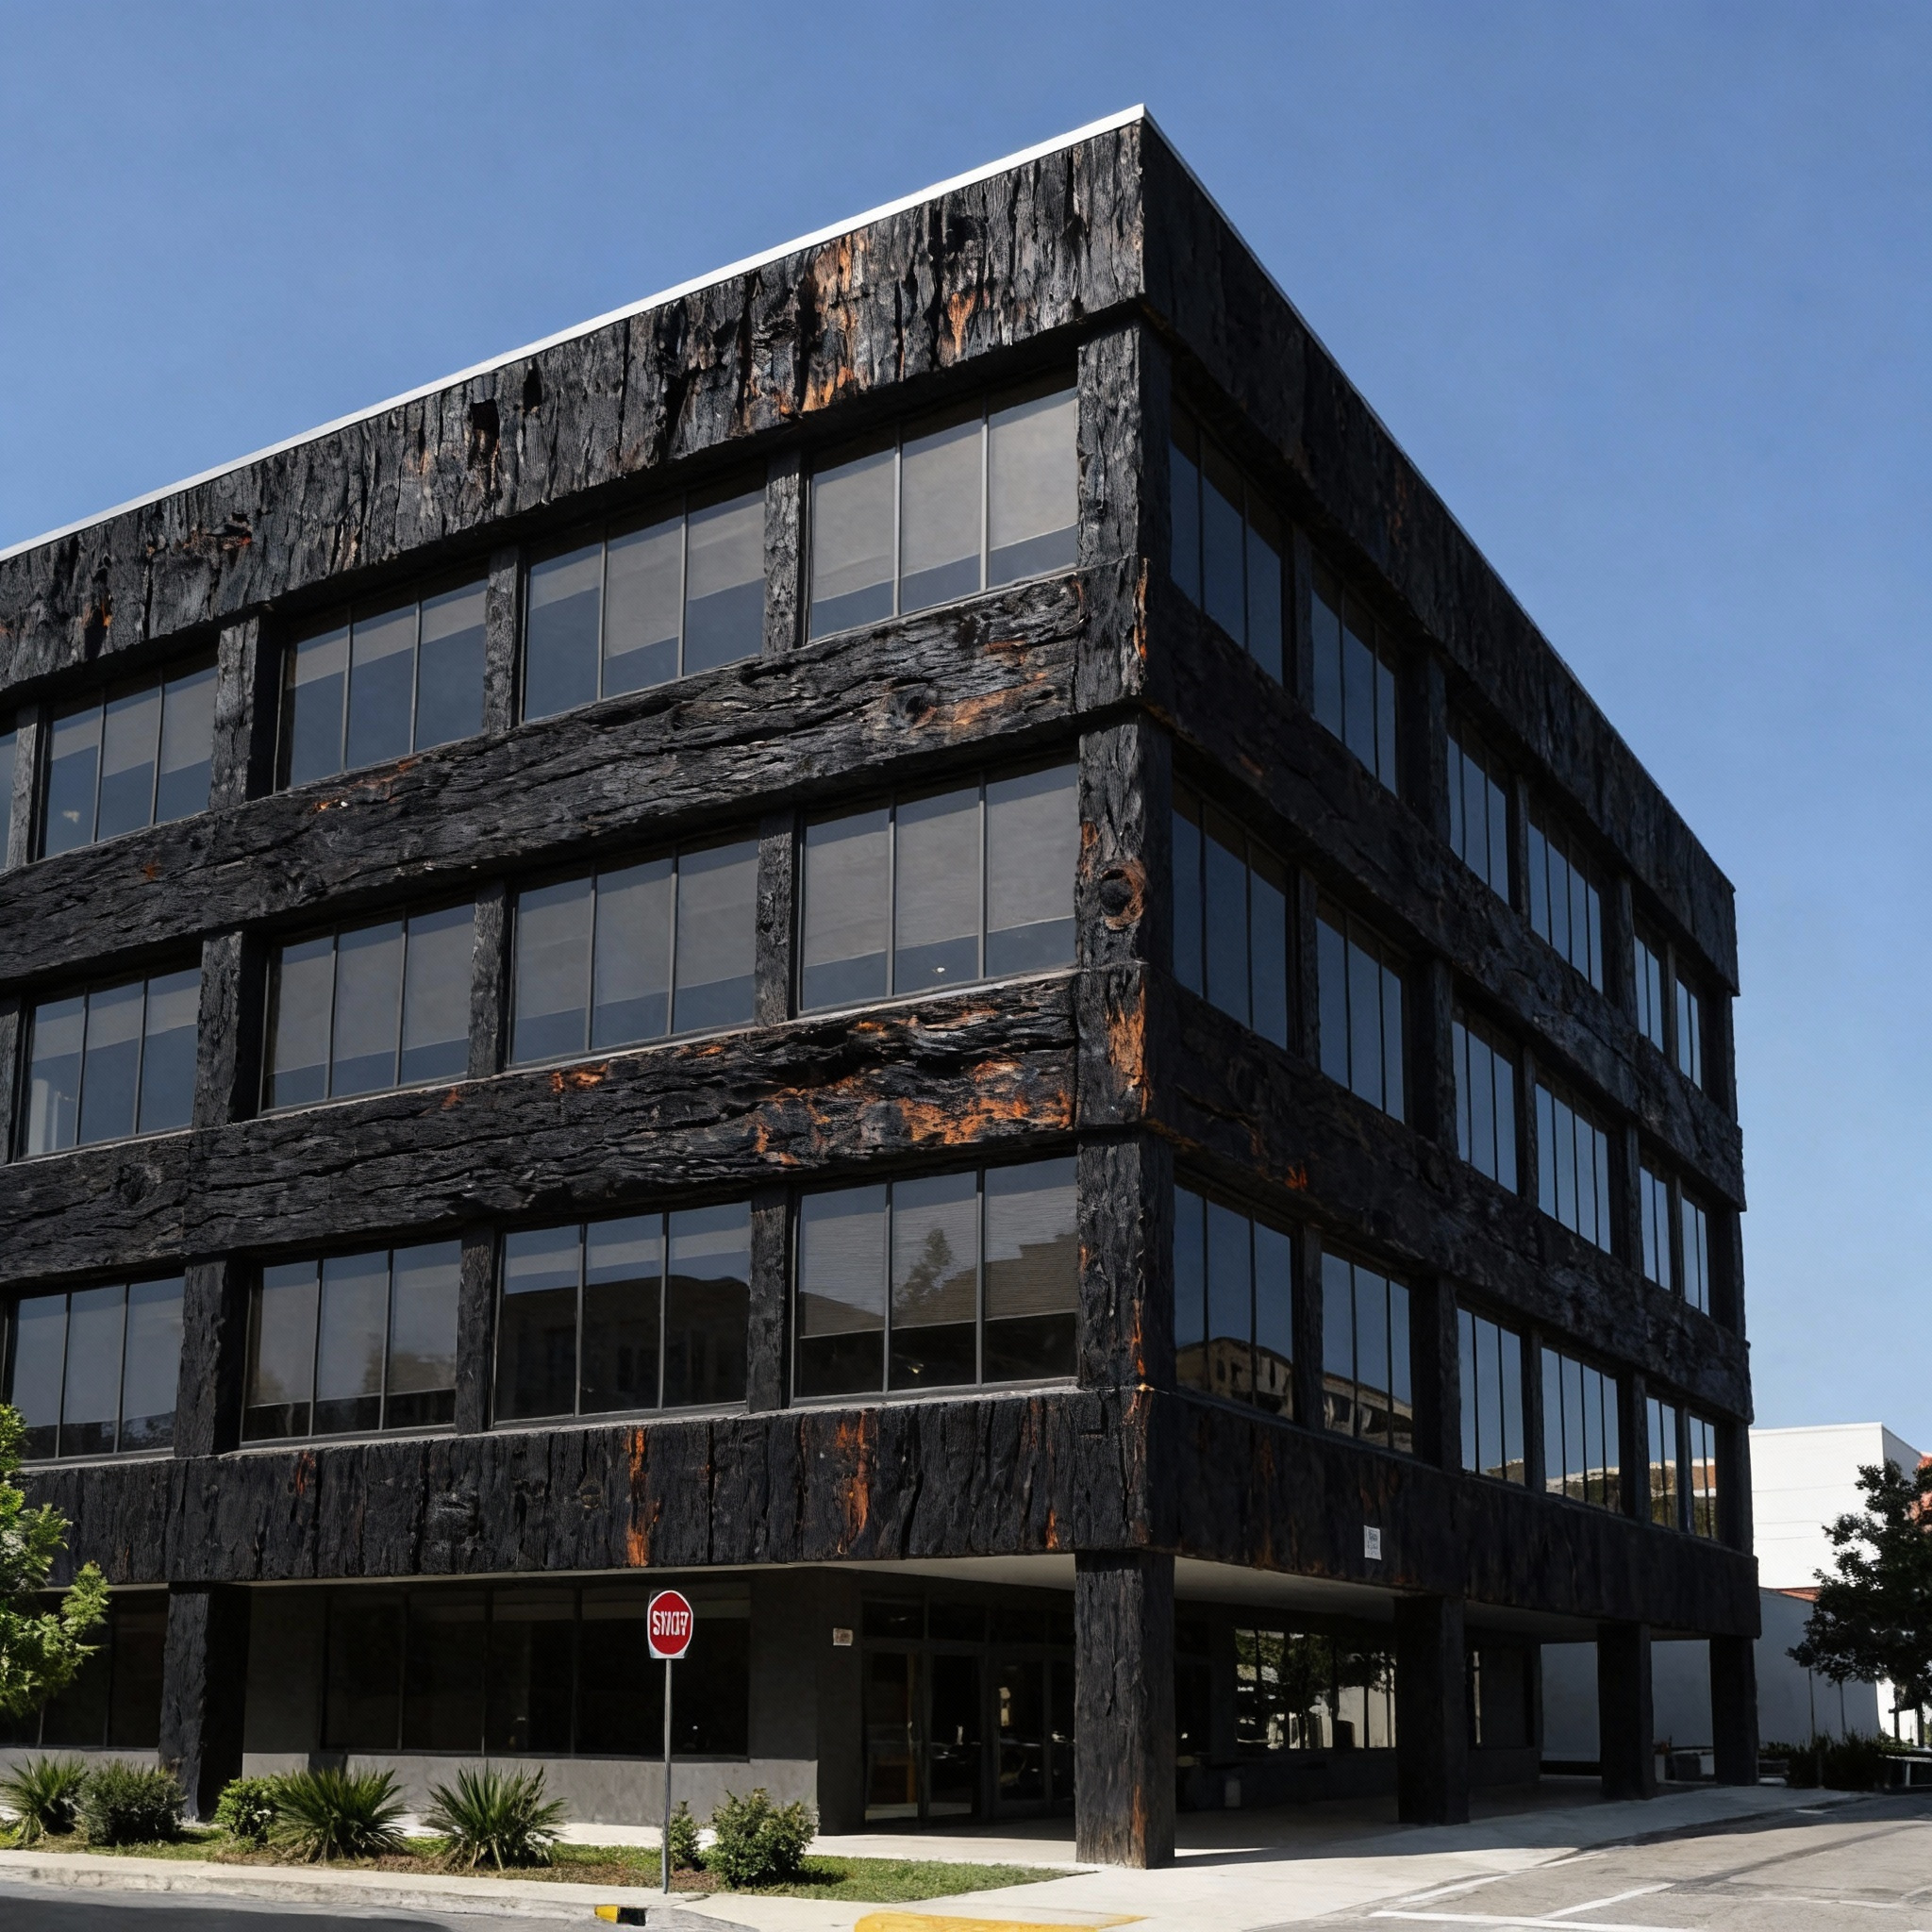
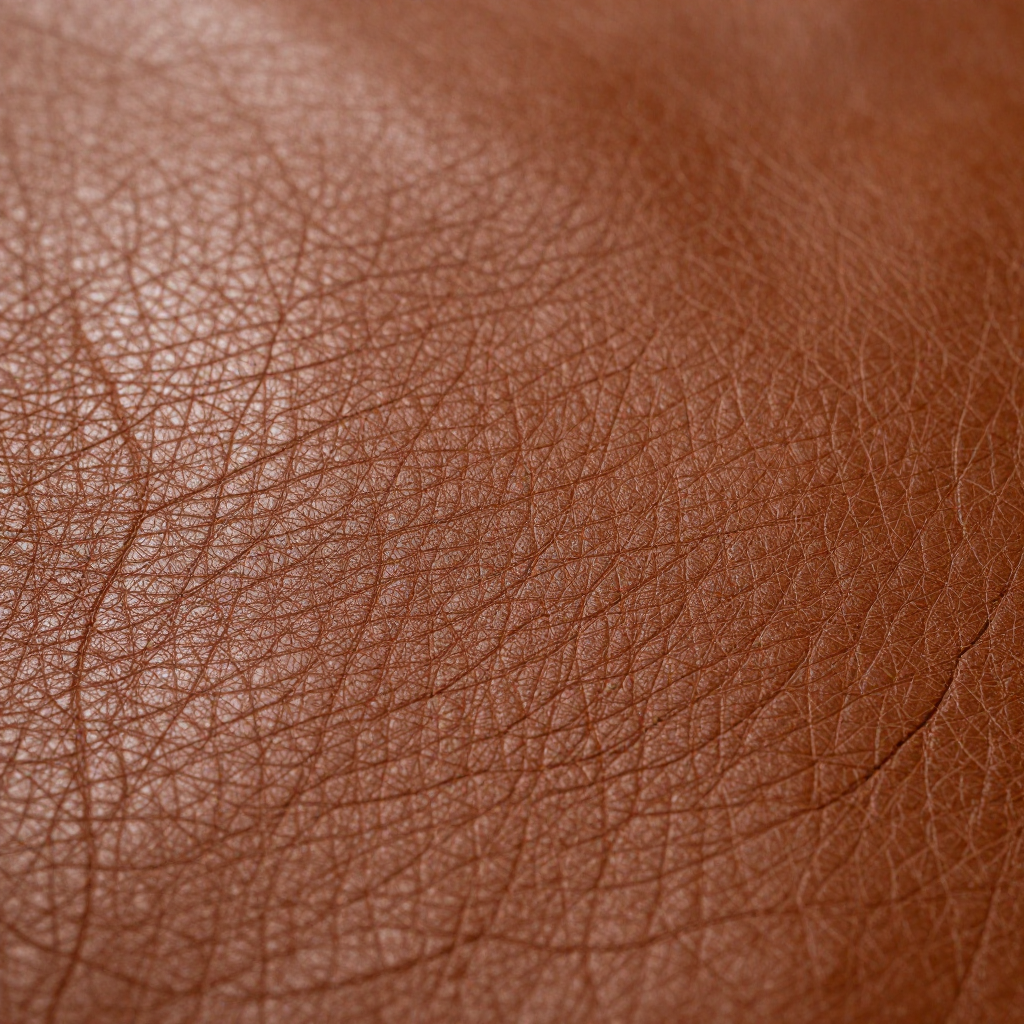
Prompt: Apply the black burned wood texture to the concrete building
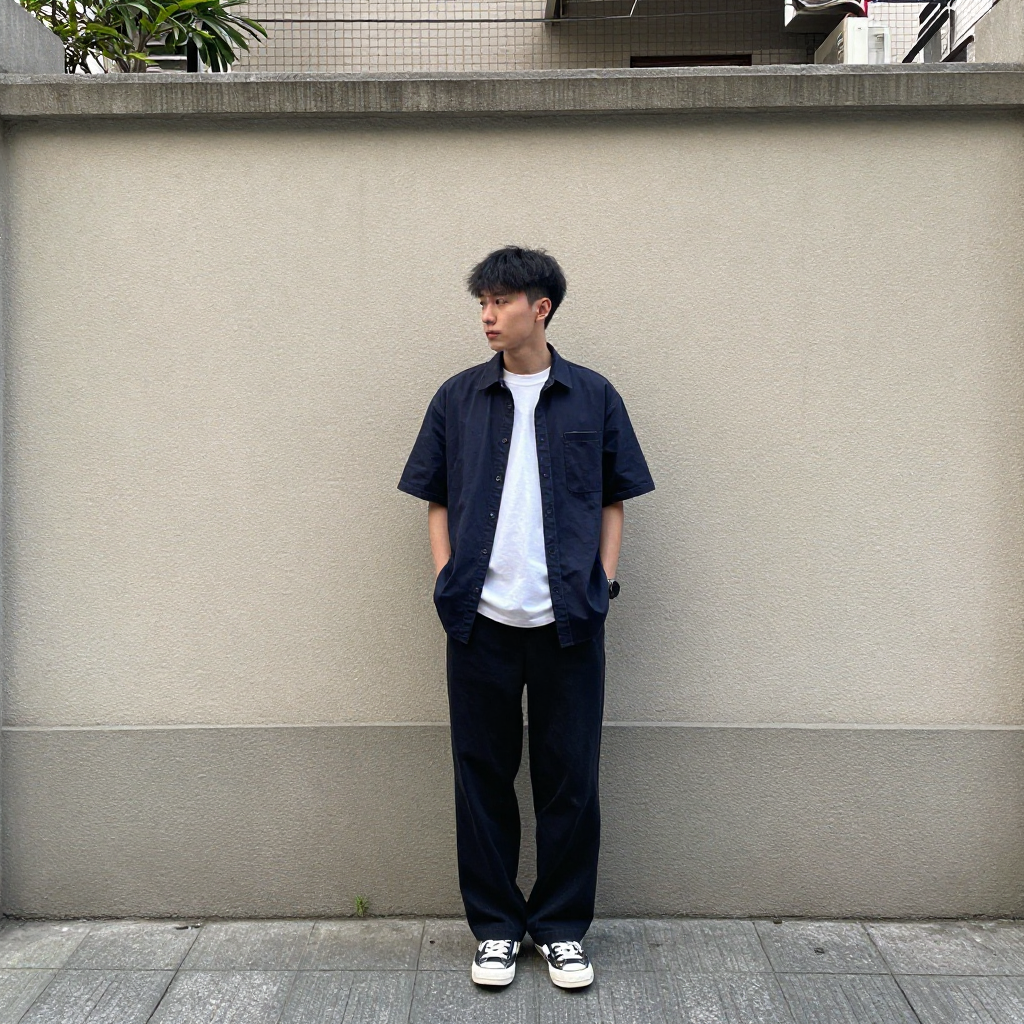
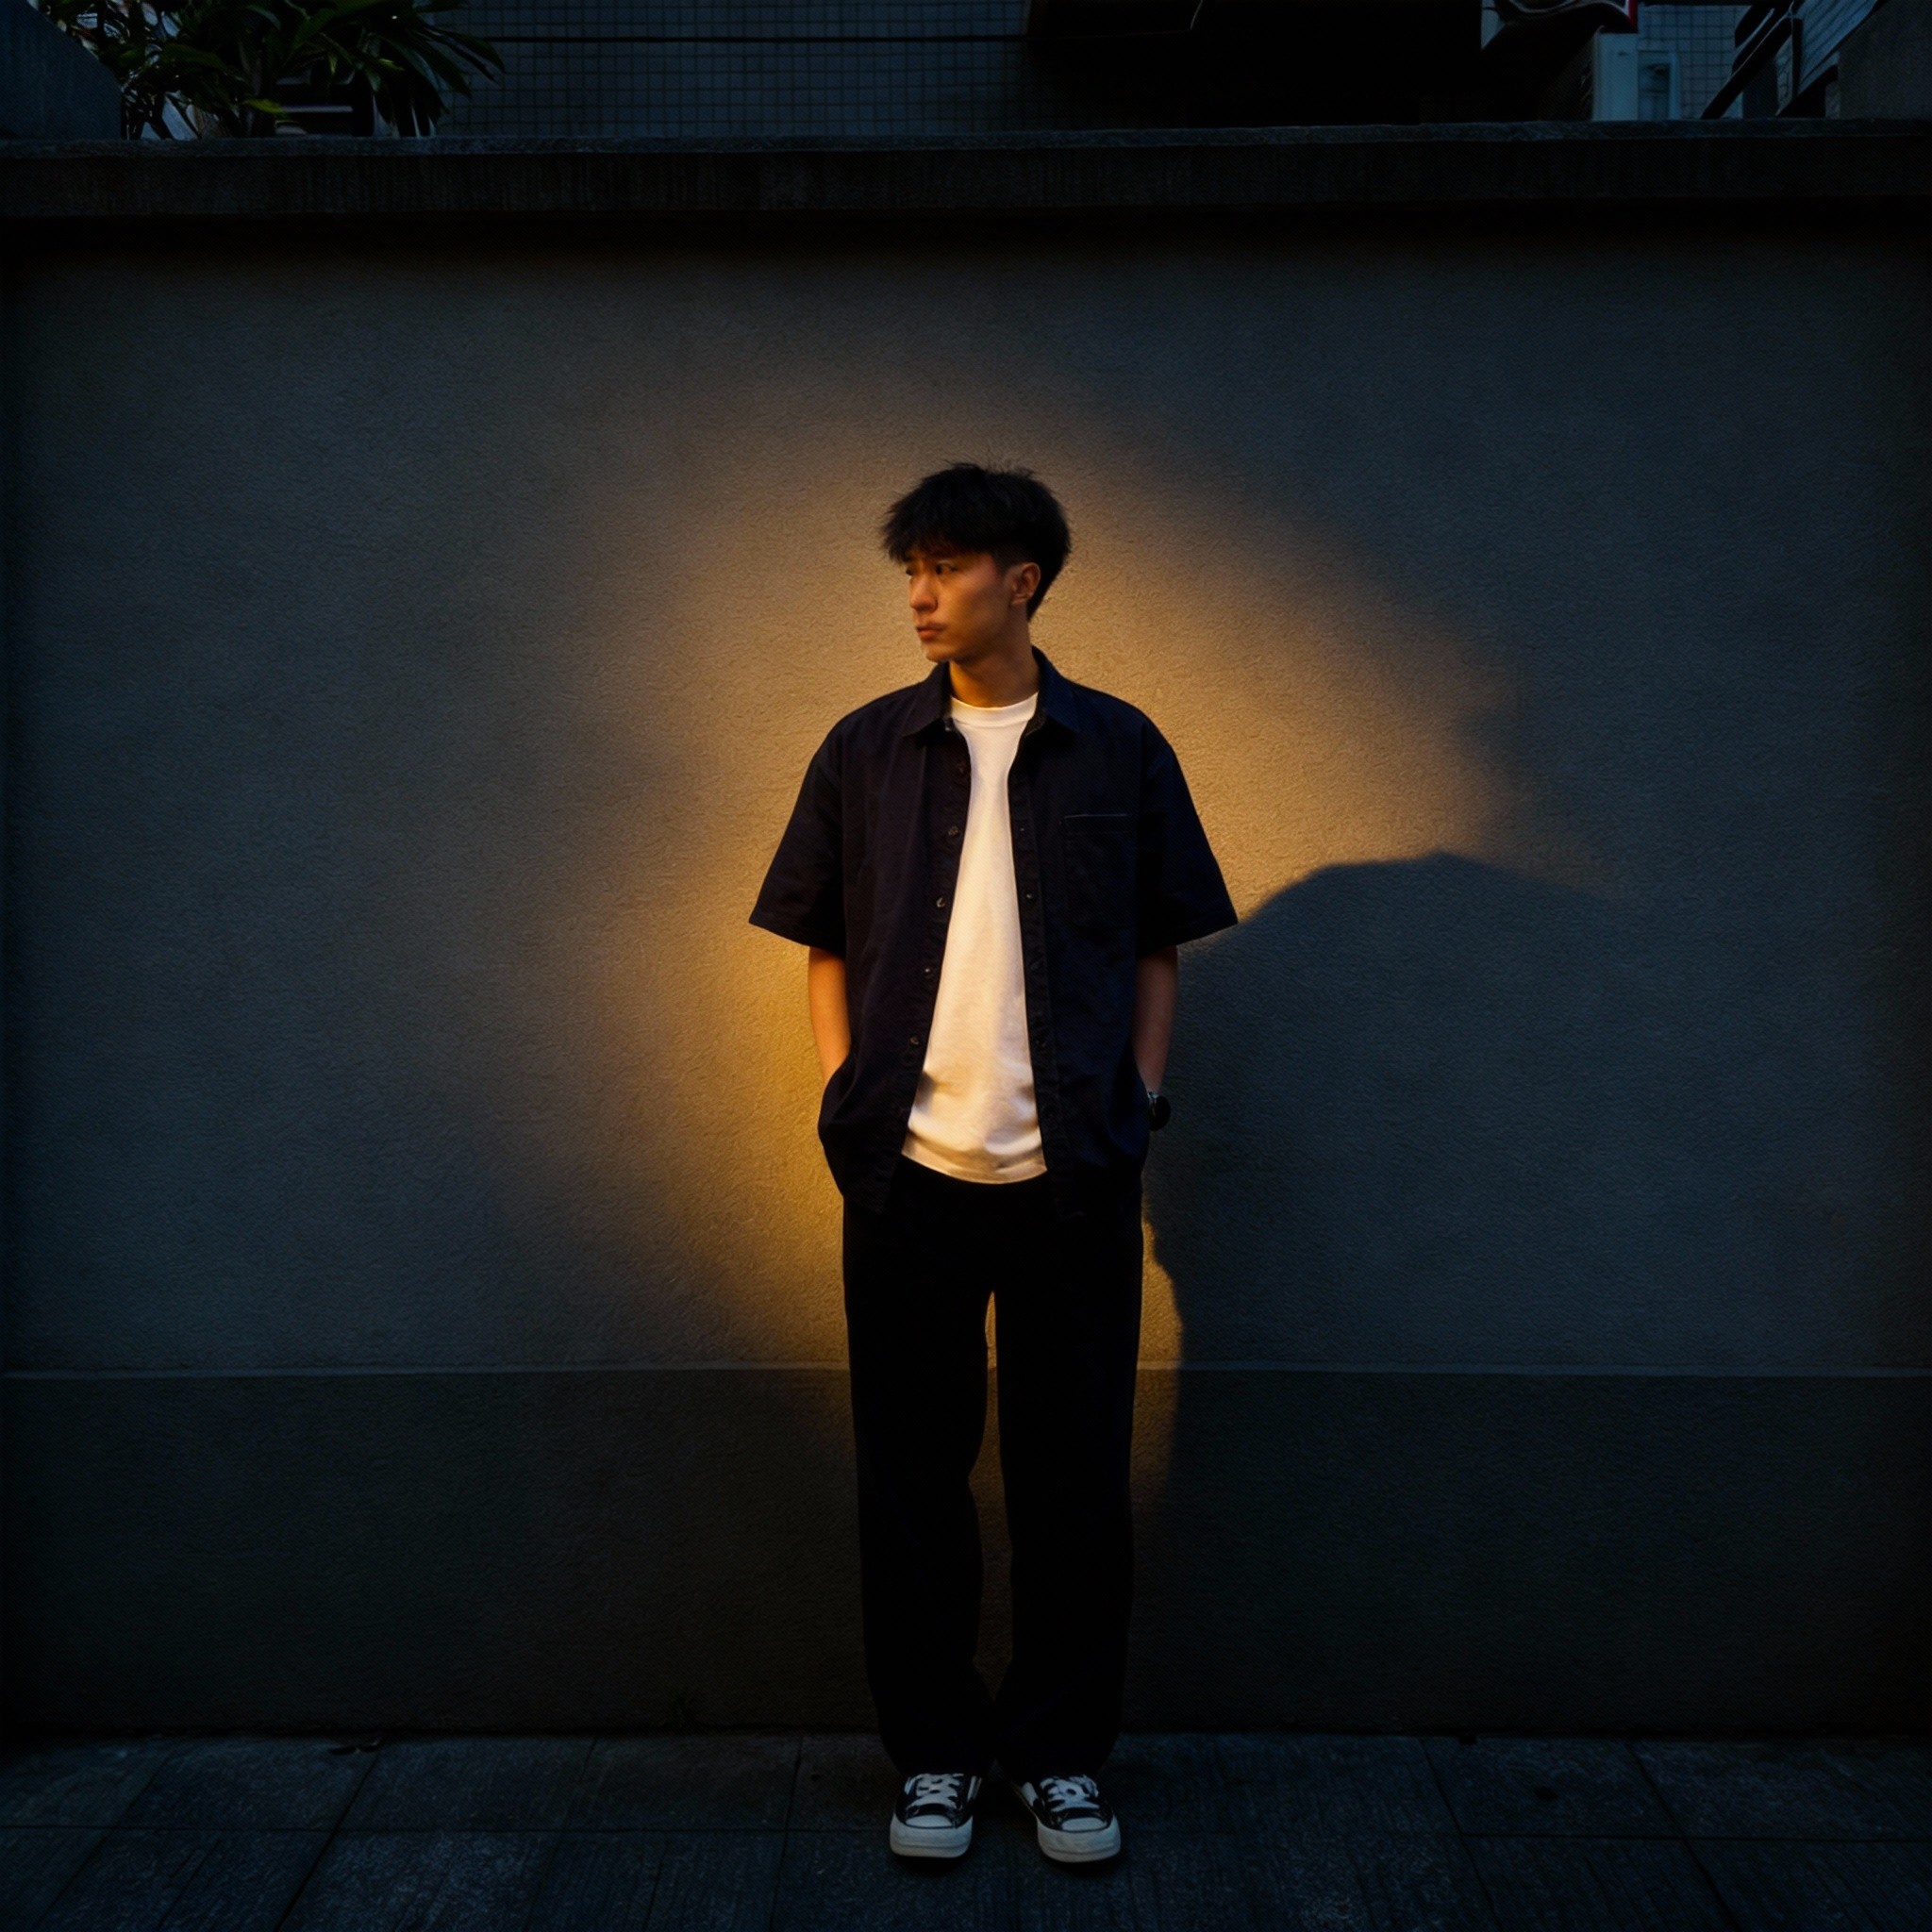
Prompt: Apply the dramatic lighting style from the female portrait reference image to the outdoor street scene.
Using the Annotation Tool for Precise Image Targeting
The Annotation tool gives the AI visual instructions that reinforce your text prompt. This is especially useful when working with complex scenes or multiple objects. Not all Multi Image Input tools have this feature but many do.
You can use annotations in several ways. The examples below illustrate common patterns, but this is not an exhaustive list.
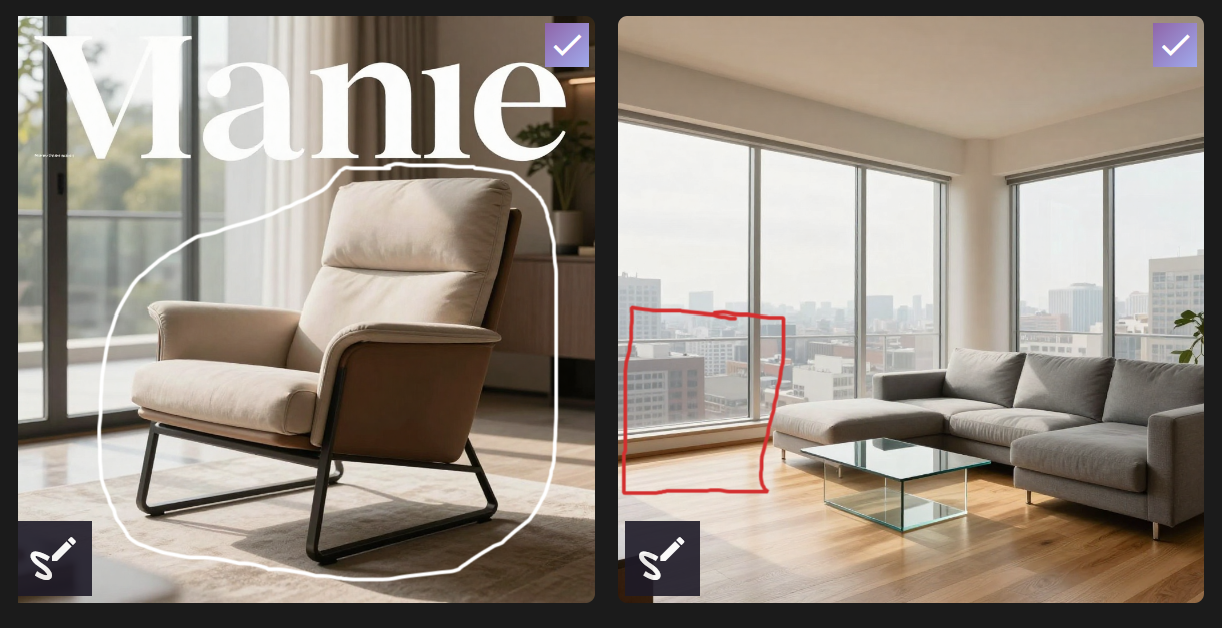
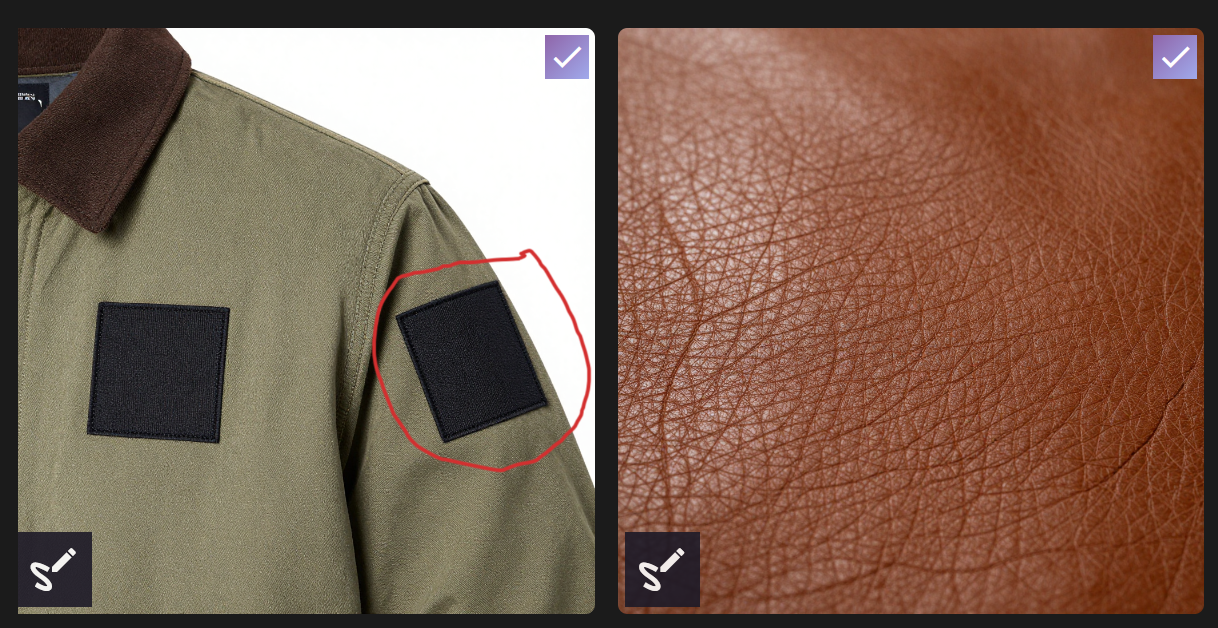
Circling: What to Include or Modify
Circle objects or areas you want the AI to include, move, enhance, or reference.
Use this when adding objects, refining details, or adjusting specific elements.


Reference Images
Example:
Prompt: Add the circled modern lounge chair from the furniture reference image into the red square area of interior design image.

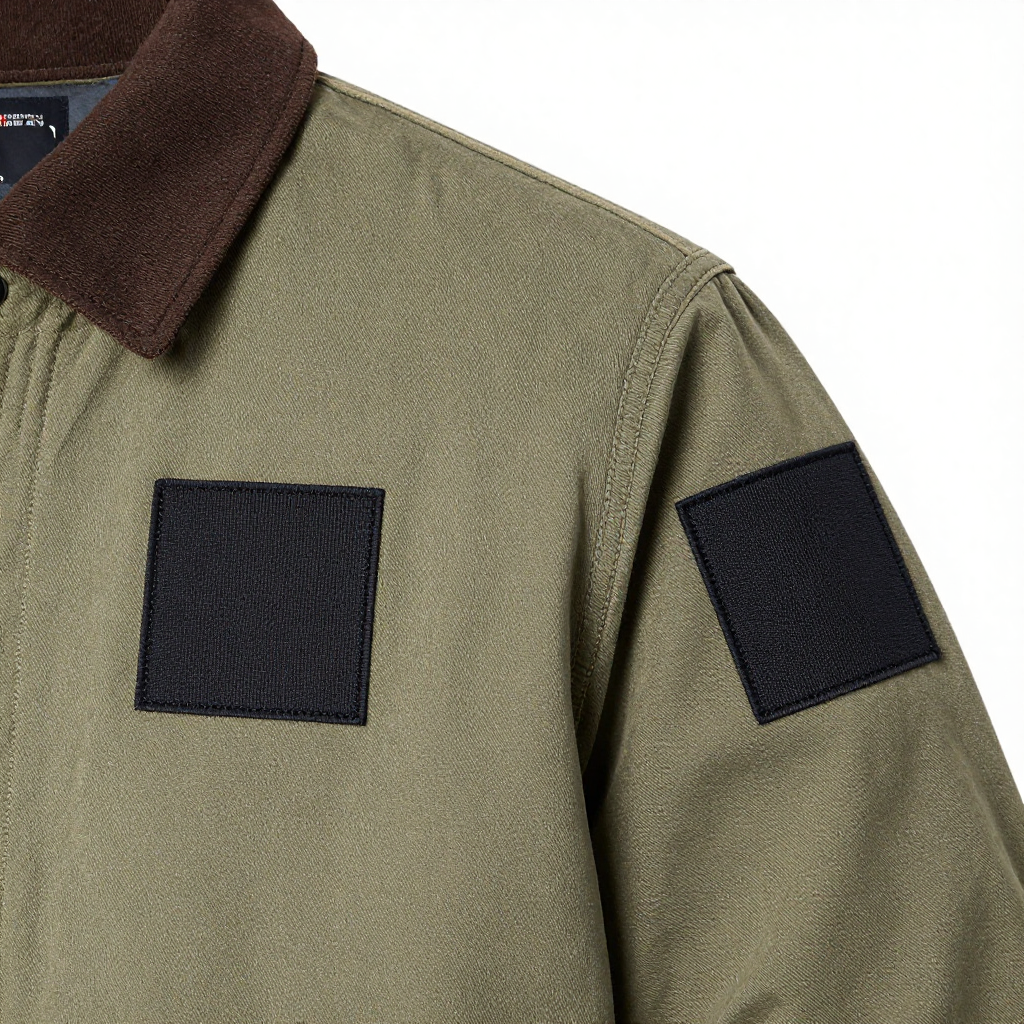
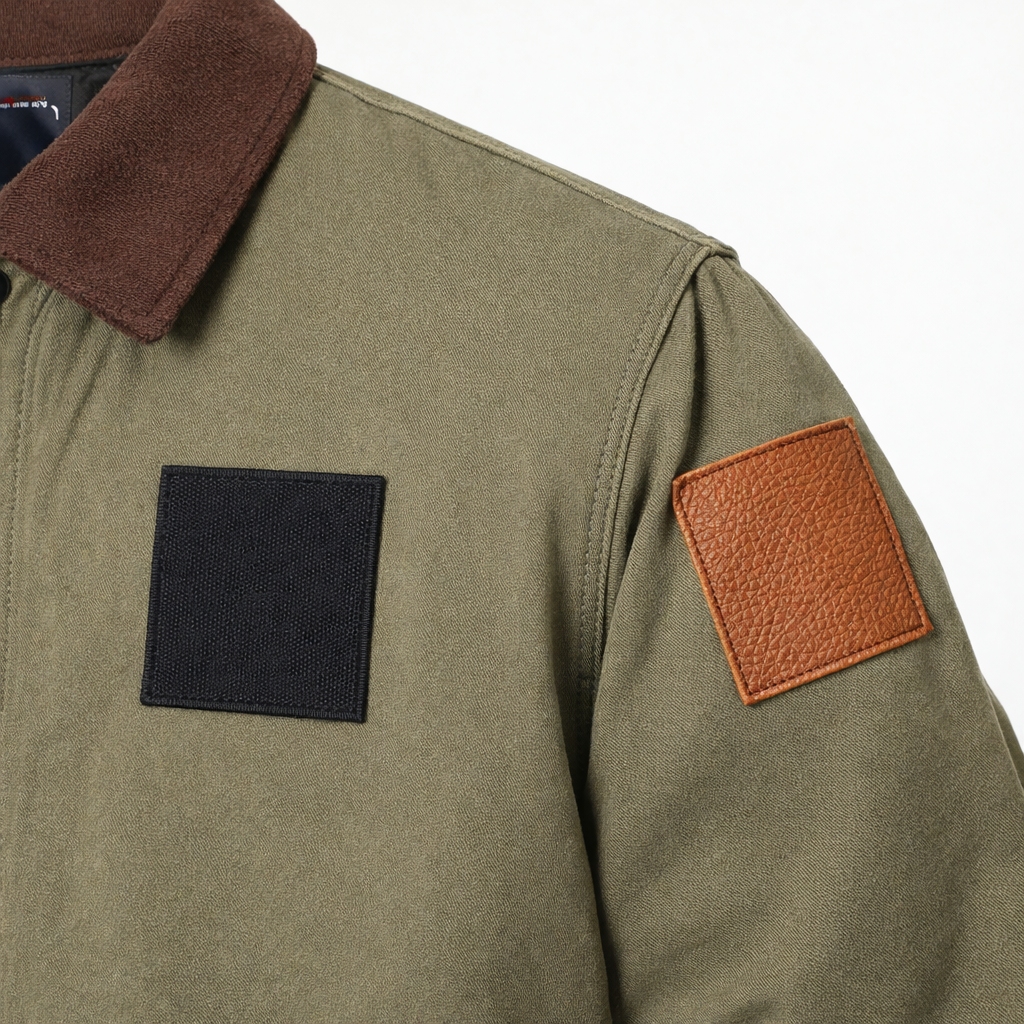
Prompt: Follow and remove the annotations marked on the image; Apply the leather fabric texture from the reference image to the circled patch on the jacket.
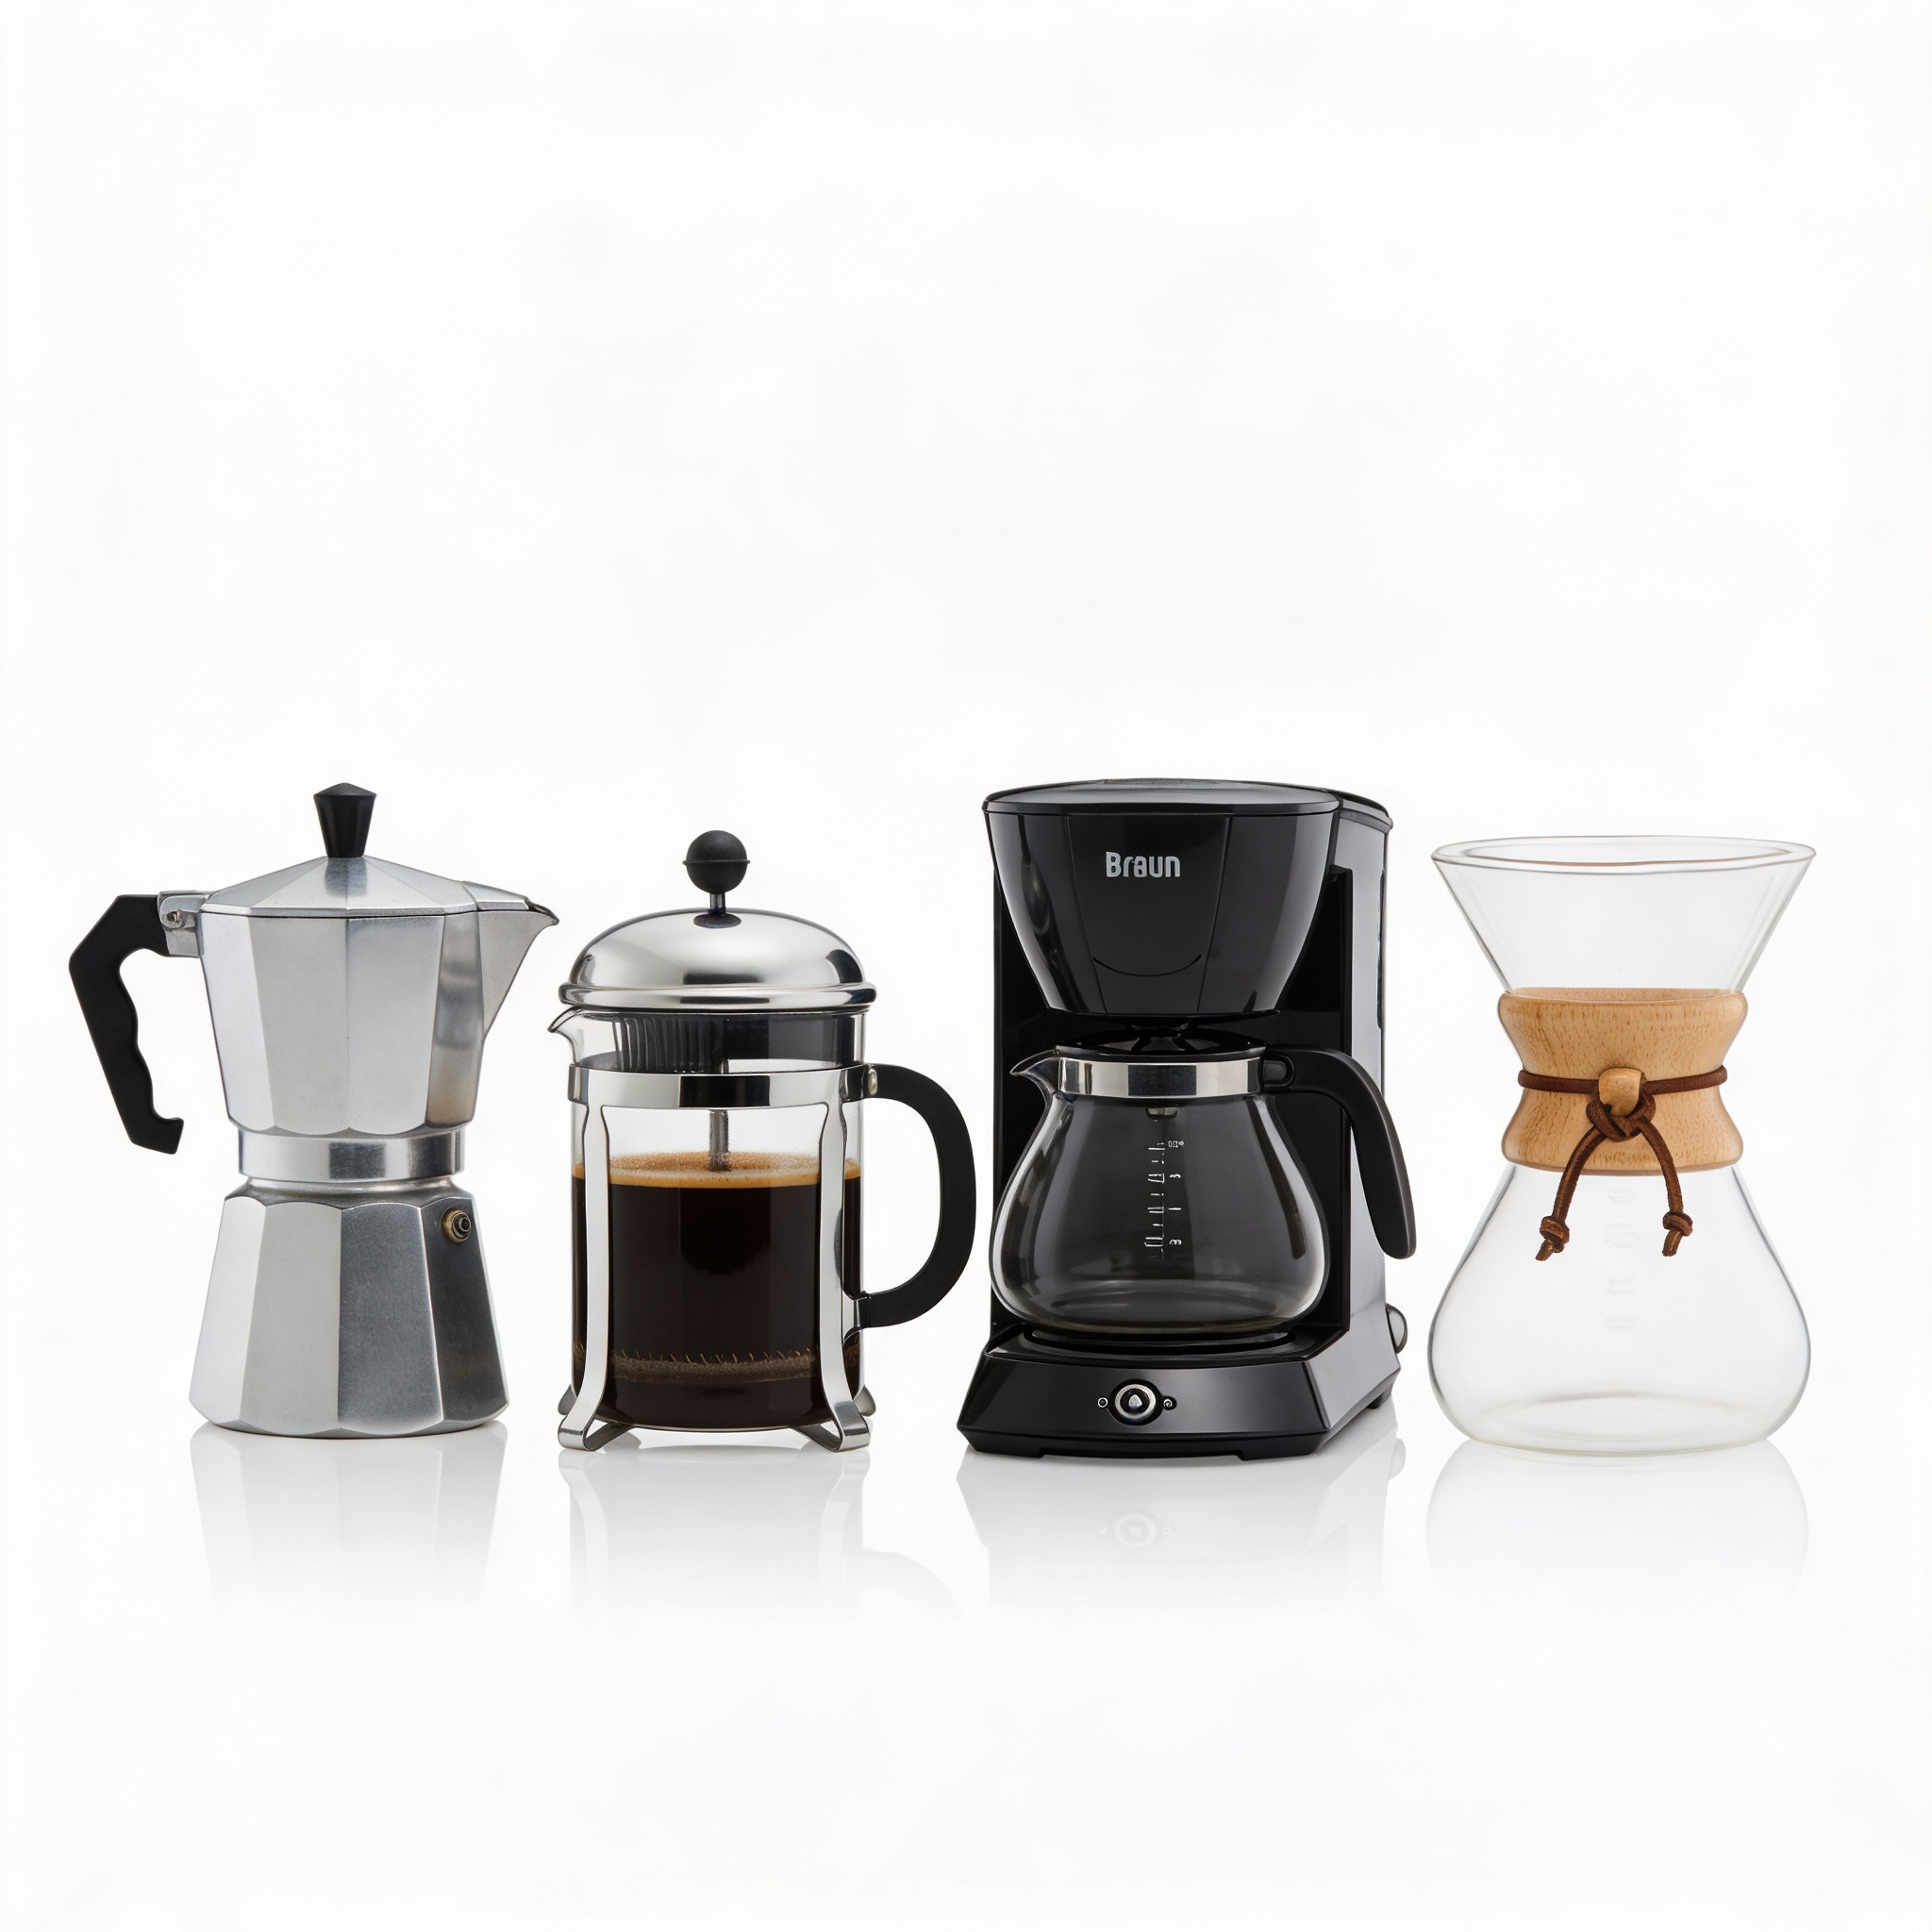
Crossing Out: What to Remove
Cross out elements you want removed, replaced, or ignored.
This helps prevent the AI from preserving unwanted objects or features.
Example prompts:
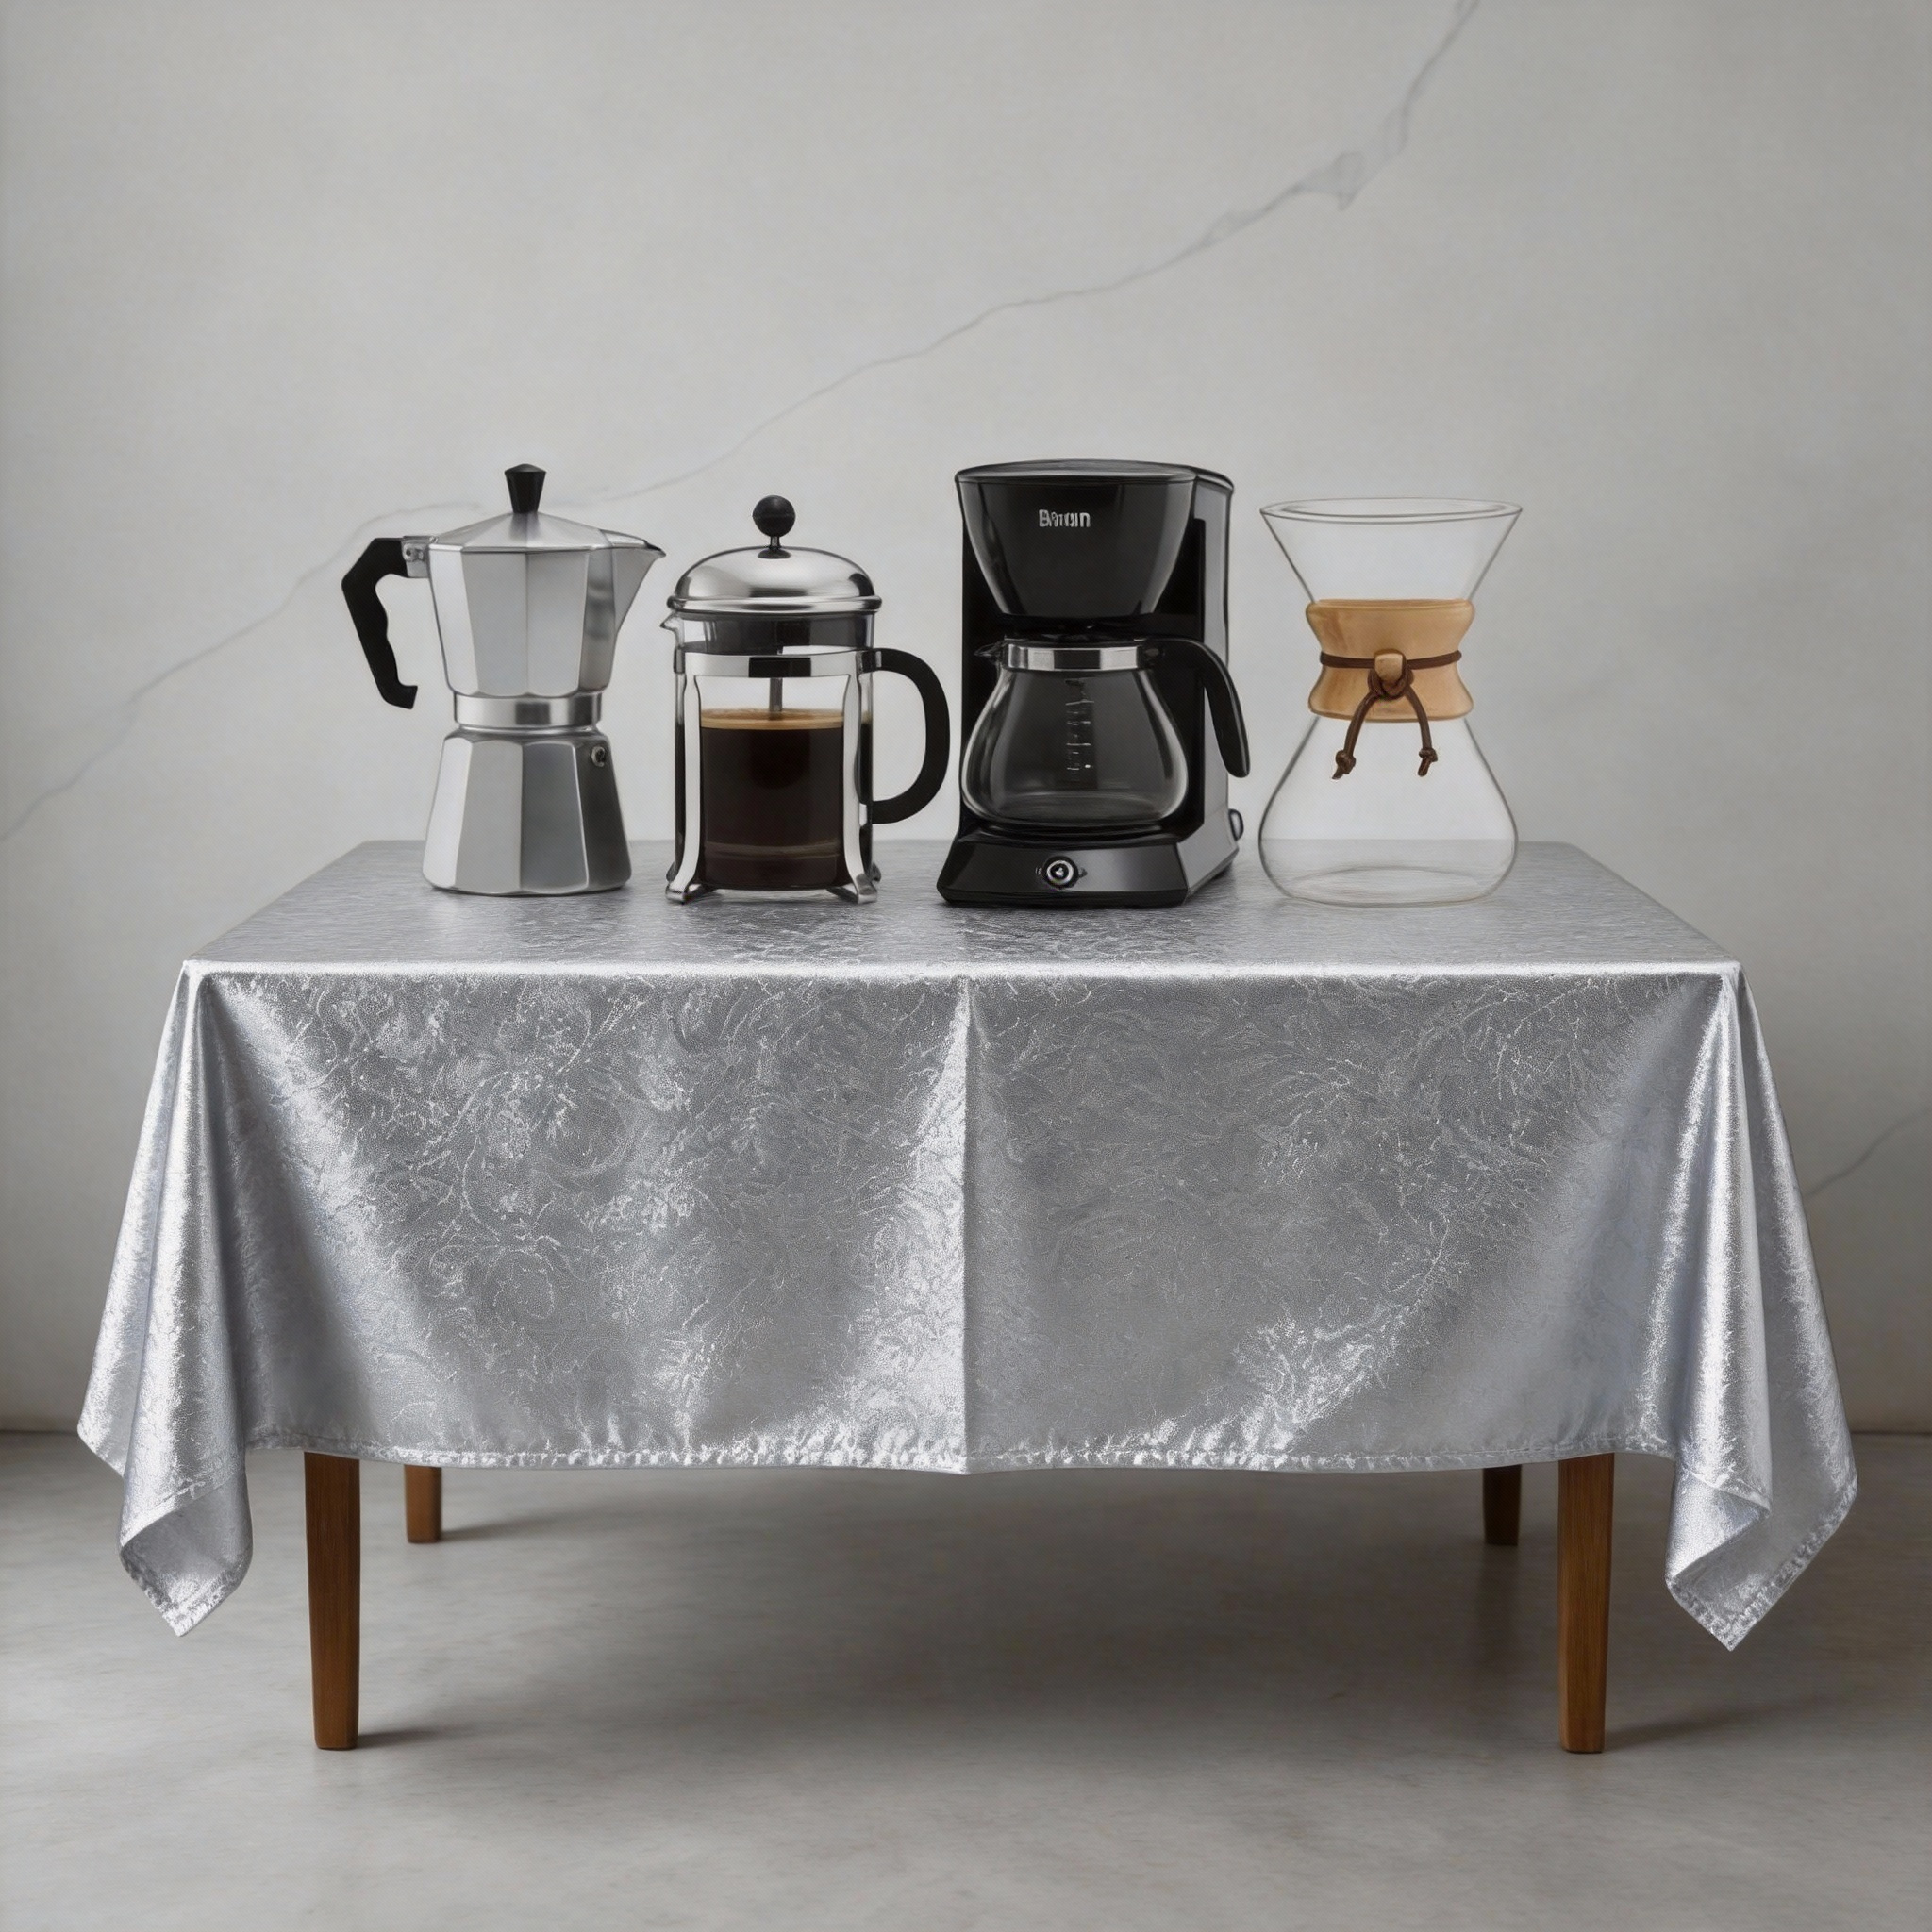
Prompt: Follow and remove the annotations marked on the image; remove the two appliances in the background. The remaining 4 render into photographs keep background white

Numbered Labels: Structured, Multi-Part Instructions
Label areas with numbers (1, 2, 3, etc.) and reference those numbers directly in your prompt to describe different changes. This approach works well when multiple edits are needed in a single image.
Example prompt:
Prompt: Follow and remove the annotations marked on the image; Add the appliances in image 1 and the silver cloth from image 2 to the Image labeled 3.
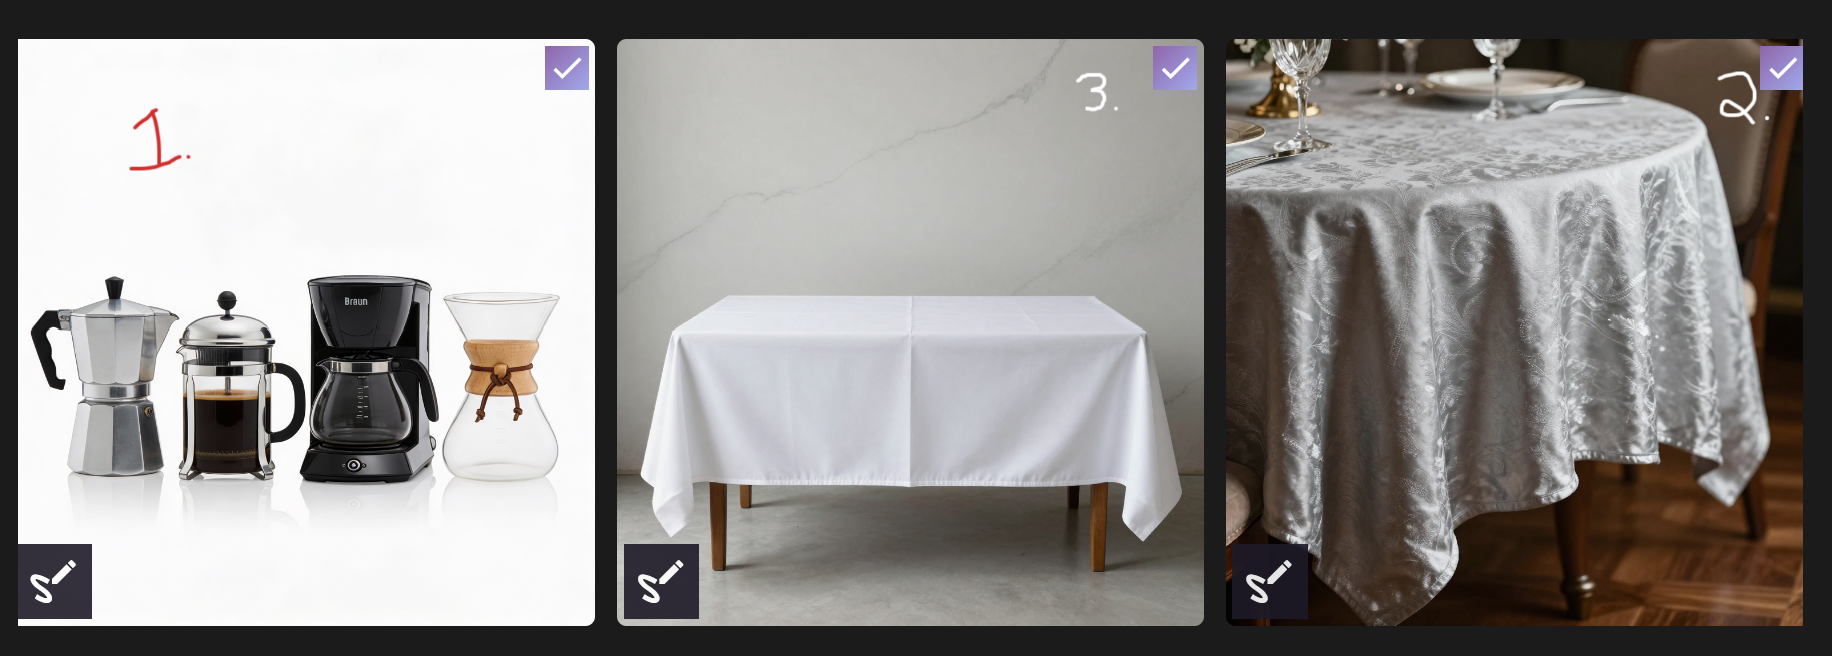
Clear annotations combined with descriptive image references help the AI understand what to change and where to apply each edit, reducing ambiguity and improving consistency.
Arrows: Directing Selection, Placement, or Change
Use arrows to indicate which part of the image should be changed, where an object or subject should be placed, or which object or subject the AI should select. Arrows are especially useful when the image contains multiple similar elements or when position and intent must be unambiguous.
Example Prompt: Follow and remove the annotations marked on the image; Replace the areas the arrow point to with black basalt. Do not change any other part of the image.
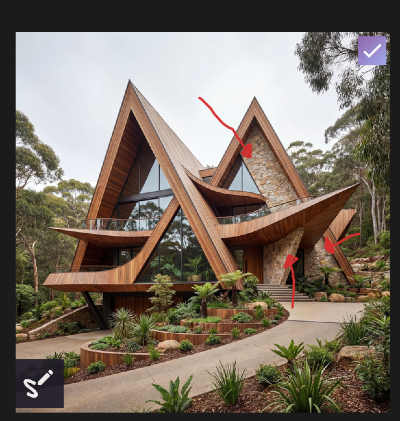
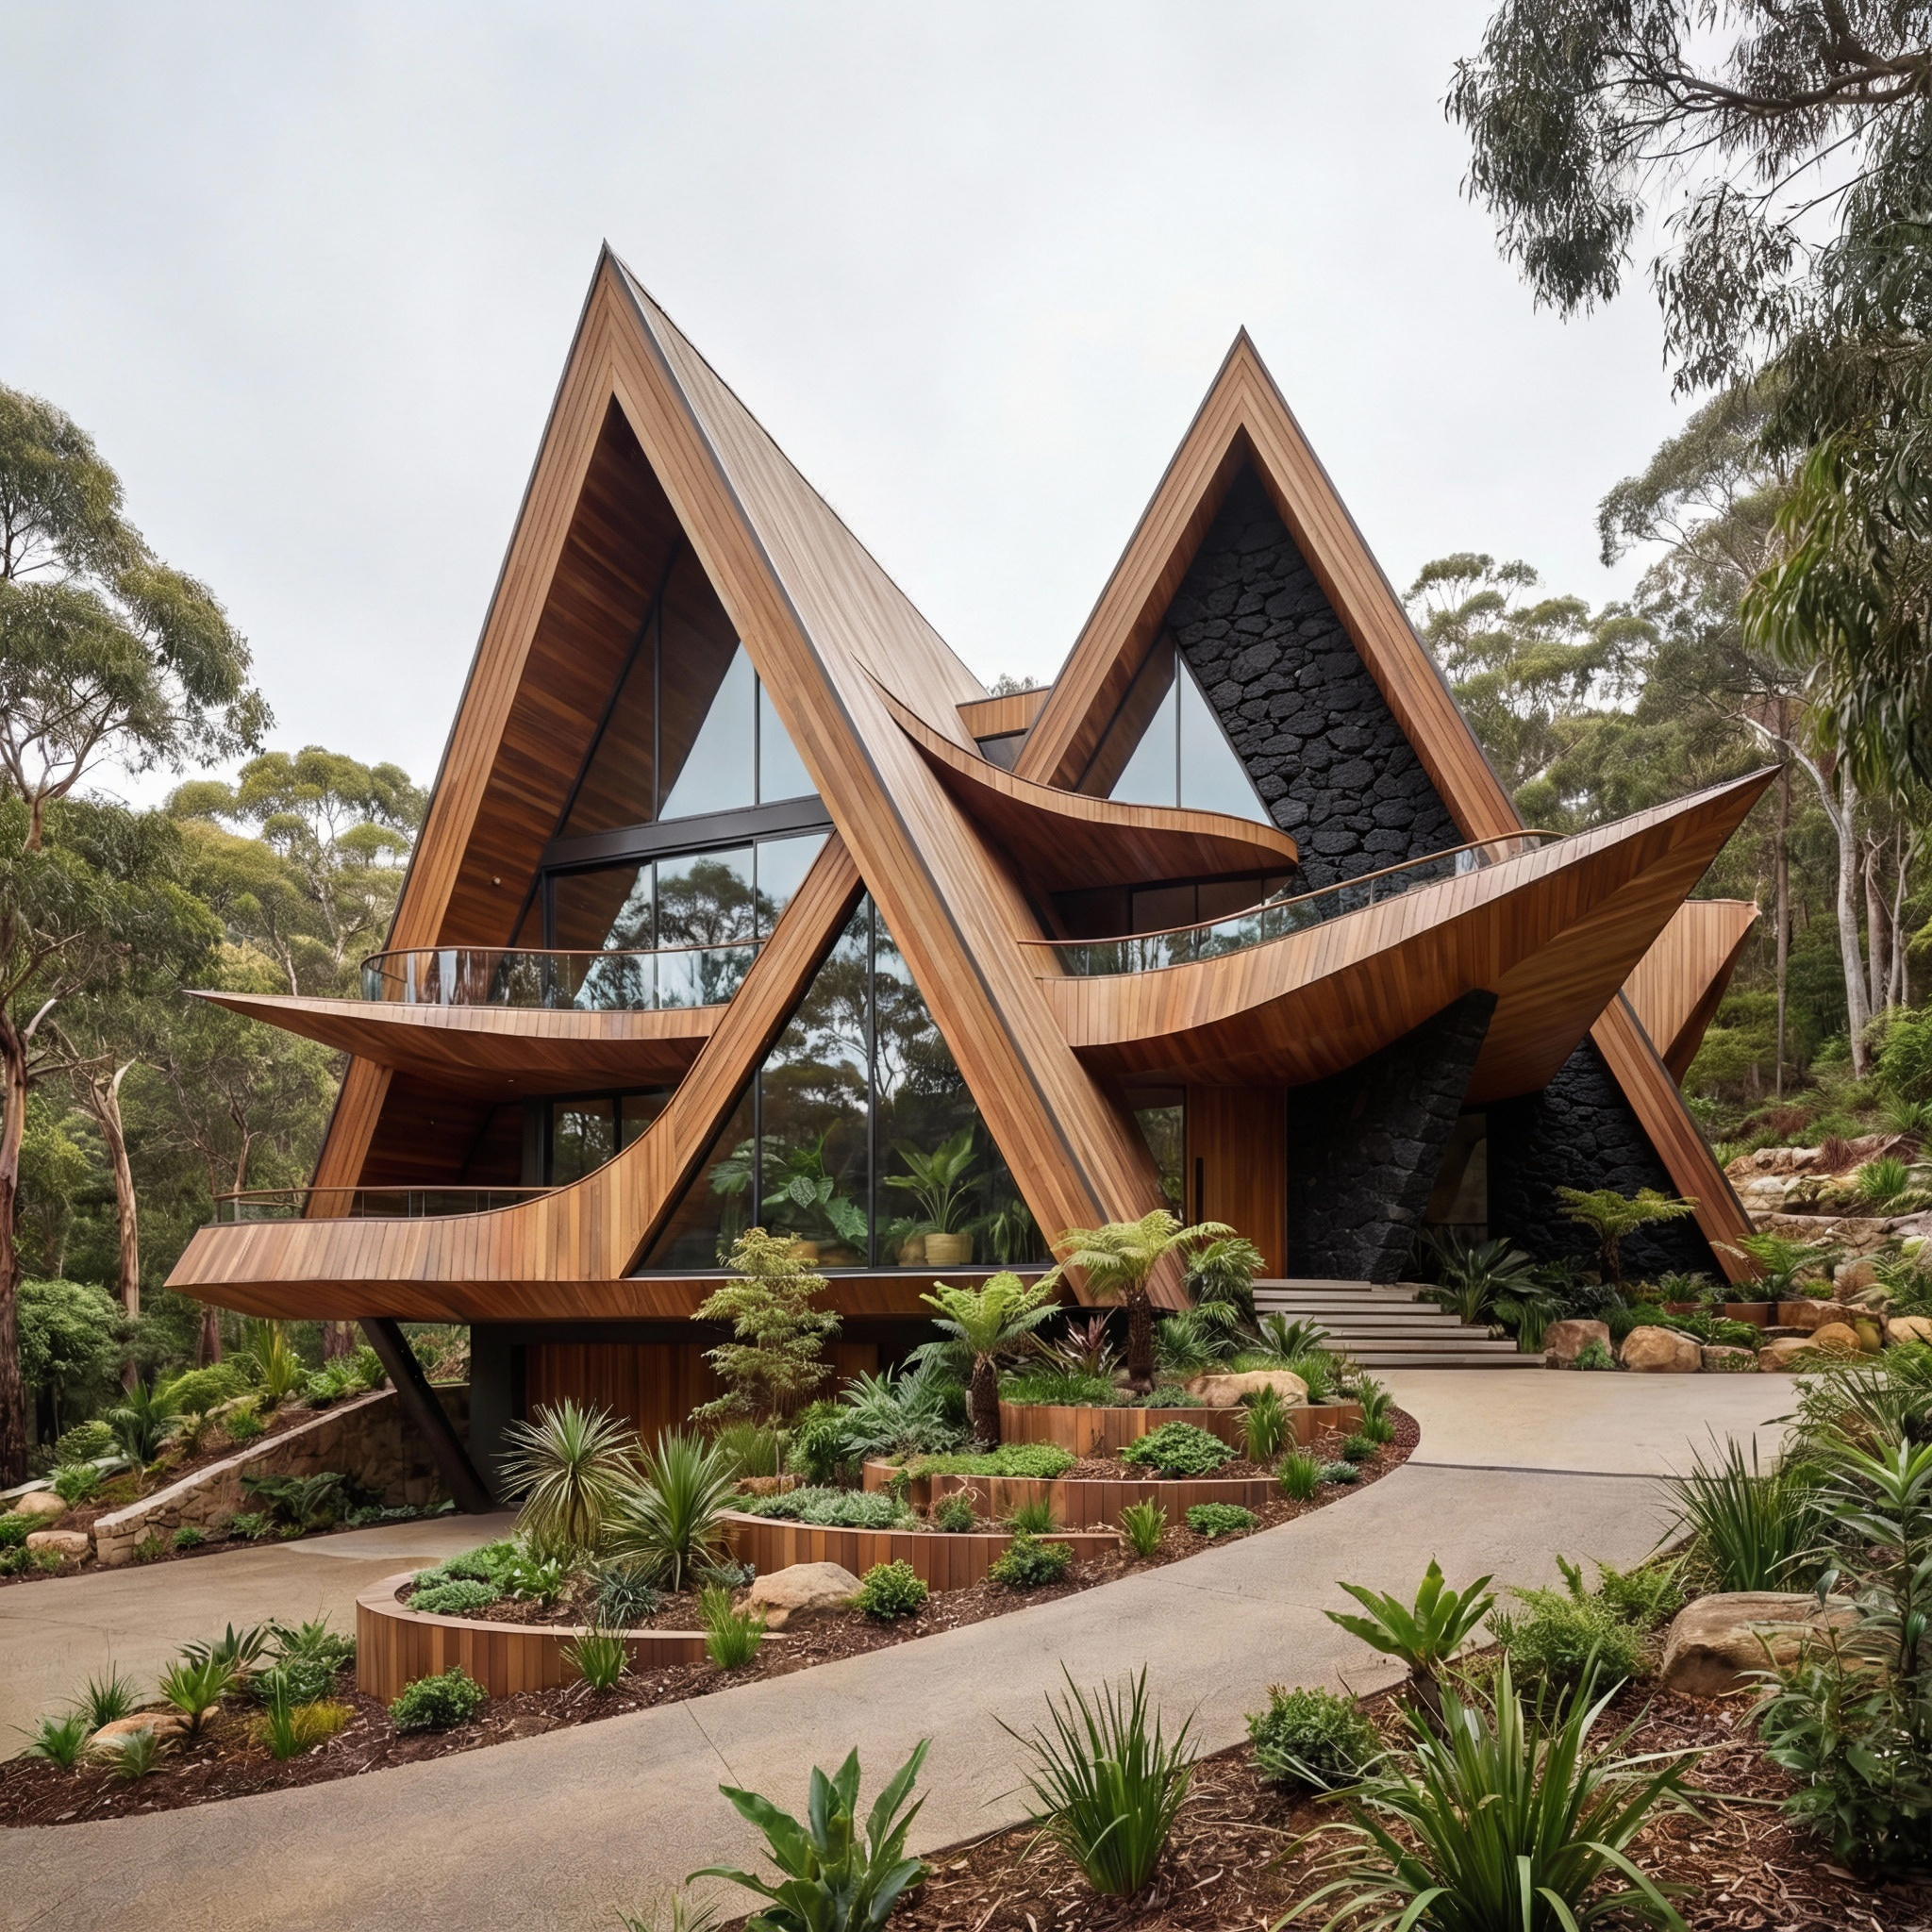
Arrows help focus the AI’s attention, reducing guesswork when multiple objects or regions could otherwise be interpreted as valid targets.
Combine Annotations with Clear Prompting for Best Results
Annotations are a powerful guide, but they work best when combined with the other techniques outlined in this guide. Annotations alone should not replace clear, descriptive prompts or proper image referencing.
For best results:
- Use annotations to visually indicate intent, not to replace written instructions
- Always describe what should change and why, even when an area is marked
- Combine annotations with descriptive image references rather than relying on visual cues alone
- Apply the same principles of minimal edits per pass and clear target selection
Common Mistakes to Avoid
- Referring to images as “this” or “that”
- Using text like "image 1" and "image 2" without providing visual context.
- Assuming upload order alone is enough
- Combining multiple actions without clear targets
- Forgetting to specify which image is modified
When edits become complex, split them into multiple steps or prompts.
Practical Tips for Better Multi-Image Results
- Treat one image as the base image and name it clearly
- Call out each reference image’s role explicitly
- Use annotations for localized edits
- Test small changes before complex compositions
Popular Models for Multi-Image Editing
Multi-image editing relies on models that can understand relationships between images, not just generate from text. These models are designed to interpret a base image, one or more reference images, and a clear instruction describing how they should interact.
Below are some popular Multi-Image Edit tools to try. Not all have annotation but many do.
Final Takeaway
Multi-image prompting is about clarity, not complexity. By explicitly stating what changes, where it happens, and which image provides the reference, you gain full control over AI-driven edits. This approach leads to faster iterations, fewer mistakes, and more reliable results across RunDiffusion and Runnit workflows.
Further Reading

Frequently Asked Questions (FAQ)
What is multi-image prompting?
Multi-image prompting is the practice of providing more than one image to an AI model and clearly instructing how those images should be used together. This often includes defining a base image, one or more reference images, and explicit instructions for how objects, styles, or subjects should be combined or modified.
Why do I need to specify which image is being edited?
When multiple images are uploaded, the AI does not inherently know which image should be changed. If you do not specify the target image, the model may apply edits to the wrong image, merge scenes incorrectly, or place objects in unintended locations. Explicit targeting removes ambiguity and improves accuracy.
Should I use “image 1” and “image 2” in my prompts?
In most cases, no. It is better to describe images by their content, such as “the interior design image,” “the product reference image,” or “the portrait reference.” Descriptive references are clearer, more reliable, and scale better when working with multiple images.
Do annotations replace the need for clear prompts?
No. Annotations are a visual aid, not a replacement for written instructions. The best results come from combining annotations with clear, descriptive prompts that explain what should change, where it should happen, and why.
What types of annotations work best?
Common and effective annotation types include:
- Circling areas to include or modify
- Crossing out elements to remove or ignore
- Arrows to indicate where to place objects, which area to change, or which subject to select
- Numbered labels to organize multiple edits within a single image
Each annotation should be referenced directly in your prompt.
How many changes should I make in one prompt?
Keep changes minimal in each pass. Combining too many edits into a single generation increases the chance of errors or unintended results. Multiple focused iterations are more reliable than one complex instruction set.
Can I use multiple reference images in one prompt?
Yes. Many workflows benefit from using multiple reference images, such as one for style and another for objects or materials. When doing so, clearly describe the role of each reference image so the AI understands how to apply them.
Do all multi-image models support annotations?
No. Not all multi-image edit models support annotation tools. However, even when annotations are not available, the same principles apply: clear image targeting, descriptive references, and focused prompts lead to better results.
What models work well for multi-image editing?
Popular multi-image edit tools include Nano Banana Pro, Seedream V4.5 Edit, ChatGPT Image Edit, and Flux 2 Max. Capabilities vary by model, but the prompting techniques in this guide apply regardless of which tool you use.
What is the most common mistake users make with multi-image prompts?
The most common mistake is relying on the AI to infer intent using vague language, assuming upload order is enough, or failing to specify which image is being modified. Clear intent and structure consistently produce better results.
