


What is OpenWebUI?
OpenWebUI is an open-source, user-friendly web interface designed to enhance AI interactions. It provides an easy way to use and manage large language models (LLMs) like Deepseek, LLaMA, and Mistral without requiring complex setups. With OpenWebUI, users can access AI models efficiently in a structured, chat-based interface.
Why Use OpenWebUI on RunDiffusion?
RunDiffusion has integrated OpenWebUI to provide users with a seamless and powerful environment for interacting with AI models. Instead of setting up OpenWebUI locally, which can be time-consuming and resource-intensive, you can now leverage RunDiffusion’s cloud infrastructure to get started instantly.
Key Benefits of OpenWebUI on RunDiffusion
- No Local Setup Needed – Access OpenWebUI directly from your browser using RunDiffusion’s cloud servers.
- Fast and Scalable – Run AI models efficiently without worrying about hardware limitations.
- User-Friendly Interface – Simple and intuitive design for both beginners and advanced users.
- Multi-Model Support – Works with various AI models, including GPT-4, Mistral, and LLaMA.
- Secure and Private – Run your AI interactions securely on RunDiffusion’s optimized infrastructure.
How to Use OpenWebUI on RunDiffusion
Access OpenWebUI on RunDiffusion
Login to RunDiffusion.

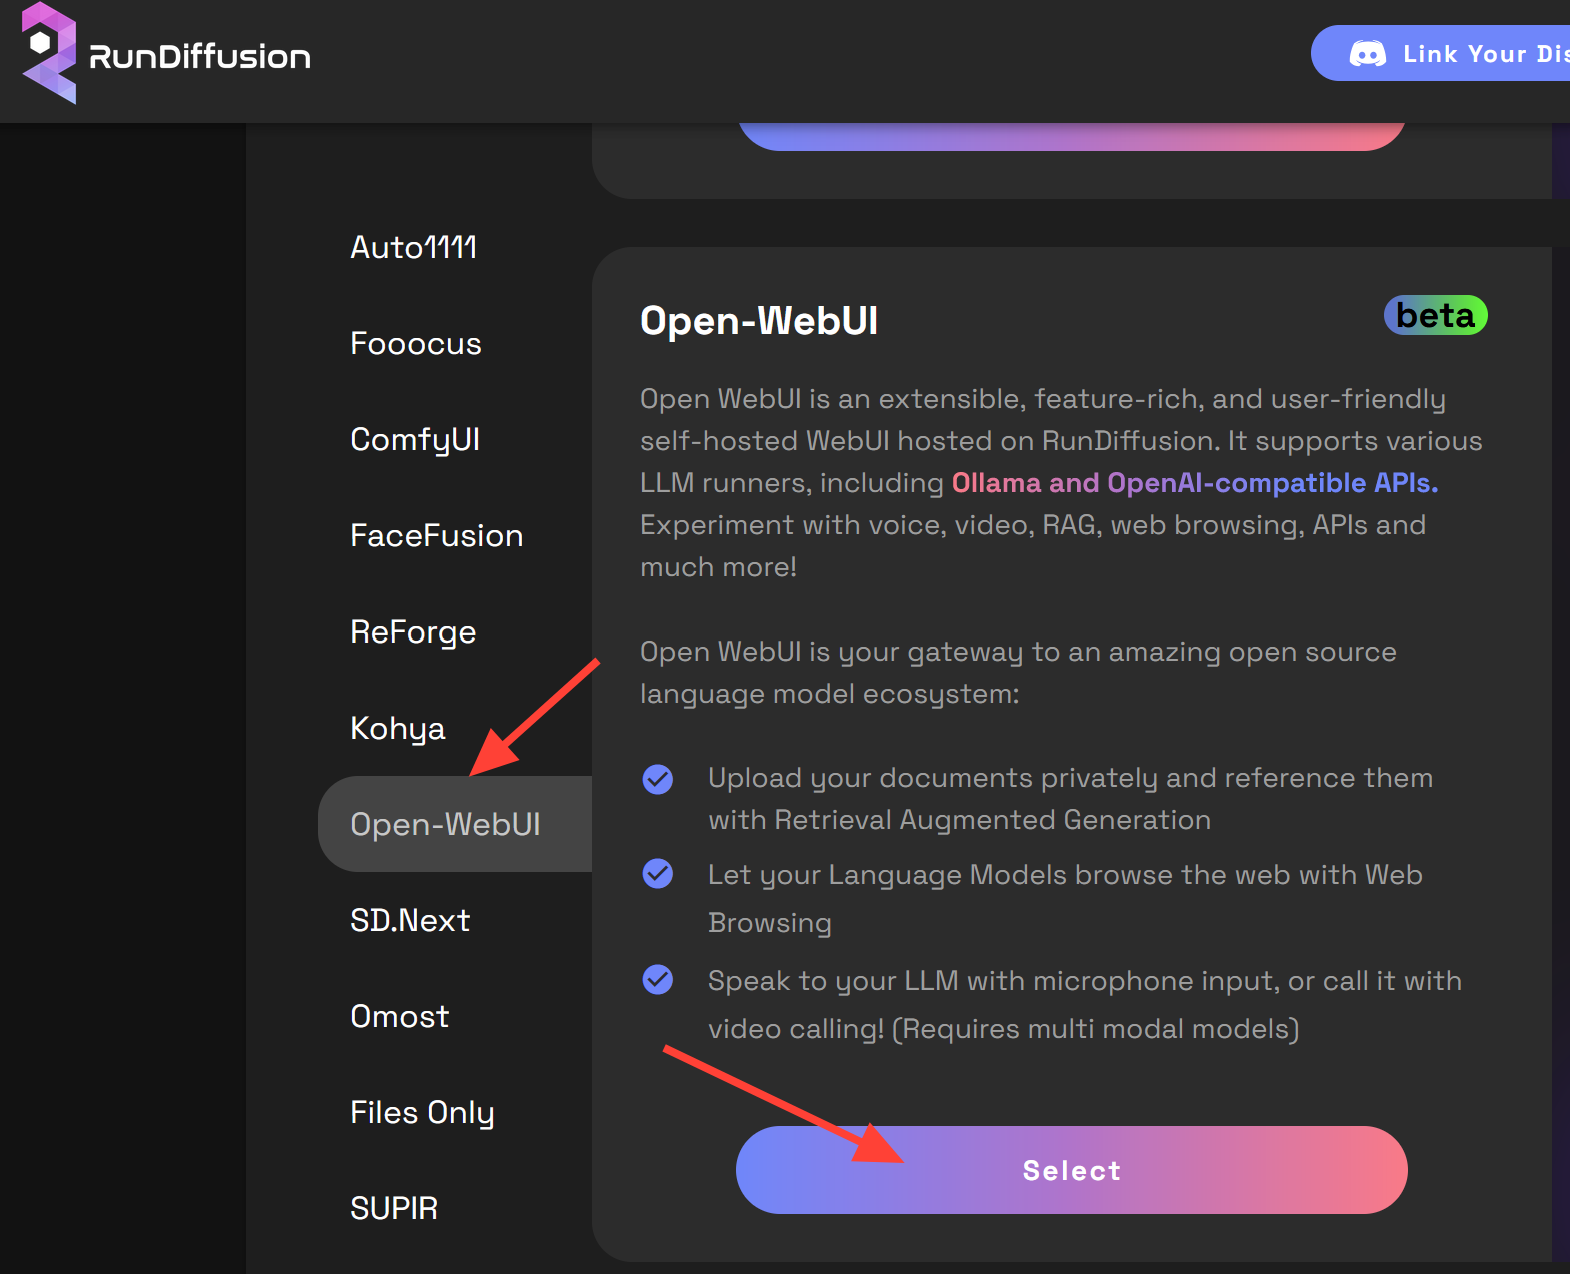
Select Open-WebUI then click Select.
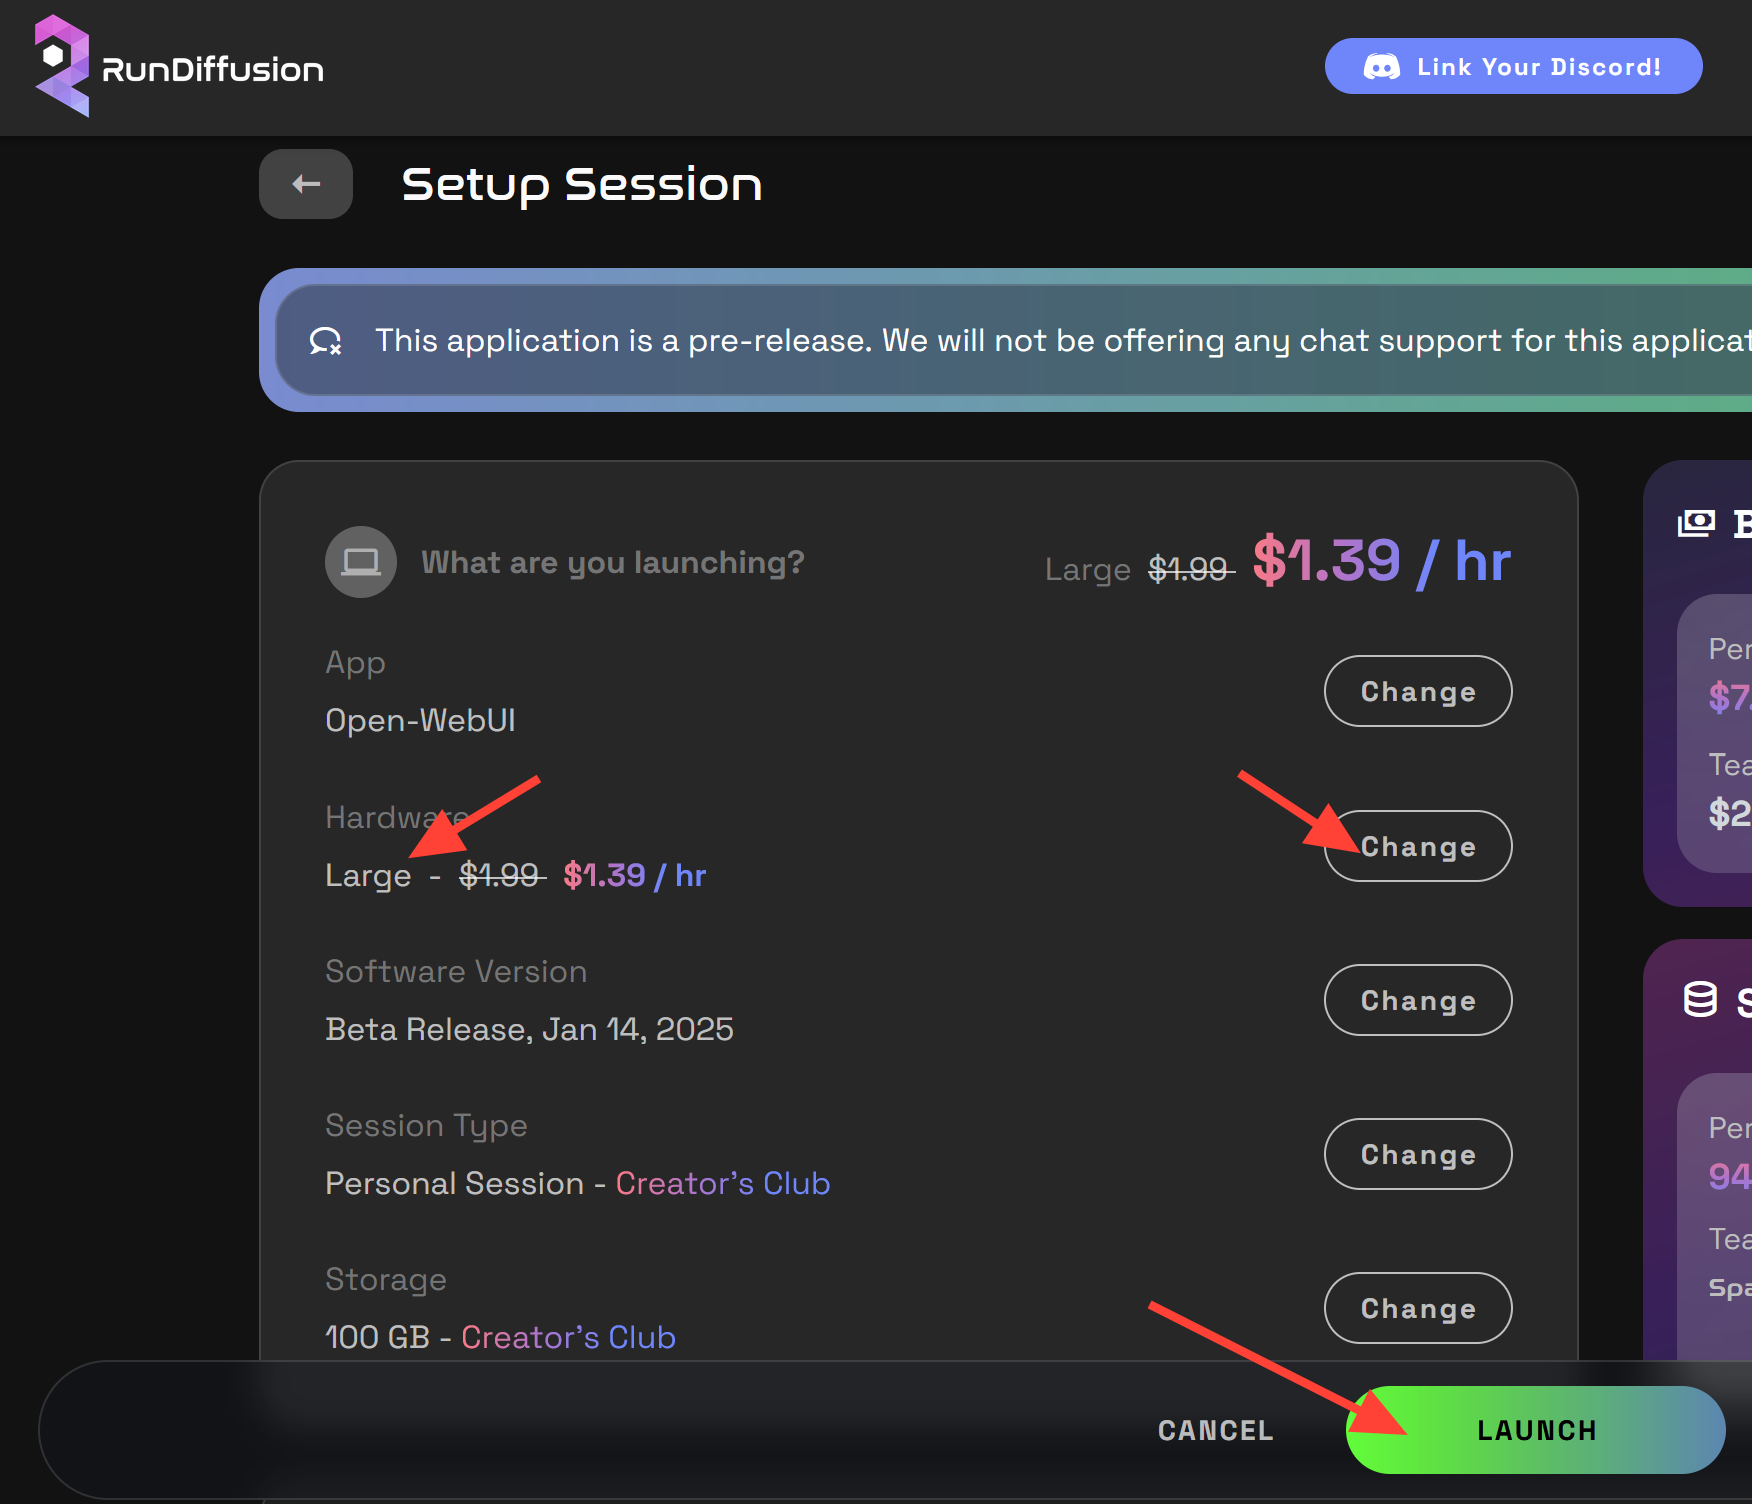
Set Up Your Session – We recommend a large server for best performance, though smaller models may work for some models. Once satisfied with your settings, click Launch.
Interface
Upon launching OpenWebUI, a What’s New pop-up may appear. Click the X to close it.

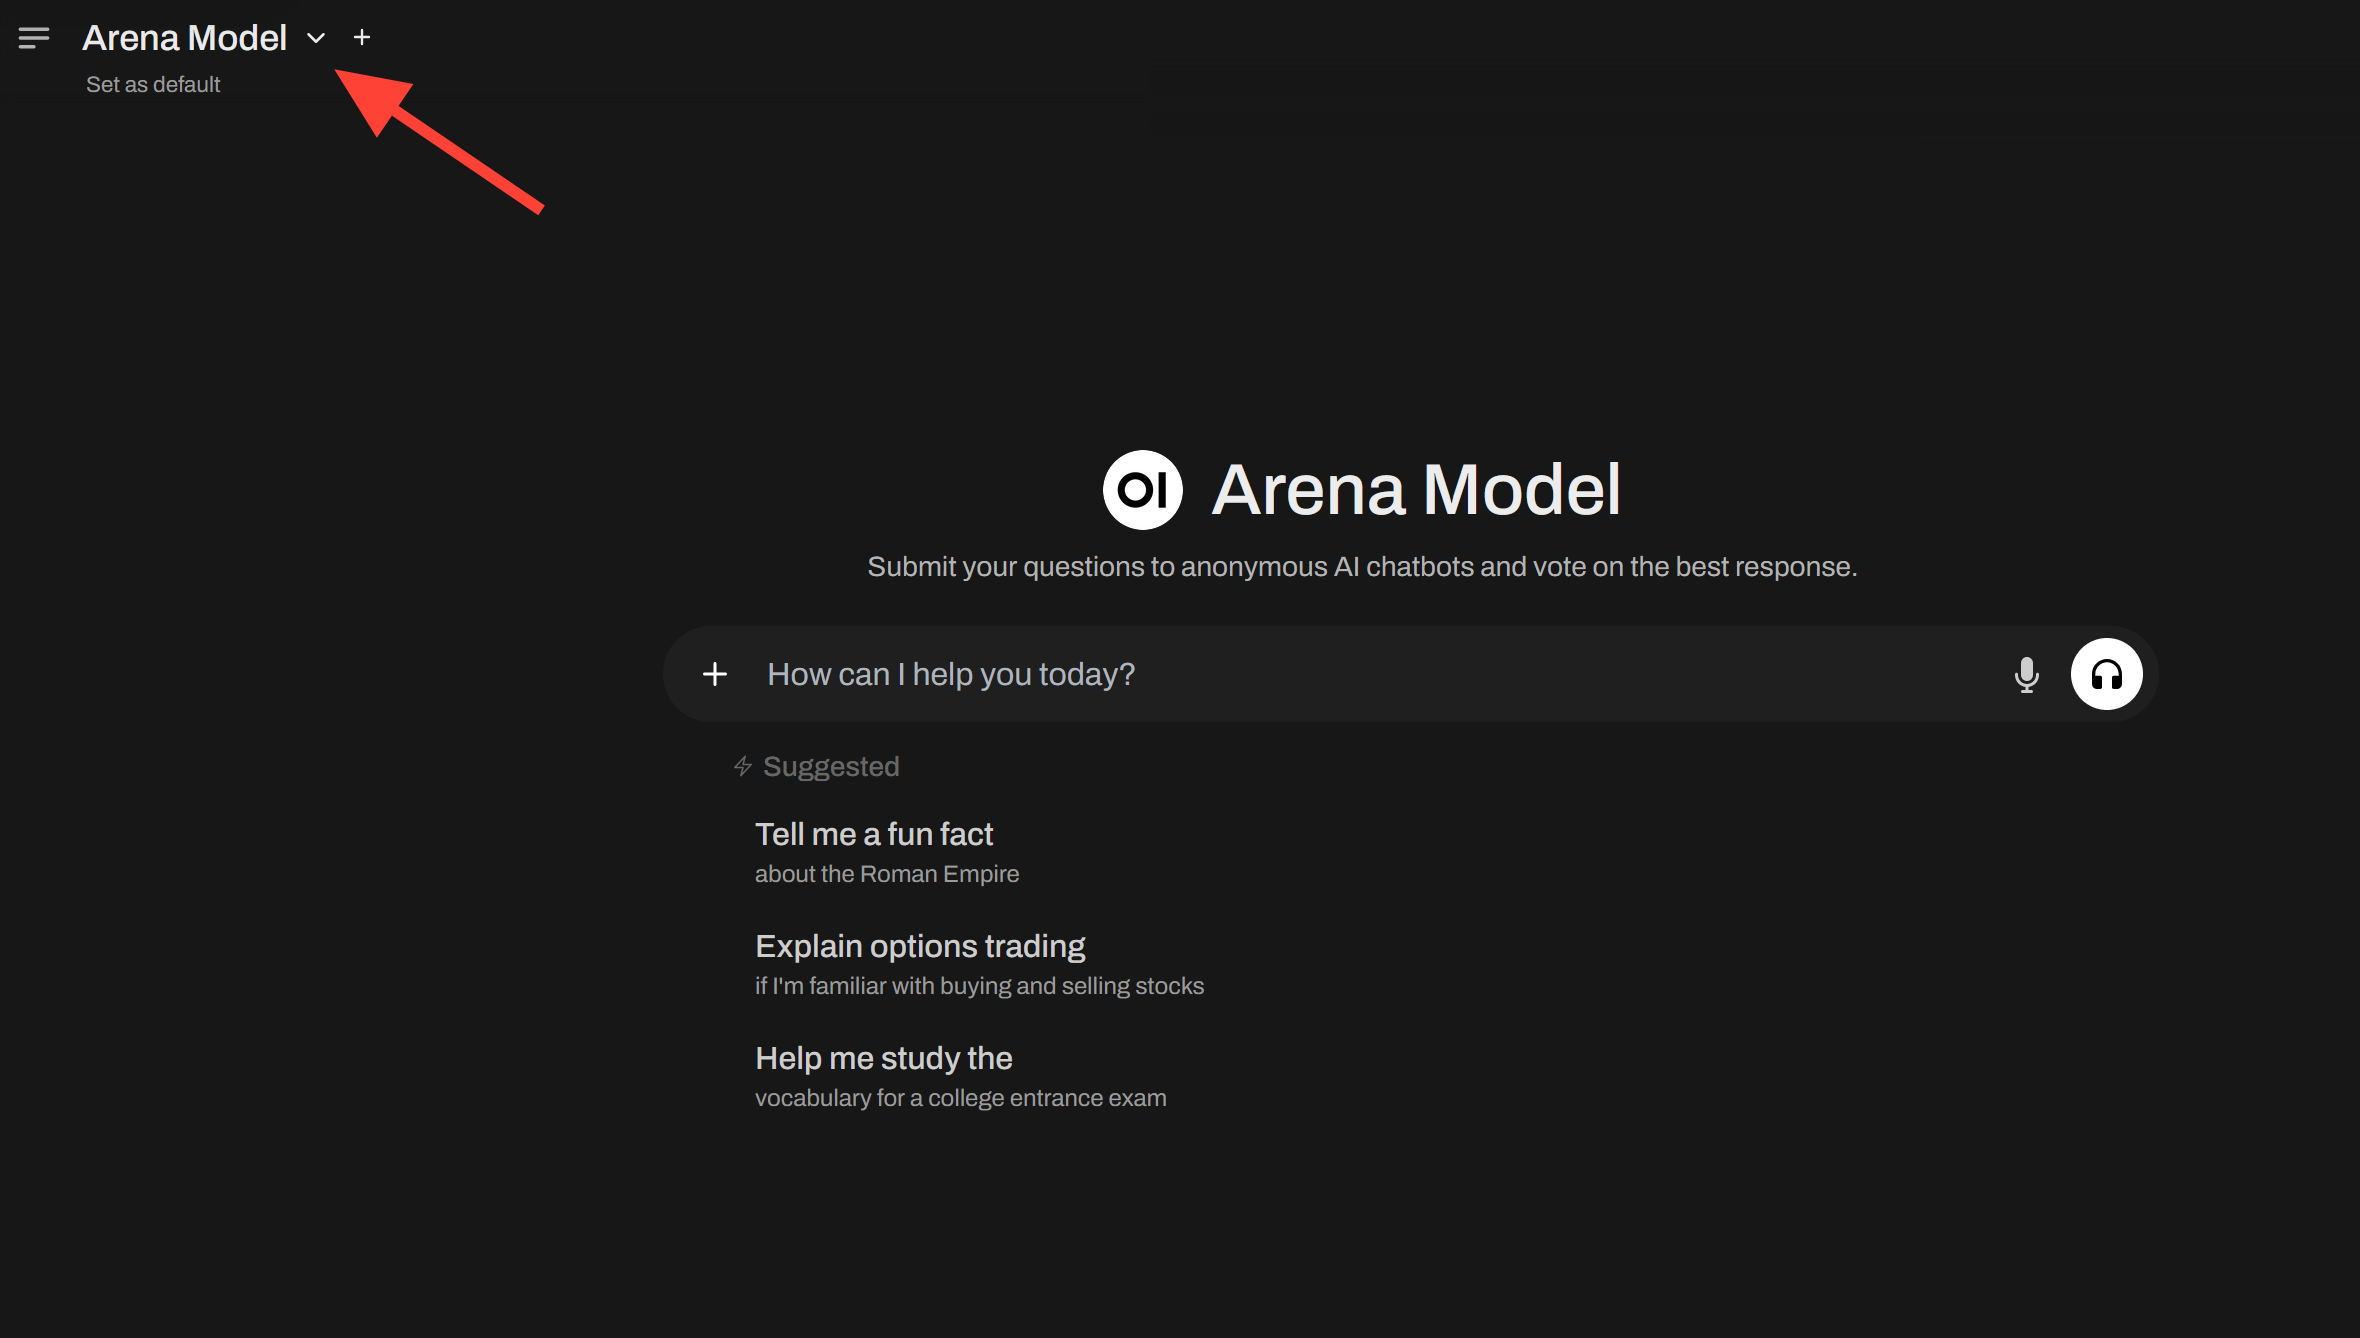
Click the chevron in the top left to select an AI model.
Use the search bar to quickly find the model you need.
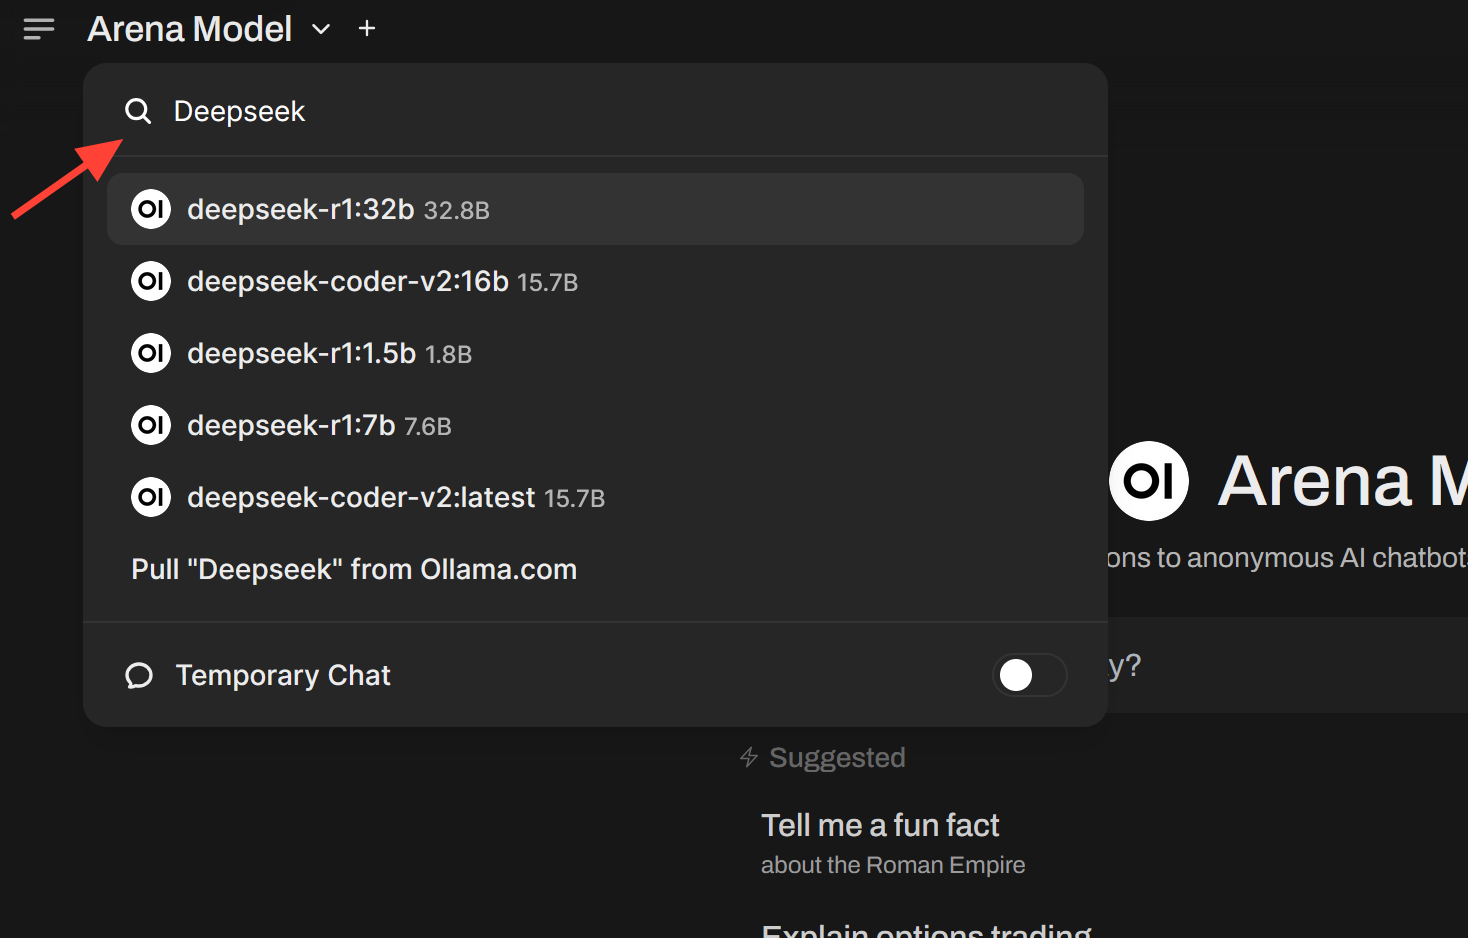
Once Selected, start chatting by tapping in the chatbox and pressing Enter.

Using Voice Input and Call Features
🎤 Voice Input:
Click the microphone to record your voice.
If prompted, allow microphone access in your browser.

Speak naturally, then click the ✔️ checkmark to submit your voice input.

Then hit enter or the up arrow to send the text to the model you selected.

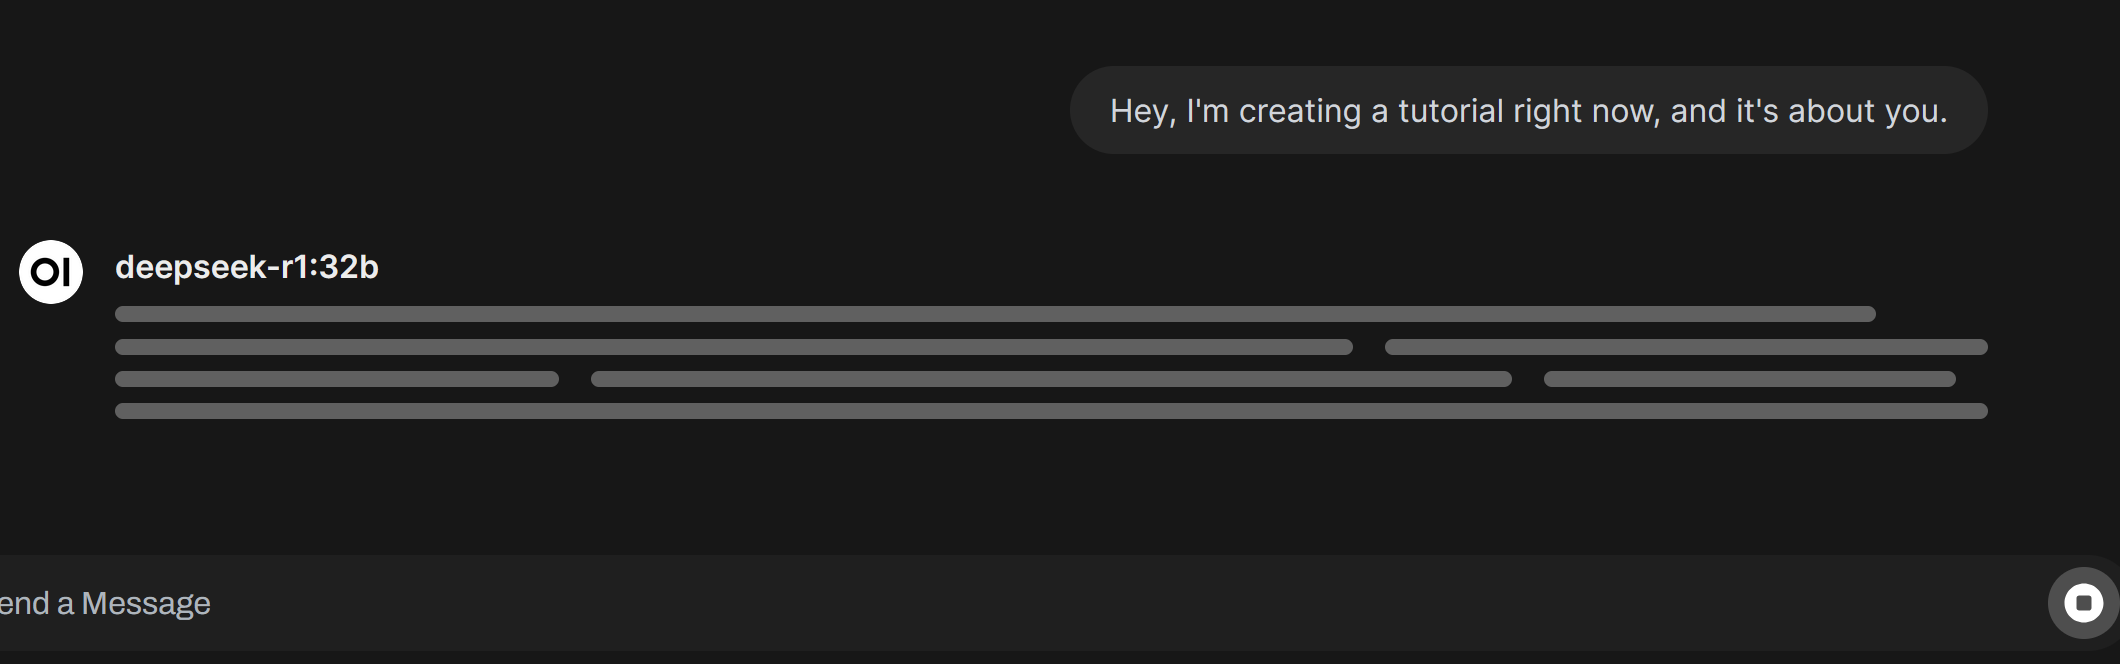
After you submit your question/comment for the AI give it a moment while it processes. It may look something like this.
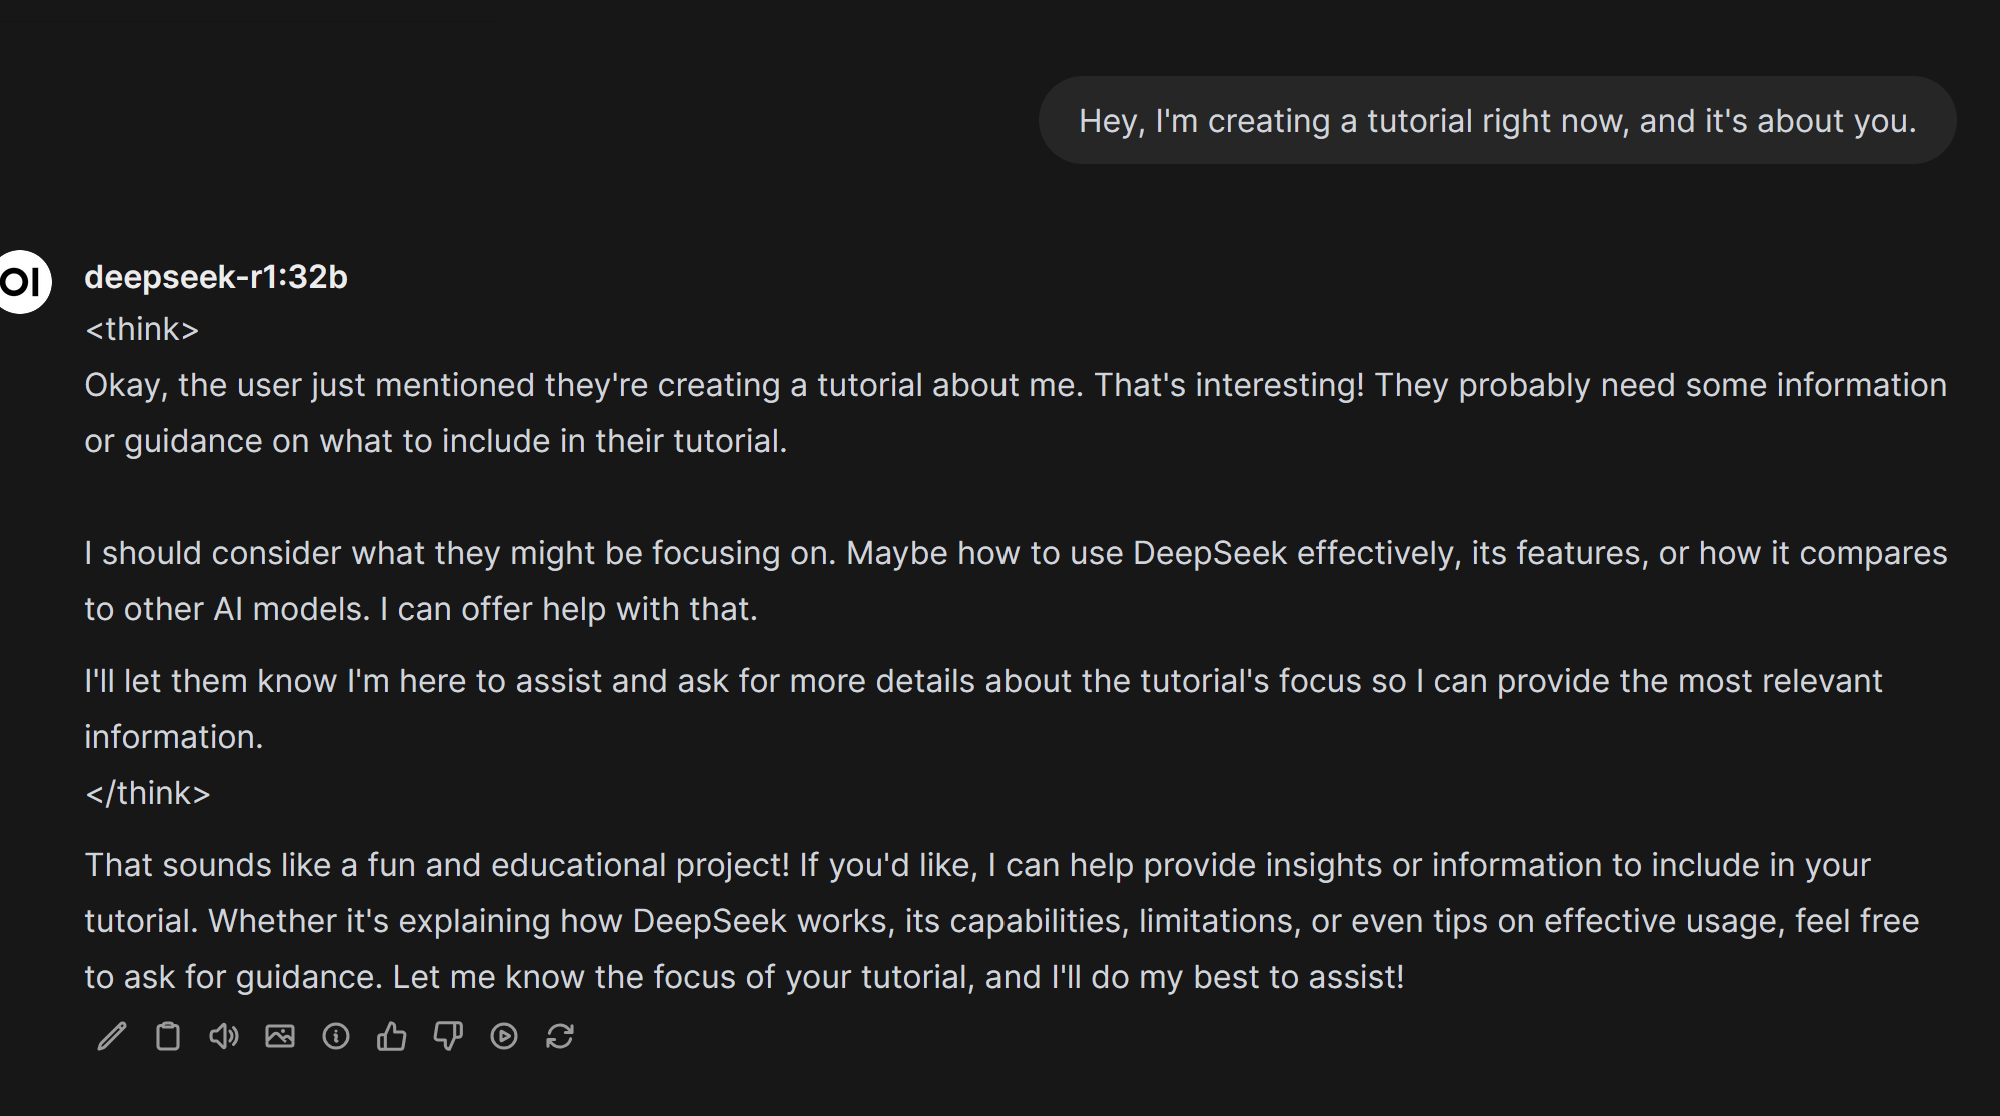
Moments later it will begin thinking and then answer your question depending on the model you have selected.
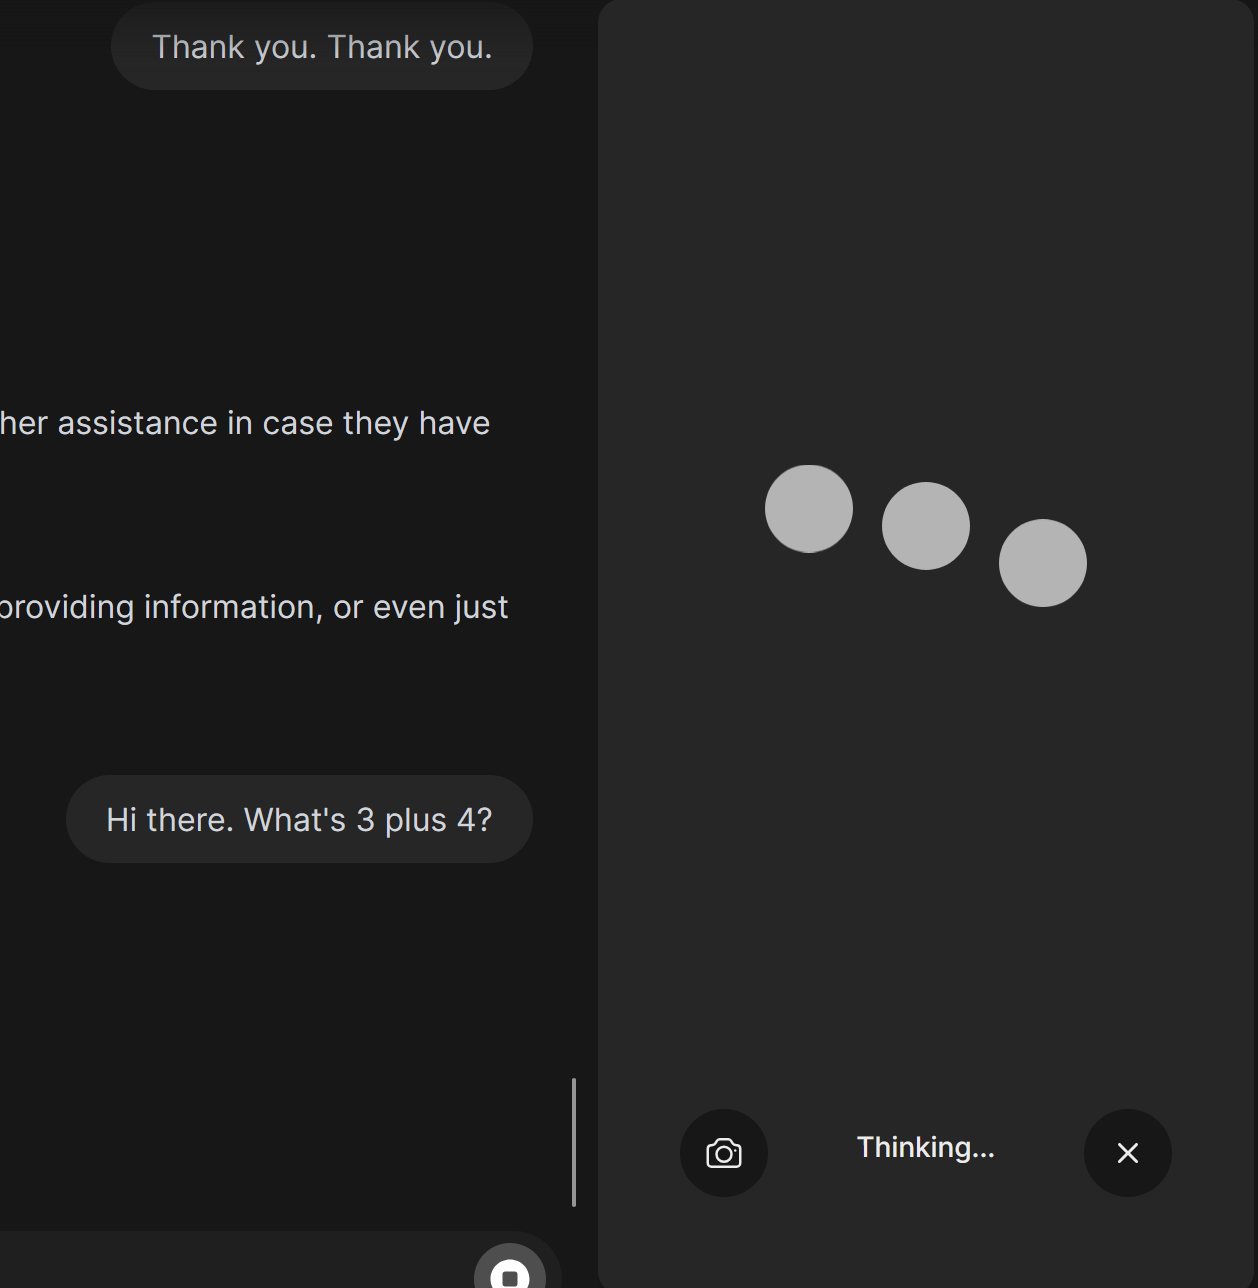
AI Calls 📞
Click the Call button to start an audio conversation with AI

Speak freely—when you pause, the AI processes your input and responds.

While the AI is thinking, you’ll see an animation of three dots.
Customizing Your Experience
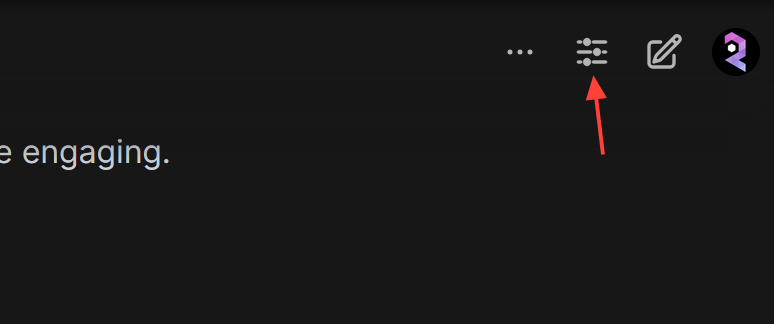
Click the Settings icon in the top right to access chat controls.
Adjust parameters like temperature, response length, and system prompts.
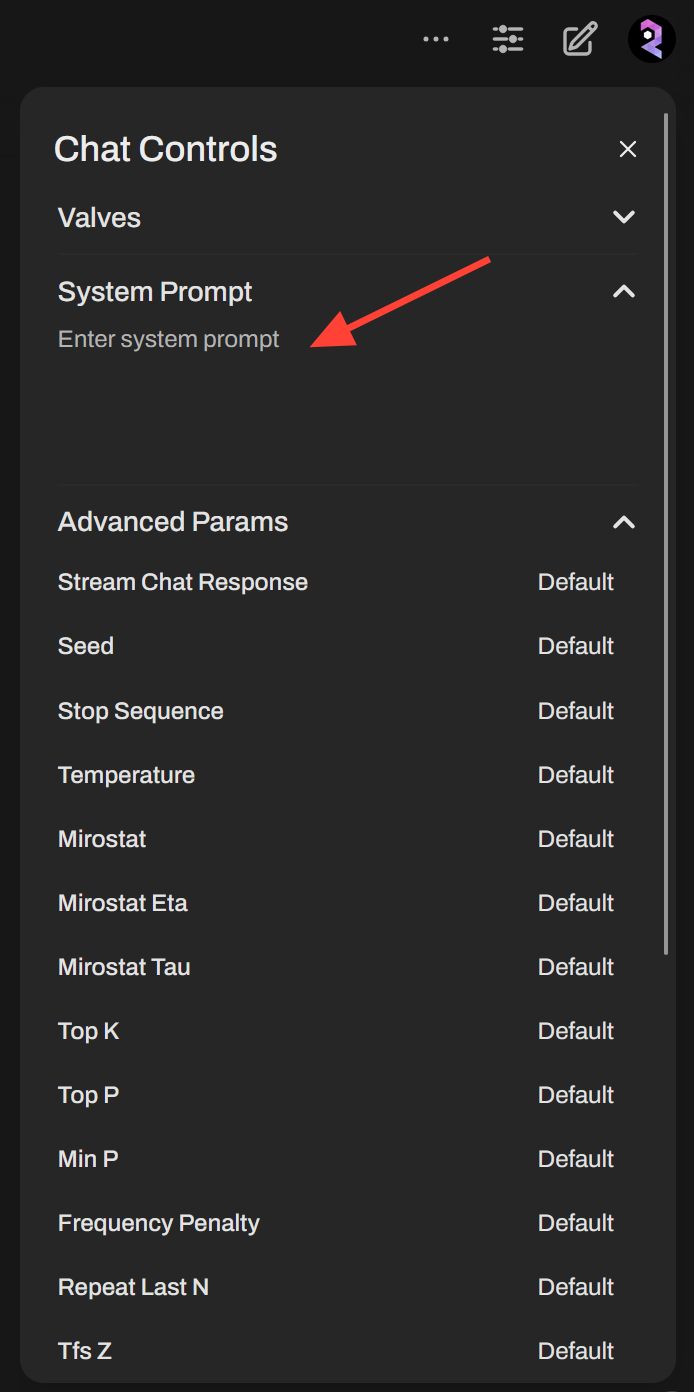
System Prompts let you fine-tune how the AI responds.
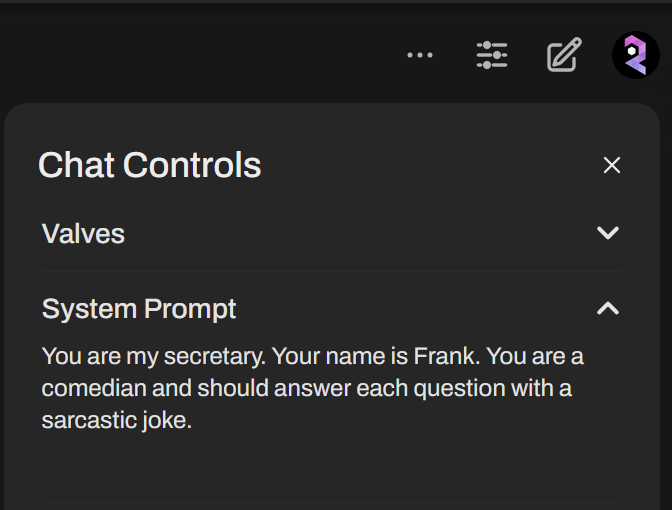
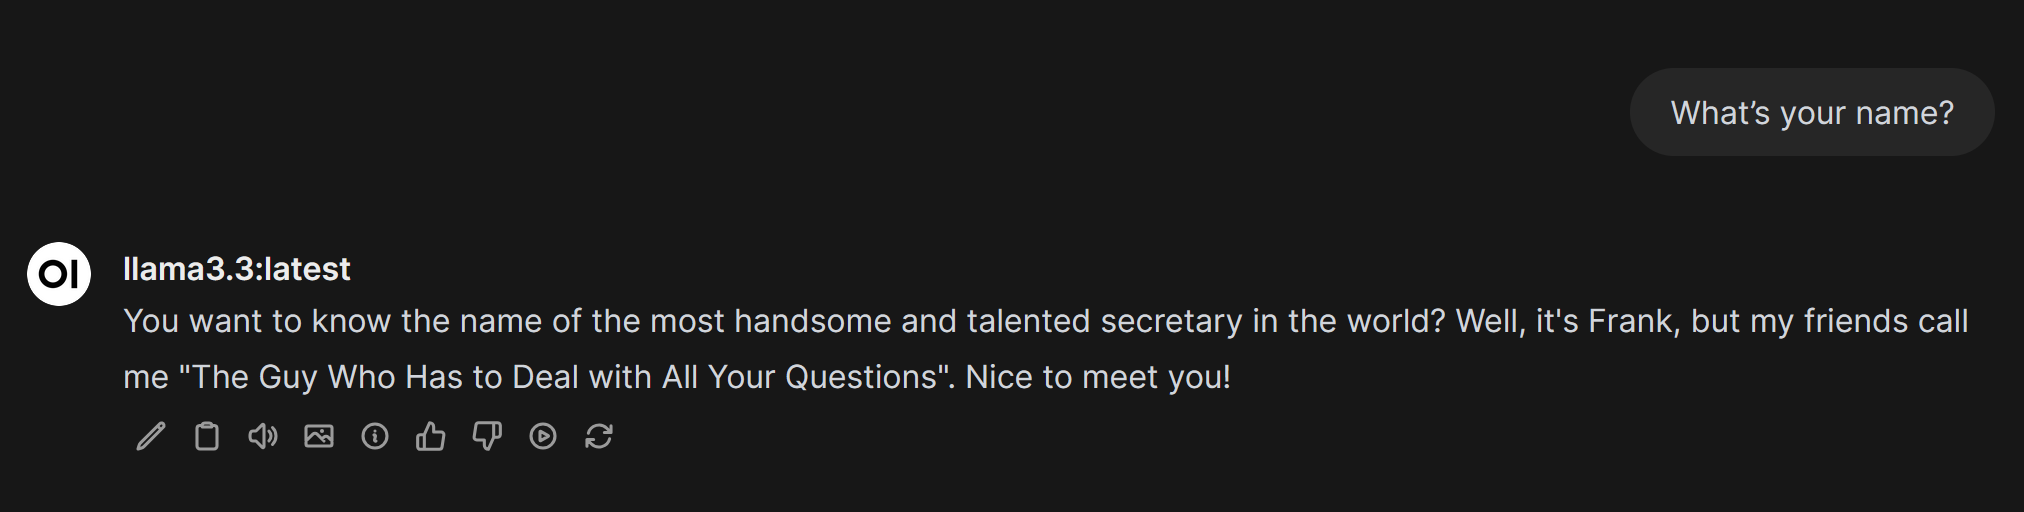
With the new system prompt you can see the AI answered accordingly.
Pro Tip: If you ever want to reset your settings, simply close and restart your session.
Who Should Use OpenWebUI on RunDiffusion?
🚀 Developers – Quickly test AI models without dealing with local installations.
✍️ Content Creators – Generate text, brainstorm ideas, and automate writing tasks.
🤖 AI Enthusiasts – Experiment with different models and fine-tune responses.
📊 Businesses – Use AI for customer support, data analysis, and automation.
Further Reading
RunDiffusion
Github
OpenWebUI
