

Here is a quick and easy way to outpaint by using the inpaint feature in Automatic1111.
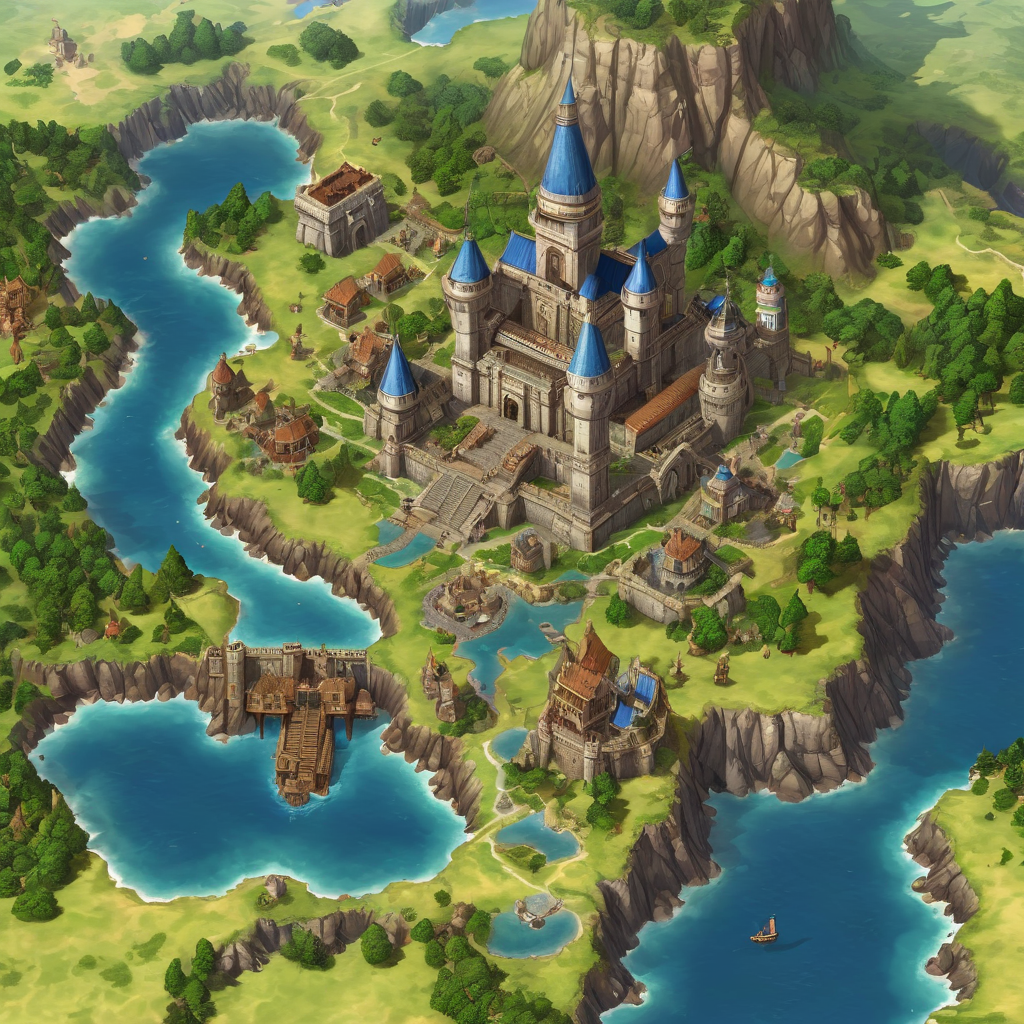
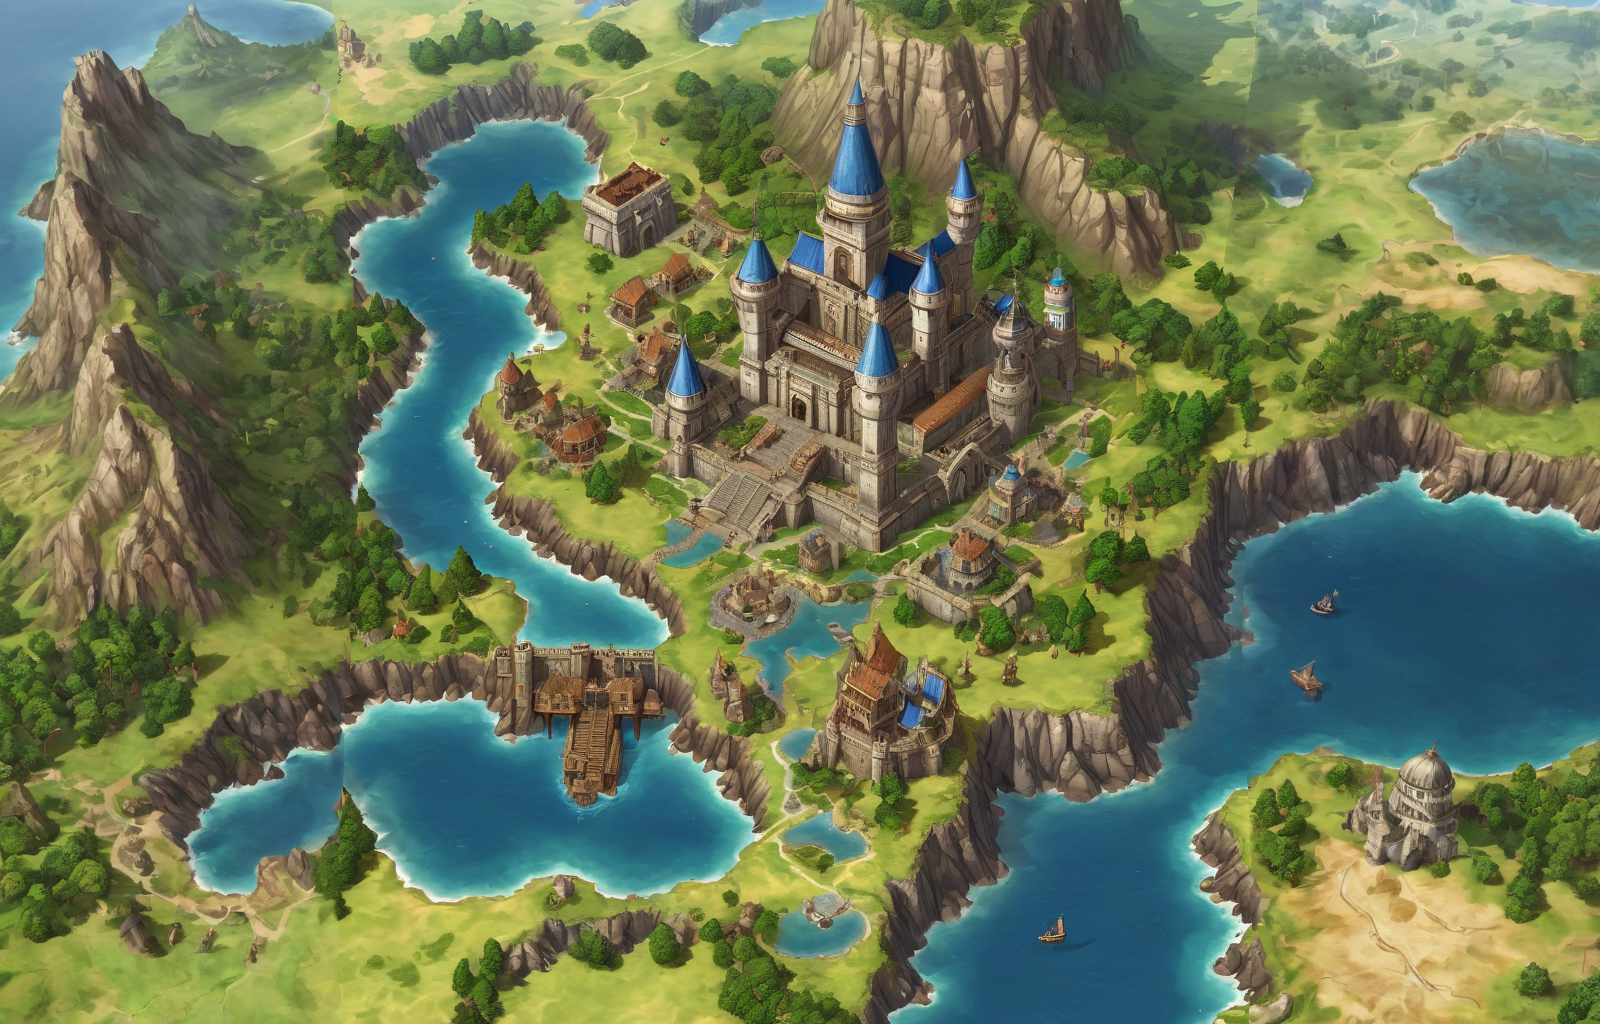
Step 1: Create an Image (or have one already created)I made this RPG map.
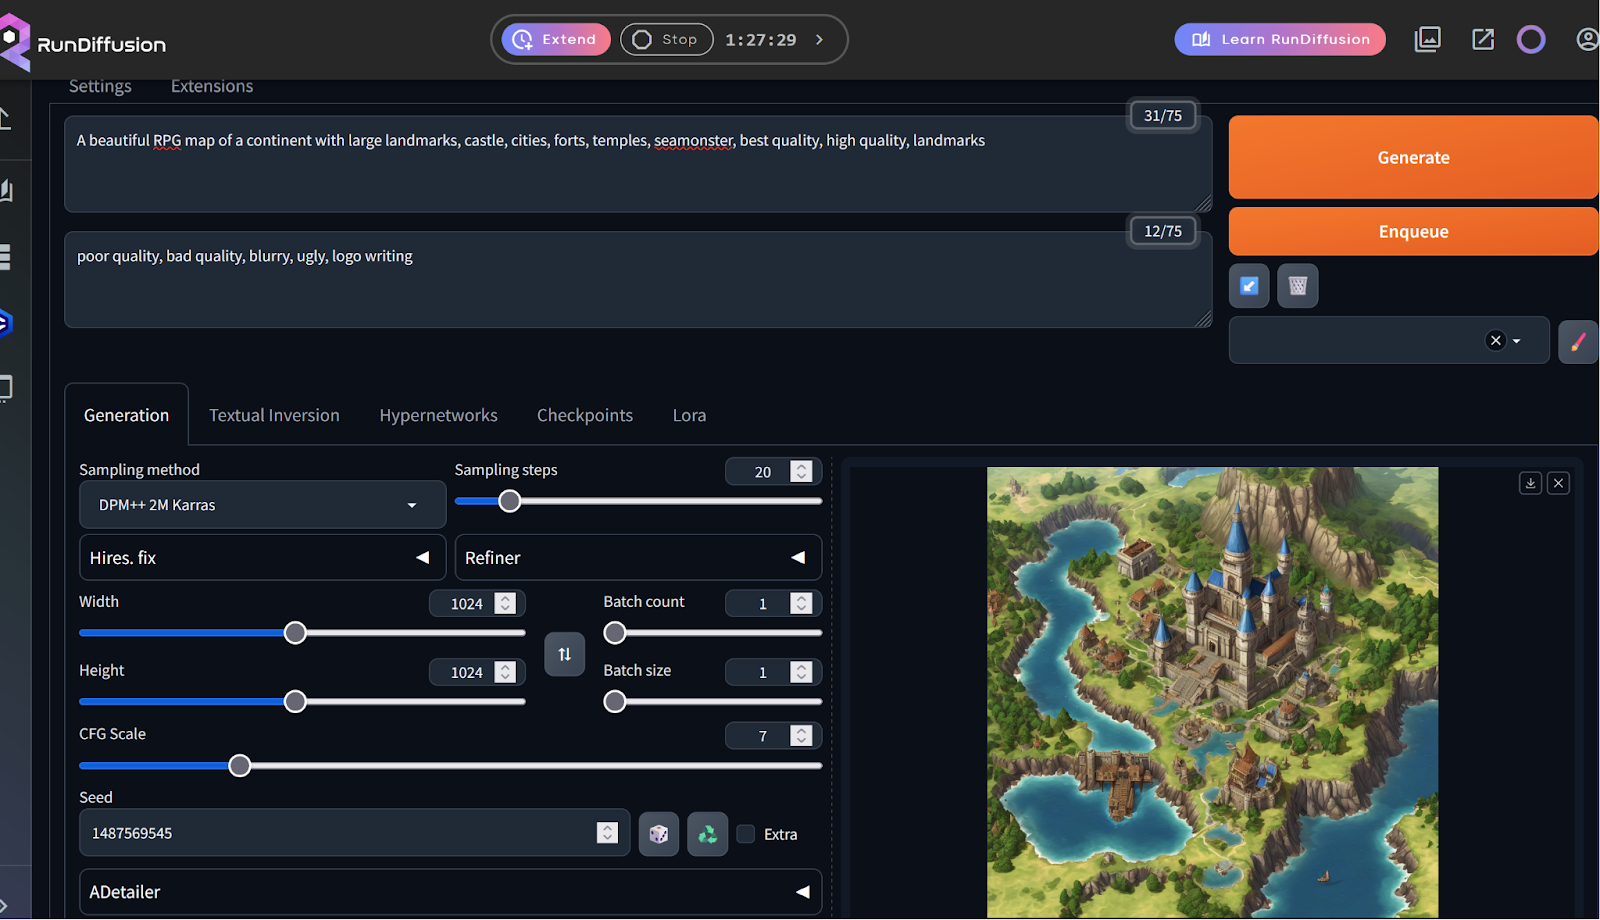
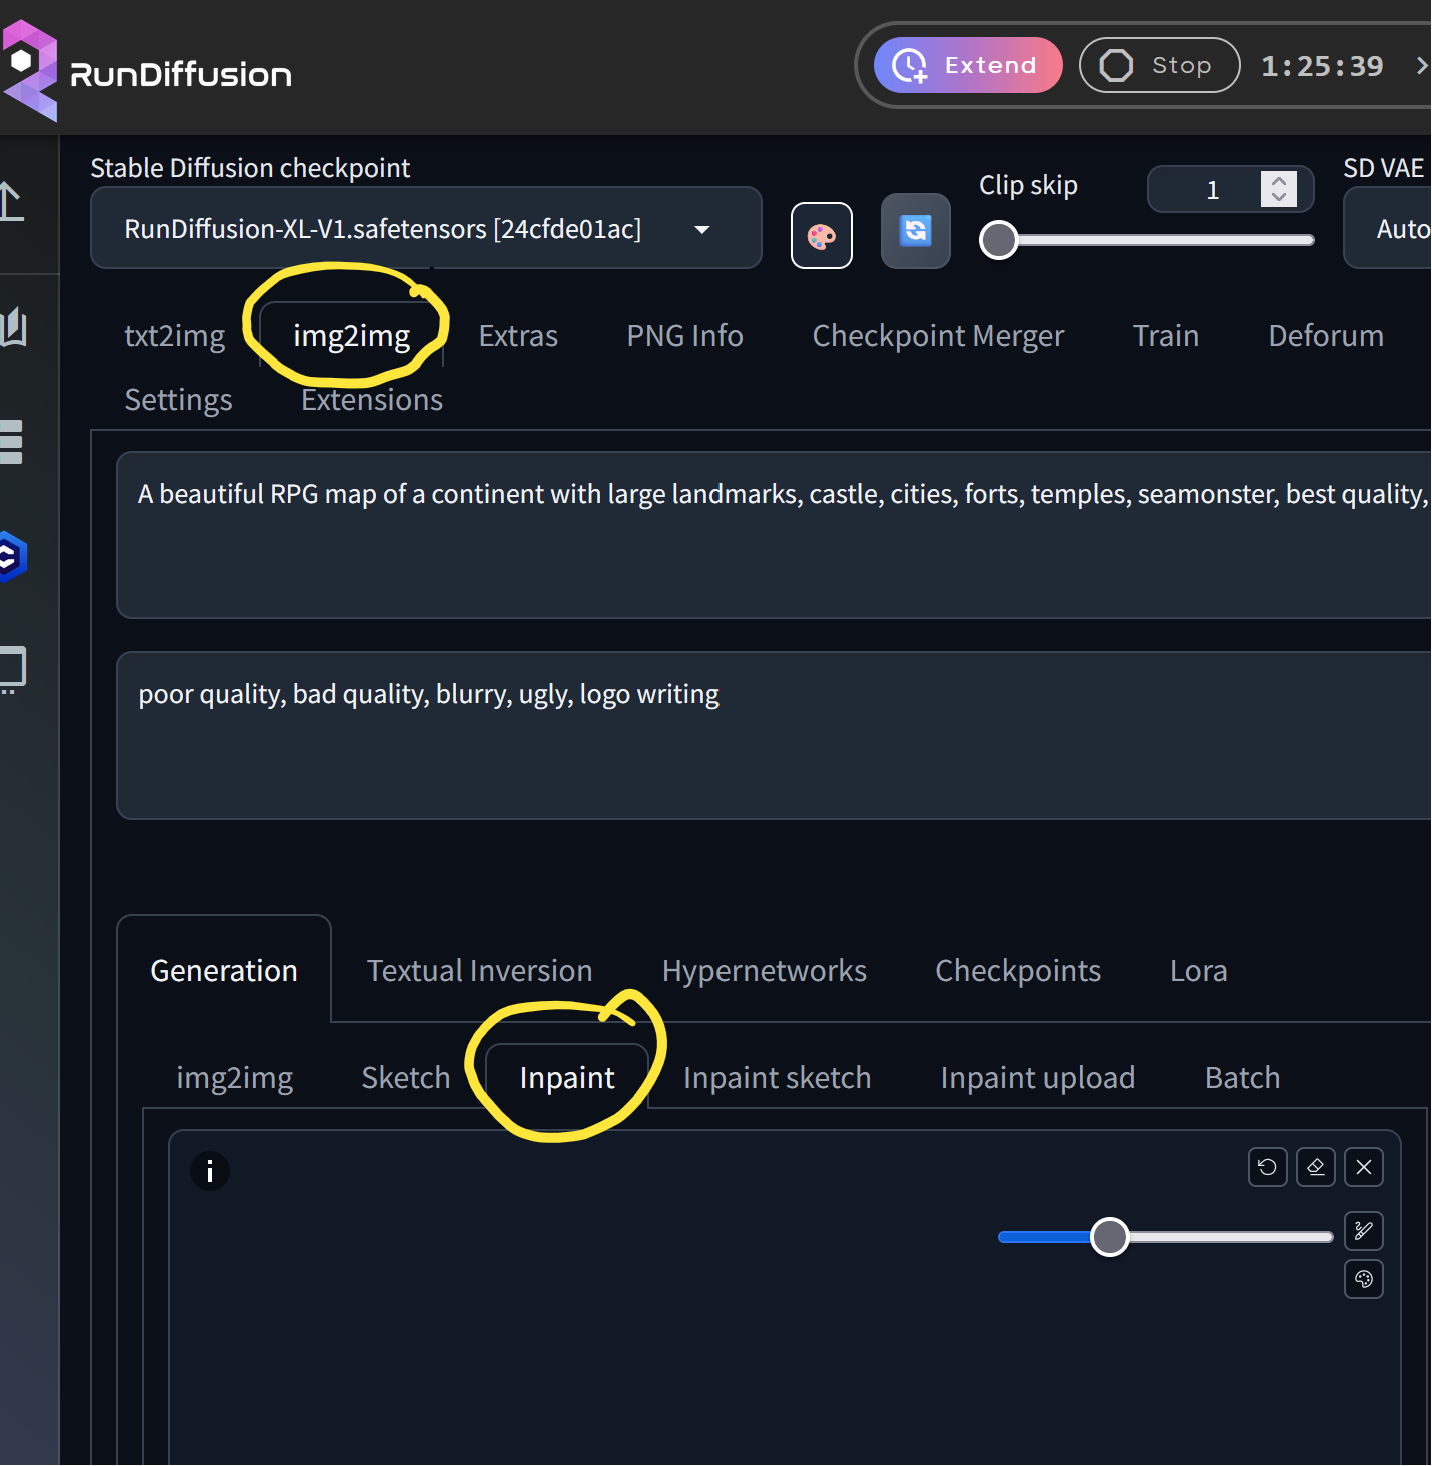
Step 2: Send the image to Img2img: Inpainting
Step 3: Settings
Resize Mode: Resize and Fill
Mask Blur: 0
Inpaint Area; Whole picture
Masked Padding: 20 (You can play withthis)
Width/Height: Edit which one you plant to expand accordingly..
Denoising: .50 to 1
CFG: 1
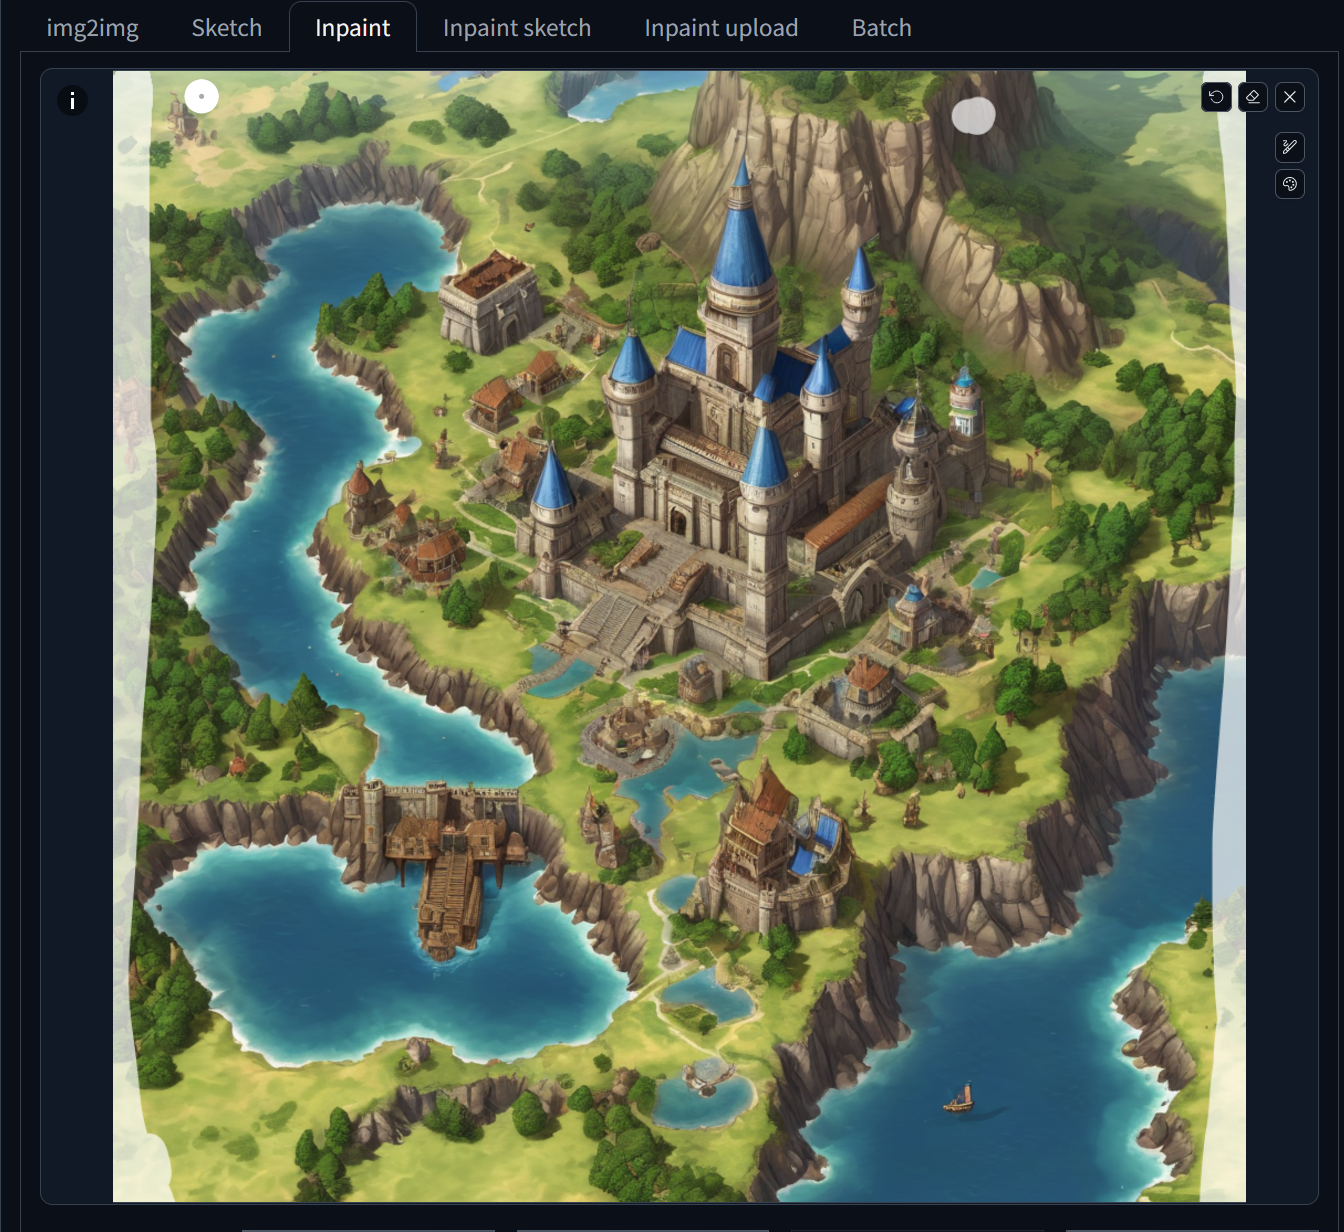
Inpaint the edges.
After you hit generate you can play with denoising and find the style you want.
You can now use inpainting on specific areas that need to be blended or send it to Img2Img and run it through with a low denoising to clean up any hard edges.
Have fun! 😸
