With the new Start and End Frame feature in Runnit Scenes, you’re no longer limited to auto-generated animations. Now you can define exactly where your scene begins and ends—giving you cinematic precision and storytelling control.
What’s New?
- Start Frame: Upload a key image of your choice as the opening frame.
- End Frame: Optionally upload a concluding image.
- This enhancement ensures seamless transitions and lets you create narrative arcs right in the Runnit Scenes.
How to Use Start & End Frames in Runnit Scenes
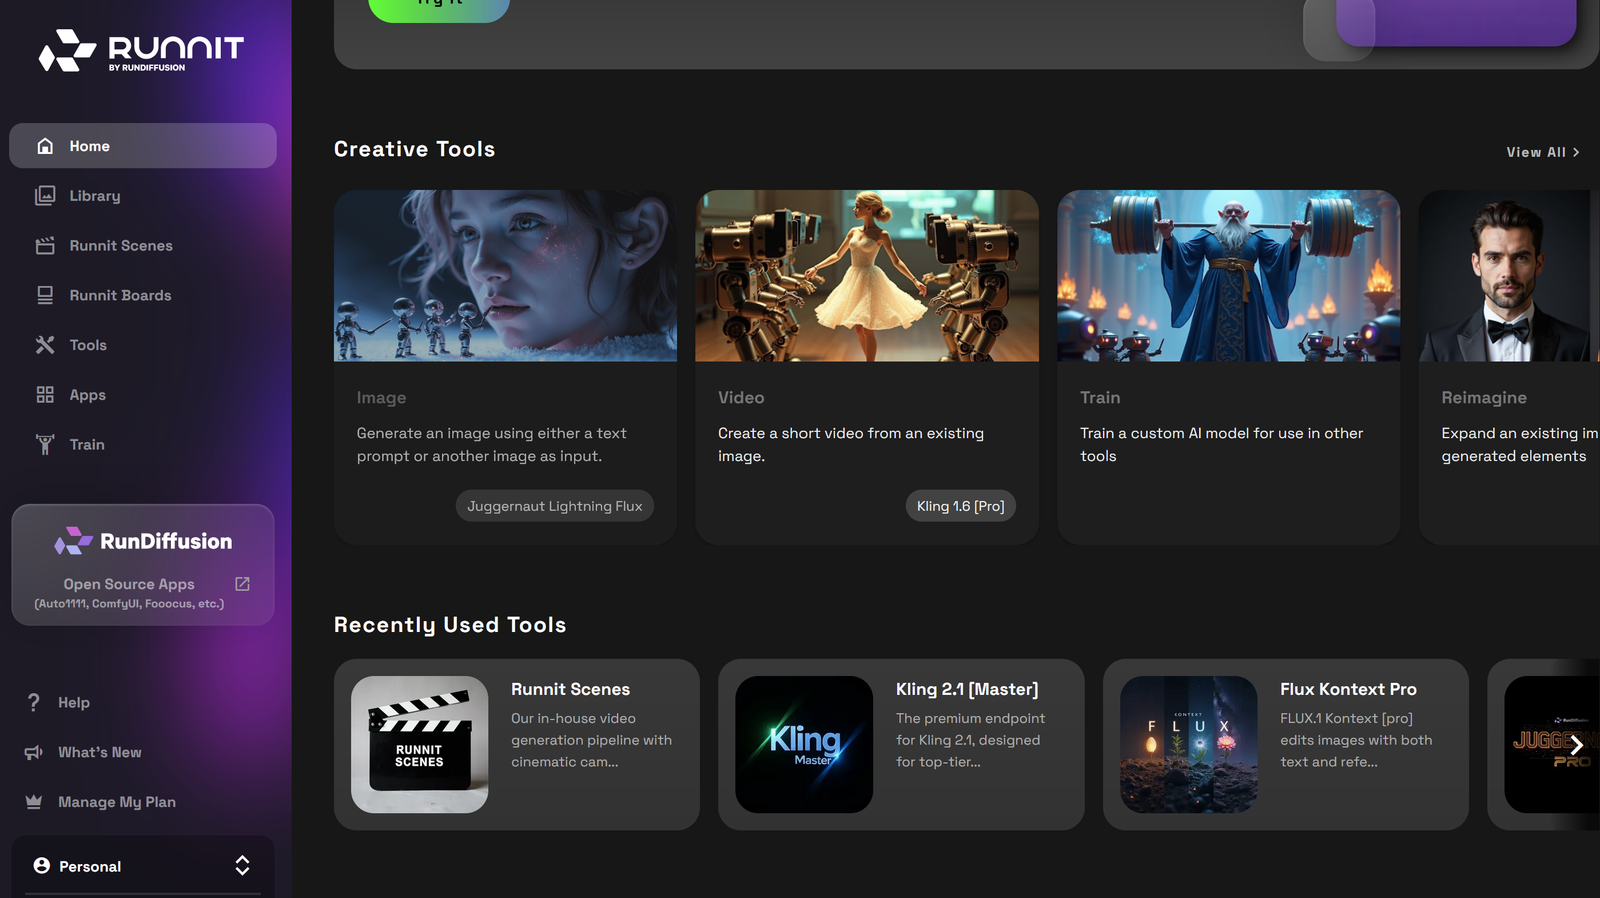
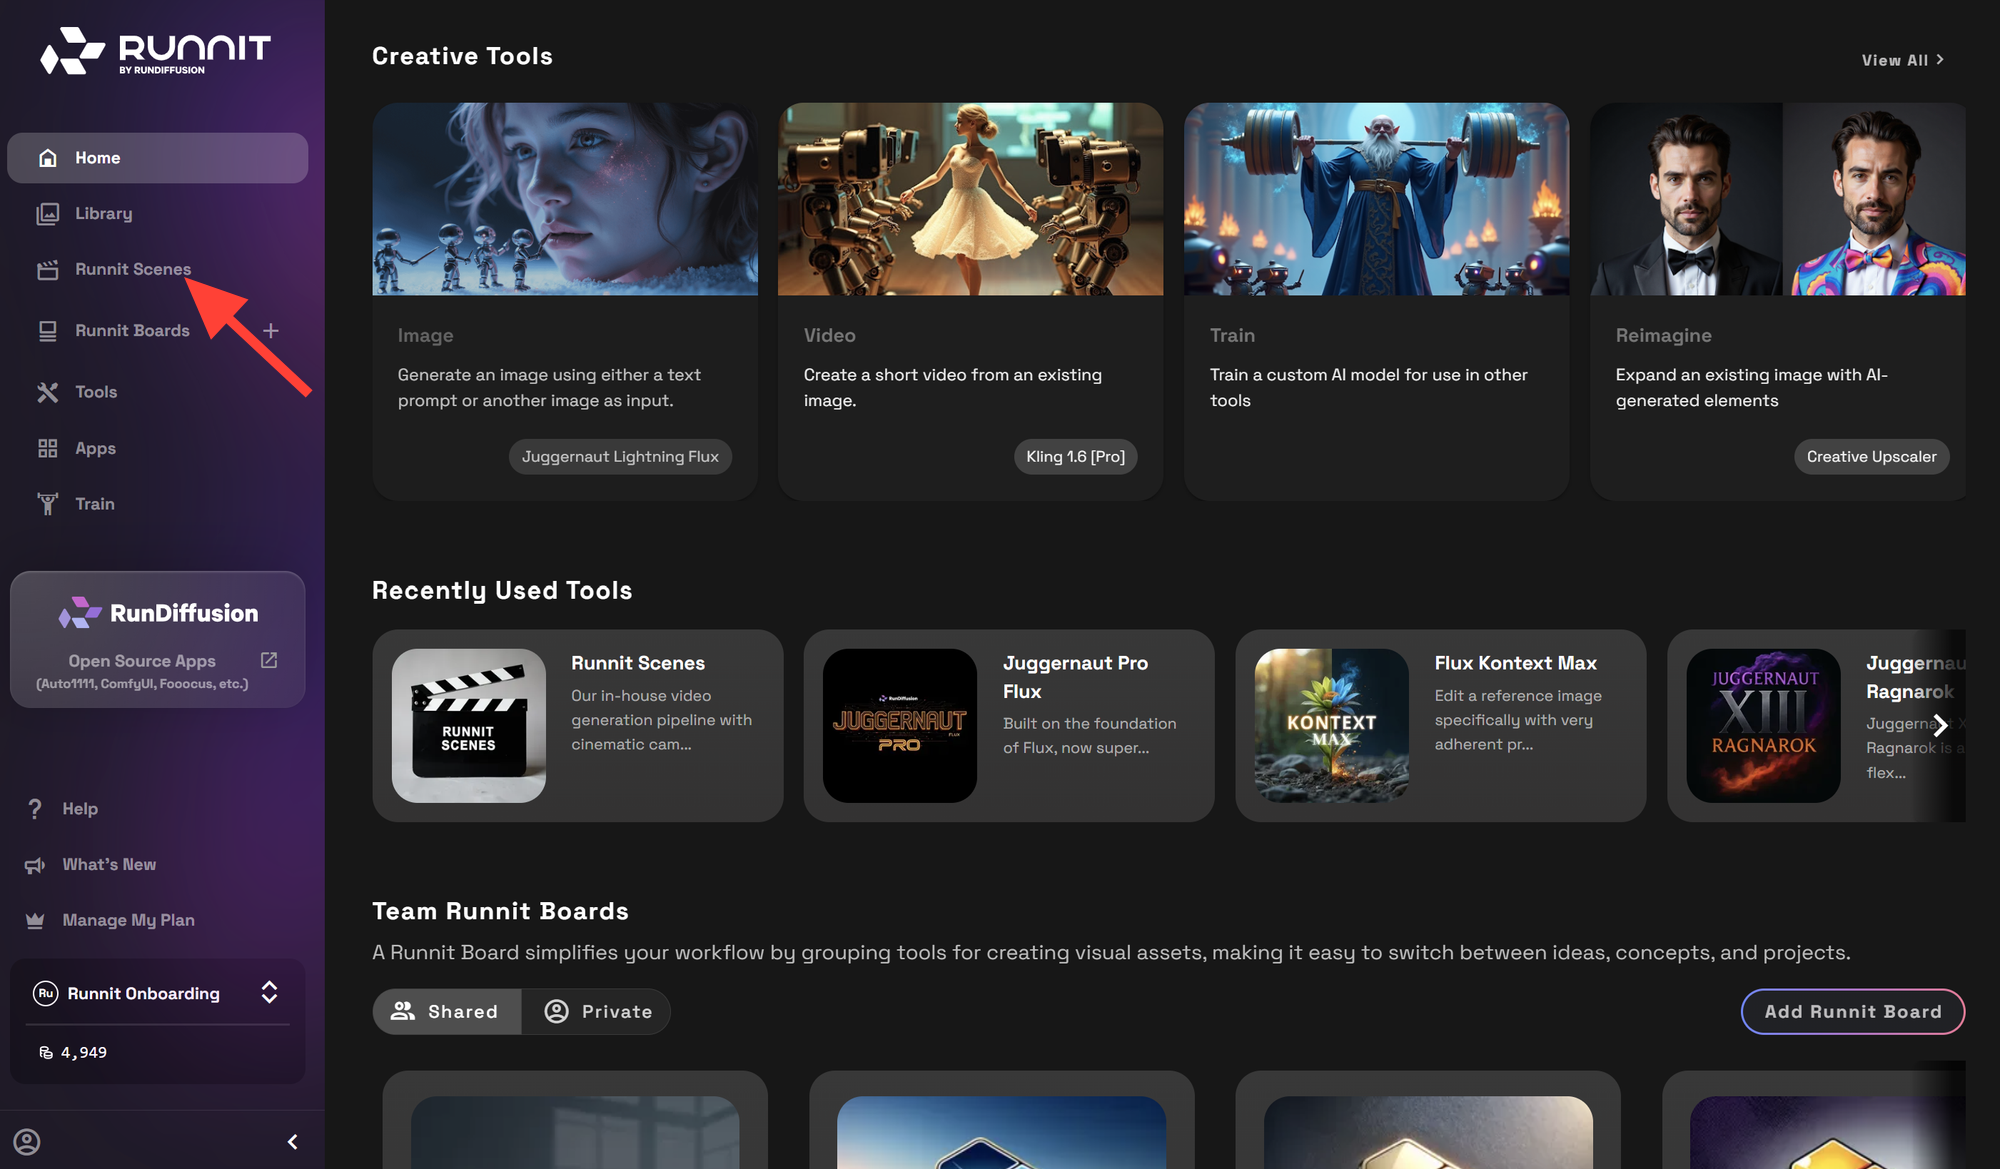
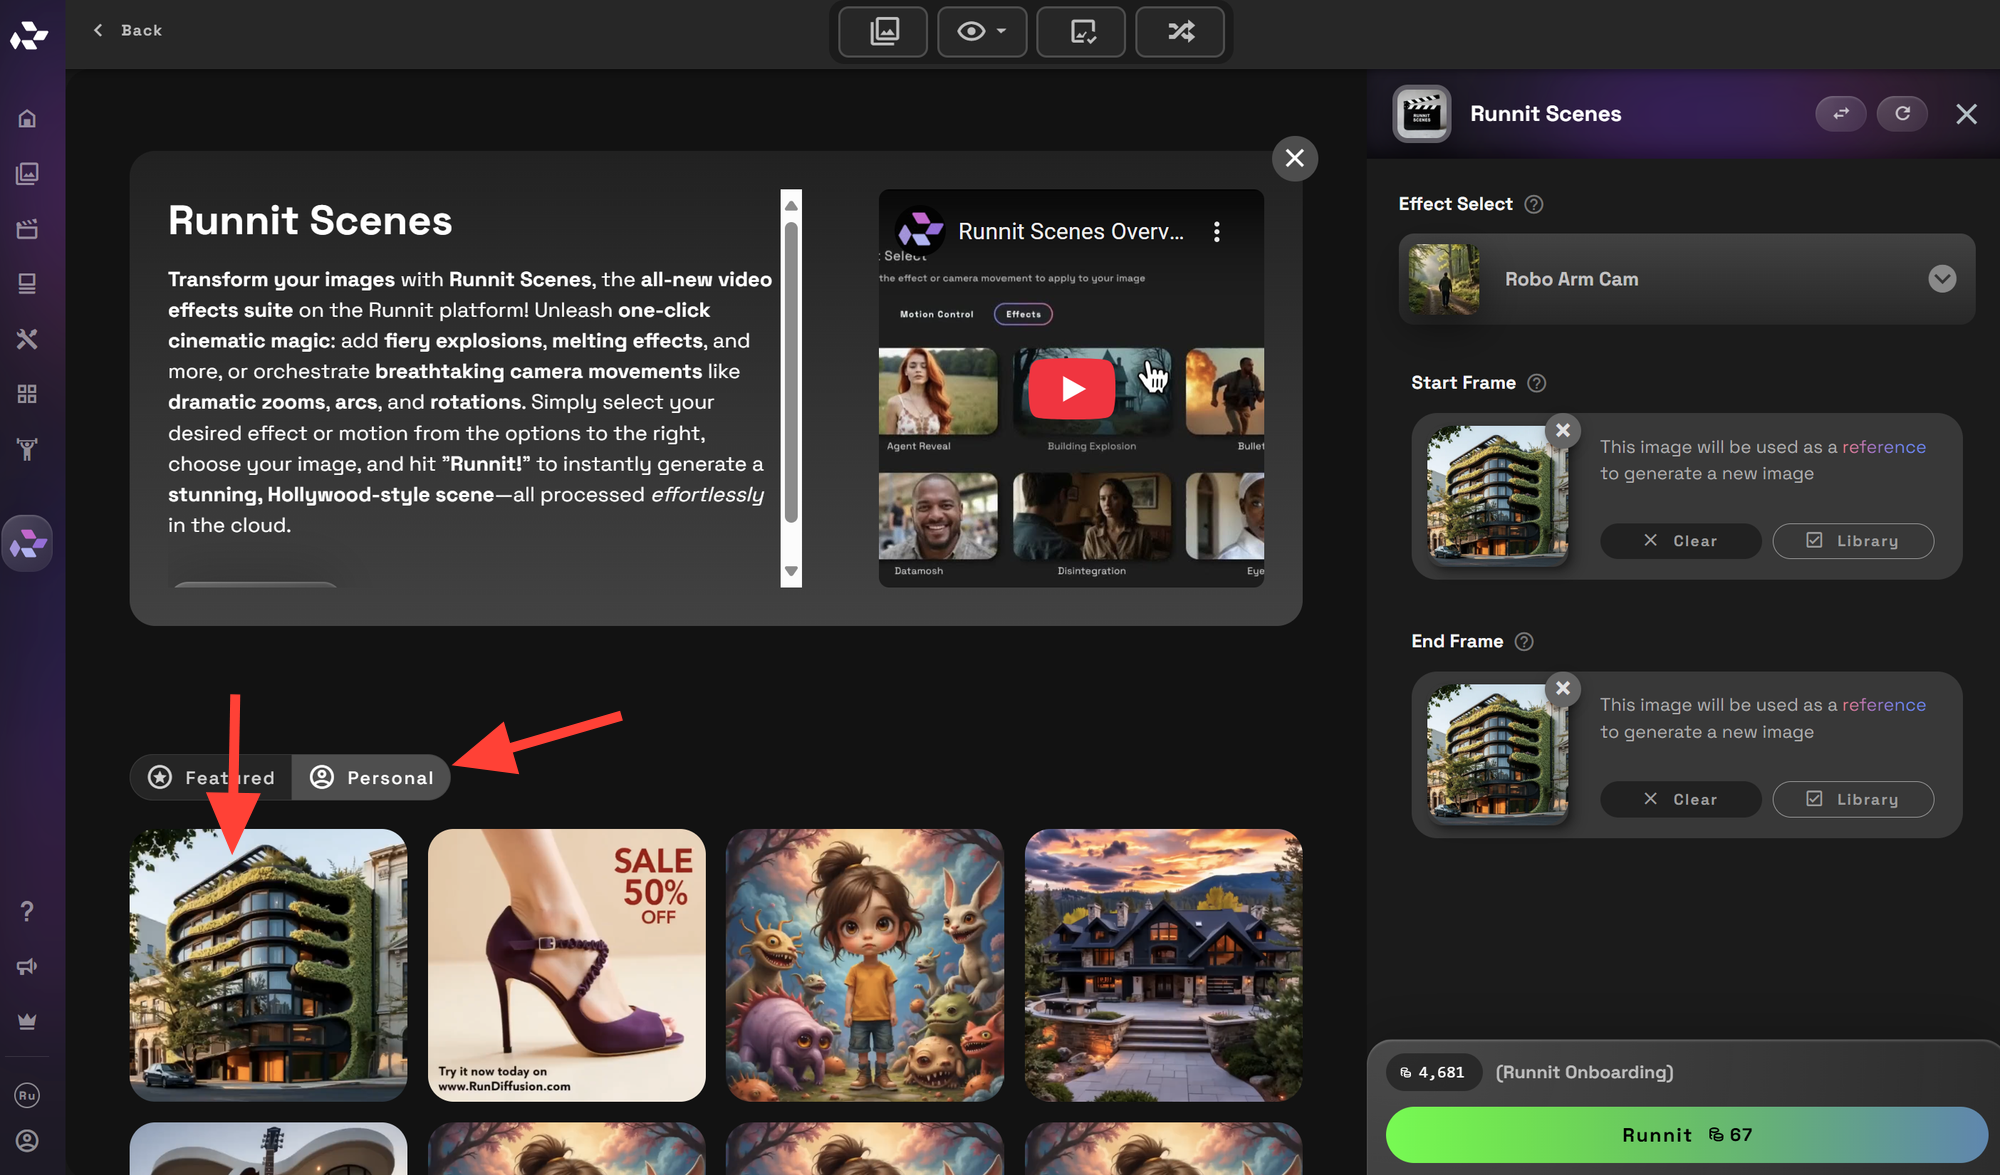
Click on Runnit Scenes
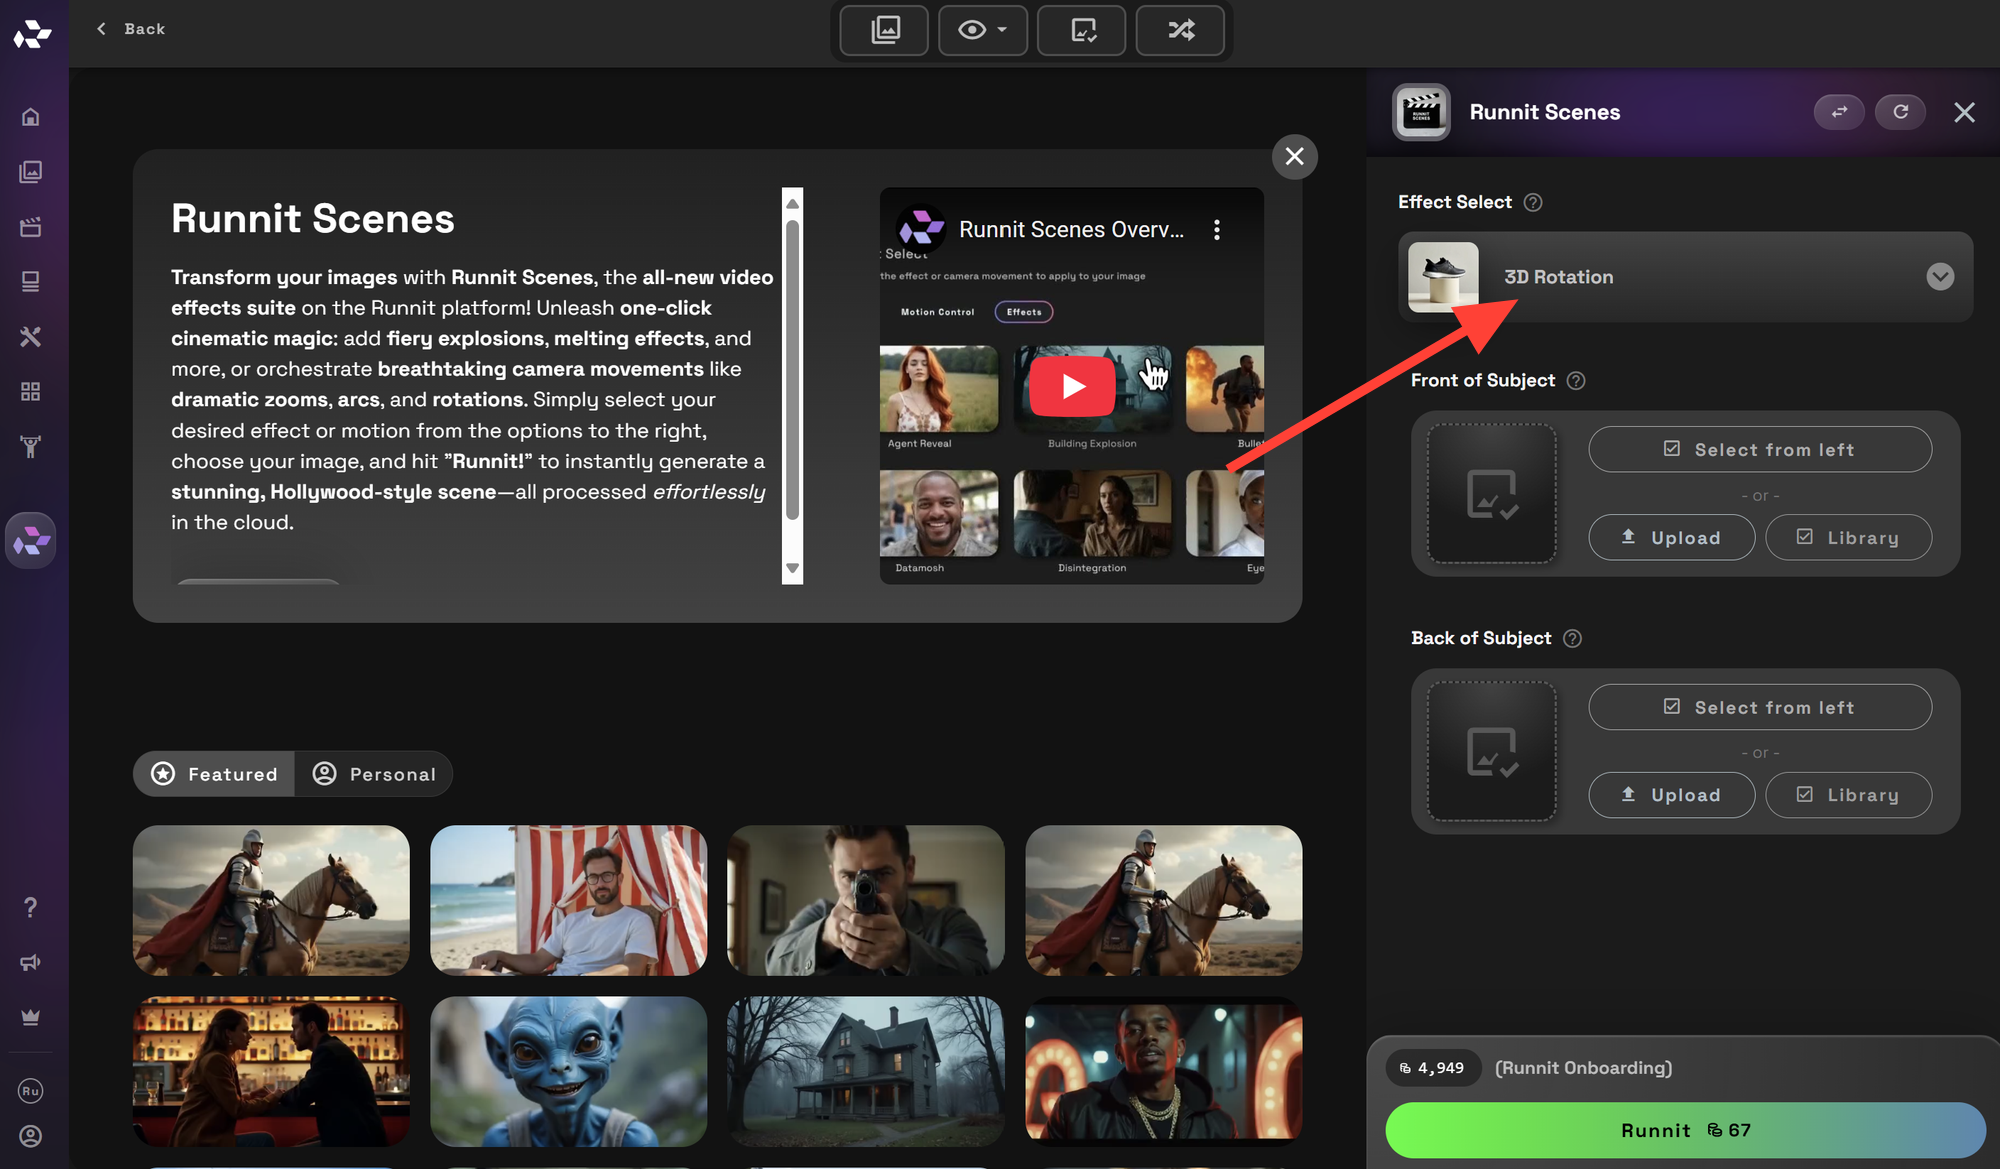
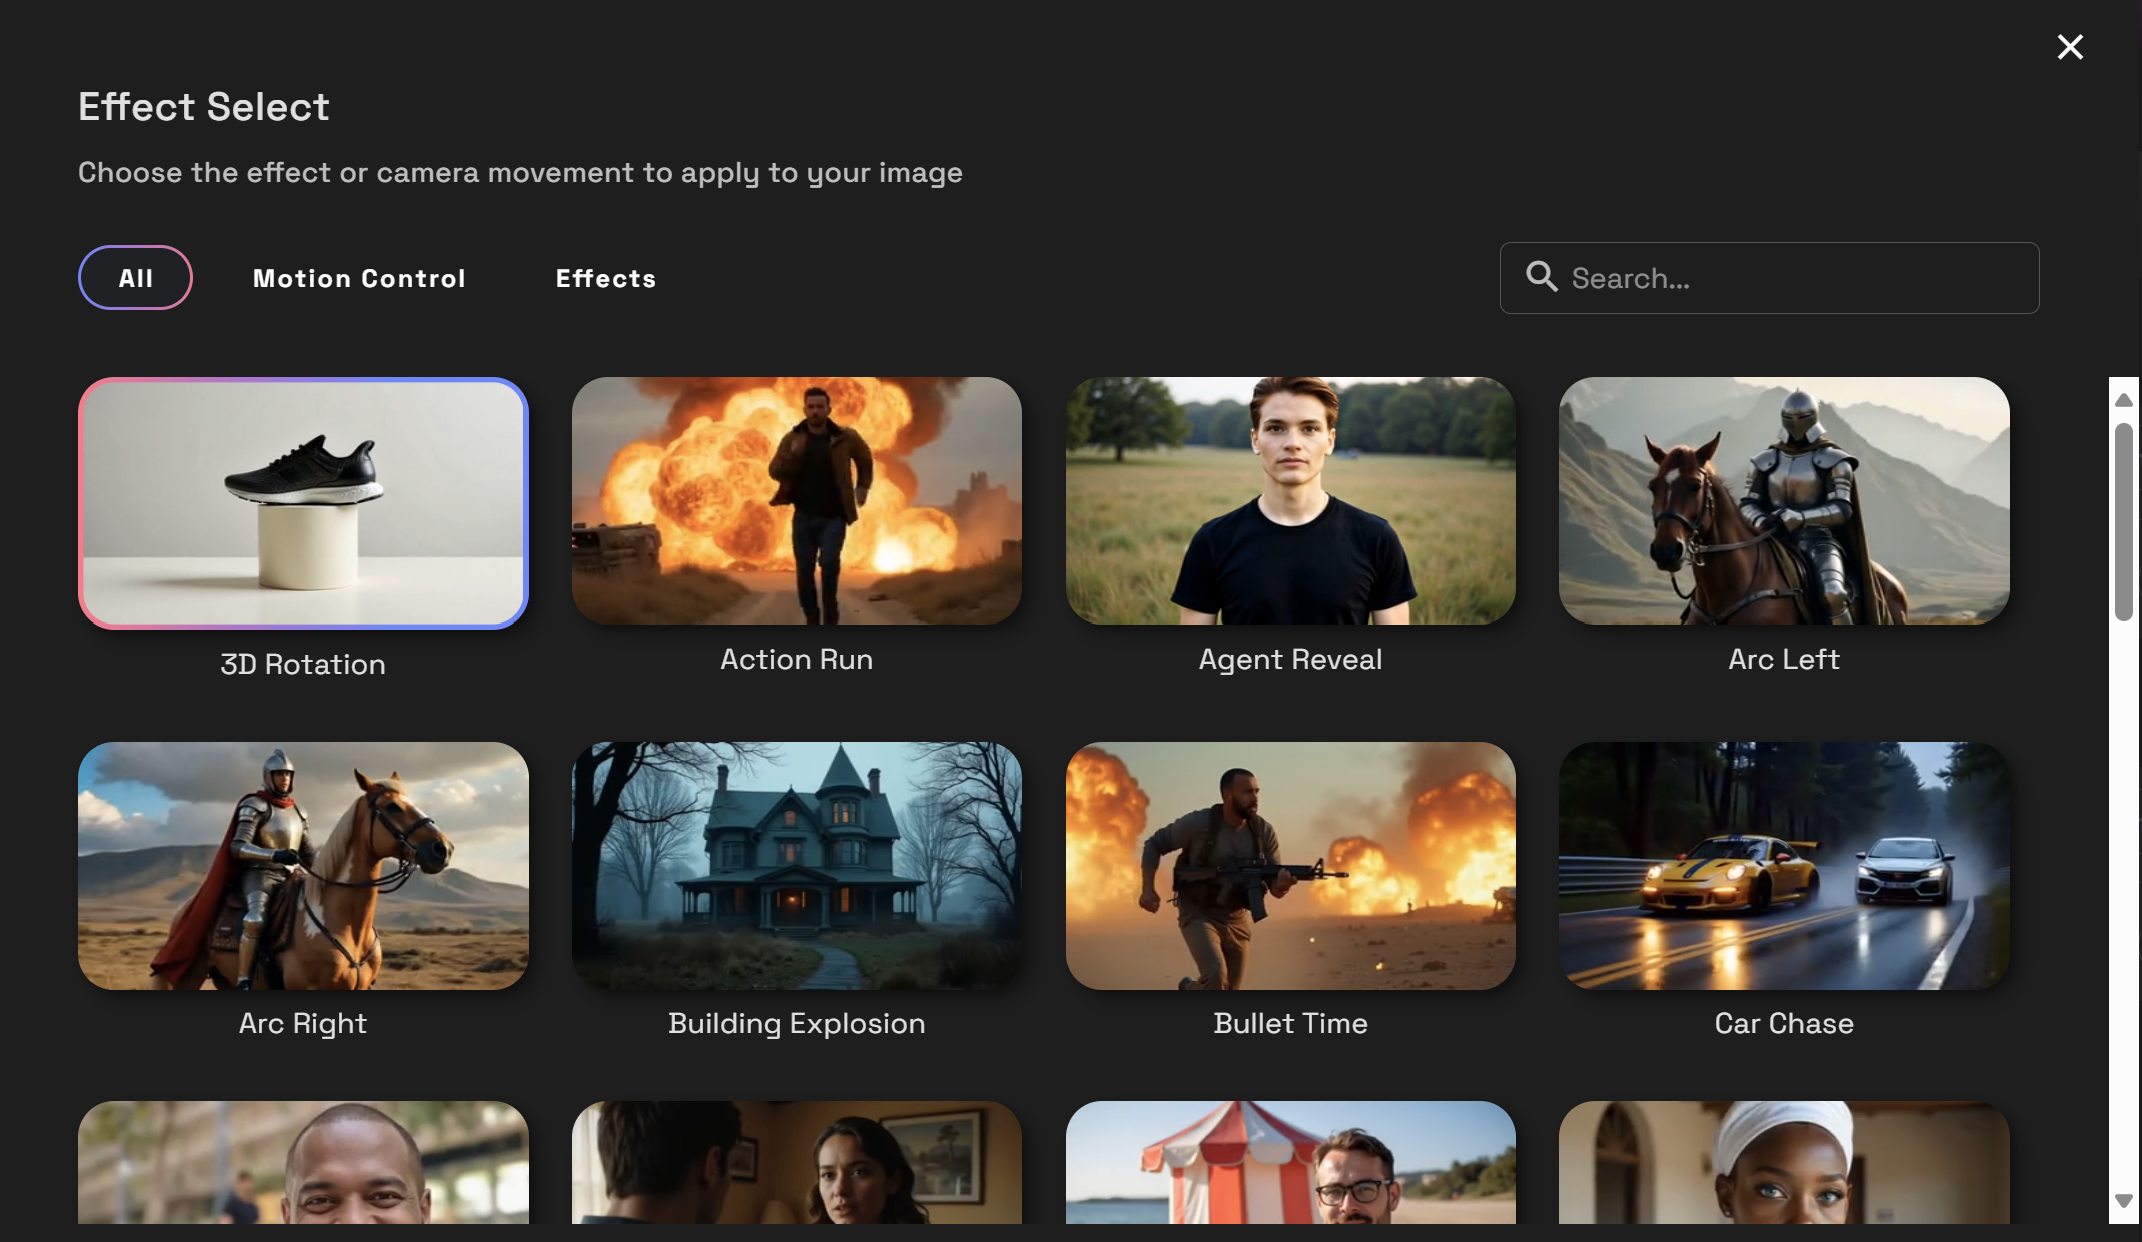
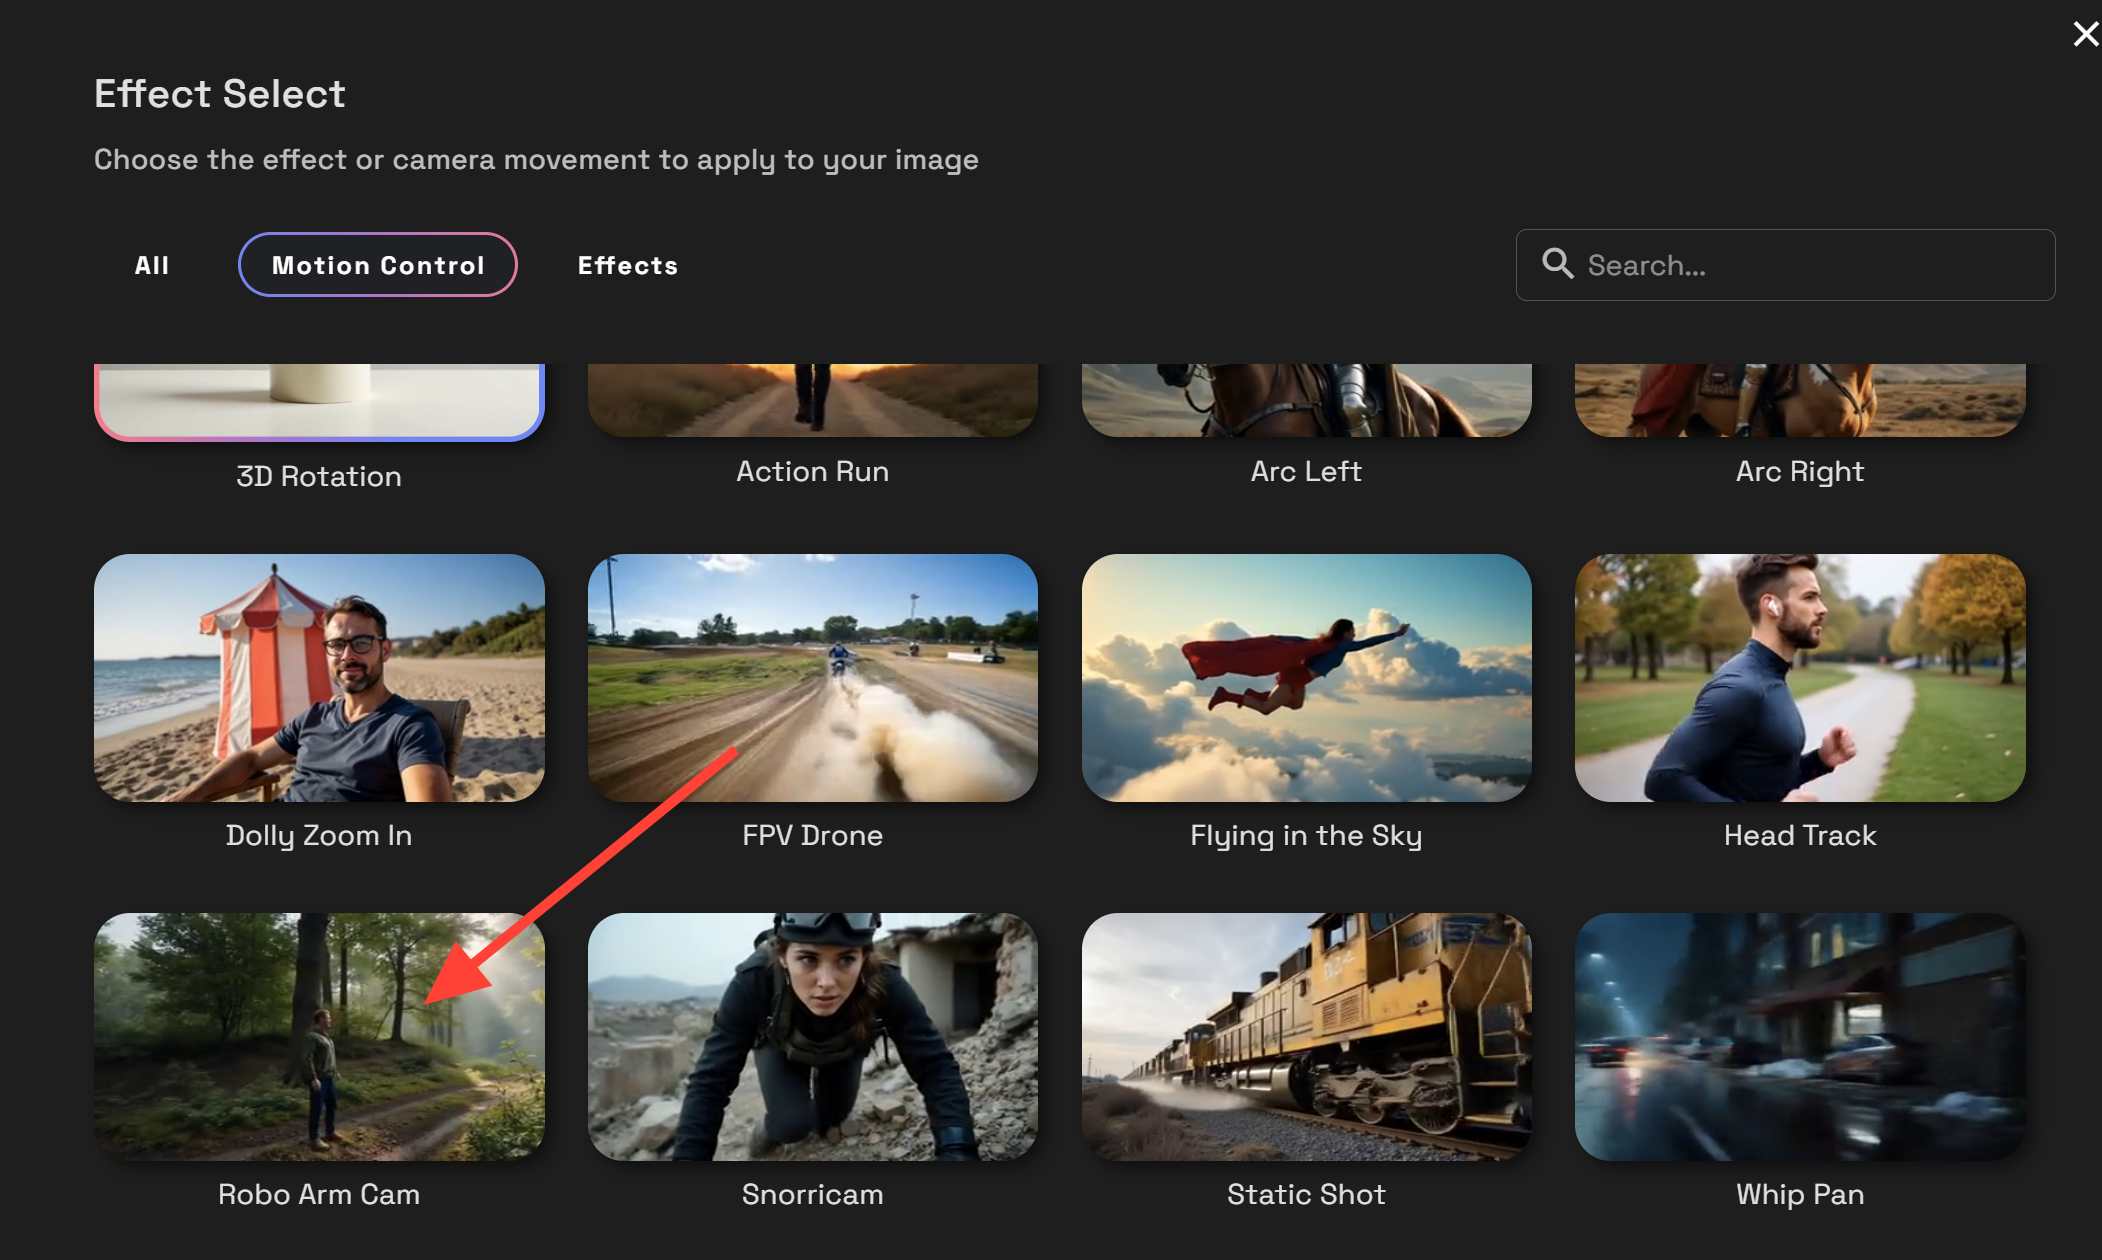
Choose your effect by clicking on Effect Select
Click on Motion Control as most of the Start/End frame effects are under Motion Control.
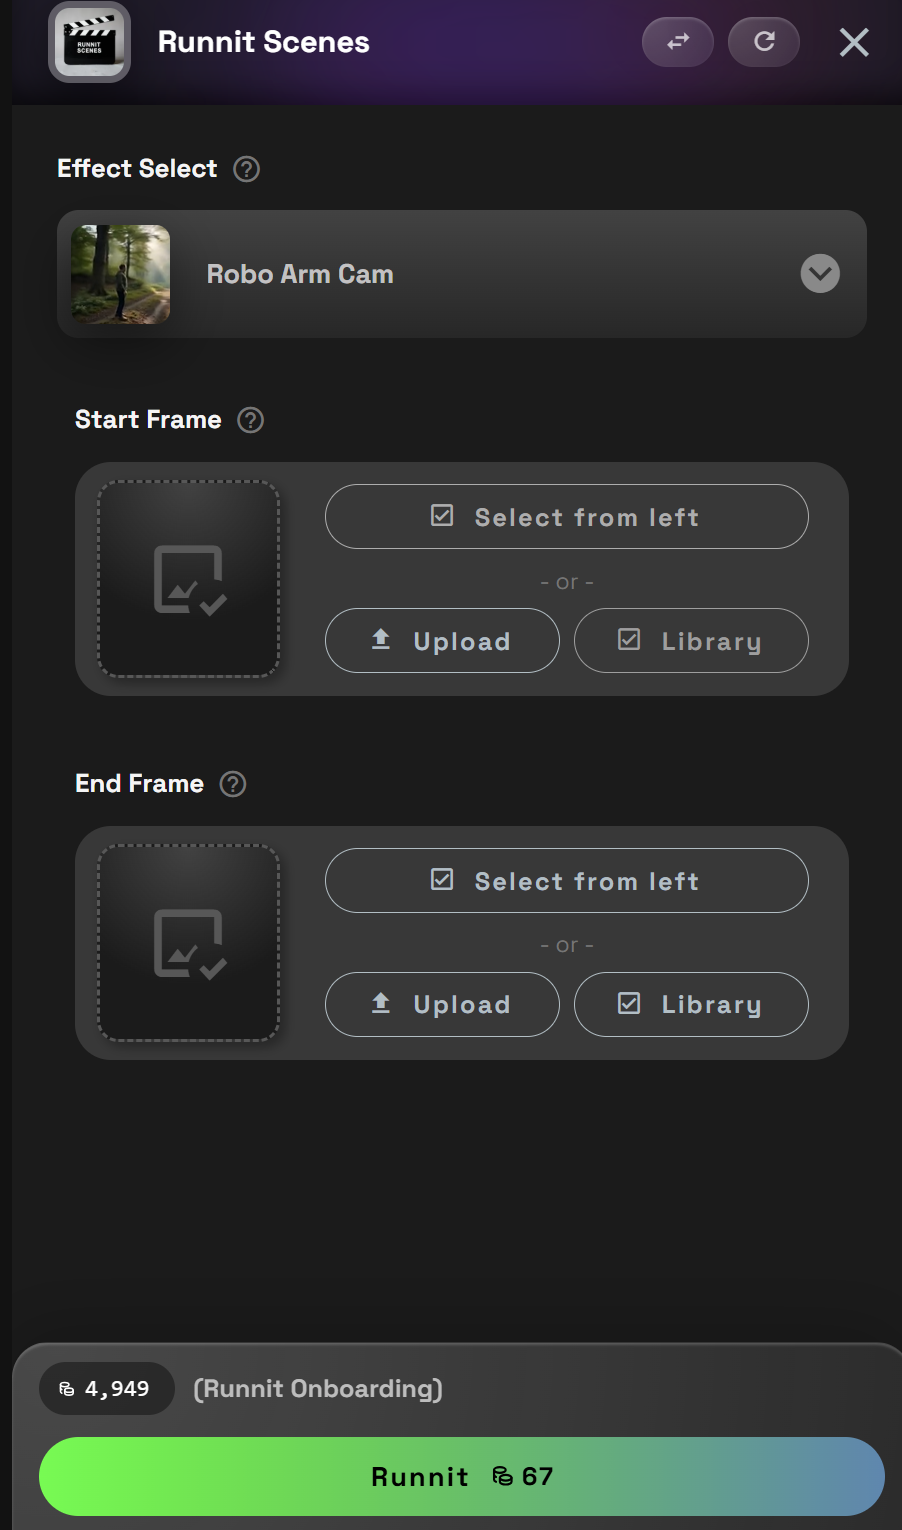
I selected Robo Arm Cam for this example.
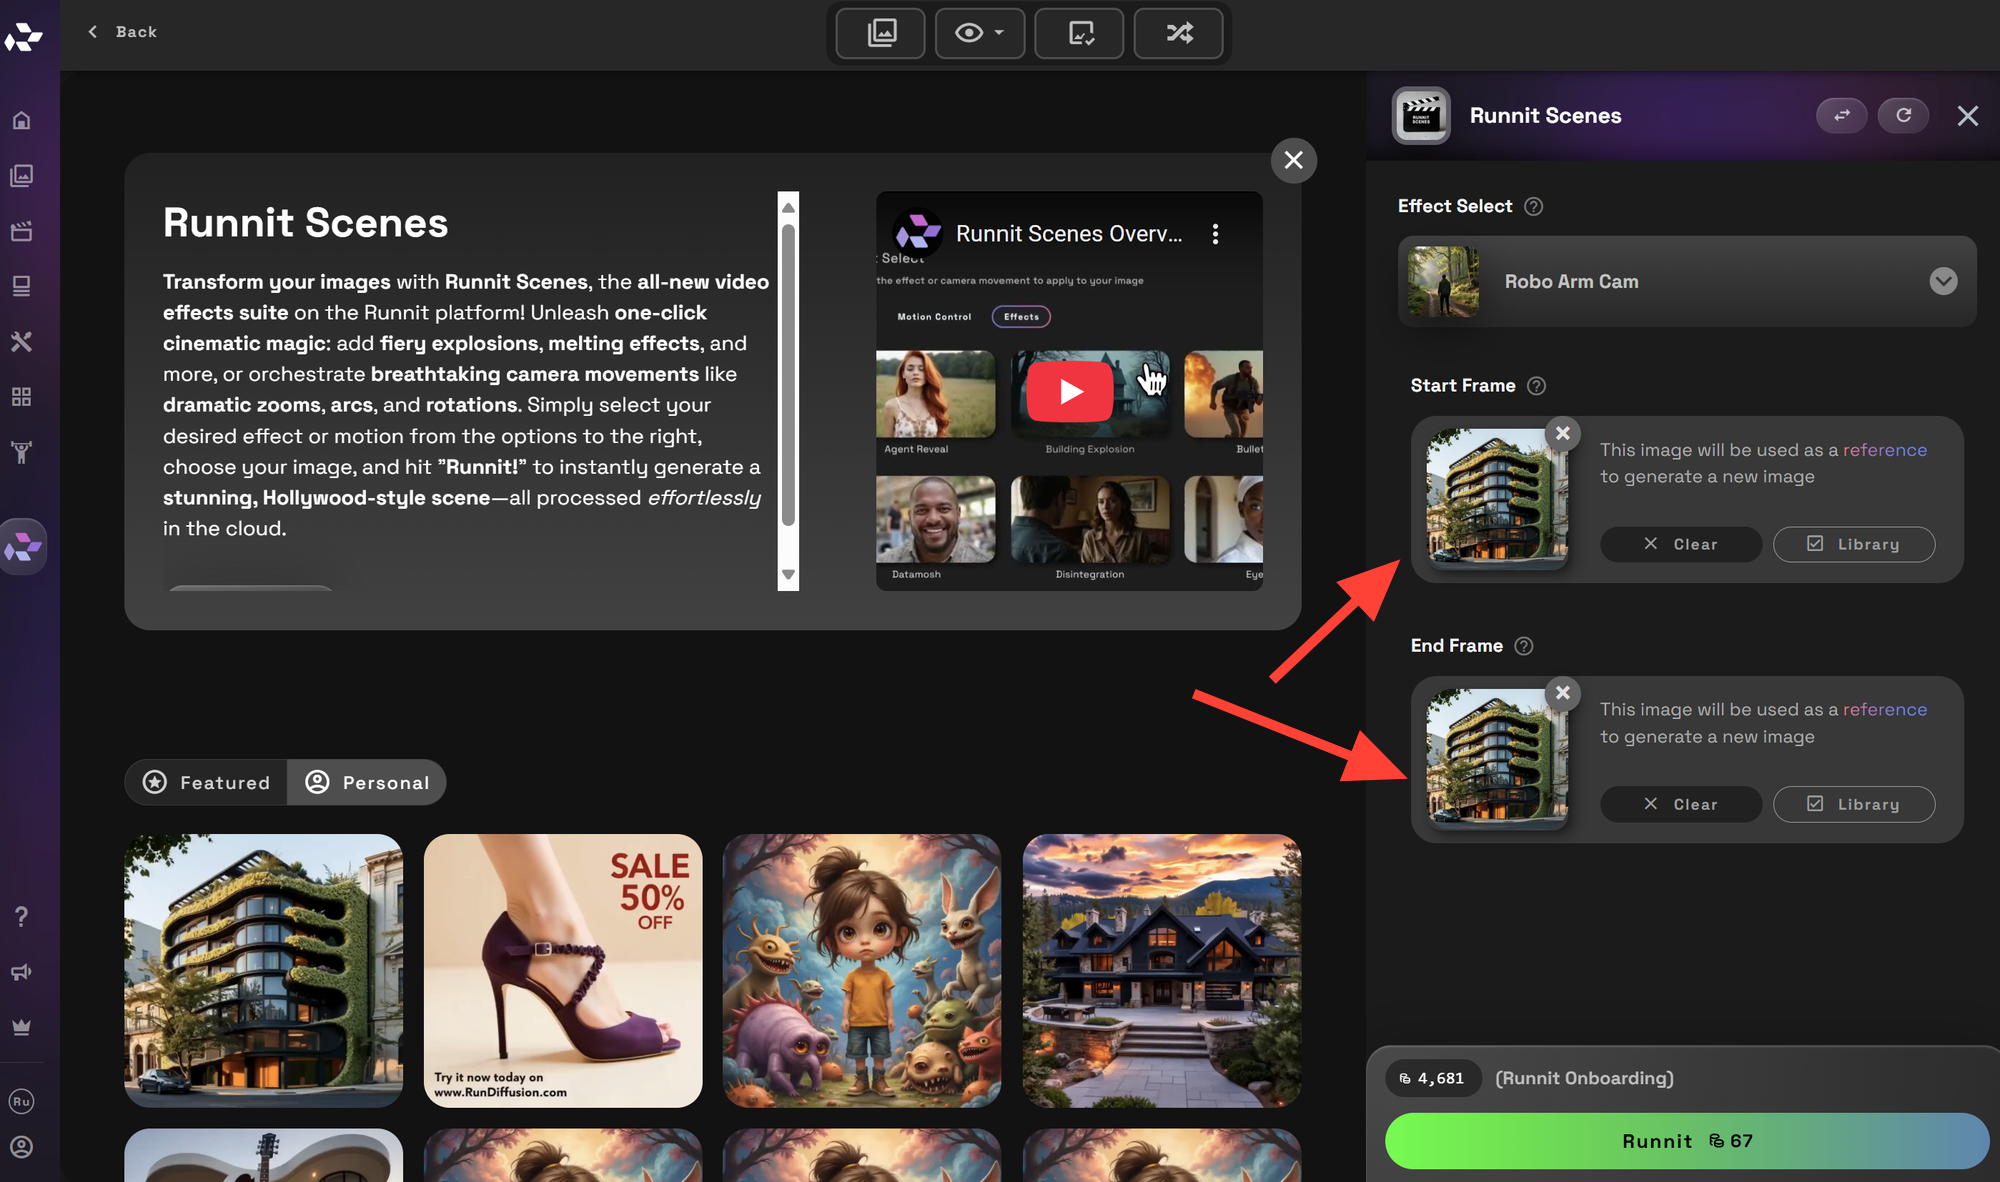
Click Upload or Library to select the image you want to use for Start Frame and End Frame.
You can also use the same image for both Start and End frame for some tools to create interesting effects.
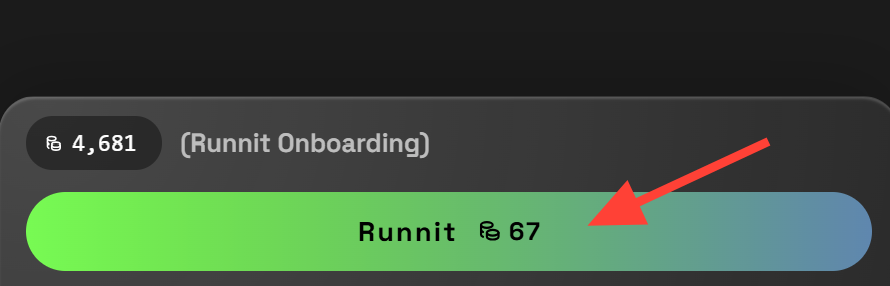
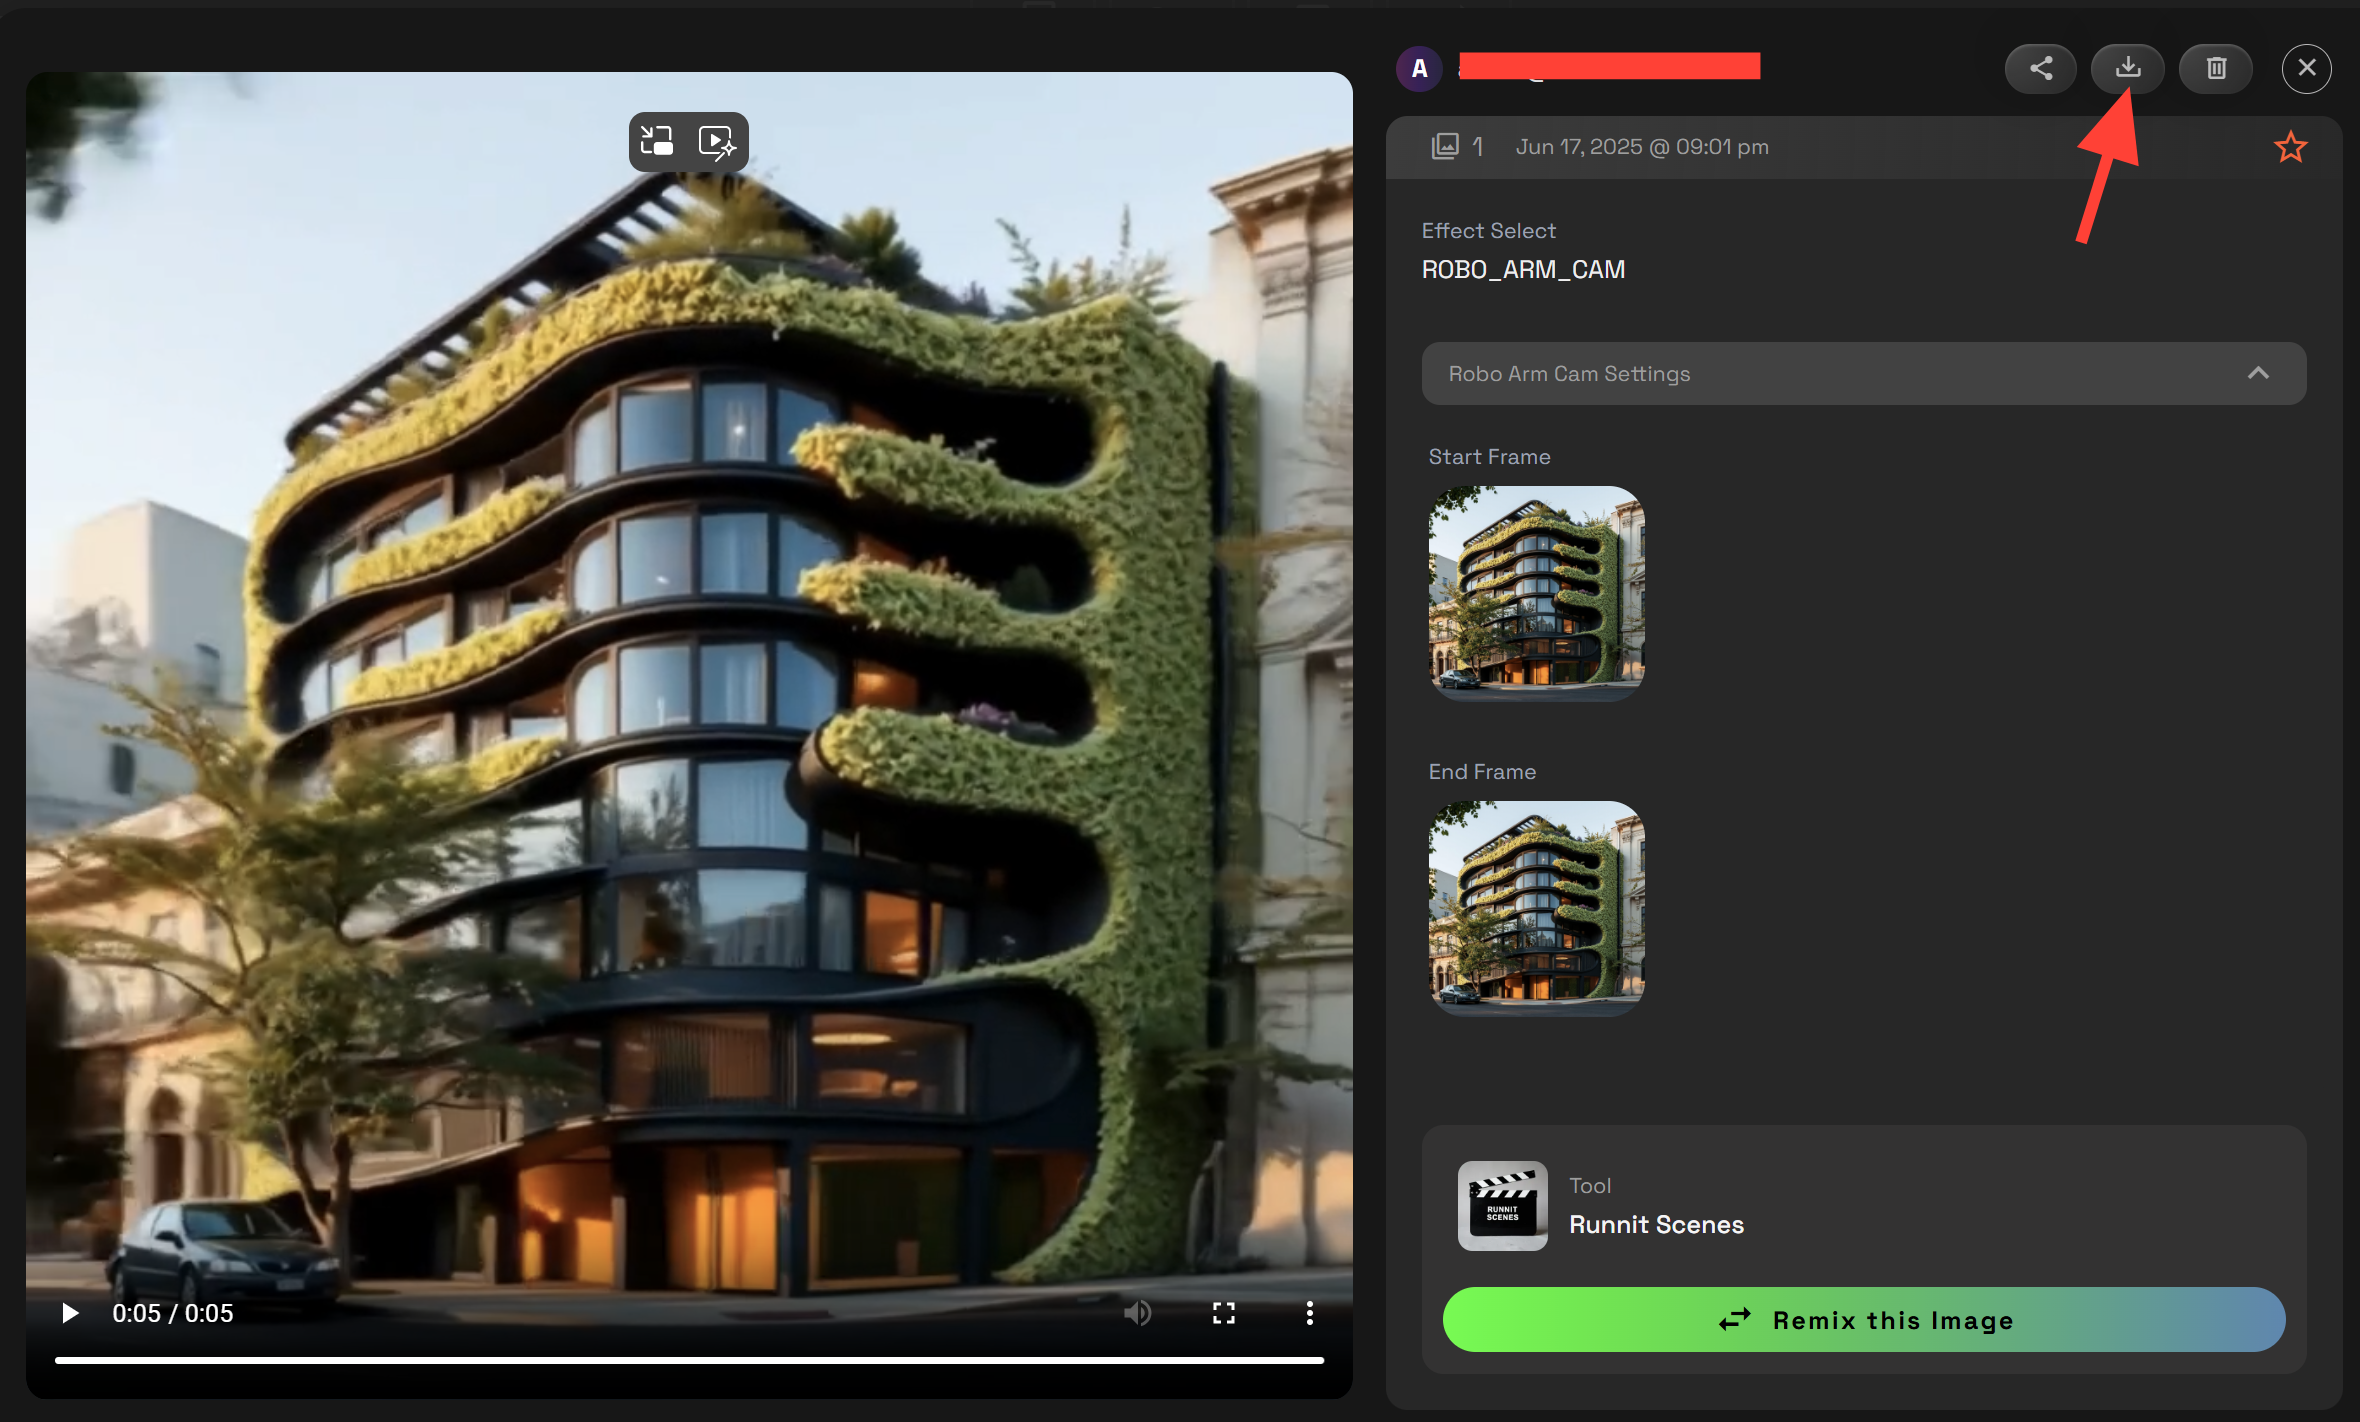
Click Runnit to create your video.
You can access your images by clicking on the images under the personal tab.
You can download your images by clicking on them.
A few Examples
Why This Is a Game-Changer
- Narrative Precision: Frame your scene with defined bookends—ideal for storytelling, ads, and dynamic content.
- Better Transitions: Control both entry and exit visuals, avoiding awkward fades or jarring cuts.
- Loop-Friendly: Match start and end frames to loop loops smoothly for GIFs or social media loops.
Pro Tips
Choose high-quality, consistent frames
Experiment with matching frames perfect for looping scenes.
Add Runnit Scenes to your Runnit Board to create amazing worfklows.
Further Reading