


How to Use Aria2c and Gdown to Upload Files, Checkpoints, and LoRAs for RunDiffusion
When working with RunDiffusion, you may need to upload large files such as model checkpoints, LoRA models, or other resources directly into files. Aria2c and Gdown, commands can help streamline this process, especially when uploading from multiple sources or Google Drive.
This guide will teach you how to use Aria2c and Gdown to upload files efficiently for RunDiffusion. We’ll walk you through launching a FILES ONLY environment and explain how to open the Console Command in the correct folder for these uploads.
Why Use Aria2c and Gdown on RunDiffusion?
- Aria2c: Ideal for uploading large files, like checkpoints or LoRA models, from multiple mirrors or file servers. It boosts speed by splitting uploads into multiple segments and handling them concurrently.
- Gdown: Specifically useful for uploading from Google Drive, which is common for AI resources like pre-trained models and datasets. Gdown overcomes Google Drive's limitations and allows direct access to these files.
- CivitAI API is timing out or not uploading your models and lora correctly.
Launching FILES ONLY
To begin using Aria2c and Gdown, you first need to launch a server. This can be done in any server but let's use FILES ONLY as an example. This mode allows you to access the file management system directly, which is ideal for uploading, organizing, and managing files like checkpoints and LoRA models.
Steps to Launch a FILES ONLY Environment:
- Log into RunDiffusion.
- Selection what you want to Launch on the Application list page.
- Select FILES ONLY: On the left menu, choose the FILES ONLY and click on Select.
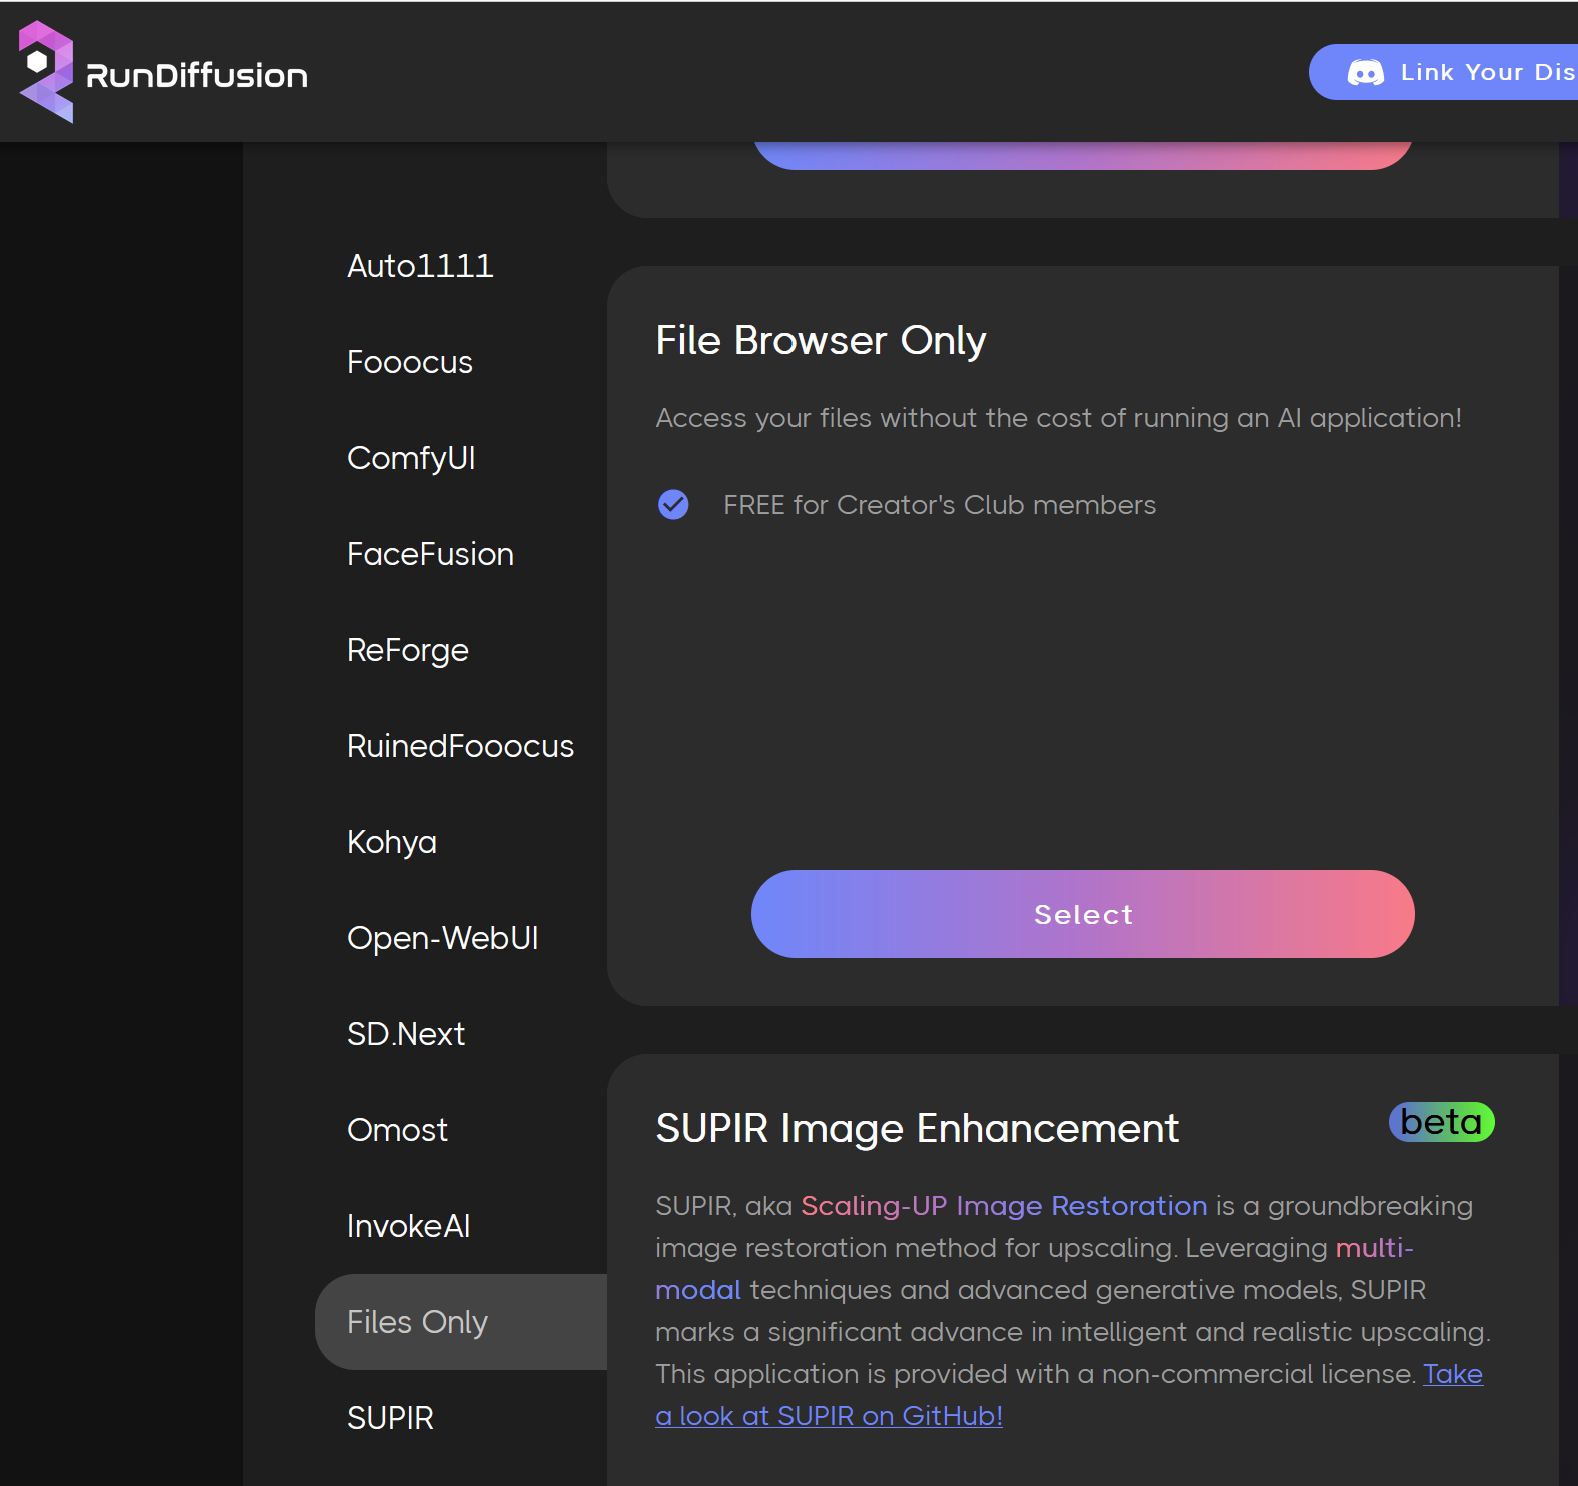
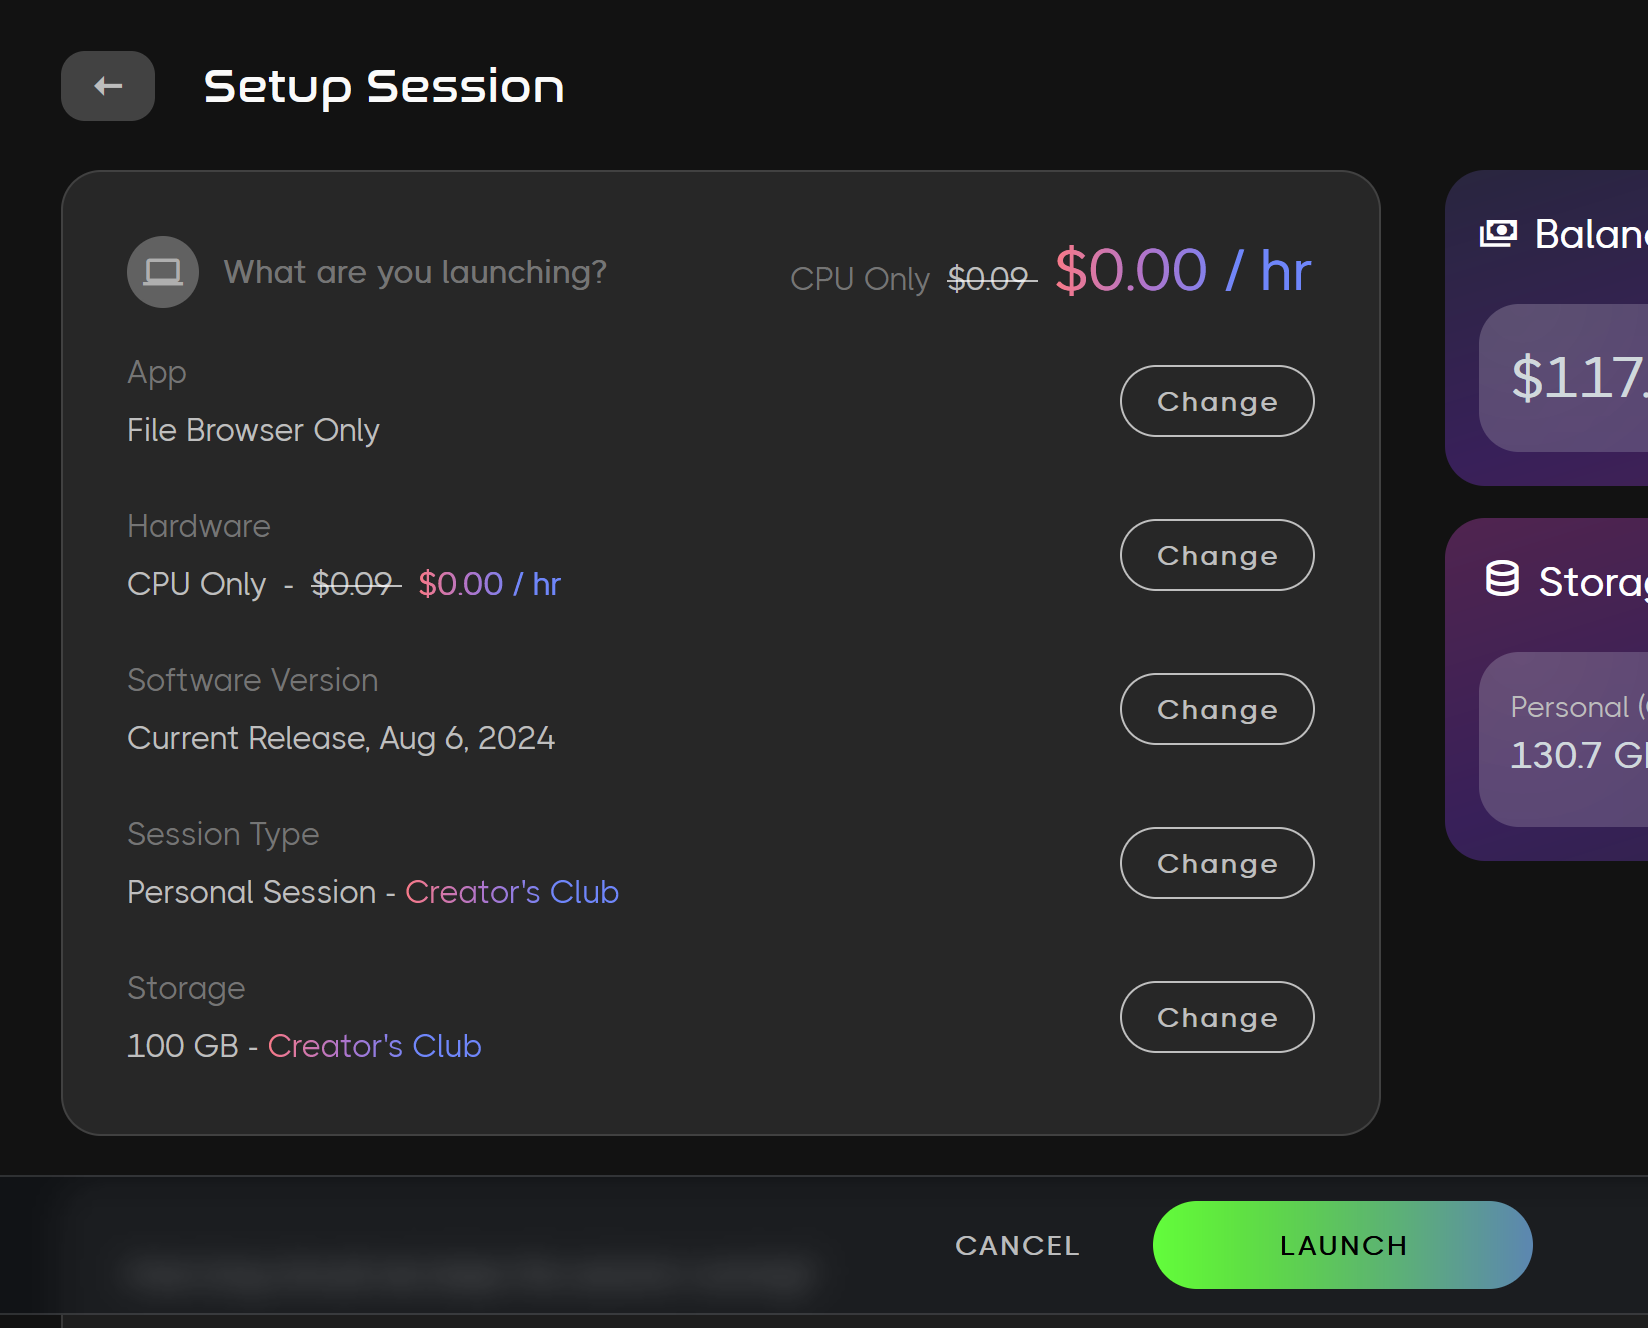
- Setup your Session and select Launch.
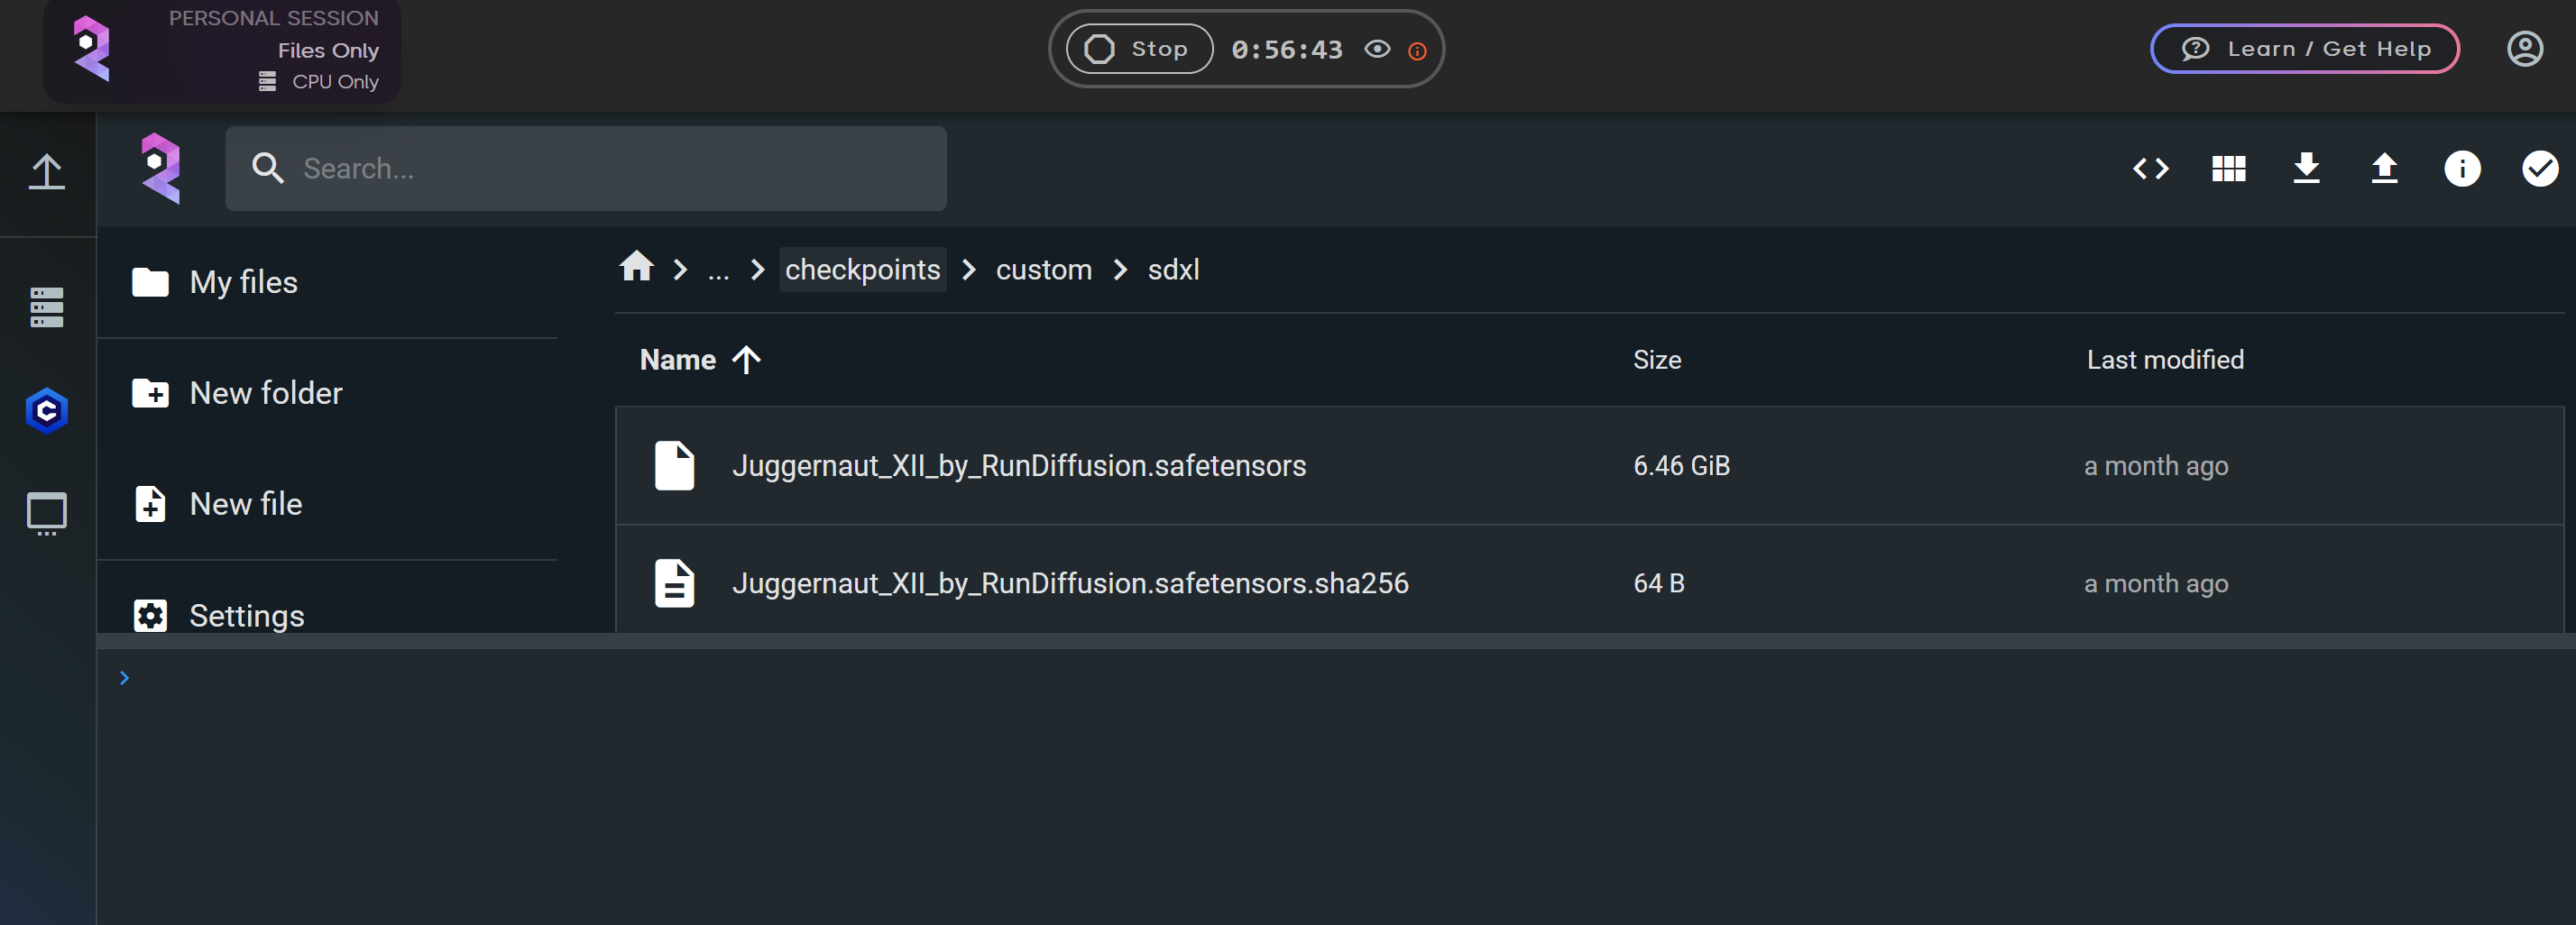
Opening the Console in the Folder for Uploads
Once you're in the FILES ONLY environment, it is important to open the Console Command within the folder where you want to store the uploaded files. Whether you're uploading checkpoints, LoRA, or any other assets, this step ensures that files are saved to the correct location. If you accidentally upload to the wrong folder you can manually move it later.
Common File Locations
- Checkpoints:
- Flux:
/models/checkpoints/custom/flux/ - Flux in ComfyUI Load Diffusion Model Node: /mnt/private/models/unet
- Flux:
- SDXL:
/models/checkpoints/custom/sdxl/ - 1.5 Checkpoints:
/models/checkpoints/custom/v1/ - LoRa Files:
- Flux LoRa:
/models/lora/custom/flux/ - SDXL LoRa:
/models/lora/custom/sdxl/ - 1.5 LoRa:
/models/lora/custom/v1/
- Flux LoRa:
Steps to Open the Console Command:
Navigate to the desired folder where you want to upload your files. (e.g., a folder for LoRA models or checkpoints).

Open the Console by selecting the <> symbol in the top right.
Uploading Files Using Aria2c
Aria2c is perfect for uploading large checkpoints, LoRA models, or multiple files from different sources. It accelerates uploads by splitting files into smaller parts and uploading them concurrently.
For this example we will use a model link from Civitai. You'll first want to generate an API key from civitai. To do that go to https://civitai.com/user/account and scroll down to API Keys and click Add API key.
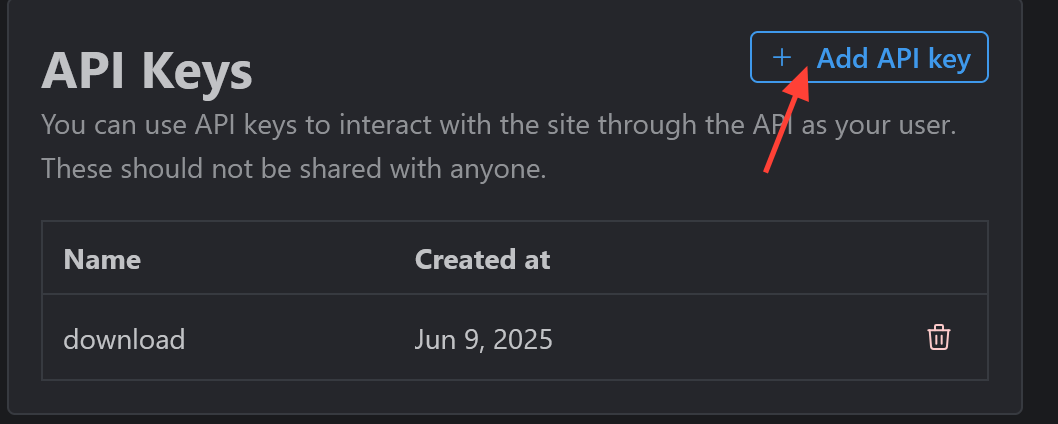
Enter your API key Name and click Save.

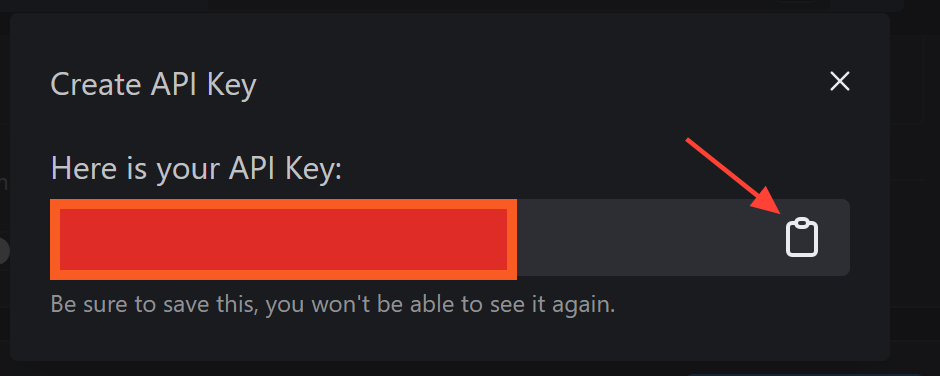
A pop up will then show you your API key. You can click the clipboard symbol to copy it. Save this API key you will need it soon.
Once you have navigated to the appropriate folder. Click the toggle shell icon.

This will open the console and from here you can enter different commands.
To download a model directly in the console, use the aria2c command followed by "the model’s download URL and &token=YOUR_API_KEY"
Example: aria2c "https://civitai.com/api/download/models/1759168?type=Model&format=SafeTensor&size=full&fp=fp16&token=6a4e9d7f3f11a3fd592de10874fa9309"
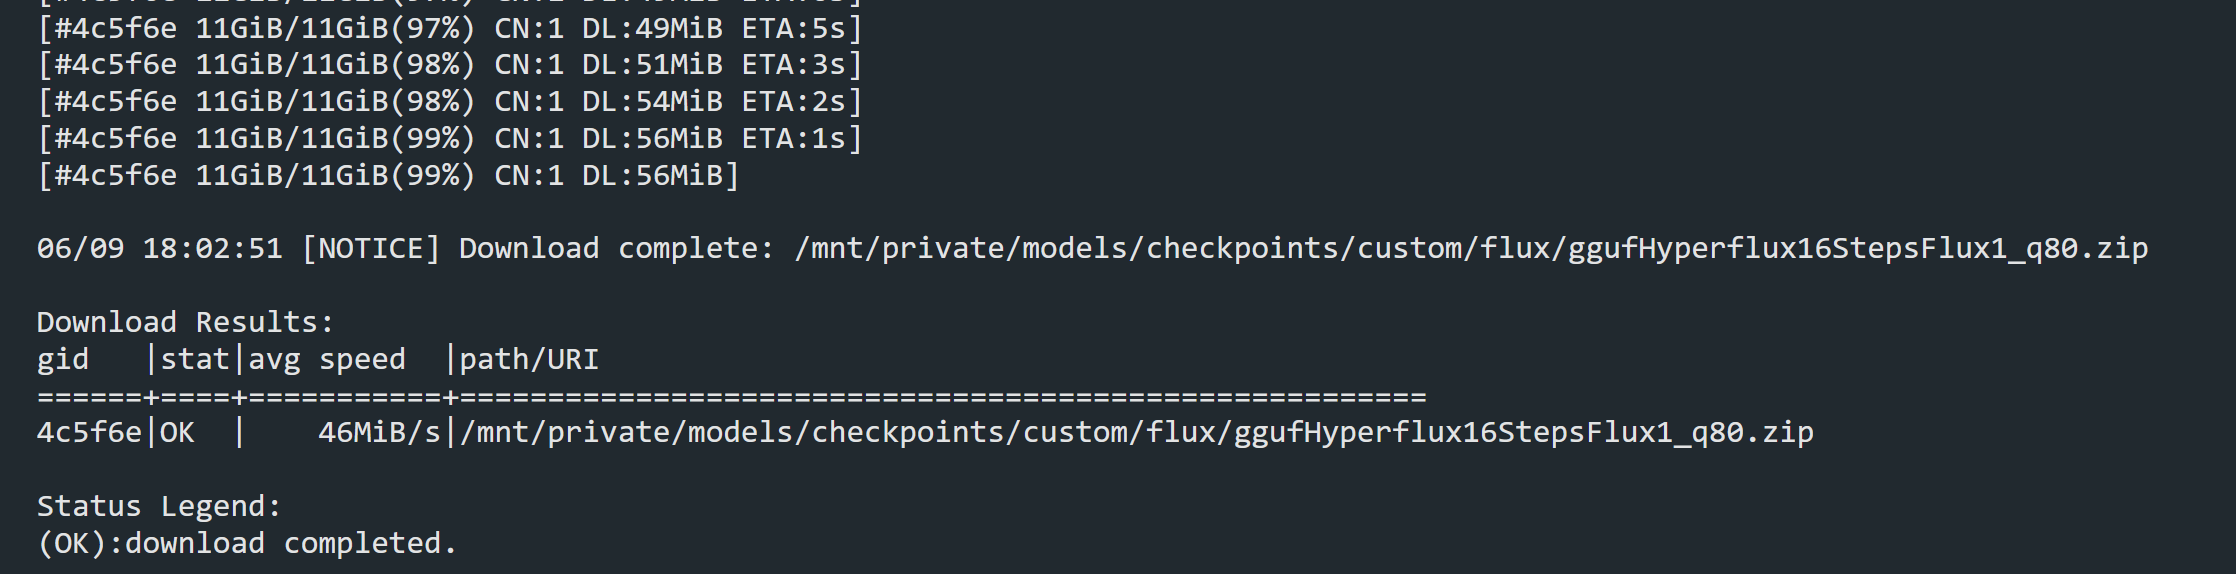
Once you enter your model and the token you want to use into the console it will say Downloading 1 Item(s).

Wait until it says Download Complete.
Flux models are often provided as ZIP files due to their large size. When you receive a ZIP file, you can extract its contents directly from the console.
LoRA and SDXL files are typically ready to use without unzipping.
To extract a ZIP file, use the following command in the console: unzip filename.zip

Now you can close the console by once again clicking on <> symbol.
Uploading Files Using Gdown
For many AI models and checkpoints, Google Drive is a common host. Gdown simplifies uploading from Google Drive directly into your folders on RunDiffusion.
How to Upload a File Using Gdown:
Open your console using the <> symbol in the top right.

In the console use the gdown command followed by --fuzzy and the URL to the file hosted on google drive.
gdown --fuzzy https://drive.google.com/uc?id=FILE_ID
Replace FILE_ID with the unique identifier from the Google Drive link. The file will upload into the folder you opened in the console.

Best Practices for Using Aria2c and Gdown in RunDiffusion
- Check Upload Sources: Before uploading, ensure the file’s source is reliable, especially when uploading model checkpoints or LoRA models.
- Monitor File Sizes: Both Aria2c and Gdown handle large files well, but keep an eye on available storage space on your drive to avoid issues.
- Use Gdown for Google Drive: Whenever you're dealing with files hosted on Google Drive, Gdown is the best tool to avoid issues with permission errors or upload limits.
- HuggingFace: Remember once you upload from hugging face you need to change the file name.
Common File Locations
- Checkpoints:
- Flux:
/models/checkpoints/custom/flux/ - Flux in ComfyUI Load Diffusion Model Node: /mnt/private/models/unet
- Flux:
- SDXL:
/models/checkpoints/custom/sdxl/ - 1.5 Checkpoints:
/models/checkpoints/custom/v1/ - LoRa Files:
- Flux LoRa:
/models/lora/custom/flux/ - SDXL LoRa:
/models/lora/custom/sdxl/ - 1.5 LoRa:
/models/lora/custom/v1/
- Flux LoRa:
For more tips and tutorials, check out our articles on RunDiffusion.
