

XYZ grids are a fascinating tool for AI art as they can compare different checkpoints, loras, cfg scale, steps, etc. There are a few ways to make XYZ grids and we will be covering two methods in this workflow with the platforms Auto1111 and ComfyUI.
ComfyUI
Upon launching Comfy, you will be met with a preset workflow. You can clear this with the "clear" button on the right-hand side menu. Now, you can load in our premade XYZ grid workflow. This can be done by clicking the "load" button on the right-hand side menu and selecting "UTIL-XYZGRID" or downloading the json workflow here, then drag and dropping it into ComfyUI.
At first glance, a lot is going on with this workflow, and to new users, it may be overwhelming, so let's break it down.
Efficient loader:
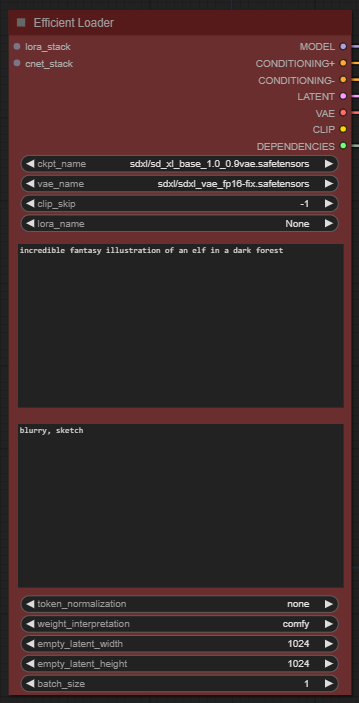
This is where you will select your checkpoint, Vae, clip_skip and Lora for the base generation. Underneath, the prompt boxes will be your positive prompt (top) and negative prompt (bottom). You can lastly choose your image size and batch size.
Input:
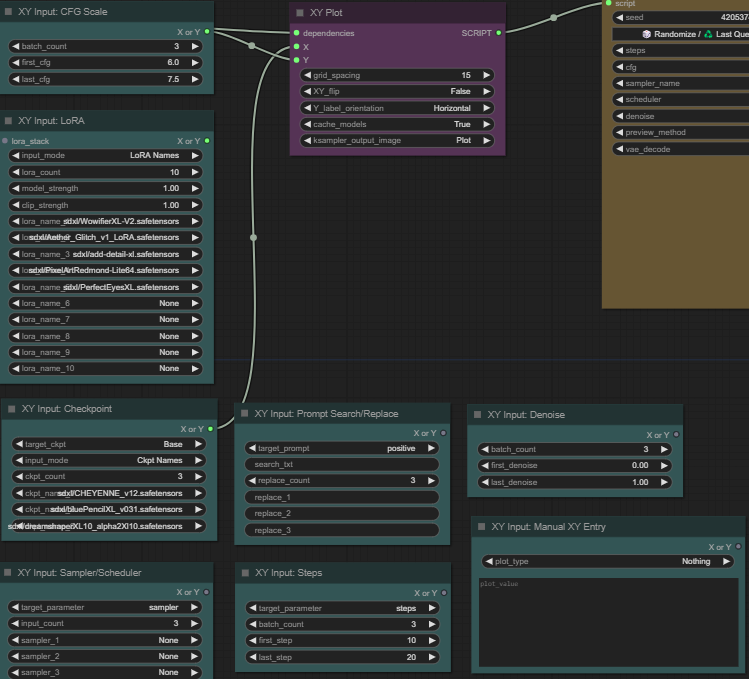
Each one of these green boxes are different input for the XYZ grid. You will be selecting one of these boxes by connecting from the X in the pink box, to the X or Y button on the green box of your choice. Video Below..
CFG

This is where you will select your batch count, as well as the starting and ending of your CFG scale for the XYZ grid.
Lora
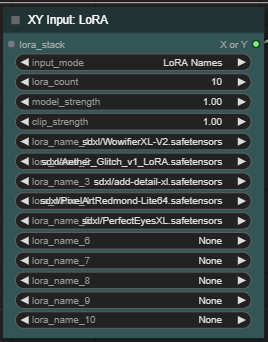
Here you will select the amount of Lora's you want, as well as which Lora's you want to use.
Checkpoint
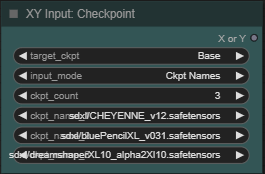
Here you will do the same process as the Lora's but, for checkpoints.
Sampler
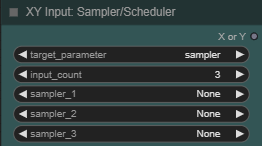
The same process for the samplers.
Prompt search/replace
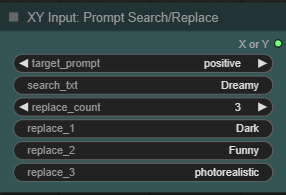
Here you will select which prompt you want to change words out in, positive or negative. Then you will input the word you want to replace in your prompt, in my case the word was "Dreamy". I have then chosen 3 words to replace dreamy with, "dark, funny, and photorealistic". This will give you an XYZ plot with 3 sets of images, changing the prompt for each.
Steps
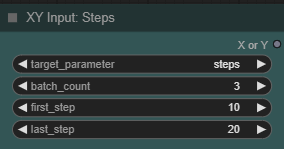
In steps, you will choose a starting step count and an ending step count. The XYZ grid will then give out a grid, spacing out the generations with different steps.
Denoise
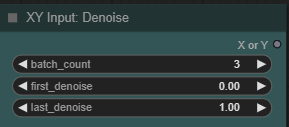
Same process for the denoise.
Queueing prompt
Once you have your selections made up you can queue prompt and let the magic happen. You will end up with something like this.
Auto1111
In auto1111 you can scroll down in txt2img and open the "scripts" dropdown and select X/Y/Z plot.
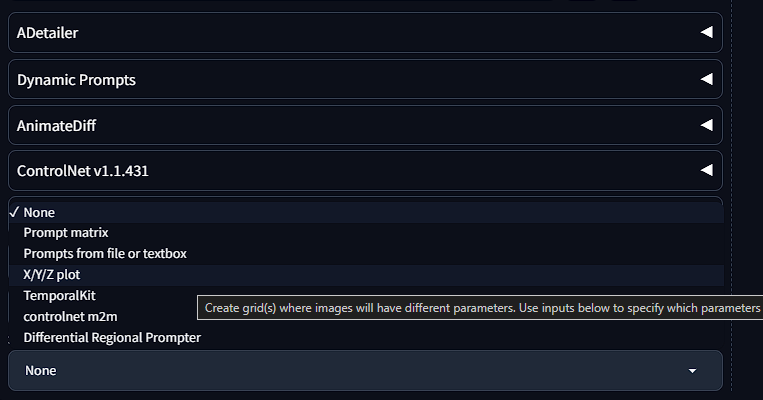
This will bring up the following menu.
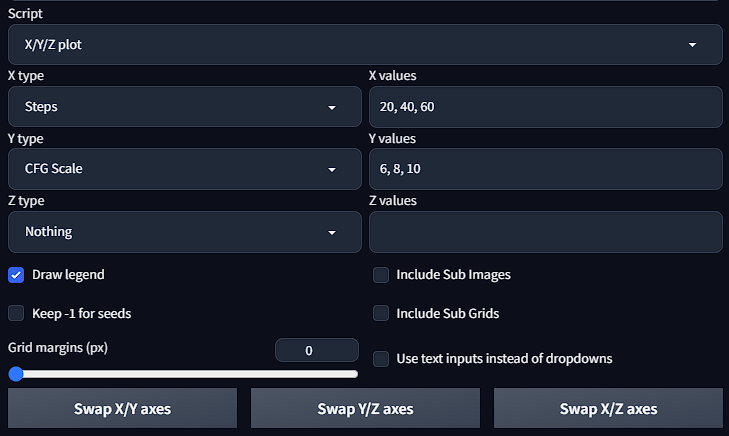
Here you can select the X,Y and Z plots to different settings. Above I have chosen "steps" for X plot and "CFG scale" for Y plot. On the right is the values of each chosen setting, separated with commas.
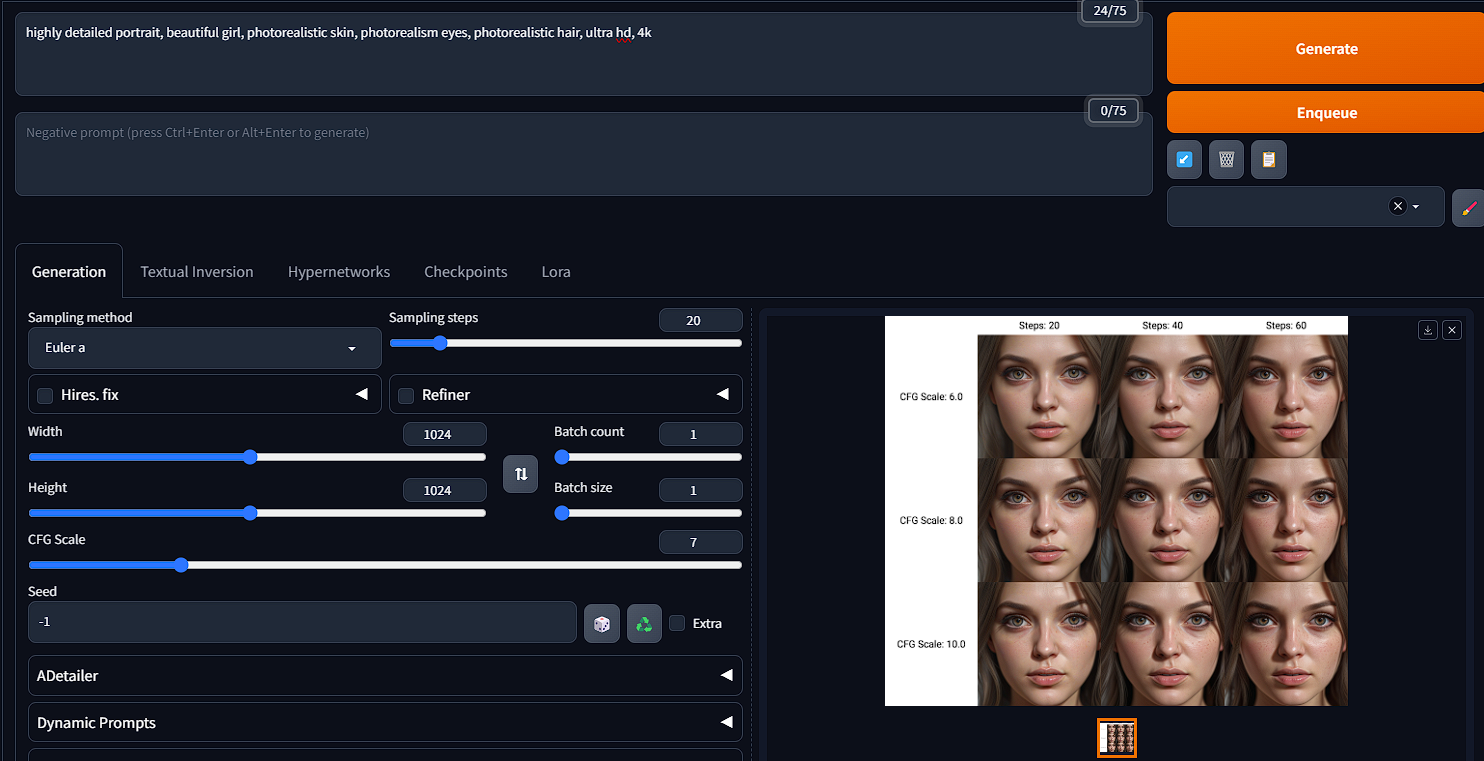
After you have completed the previous step, go up to the prompt box and enter your prompt and then generate!

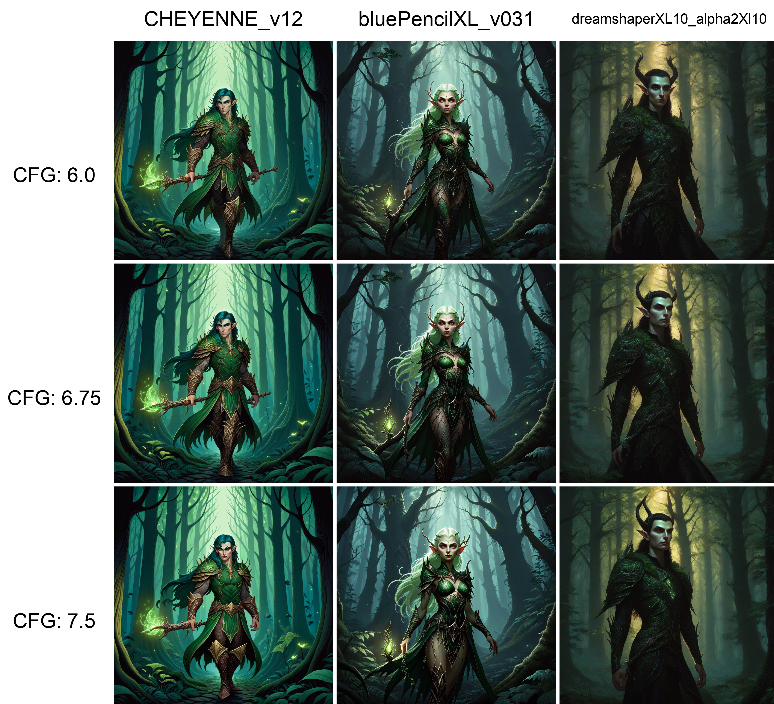
XYZ grids
Using these techniques you are able to accomplish a lot and really start to refine your art by comparing models, loras, styles, etc. This is also the best practice when creating your own Model or LoRA, as you are able to compare each epoch and pick your best for use.