


An in depth tutorial to setup and run Hallo on RunDiffusion
In this guide, we’ll walk you through setting up a ComfyUI server, installing custom nodes, and creating a fun video using the Hallo node by AIFSH. Follow these steps to get started.
Use Cases for Hallo Node
The Hallo node in ComfyUI opens up numerous possibilities for animating portrait images with audio files. Here are some compelling use cases:
- Animate characters in children’s stories, making them more engaging and interactive for young audiences.
- Create animated lectures where historical figures explain concepts in their own "voices", making learning more immersive.
- Use animated portraits for personalized video messages, increasing customer engagement with a more human touch.
- Generate eye-catching animated portraits for use in social media posts, stories, and advertisements to attract more viewers.
- Produce animated music videos where the characters in the portraits sing or narrate, providing a unique visual experience.
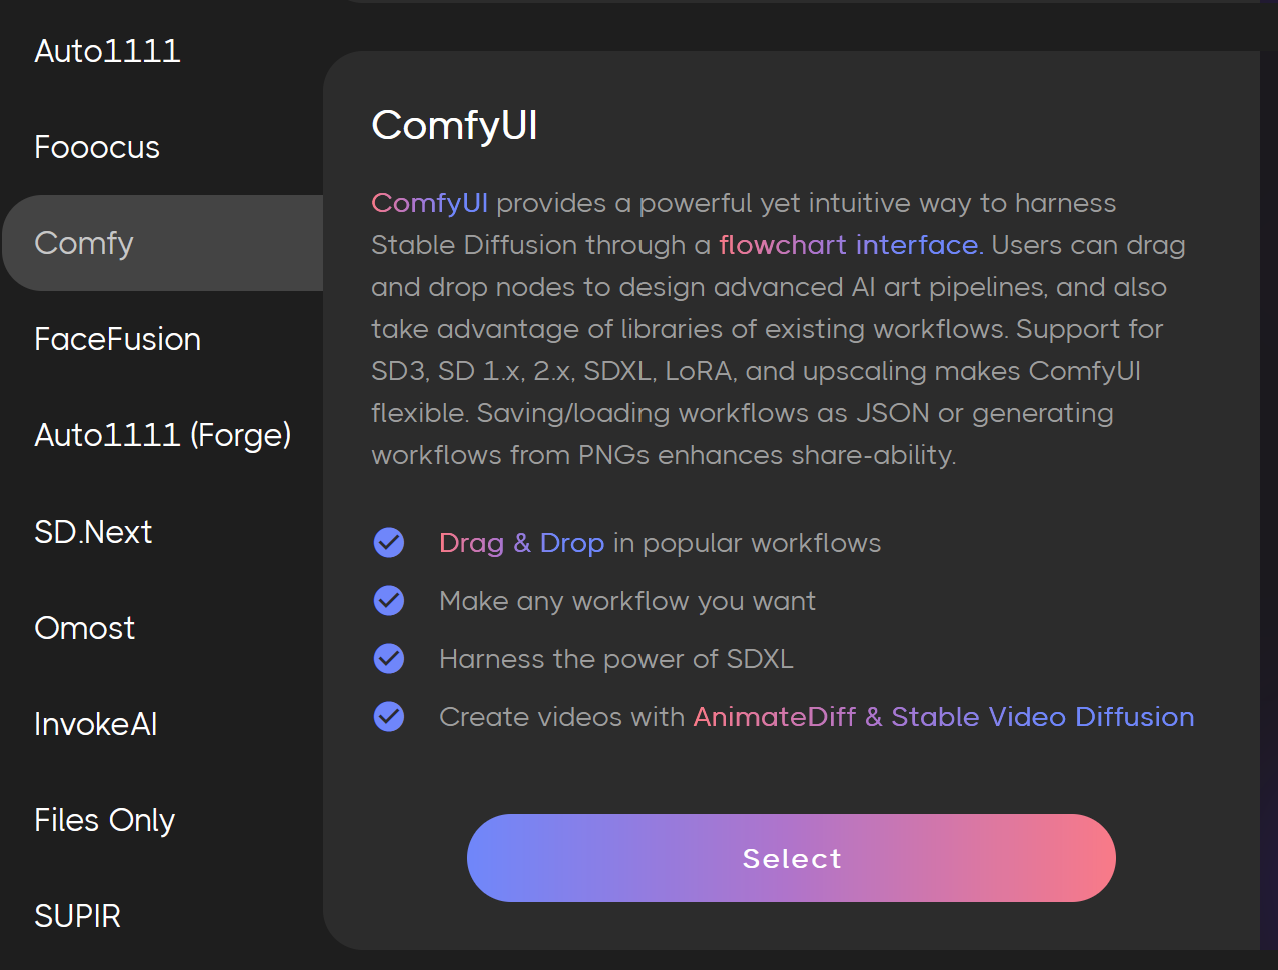
Step 1: Launch a ComfyUI Server
- Launch a ComfyUI Server on Beta:
- Choose a Large Server for optimal performance.

Step 2: Install Custom Nodes
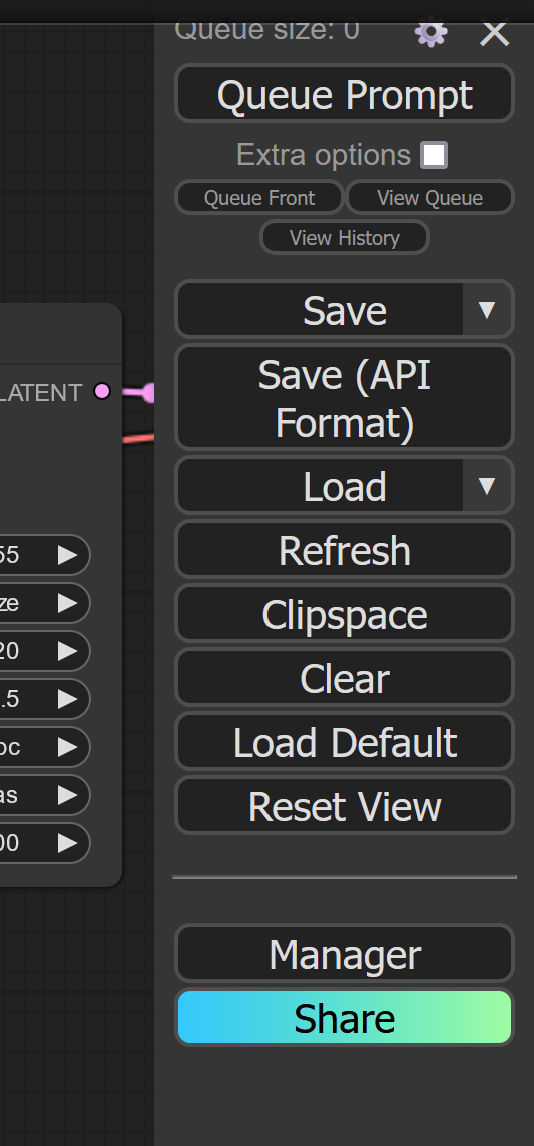
- Click on Manager:
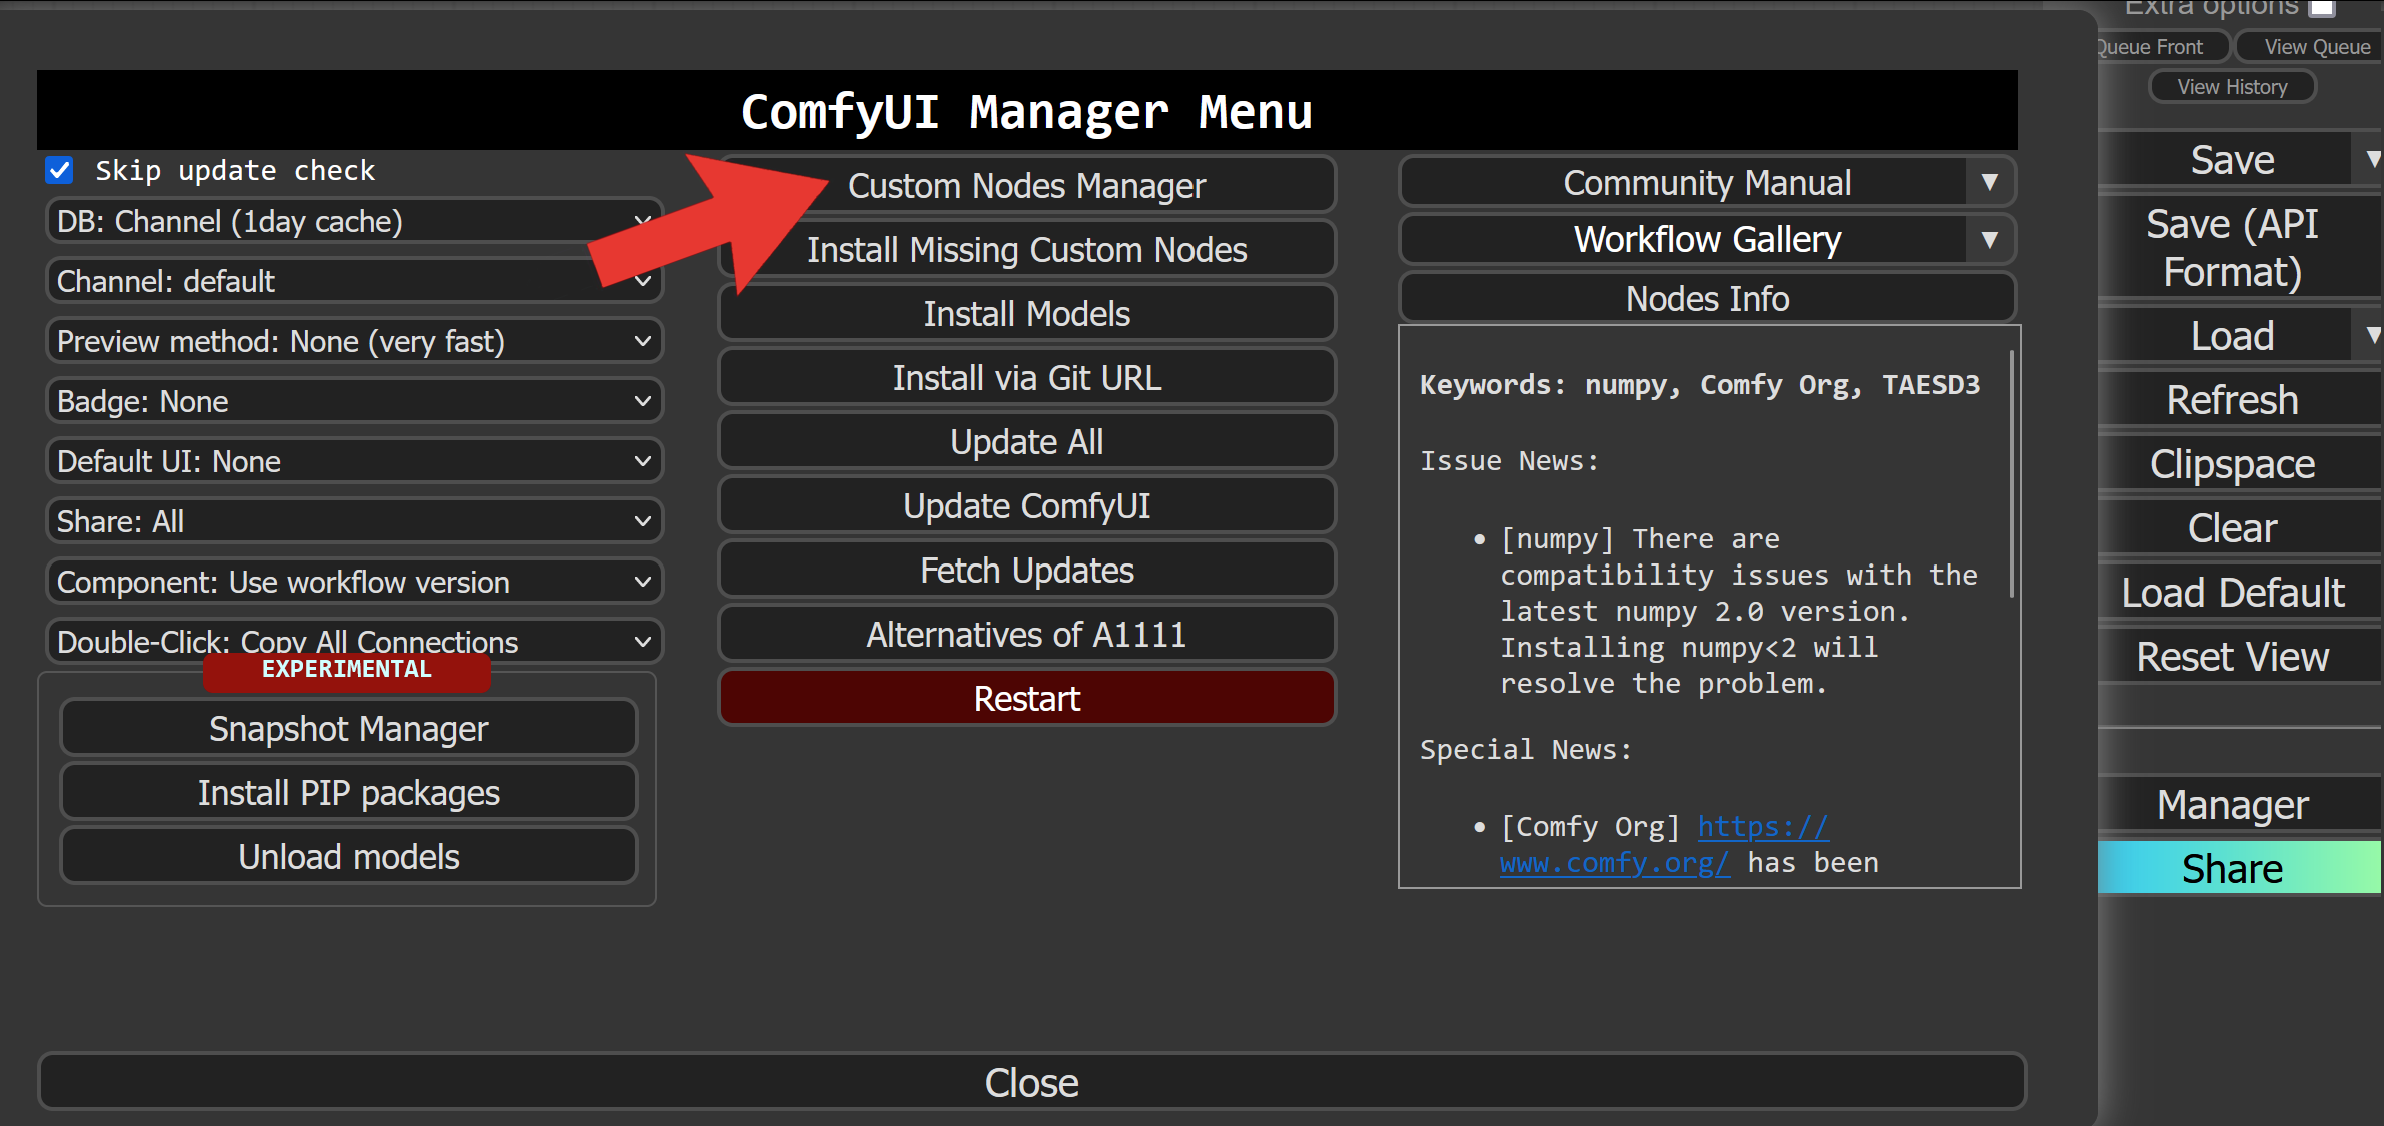
- Install Custom Nodes:
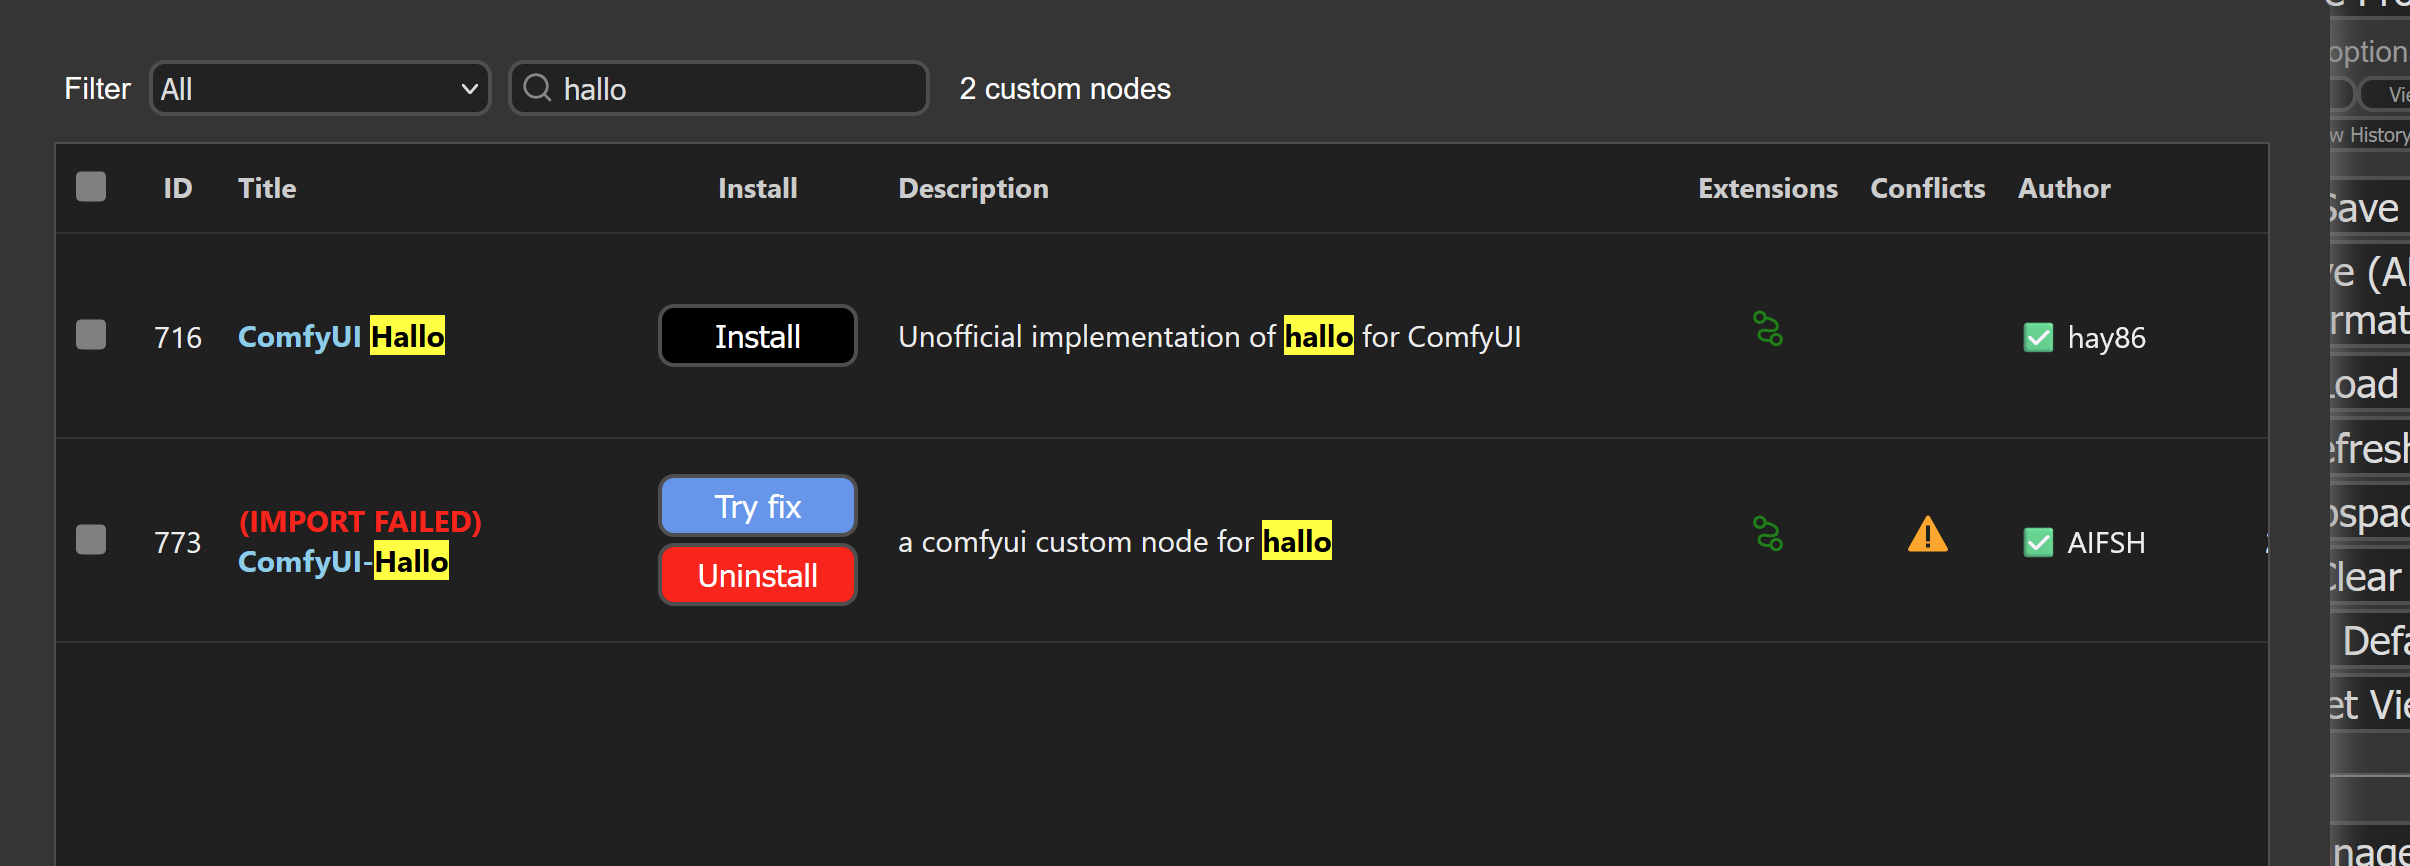
- Click on the "Custom Nodes Manager" button.
- In the search box, type “Hallo”.
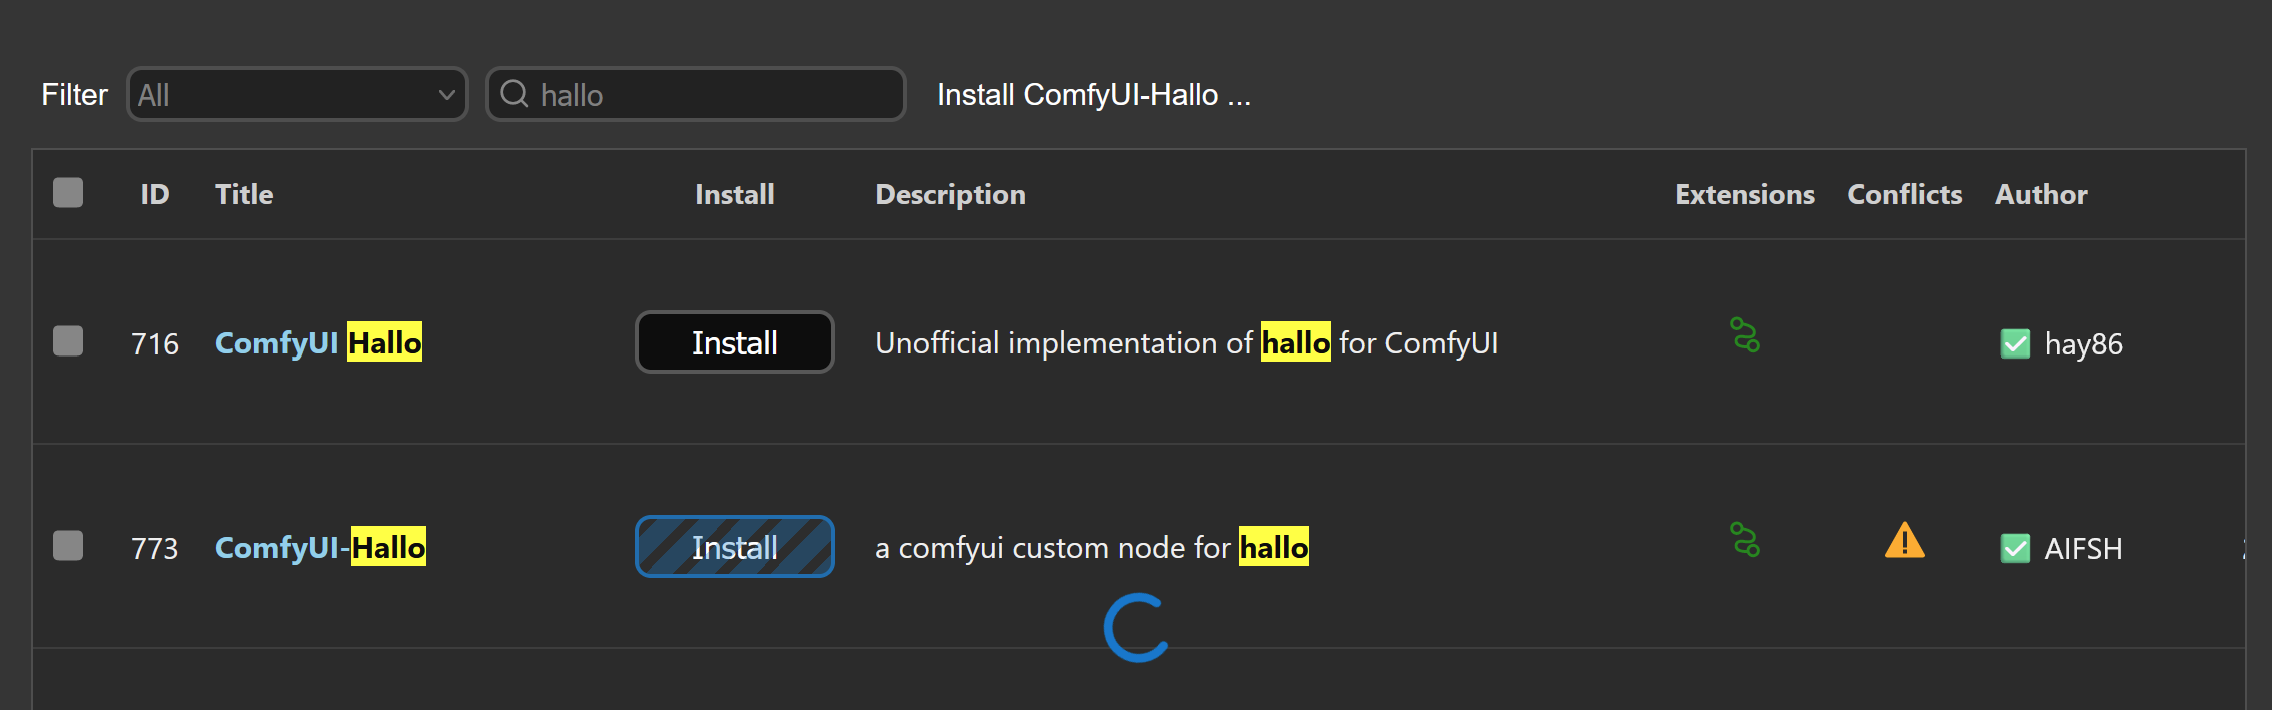
- Install ComfyUI Hallo by AIFSH and wait for the installation to complete.
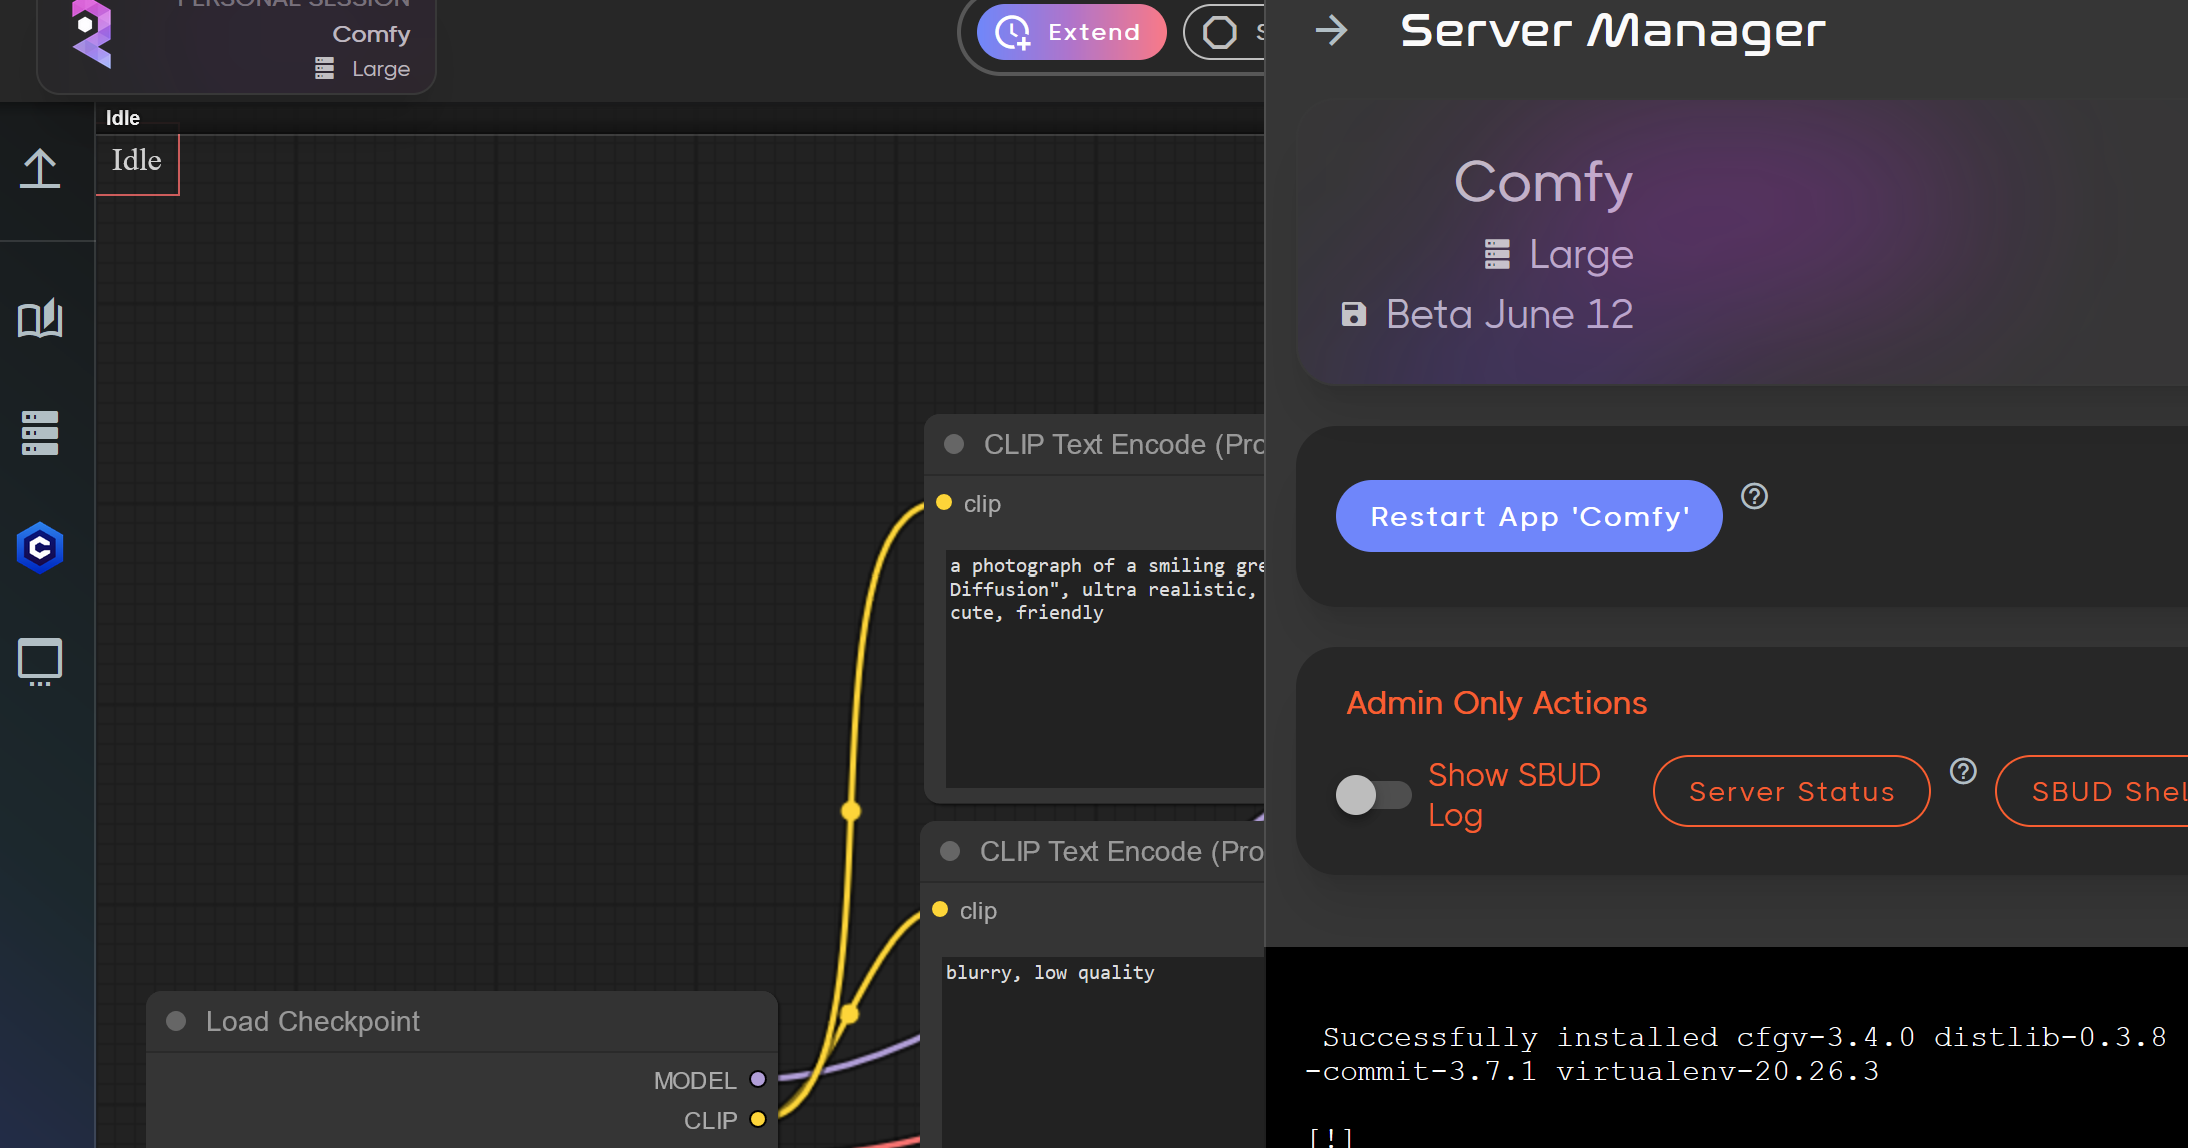
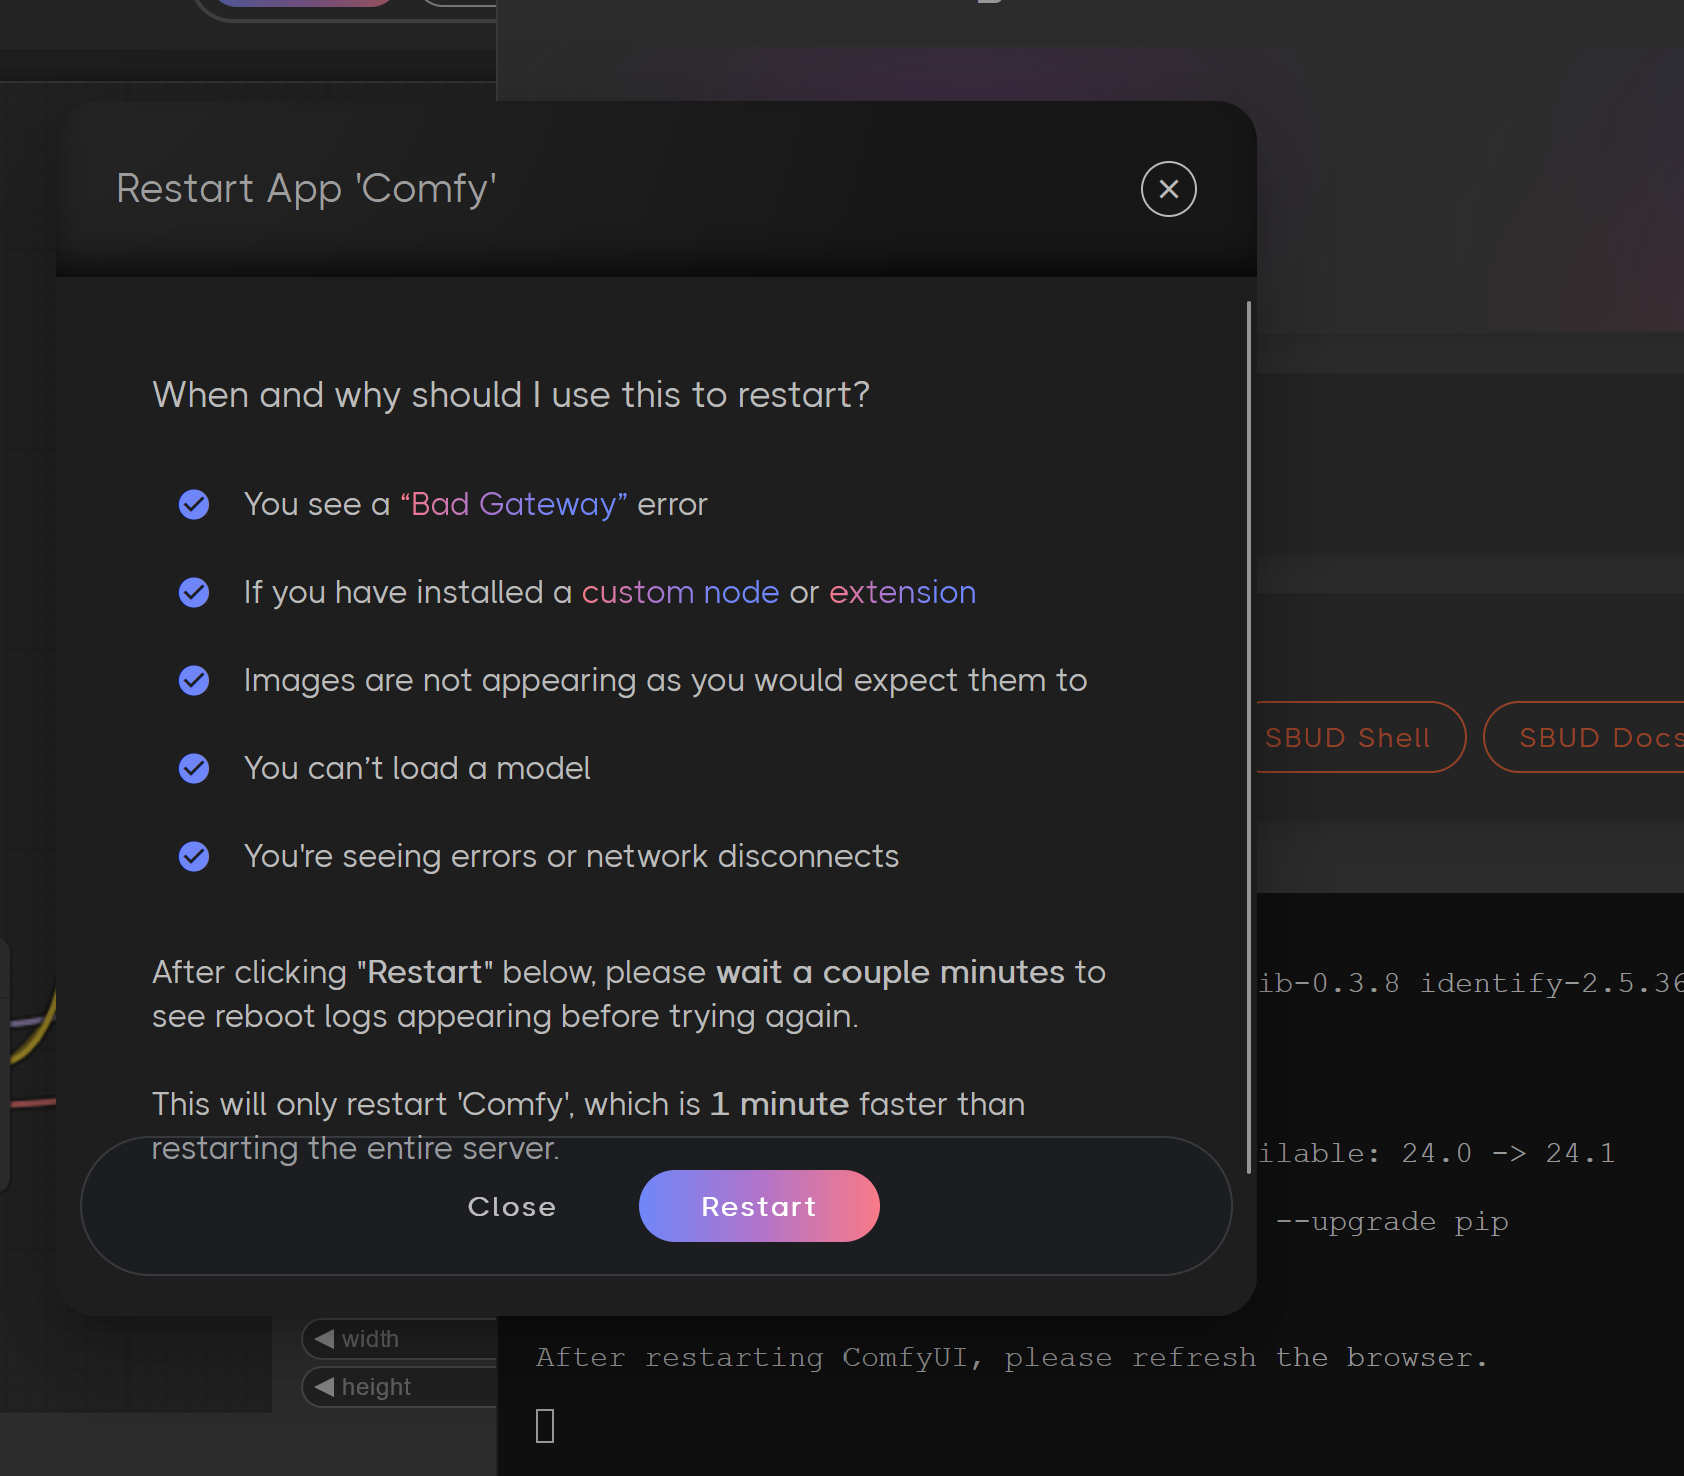
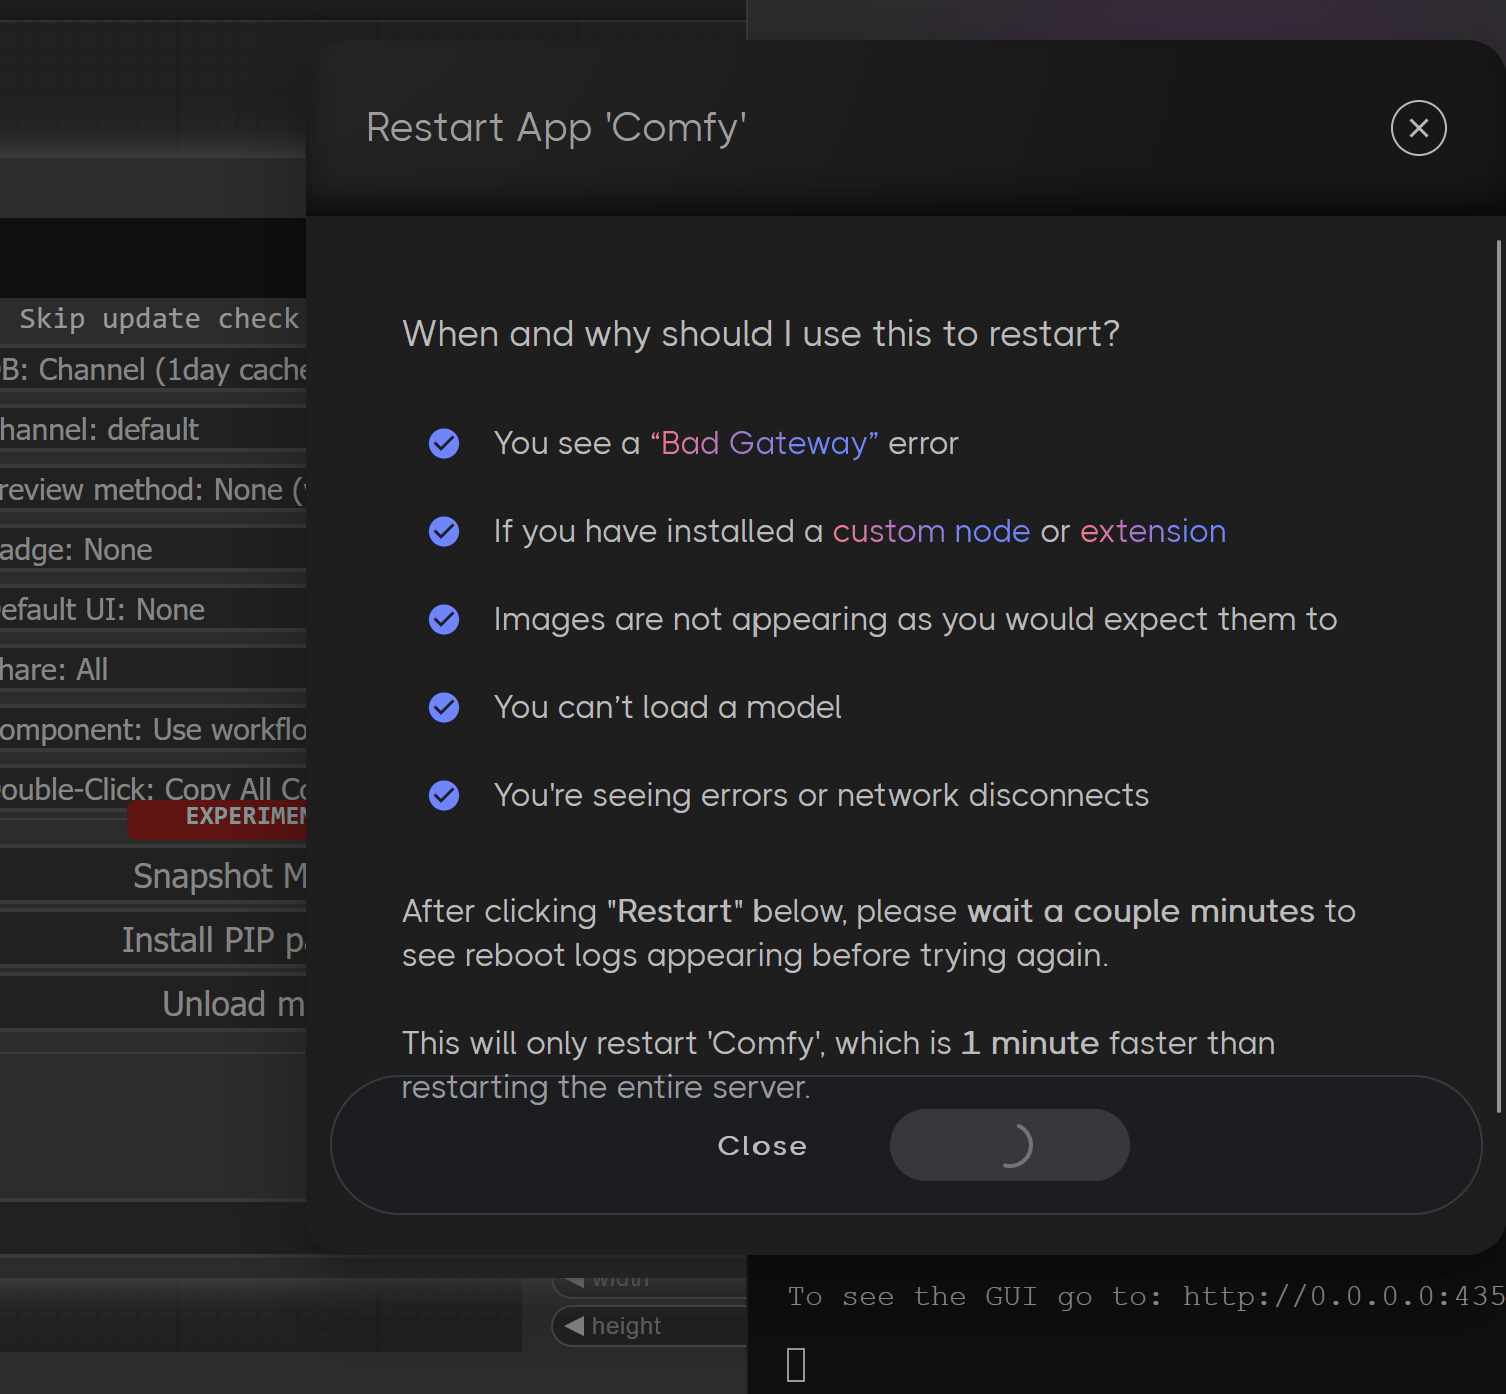
Step 3: Restart ComfyUI
- Restart the ComfyUI Server:
- Go to the Server Manager on the left side of the interface.

- Select "Restart App" to apply the changes.
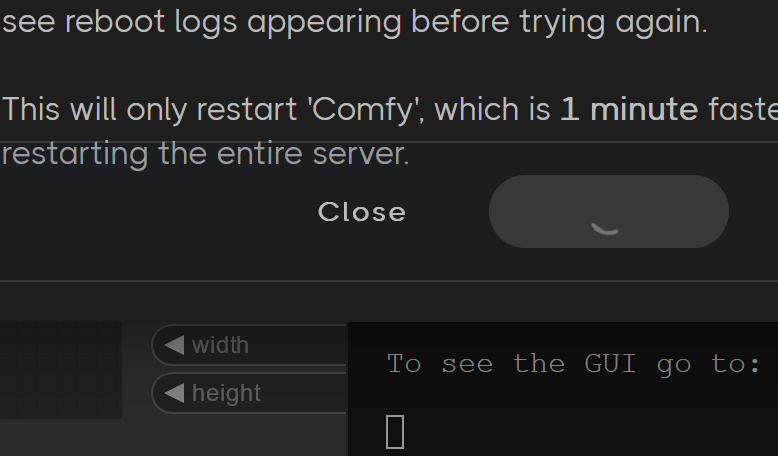
When at the bottom you see it say "To see the GUI go to:" Hit refresh on your browser.
Step 4: Fix Hallo Node
- Go to Manager Again:
- Click on "Custom Nodes Manager" once more.
- Type “Hallo” in the search box and click "Try Fix".

Step 5: Restart ComfyUI Again
- Restart the Server:
- Head back to the Server Manager and restart the app again to ensure all changes take effect.
Refresh again just like last time once you see "To see the Gui Go to:"
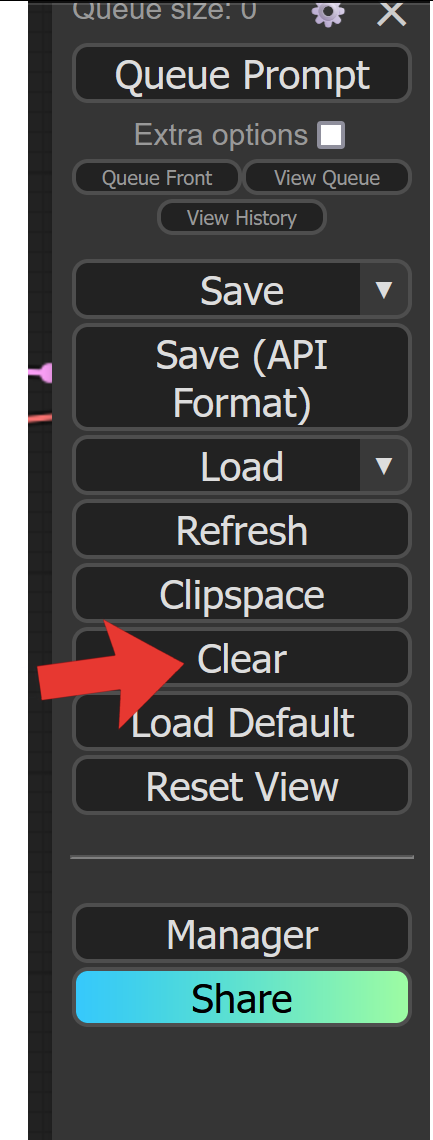
Step 6: Create the Hallo Workflow
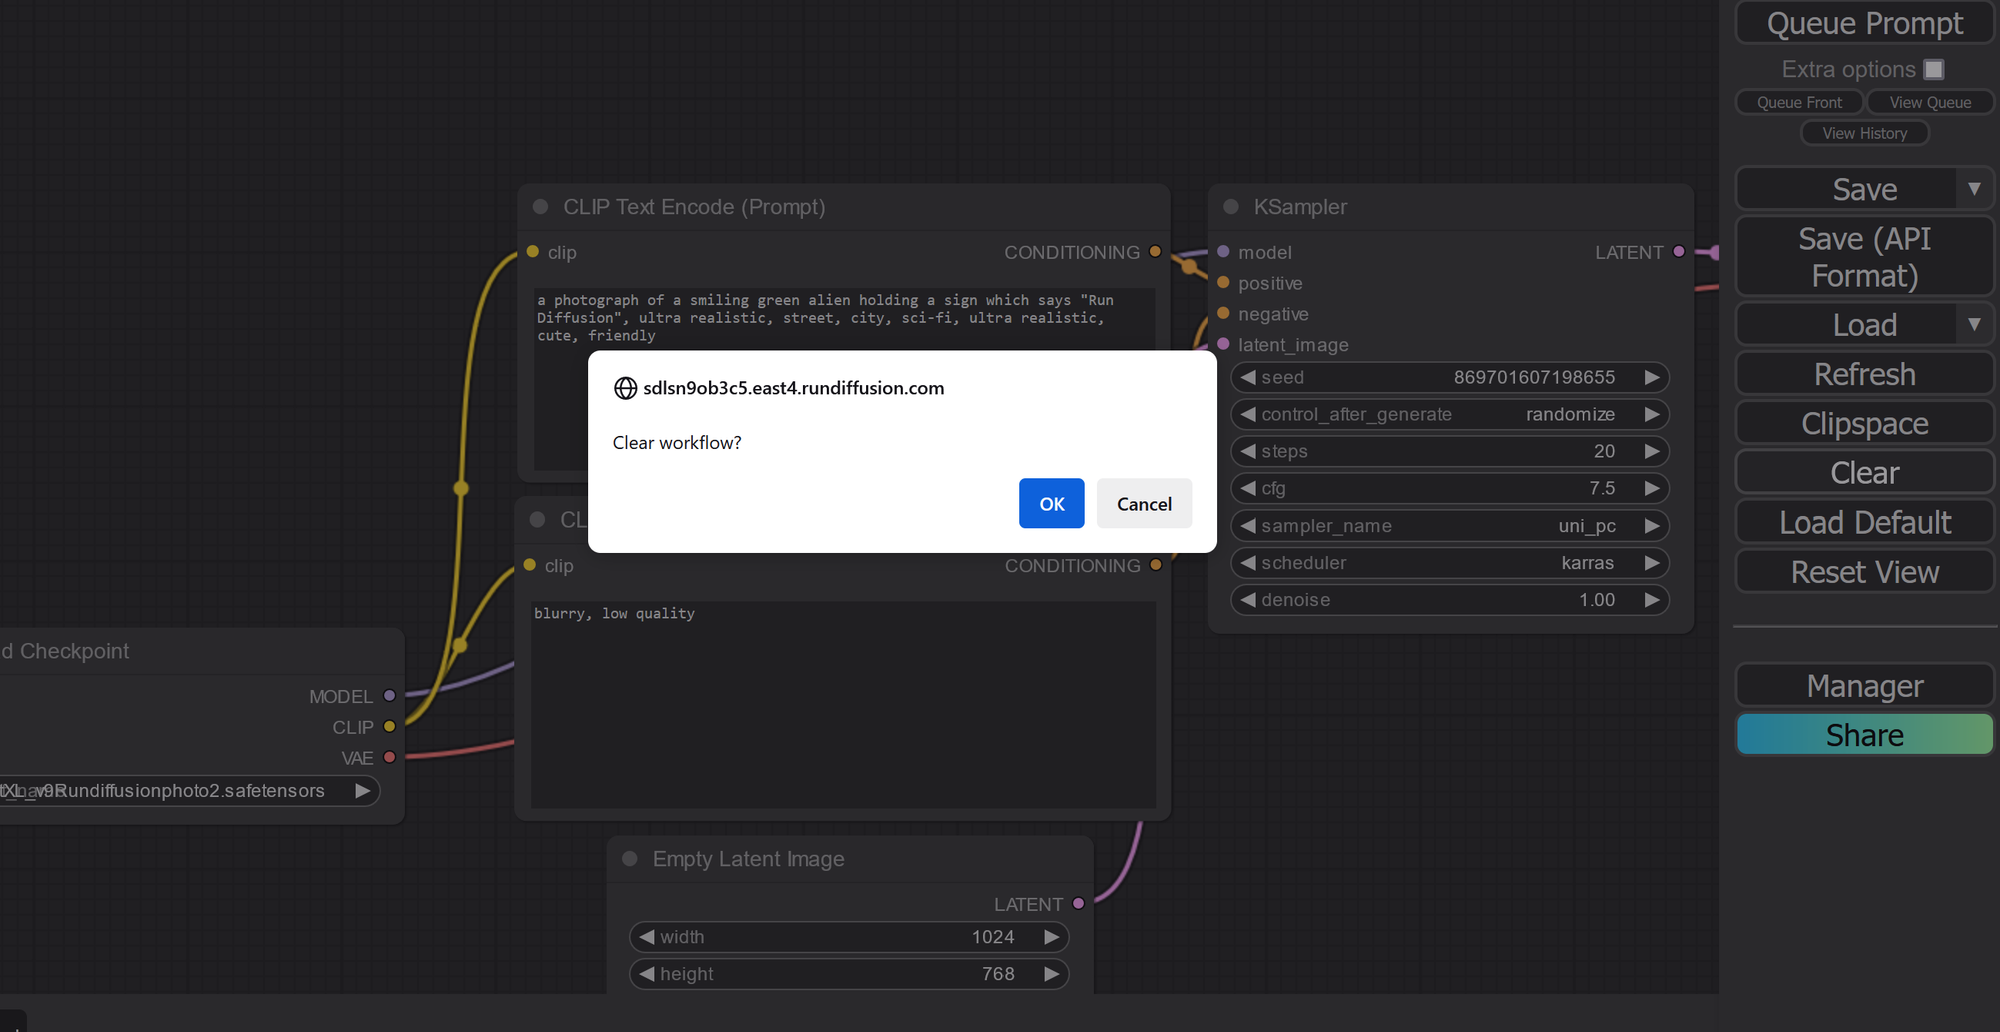
- Clear Existing Workflow:
- Ensure your workflow is clear for a fresh start.
Click OK to clear the workflow.
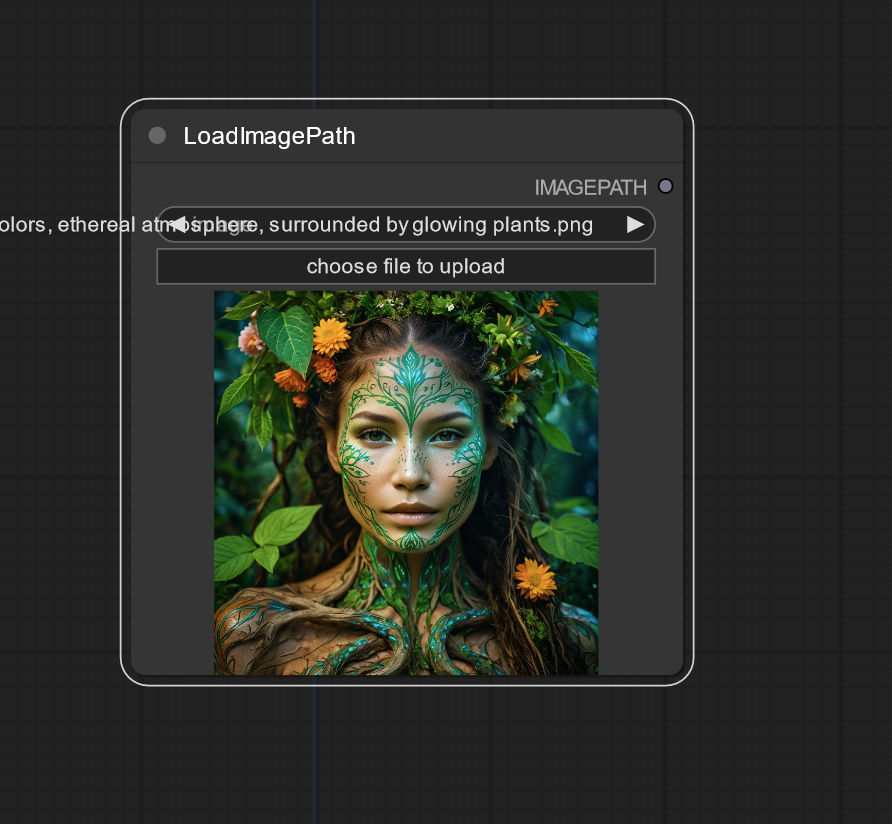
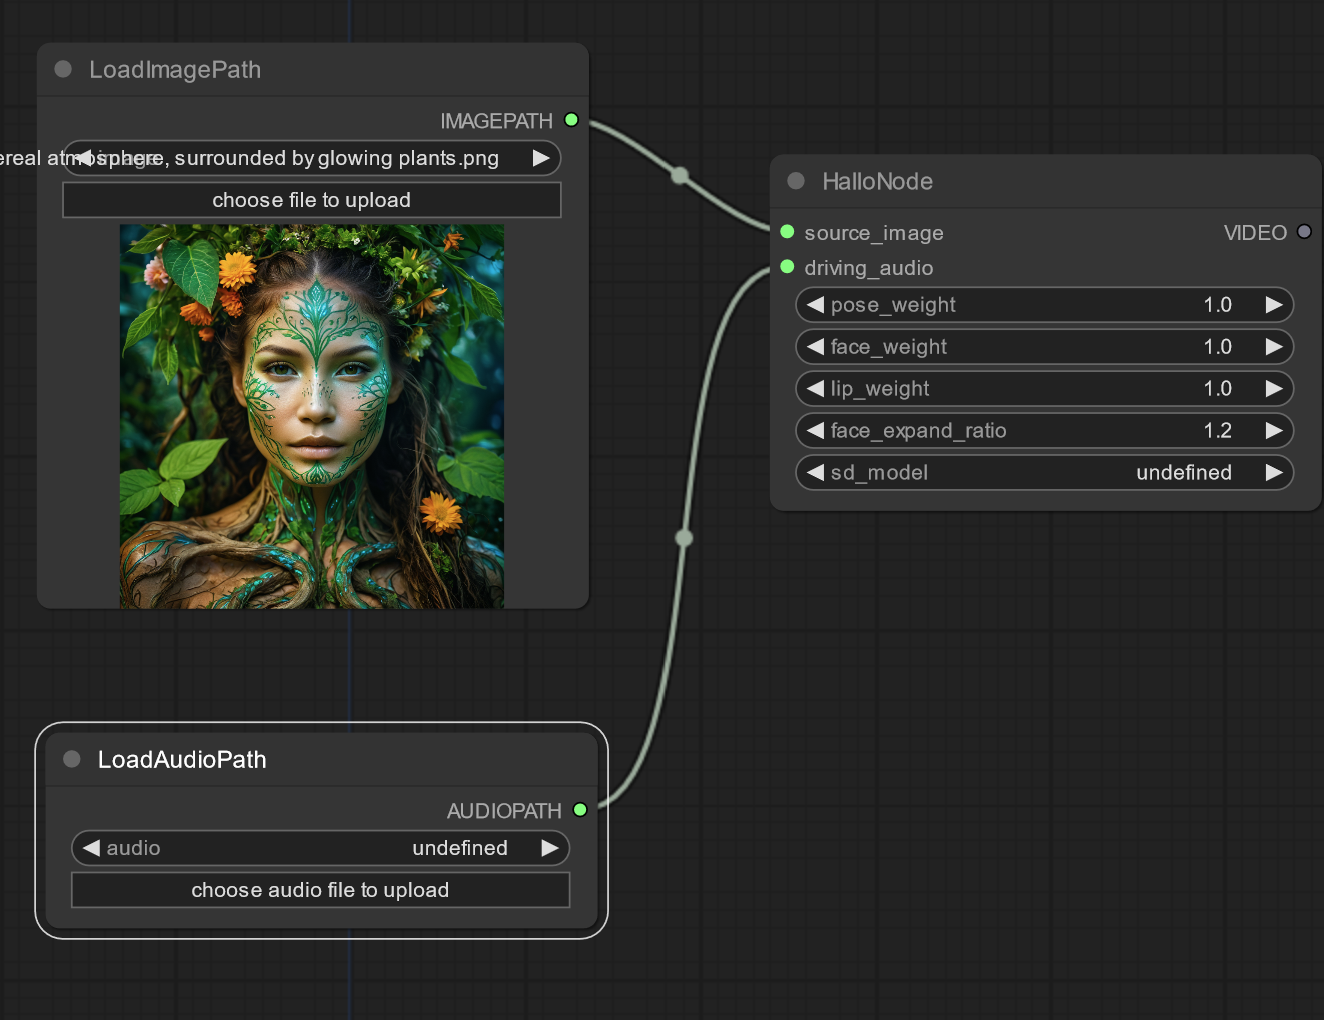
- Load Image:
- Double-click on the screen, type “LoadImagePath” (no spaces), and select that node.
- Load a portrait image of your choice.
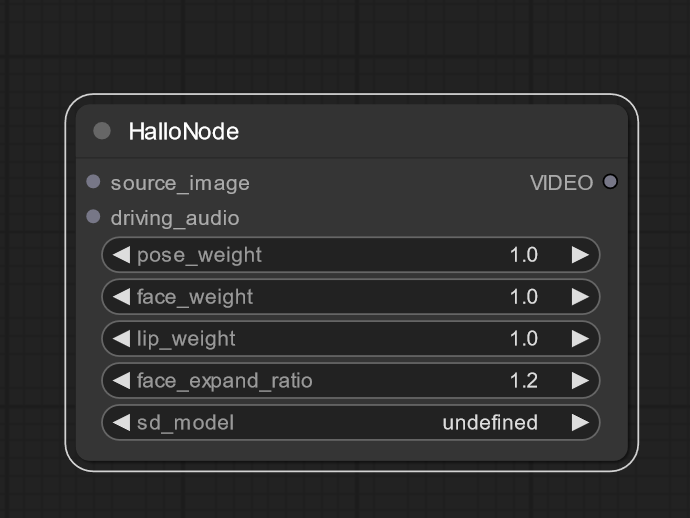
- Add Hallo Node:
- Double-click again and type “Hallo”, then select the Hallo node.
- Load Audio:
- Double-click and type “Loadaudiopath” to create that node.
- Connect Drivingpath to driving_audio on the Hallo node.
- Select the audio file you’d like to use.
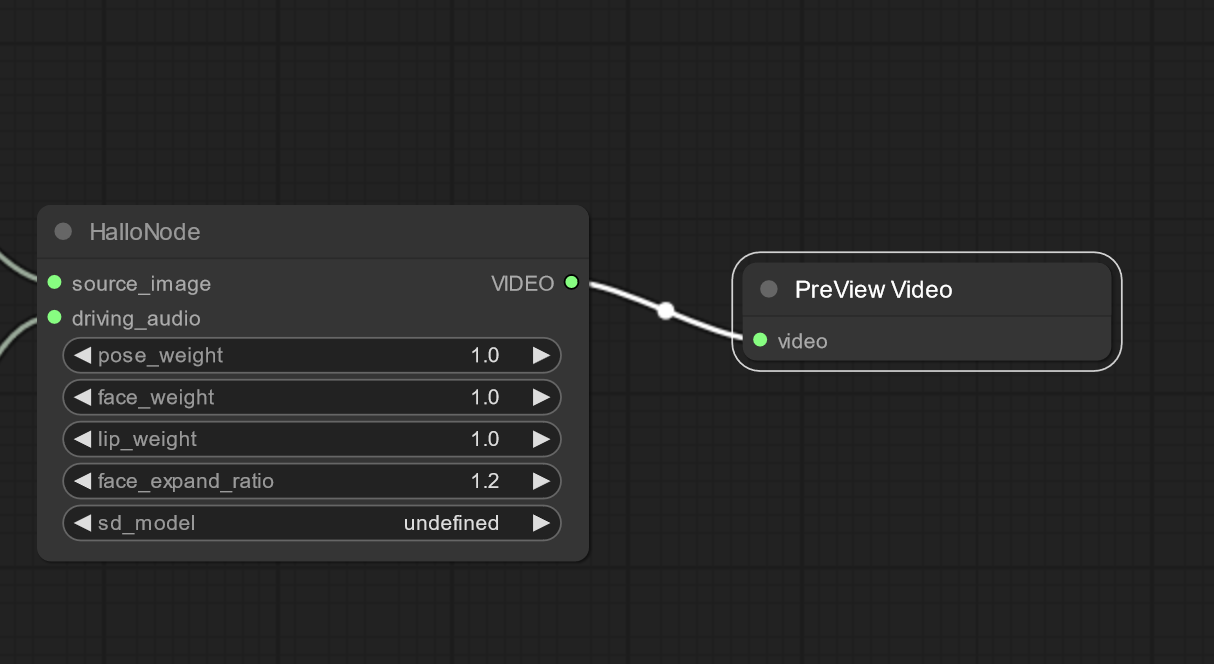
- Preview Video:
- Double-click once more and type “Preview video” to create that node.
- Connect the Hallo video node to the Preview Video node.
- Queue and Process:
- Hit the "Queue" prompt in the top right corner and let the processing begin.
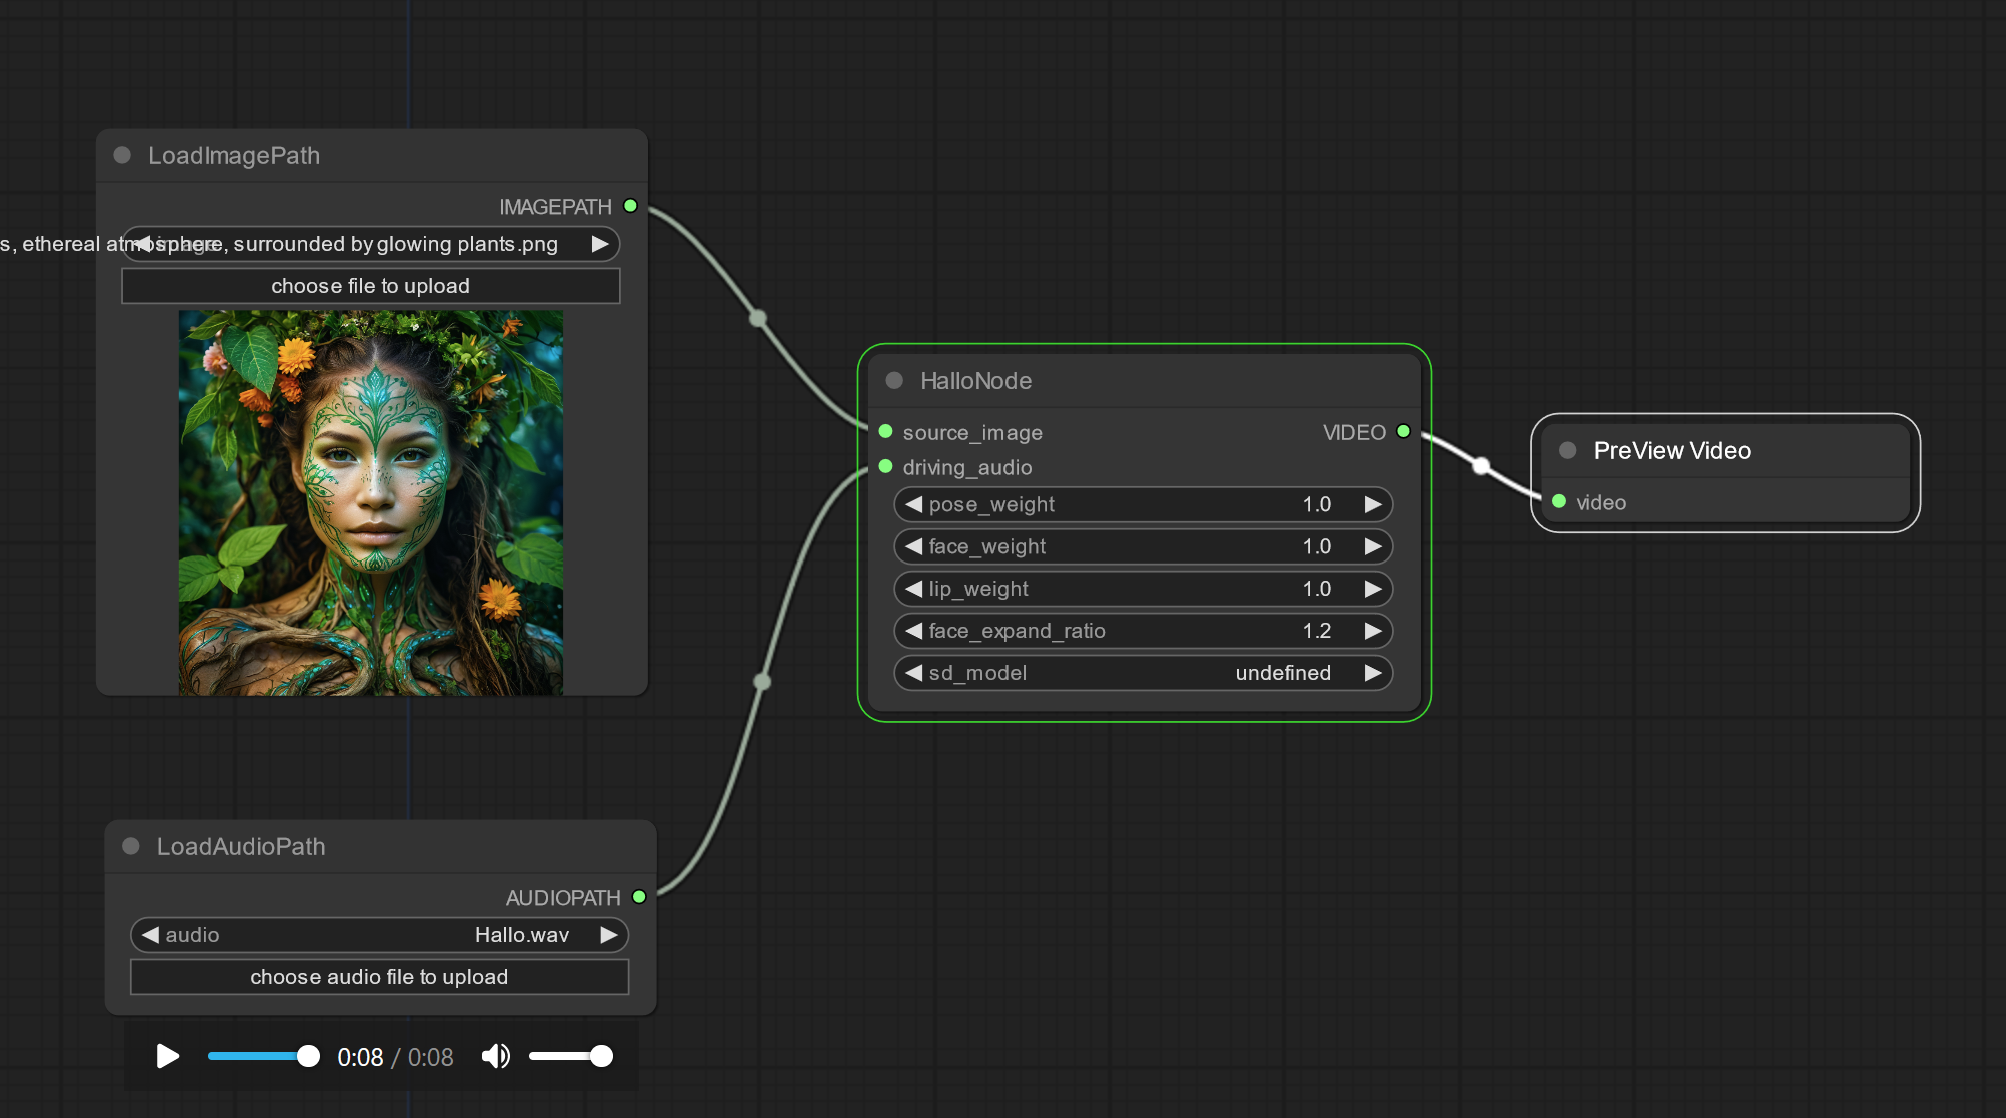
Enjoy your videos!
Conclusion
Following these steps will help you set up and utilize the Hallo node in ComfyUI to create engaging videos. Enjoy experimenting and making fun videos with your new workflow.
Related Articles
For more tips and guides, check out these articles on RunDiffusion:
