

ComfyUI is a node-based graphical user interface (GUI) for Stable Diffusion, designed to facilitate image generation workflows. It allows users to construct image generation processes by connecting different blocks (nodes). Key features include lightweight and flexible configuration, transparency in data flow, and ease of sharing reproducible workflows.
Where to Begin?
The optimal approach for mastering ComfyUI is by exploring practical examples. Hence, we'll delve into the most straightforward text-to-image processes in ComfyUI.
Let's embark on a journey through fundamental workflow examples. By examining key examples, you'll gradually grasp the process of crafting your unique workflows.
The best way to think of ComfyUI is that it is Stable Diffusion but in pieces and depending on what we want to accomplish with your art, we put the pieces together for each task. As shown below, you will see the very basics of what is required to create a txt2img workflow.
RunDiffusion Default Workflow
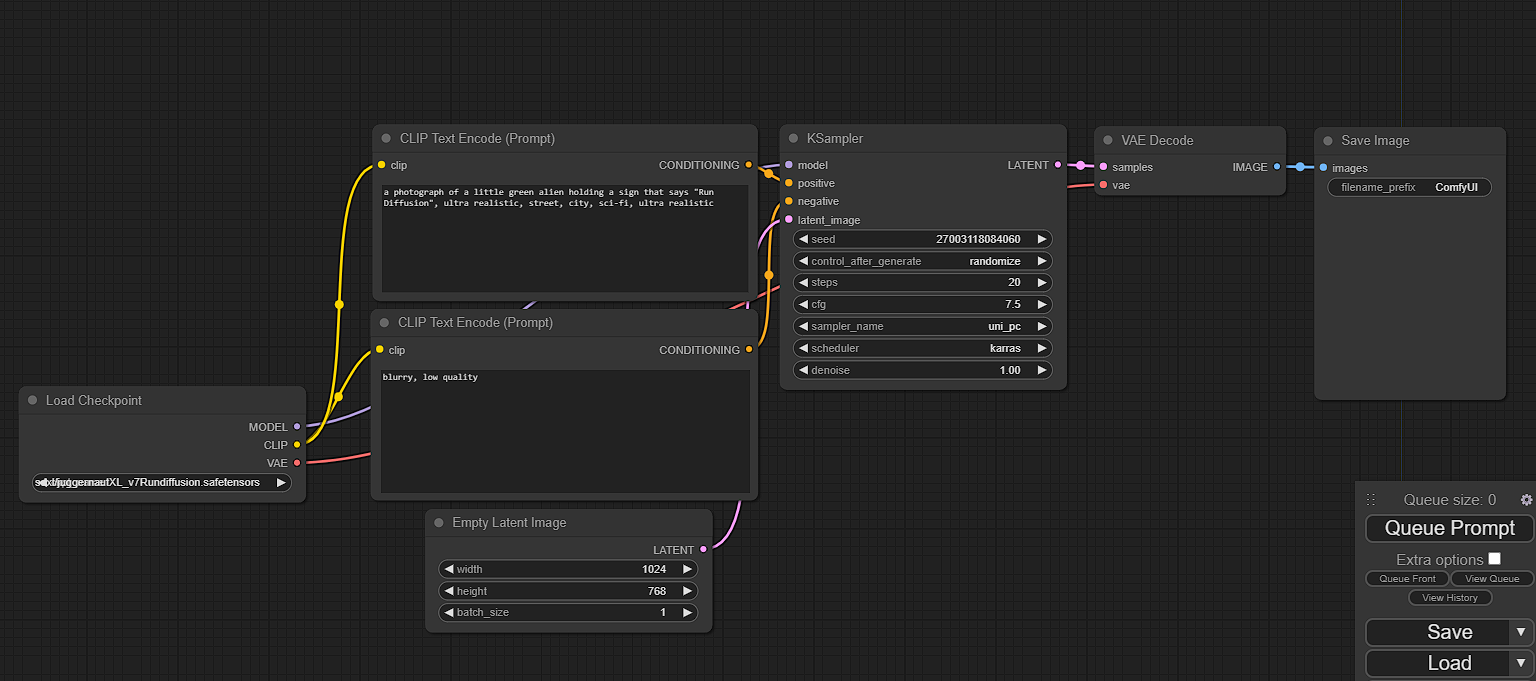
Upon launching ComfyUI on RunDiffusion, you will be met with this simple txt2img workflow. It starts on the left-hand side with the checkpoint loader, moves to the text prompt (positive and negative), onto the size of the empty latent image, then hits the Ksampler, vae decode and into the save image node. You will see each node highlighted in green as it works through the workflow.
Adding extra nodes such as a preview image or a hi-res fix can be done simply by double-clicking on empty space, searching for the node you require, and connecting it to the workflow.
RunDiffusion Pre-loaded workflows
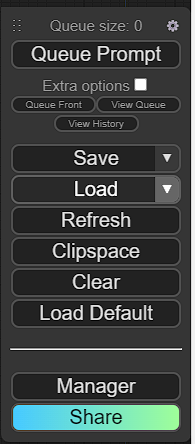
Within the menu on the right-hand side of the screen, you will notice a "load" dropdown. This menu contains a variety of pre-loaded workflows you can choose from to get going. Below we will go through each workflow and its main use from the list provided within ComfyUI going from the top down.
ADIFF-48Frame
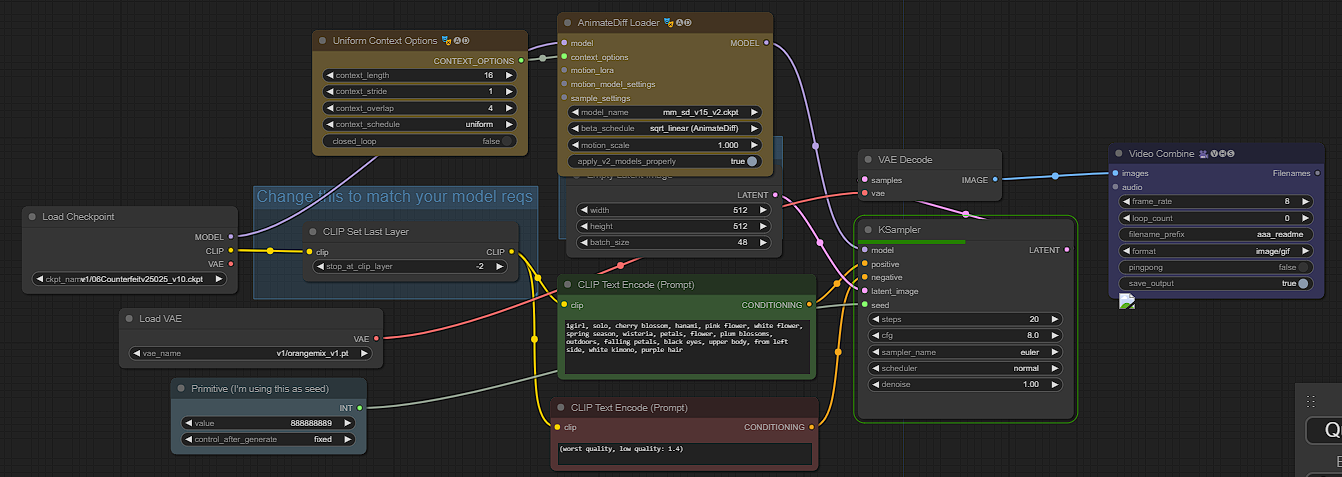
This workflow is a short but sweet guide on creating a 48-frame txt2img animated gif. All the settings are ready to input your prompt and start creating! The green box labeled (CLIP Text Encode Prompt) is where you will enter what you want to create.

ADIFF-DWPose
ADIFF-DWPose is a workflow designed
ADIFF-latent upscale
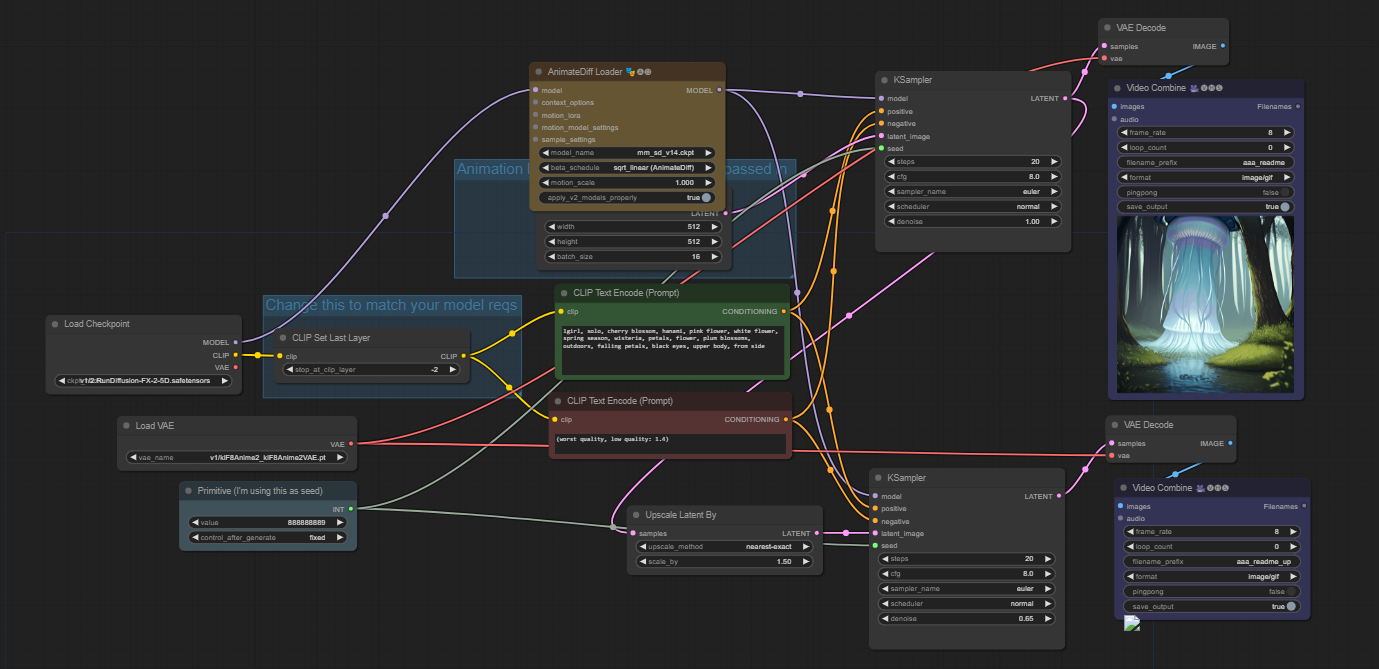
ADIFF-latent upsacle is another txt2img animate diff workflow that has a latent upscale included. This will help in generating higher-quality animations.

Area Composition
Area Composition is a workflow for generating different styles of art within different areas of the image. Using the 4 different prompts on the left-hand side and the set area nodes to the right of the prompt you can craft different art in specified areas of the screen.
Prompt 1: (best quality) (night:1.3) (darkness) sky (black) (stars:1.2) (galaxy:1.2) (space) (universe)
Prompt 2: (best quality) (evening:1.2) (sky:1.2) (clouds) (colorful) (HDR:1.2) (sunset:1.3) (mountains:1.2)
Prompt 3: best quality) (daytime:1.2) sky (blue)
Prompt 4: (masterpiece) (best quality) morning sky, valley, lake, trees

Img-hires

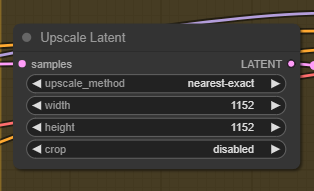
Img-hires is a simple txt2img workflow with a hires fix. Use the "Upscale Latent" node to adjust the output resolution of the image.
select
IMG-Img2Img
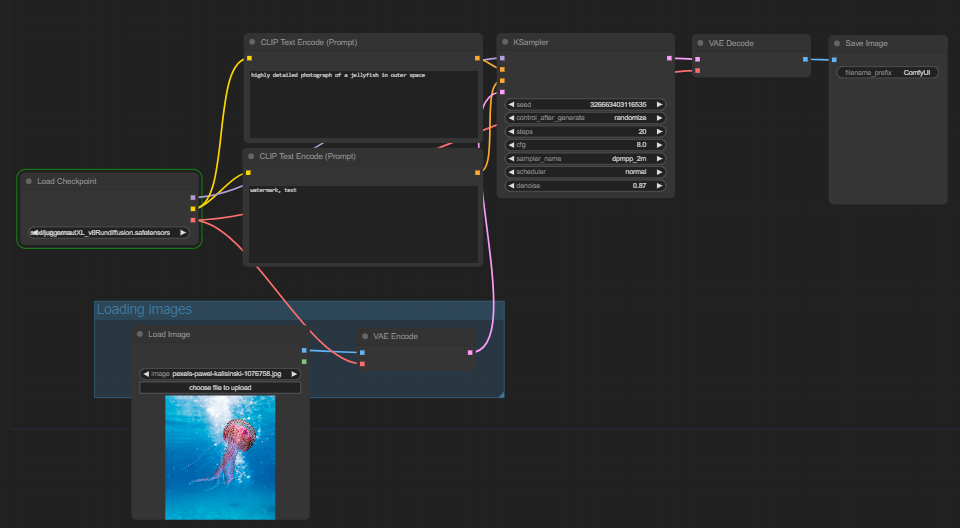
Img2Img workflow is where the goal is to convert an input image into a corresponding output image, often with some desired transformation or modification. Included, are two prompt boxes, one positive and one negative. Both to help guide the image in your direction.
Inputted was an image of a jellyfish with the prompt of "a highly detailed photograph of a jellyfish in outer space. Below is the output image.

IMG-Inpaint
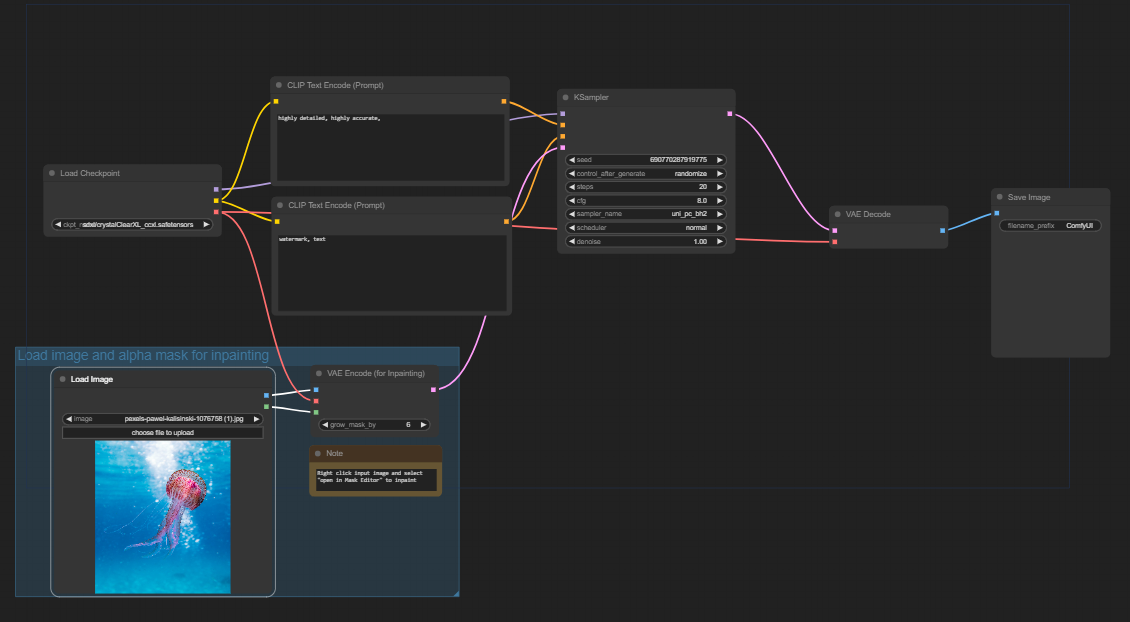
IMG-Inpaint is designed to take an input image, mask on the image where you want it to be changed, then prompt the desired changes. To do this, simply right click on the input image and click "open in mask editor" this is where you will inpaint.
Below is an image where the upper portion of the image is inpainted and used with the prompt "highly detailed, jellyfish"
IMG-Lora/Multi lora
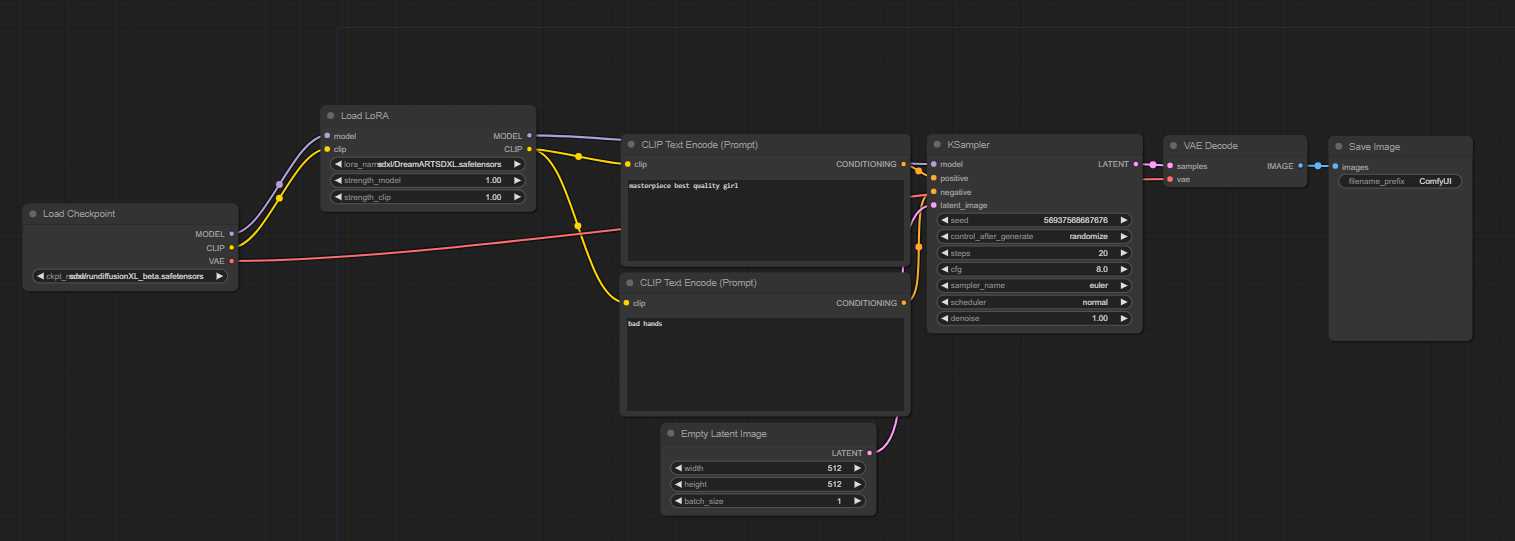
IMG-Lora and IMG-Mutilora are simple txt2img workflows with the added lora nodes. From here you will be able to select from a list of custom loras on the shared drive. As well, you always have the option to use the civitai loader (blue button on left) to load in your own loras from Civitai website.
SVD-Img2vid
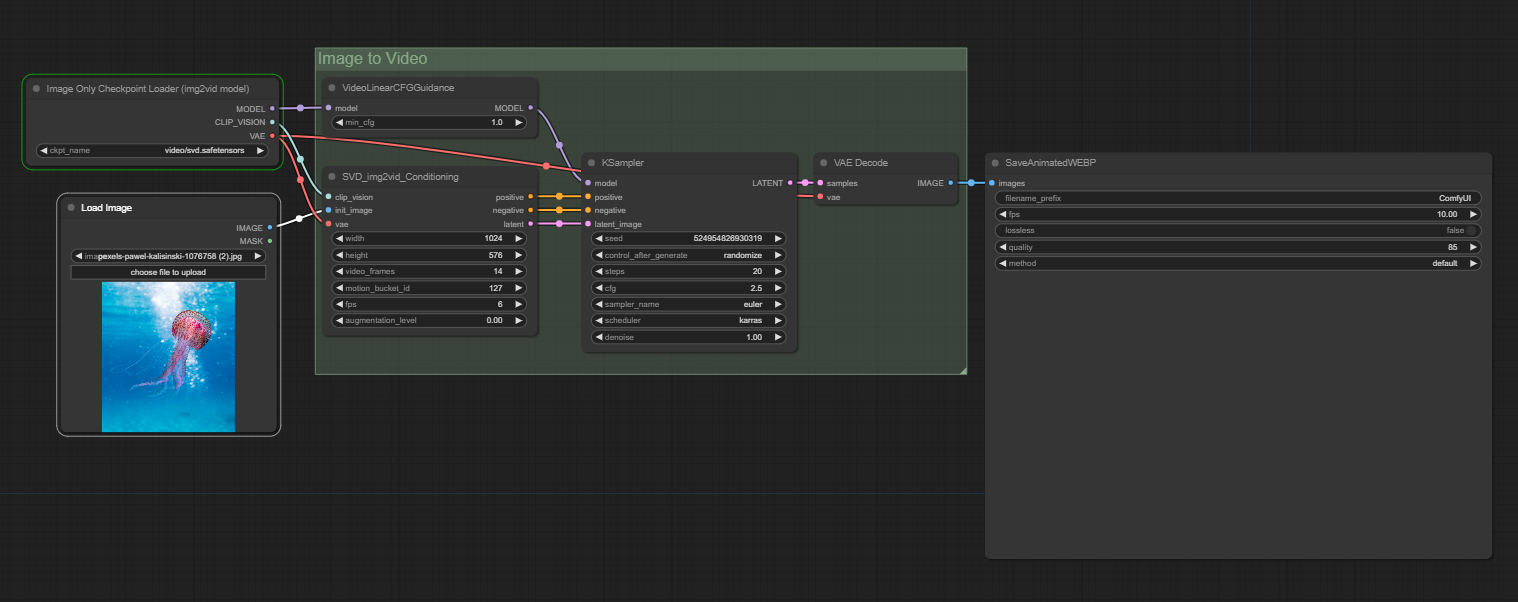
SVD-Img2vid is a workflow designed to take input images and transform them into a video. This is a very simple workflow, without the added nodes of custom prompts, input images, just has the basics.
SVD-Txt2vid
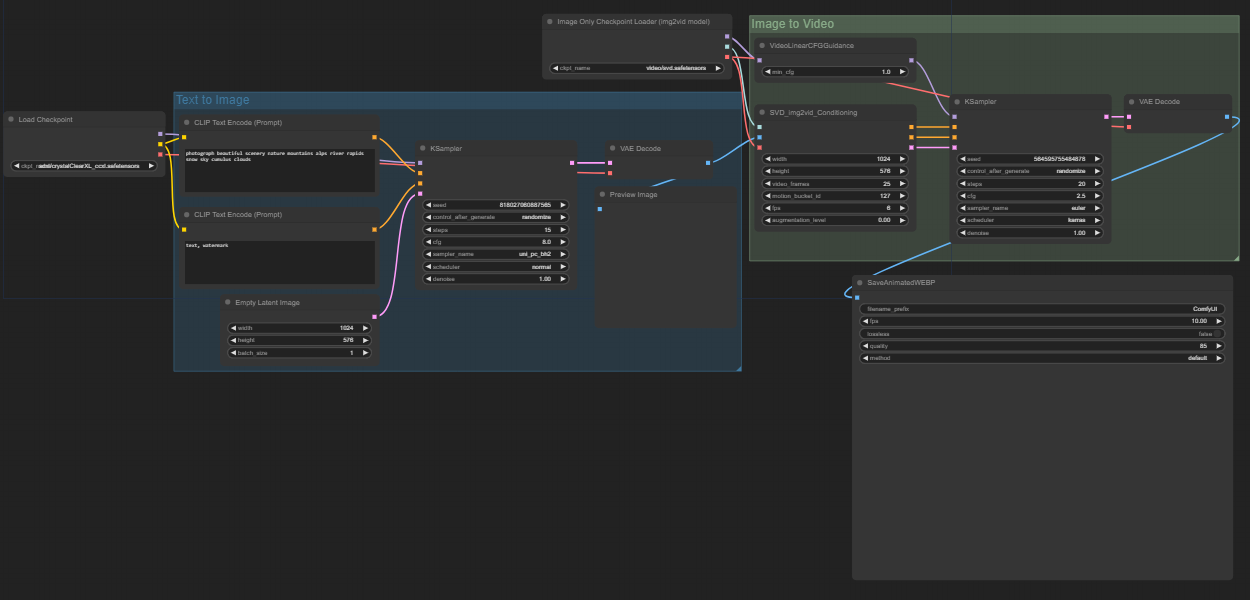
SVD-Txt2vid is taking input prompts and converting them to video.
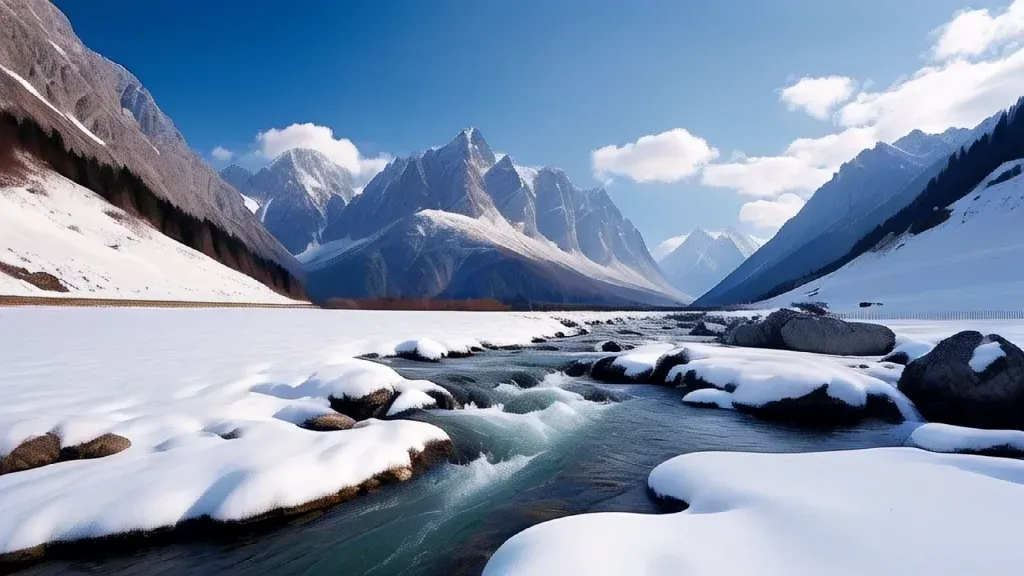
Prompt: photograph beautiful scenery nature mountains alps river rapids snow sky cumulus clouds
UTIL-Model Merge
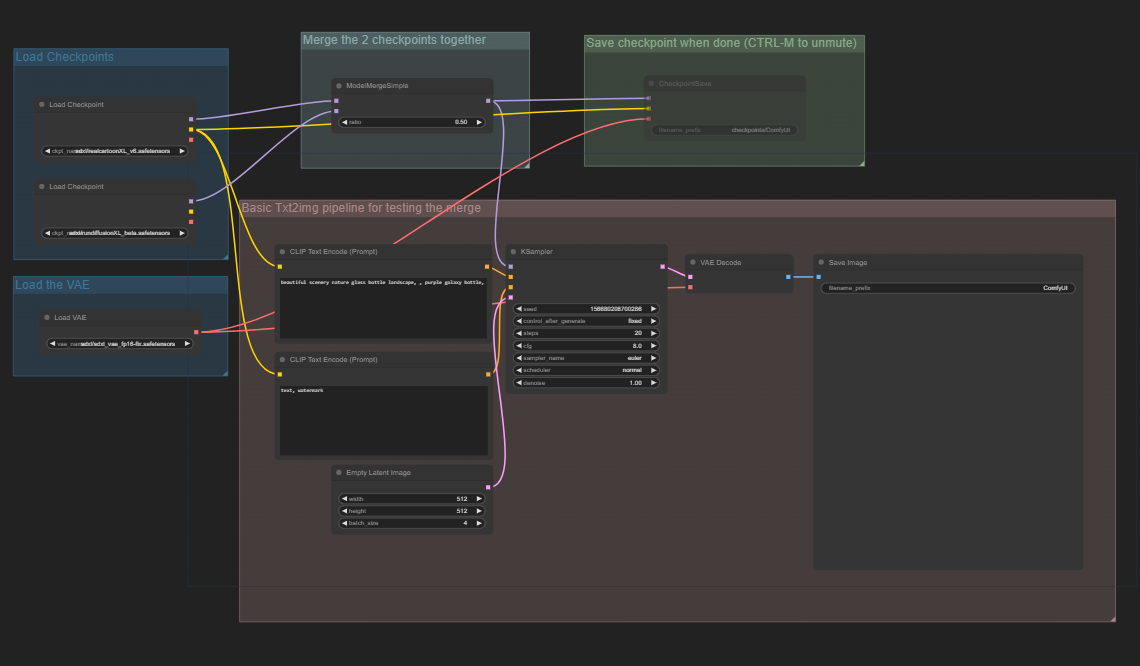
UTIL-Model Merge is designed as a txt2img workflow that merges two different models together. Insert text prompt as well as select both models with the checkpoint loaders and run your generation.
Ultimate Upscale
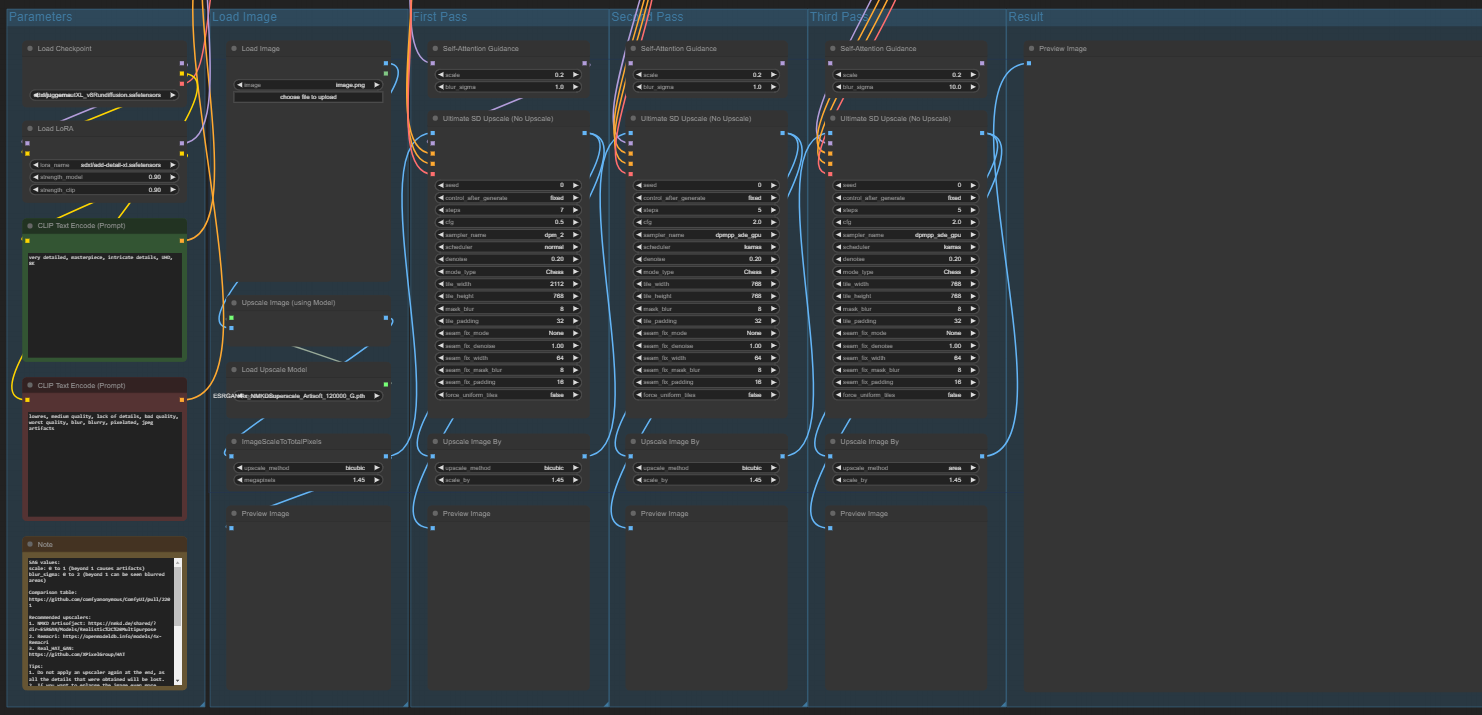
Ultimate upscale workflow takes an input image and runs it through 4 different upscalers. Each upscale by an equivalent of x1.45. This all depends on how large your input image is, but with a 1024x1024 image will turn into 4k.
Summary
These are just a few workflows that are available directly within RunDiffusion, of course, there are many workflows you can find online and use as well. However, custom workflows from online may require custom nodes to be installed and may have bugs.