


Combining the Juggernaut base model with a LoRA on Runnit is one of the most effective ways to generate bold, high-fidelity AI art without having to dive into local installations or complex setups. In this guide, we’ll walk you through how to pair a LoRA (Low-Rank Adaptation) with the powerful Juggernaut checkpoint using the cloud-native Runnit platform. If you're looking to level up your AI image generation—this workflow is for you.
Why Use Juggernaut with LoRA?
Juggernaut is one of the most versatile and photorealistic flux models out there. It’s known for clean, cinematic results and works exceptionally well with portrait LoRAs, stylization LoRAs, fashion ad texture LoRAs, and influencer Loras to name a few.
When combined with LoRA models on Runnit, users can fine-tune generation results for:
- Specific characters or aesthetics
- Artistic styles (anime, 3D render, illustration)
- Costumes, poses, or body types
No need to merge models or handle hardware — Runnit takes care of the backend so you can focus on the creative process.
Getting Started: base Juggernaut with LoRA on Runnit
Login
- Login to your account with your credentials or email and password.
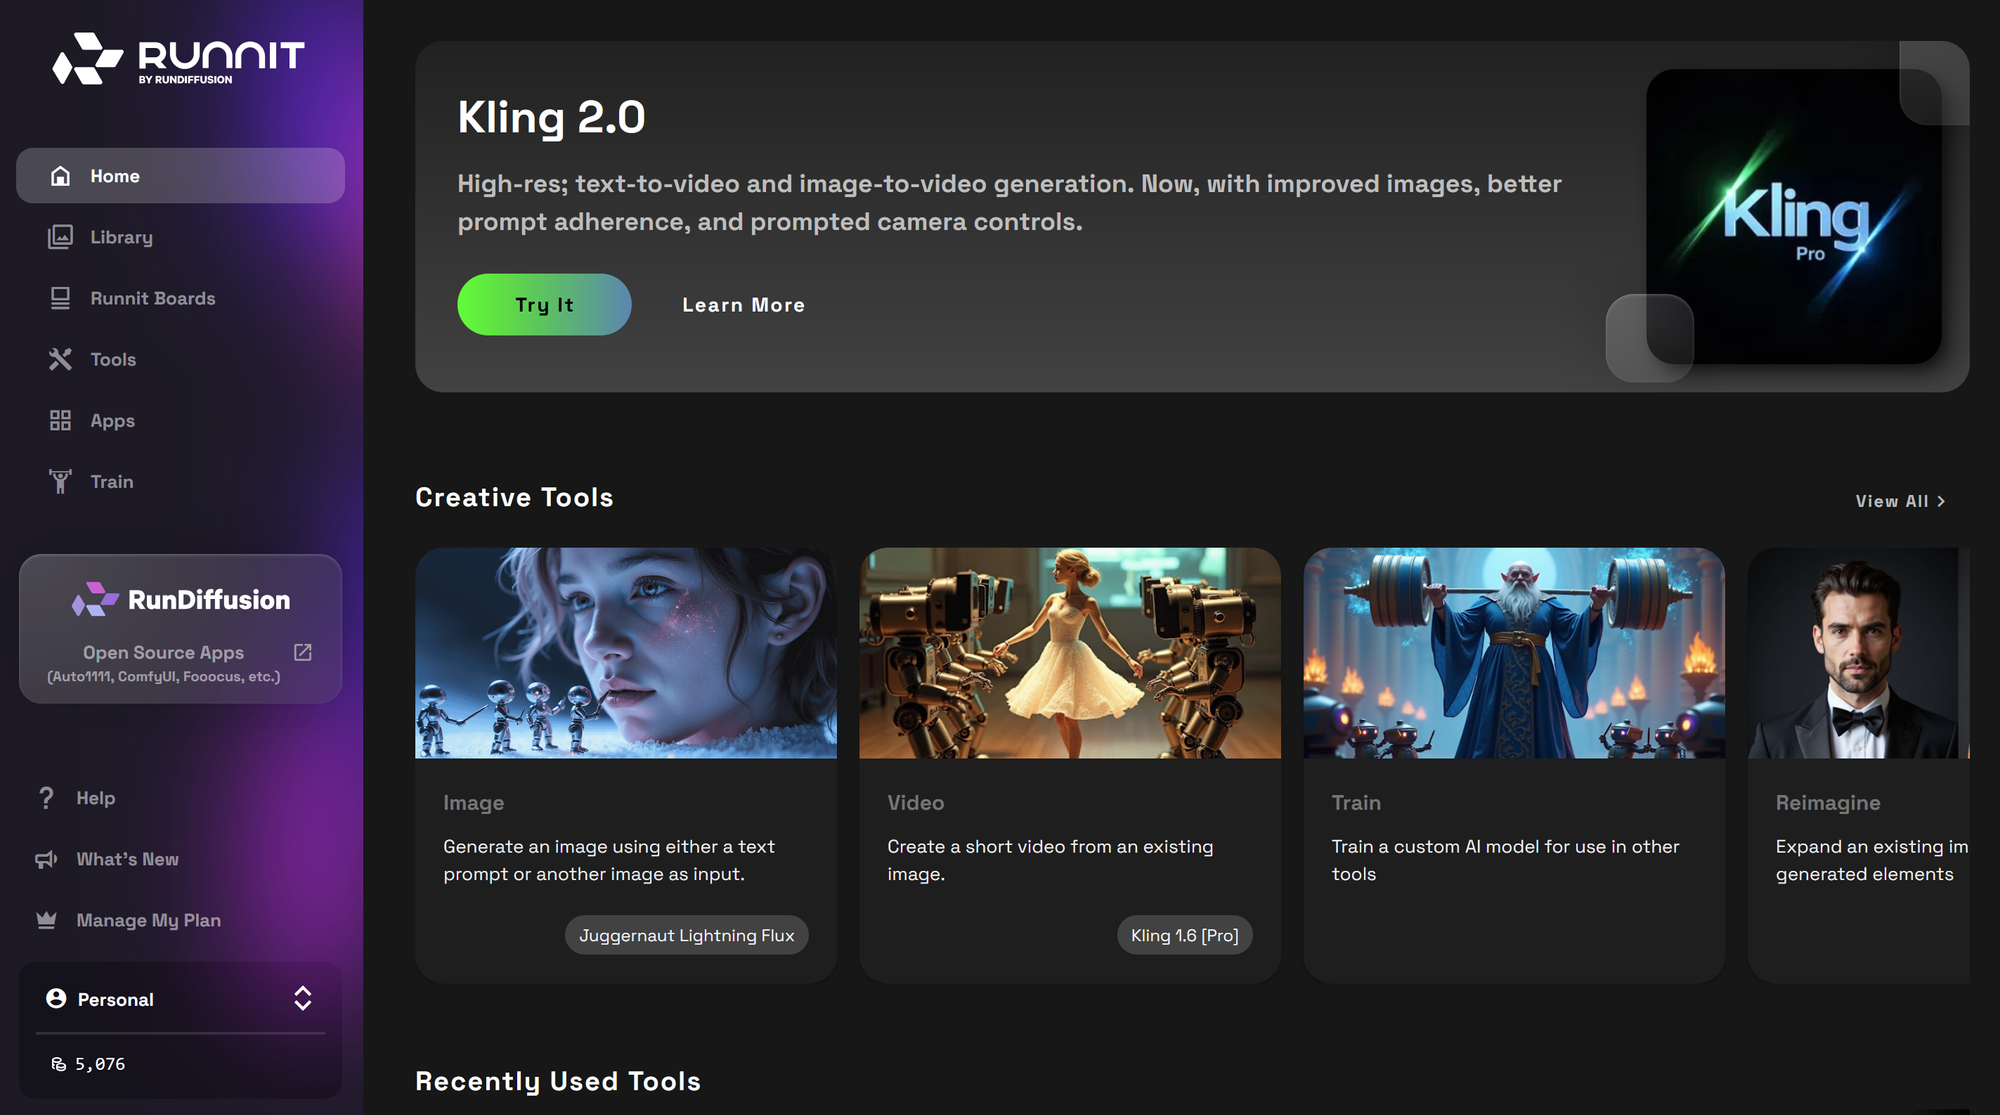
- Visit Runnit on RunDiffusion
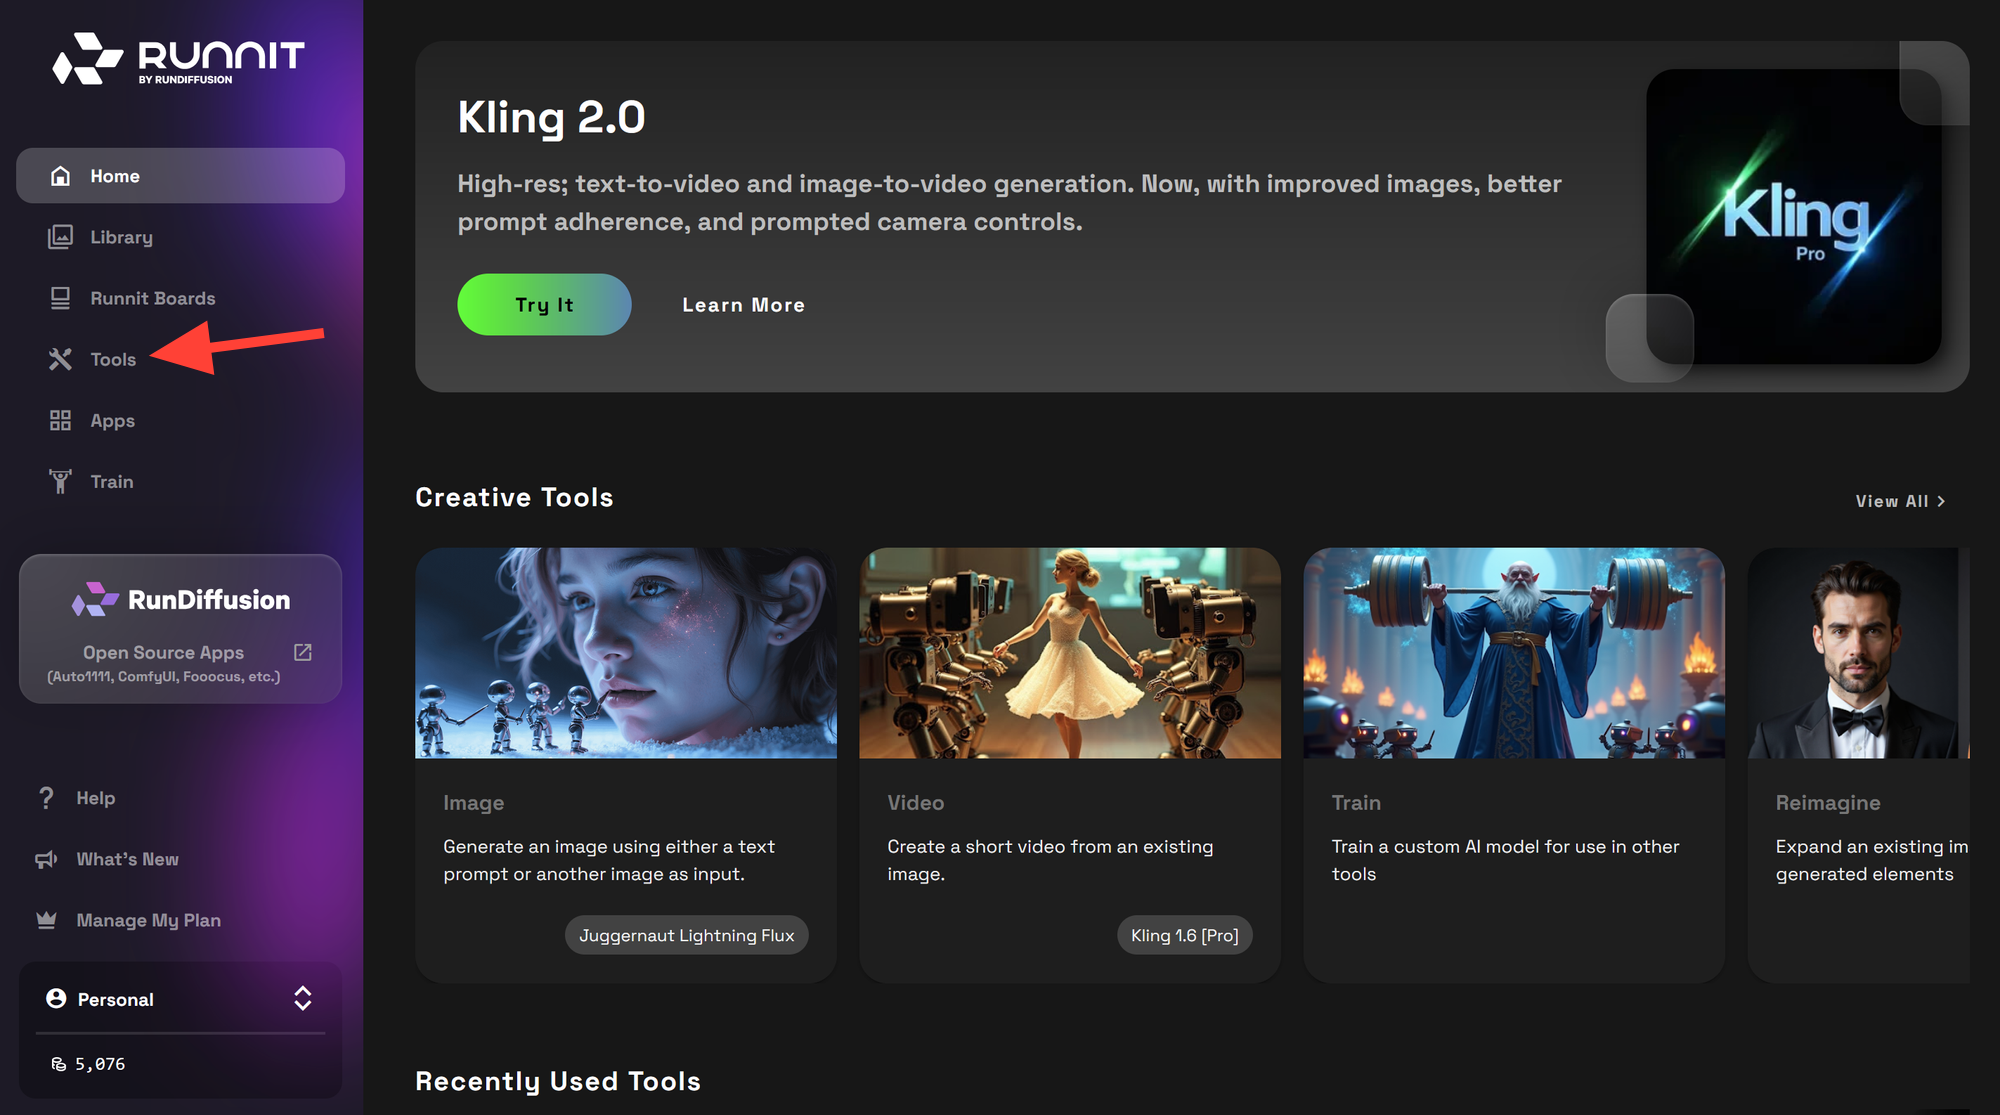
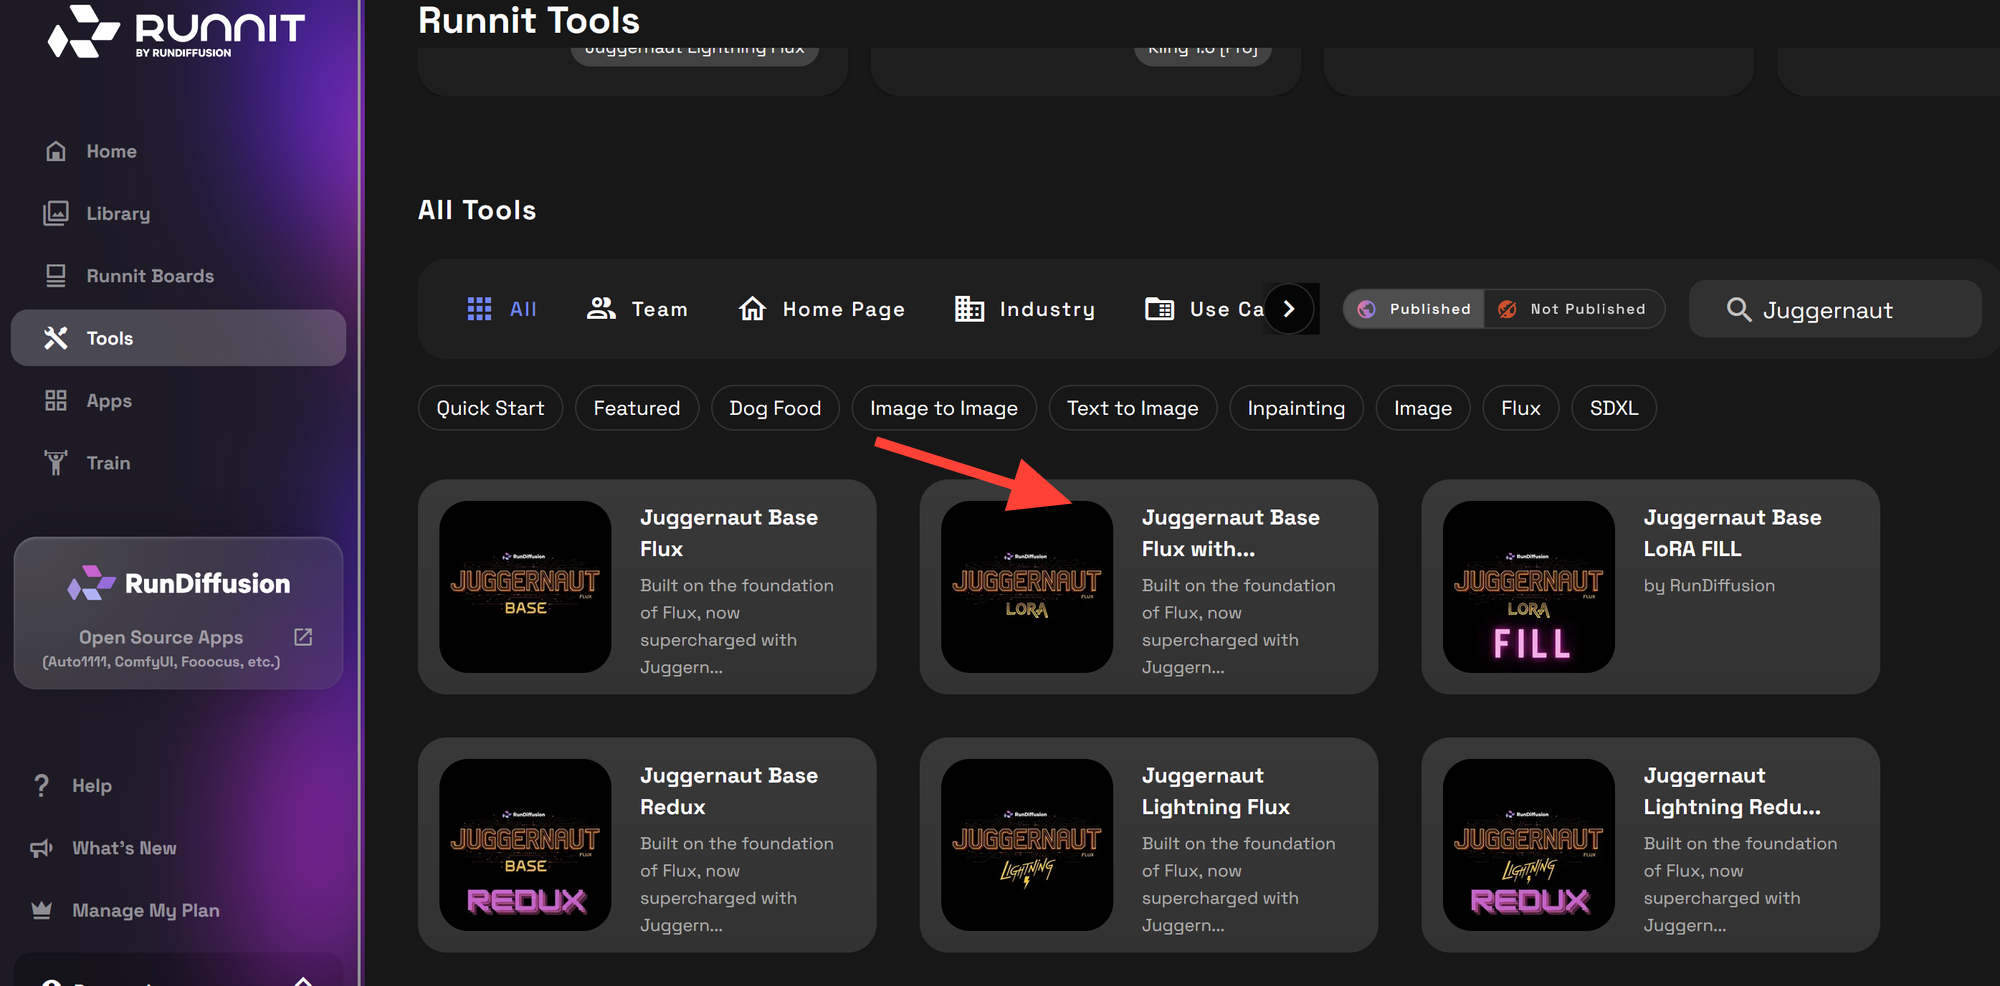
Step 2: Click on Tools
- Click on Tools.
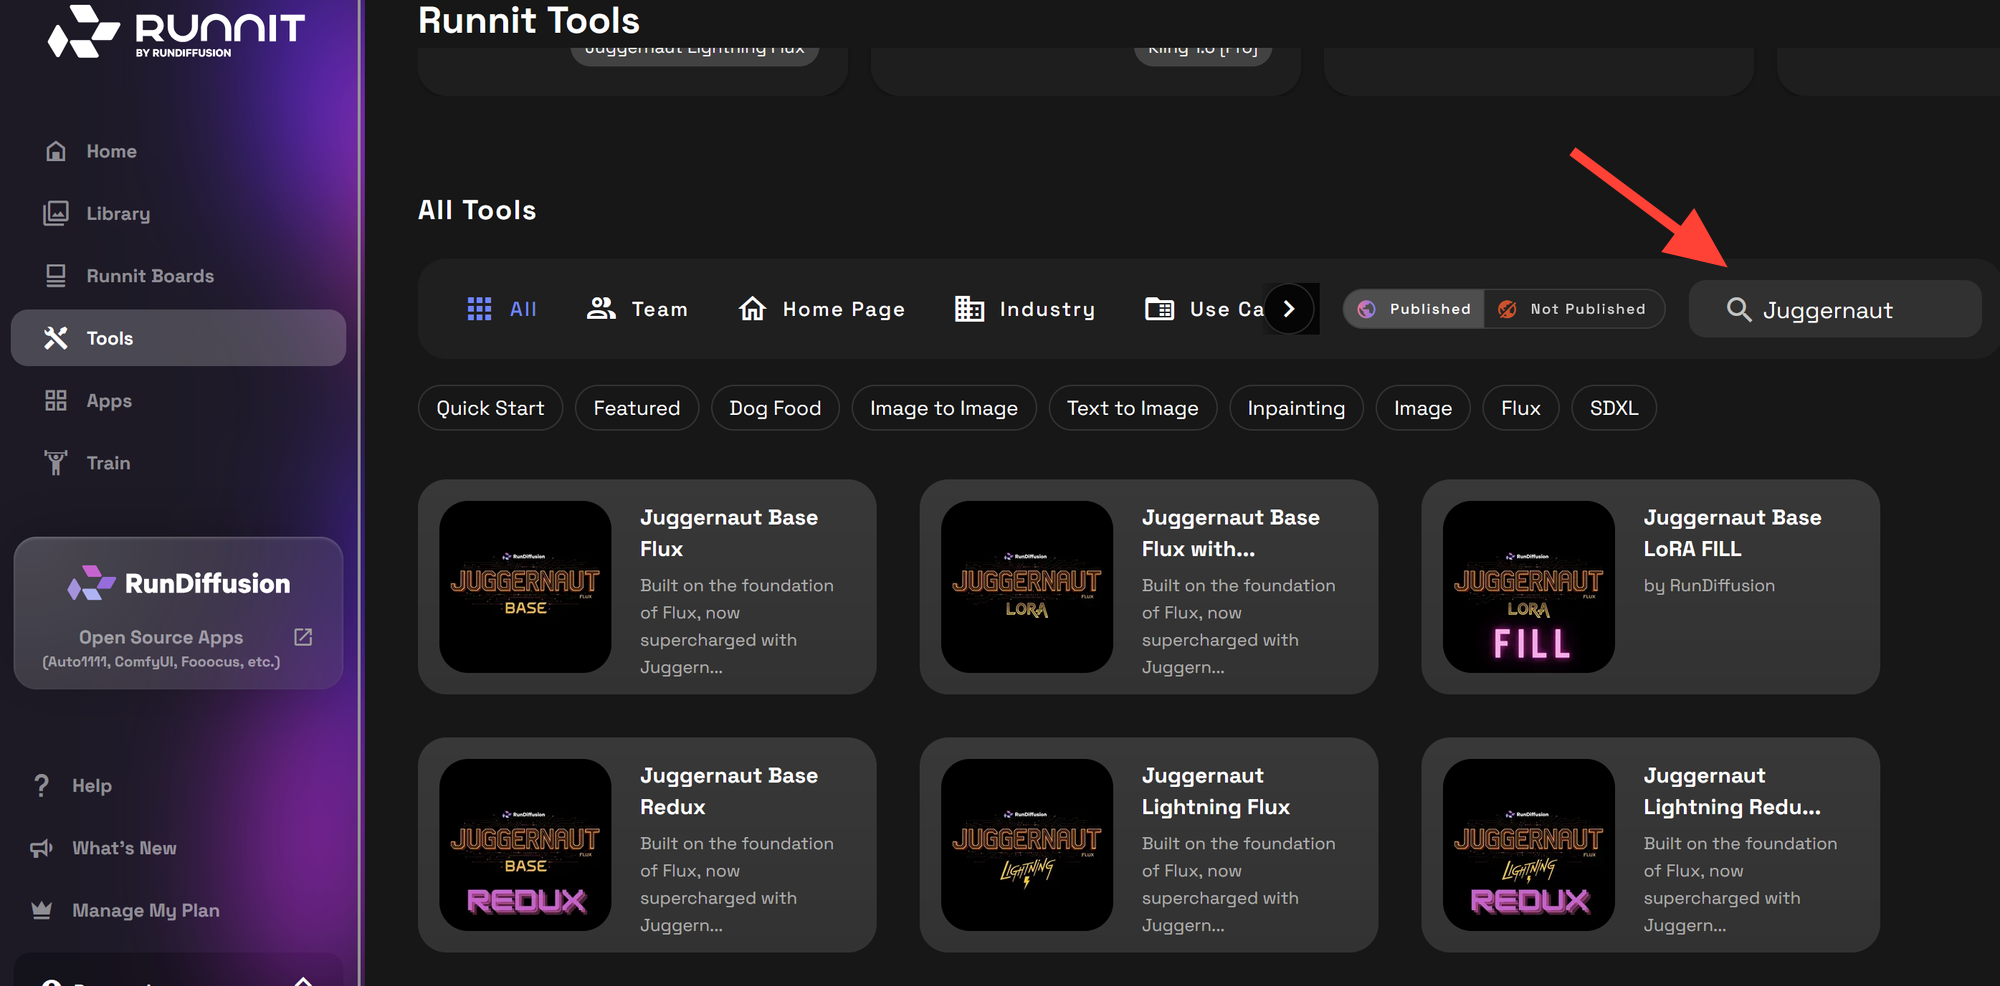
Search for Juggernaut
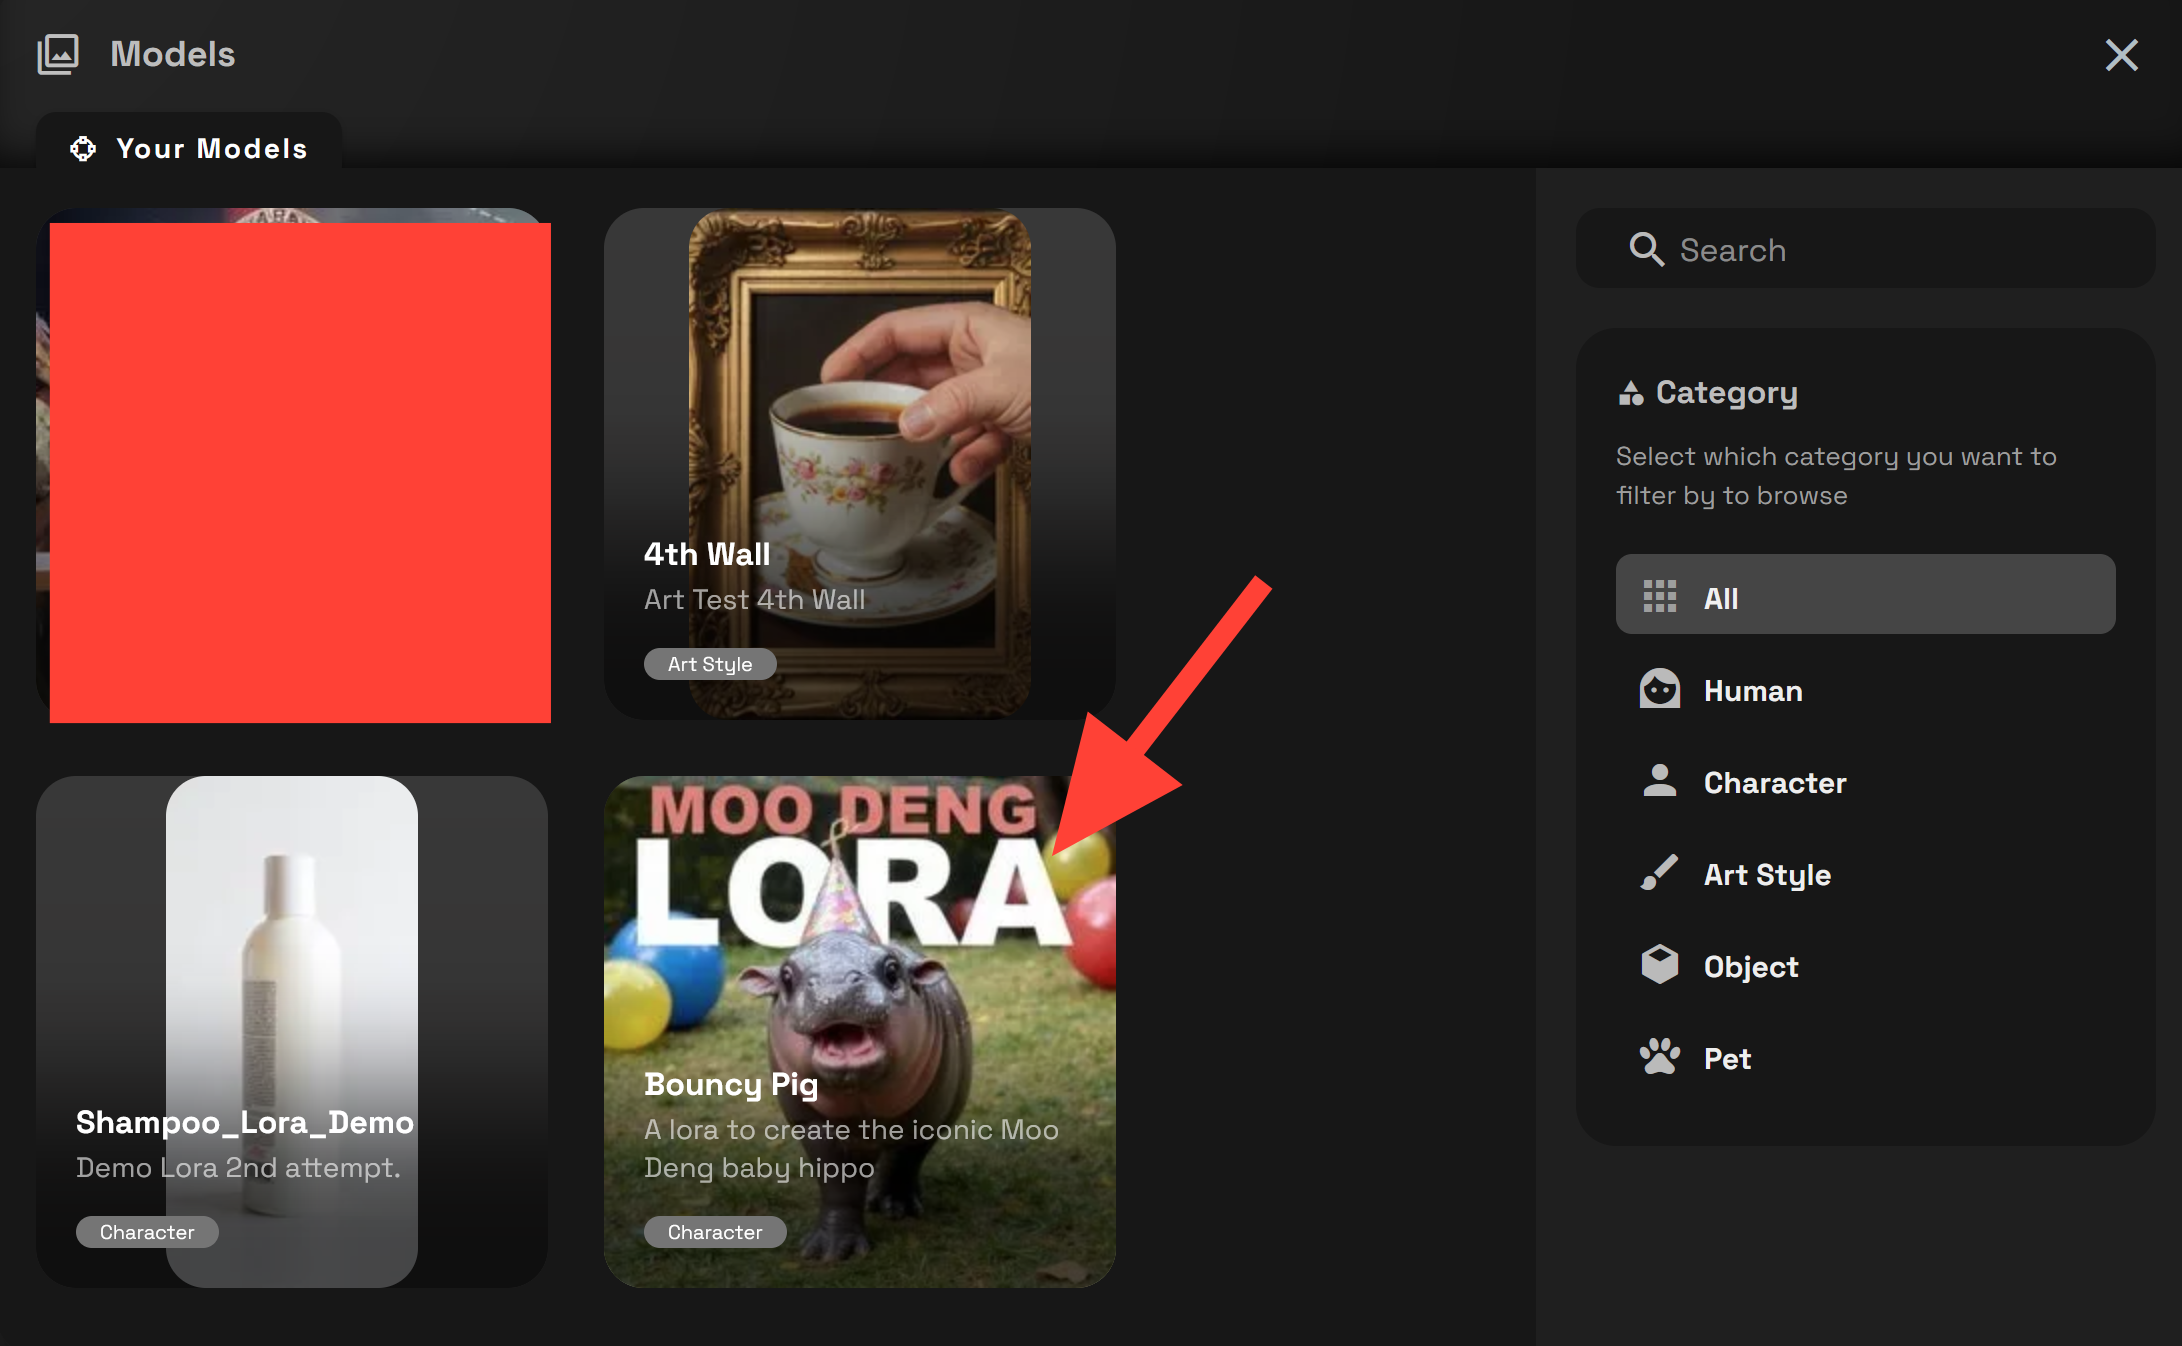
- Scroll down and search for Juggernaut in the search box.
Select your Tool
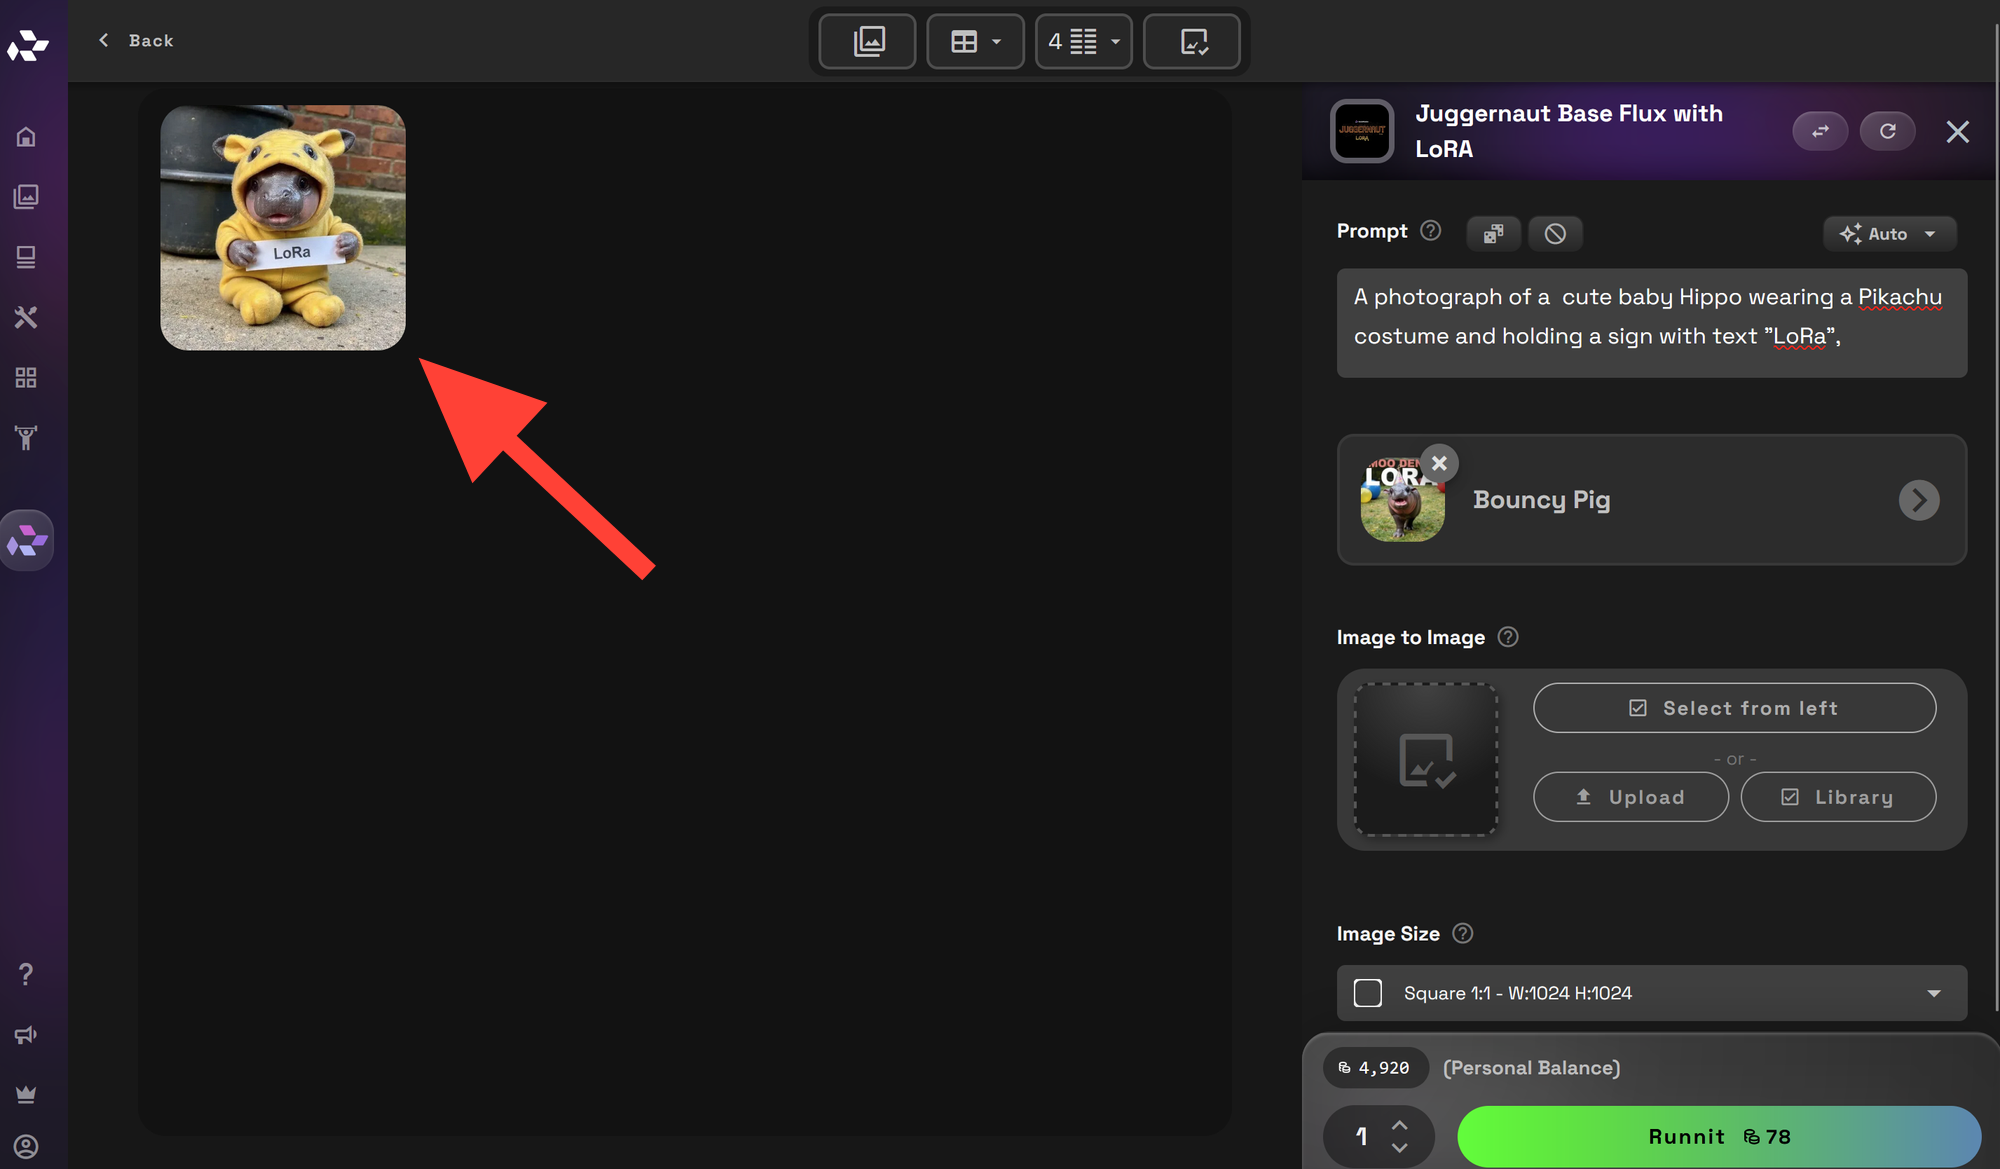
- Click on Juggernaut Base Flux with Lora
Select your Lora
- Click on Use Style, Character, Object this will give you access to your Lora. If you have not uploaded or trained a Lora please do that first.
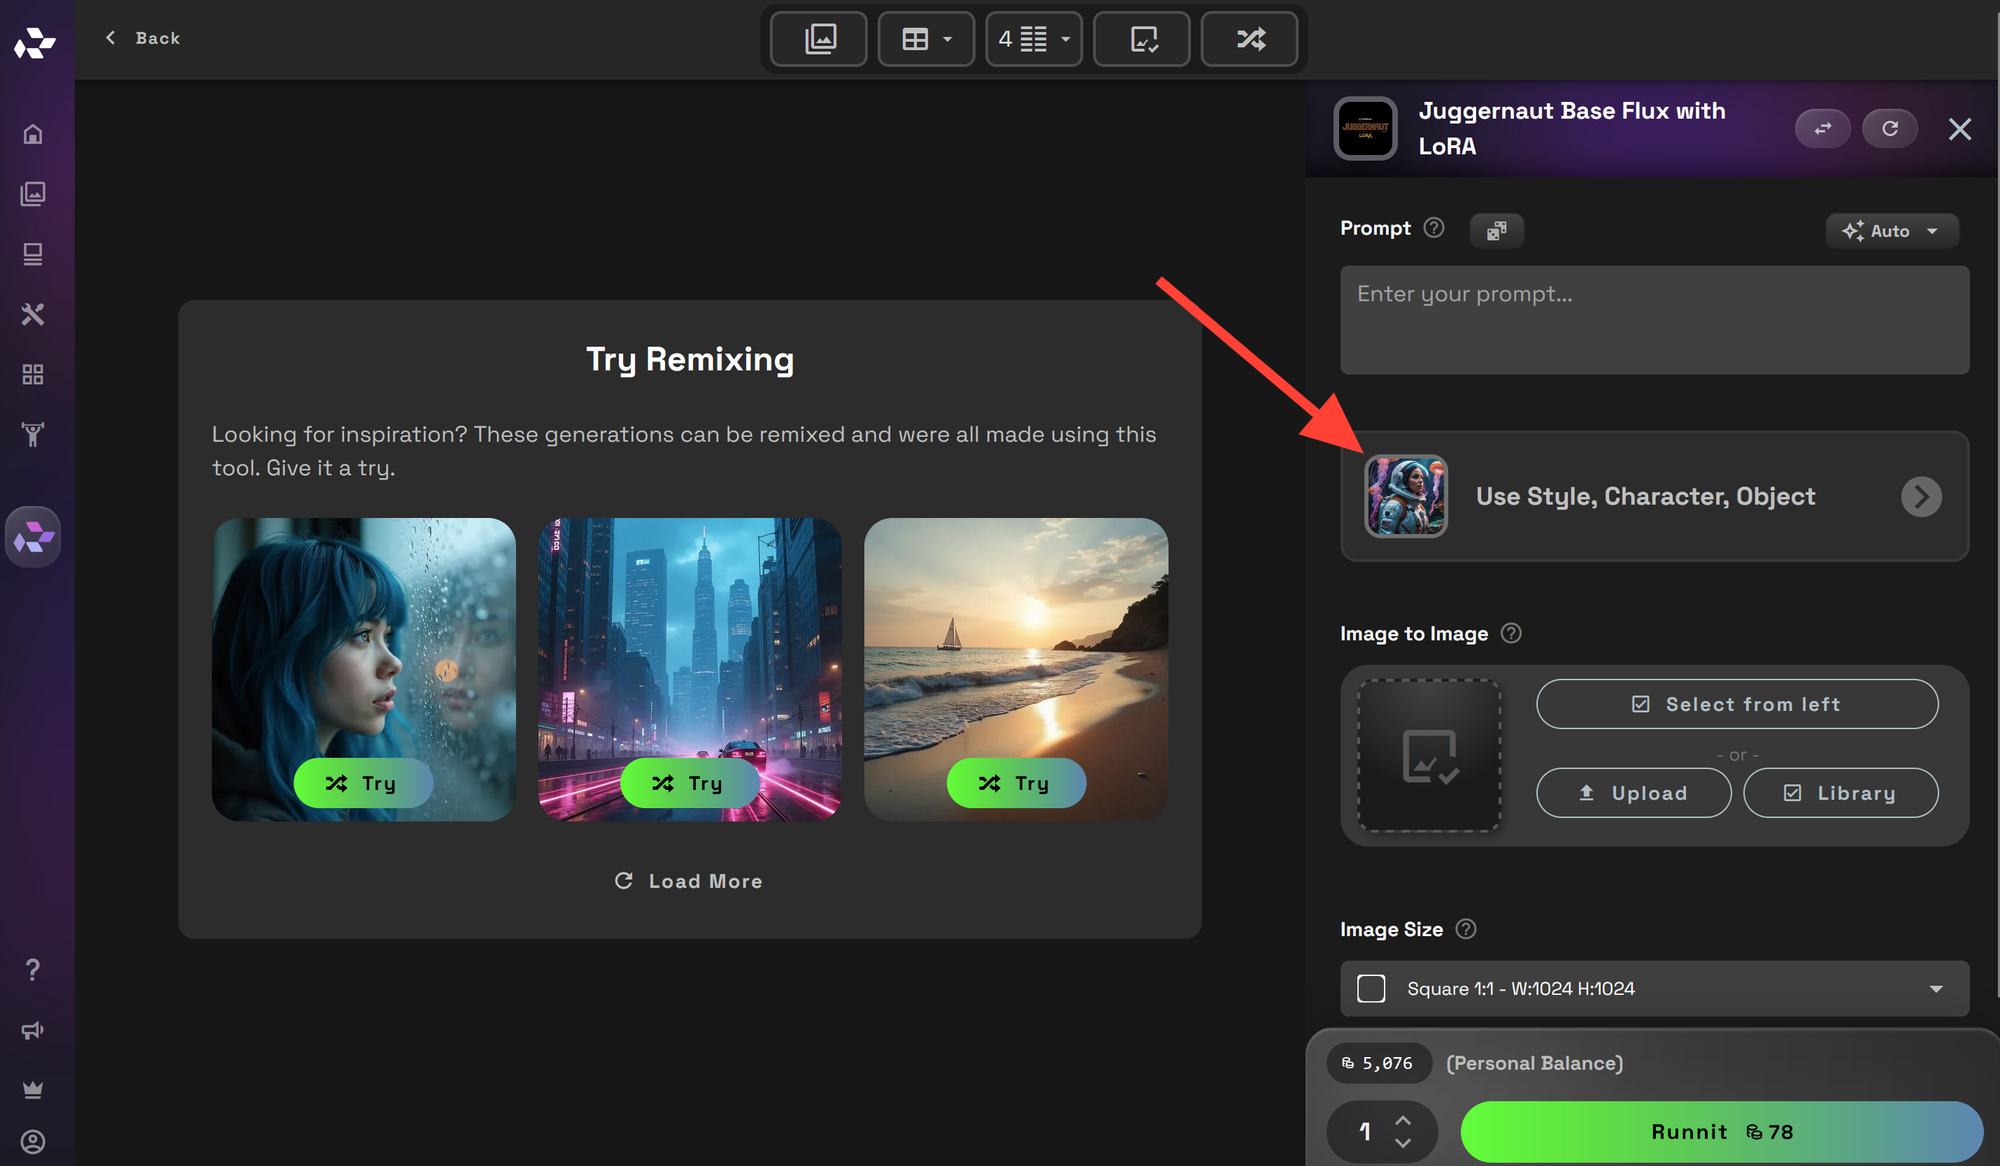
- Click on the LoRa you want to use.
- They are separated on the right by category to make searching easier if you have trained multiple Lora Models.
Enter a Prompt
- Here fill out a prompt to help guide the AI in creating the image you want.
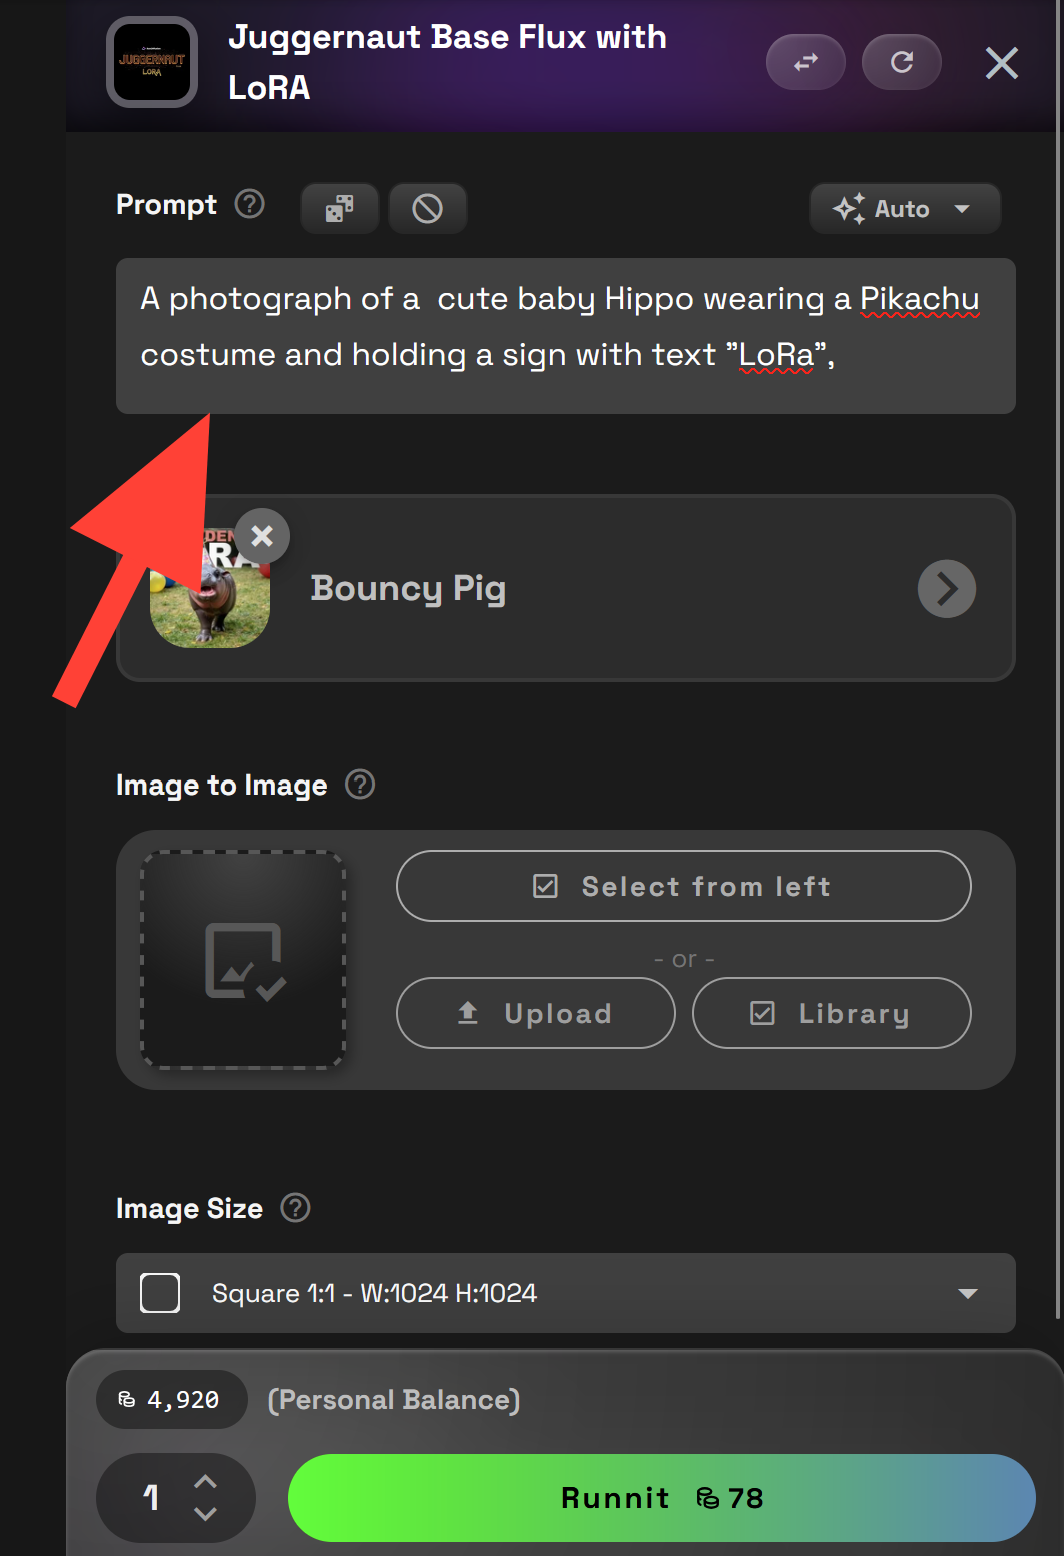
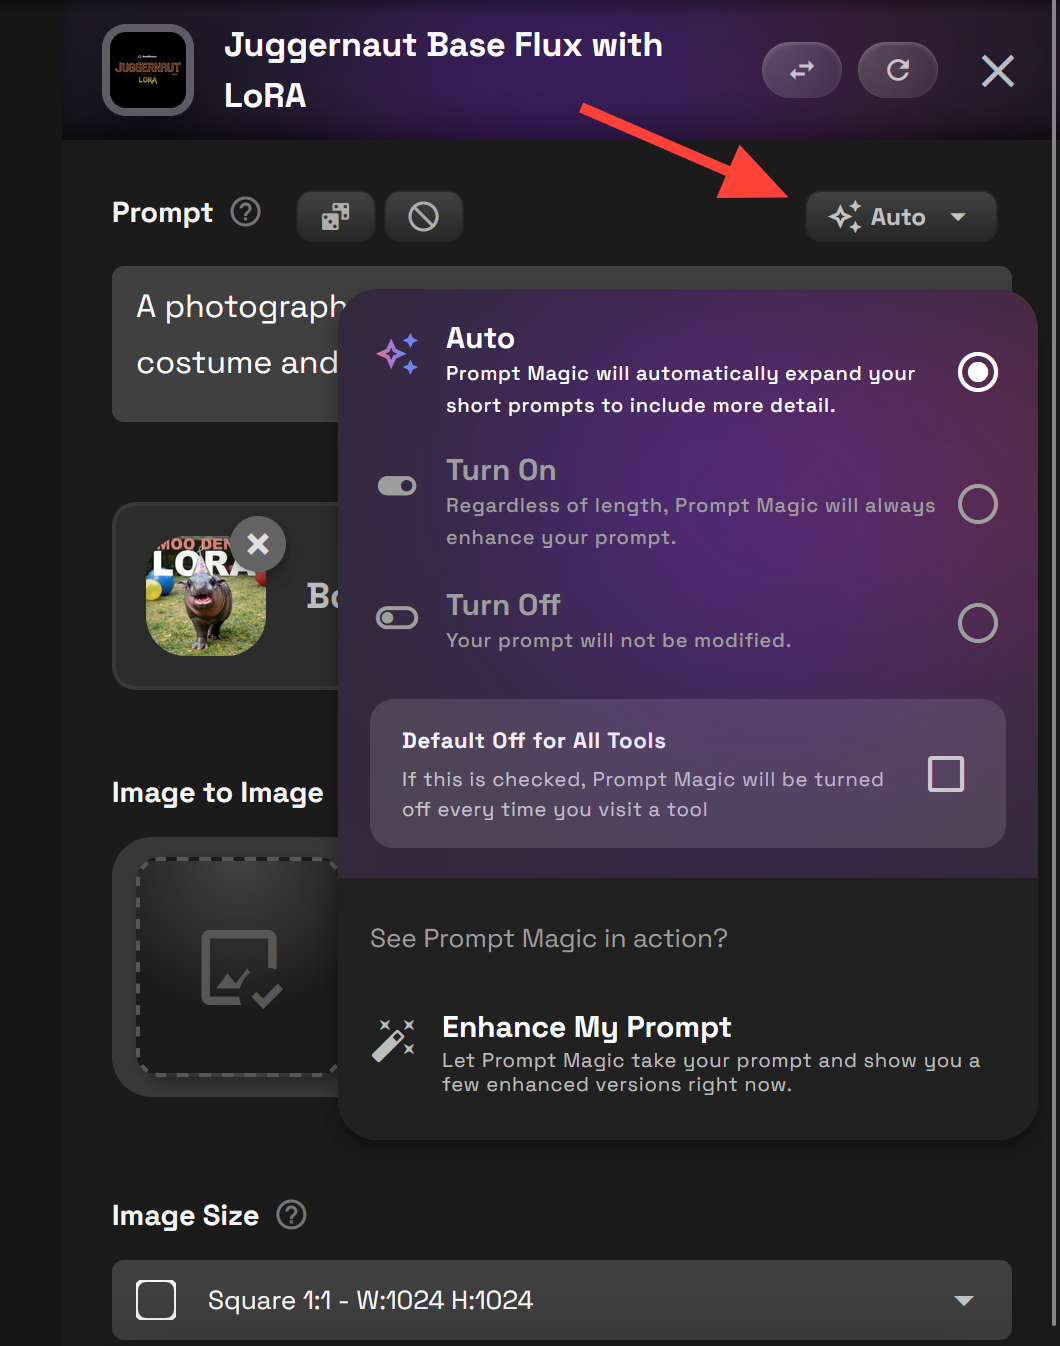
- If you need assistance with your prompt you can use the magic prompt feature adjusting the setting to On. If you do not need it you can turn it off or leave it on the default setting Auto.
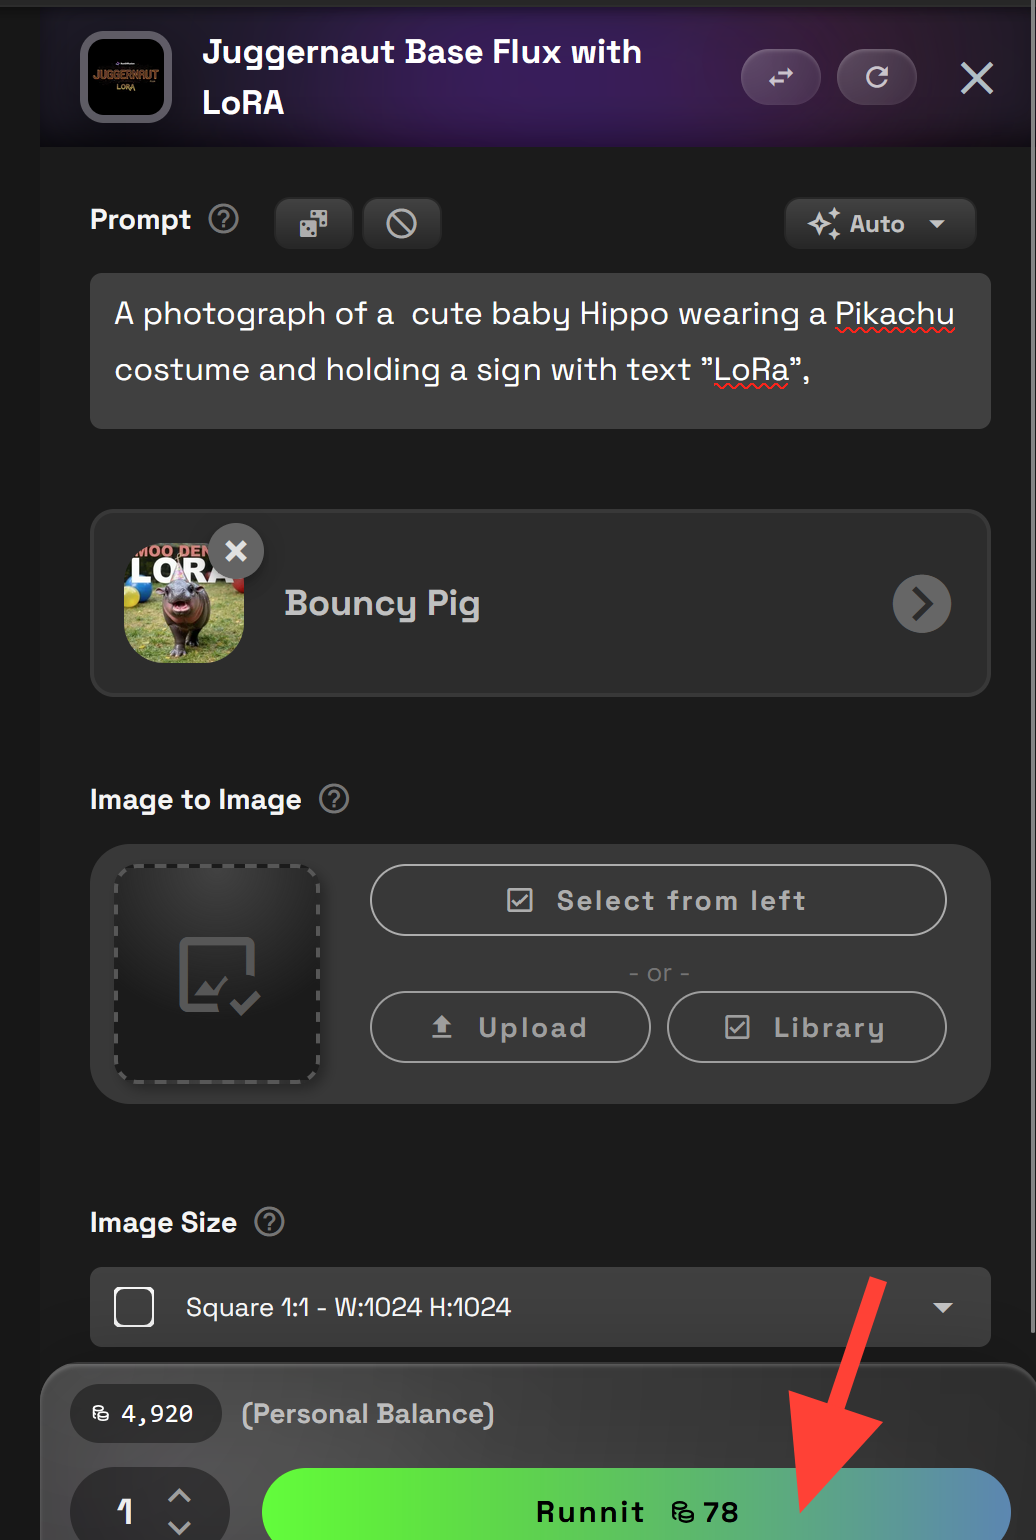
Generate your image
- You can now generate your image clicking on Runnit.
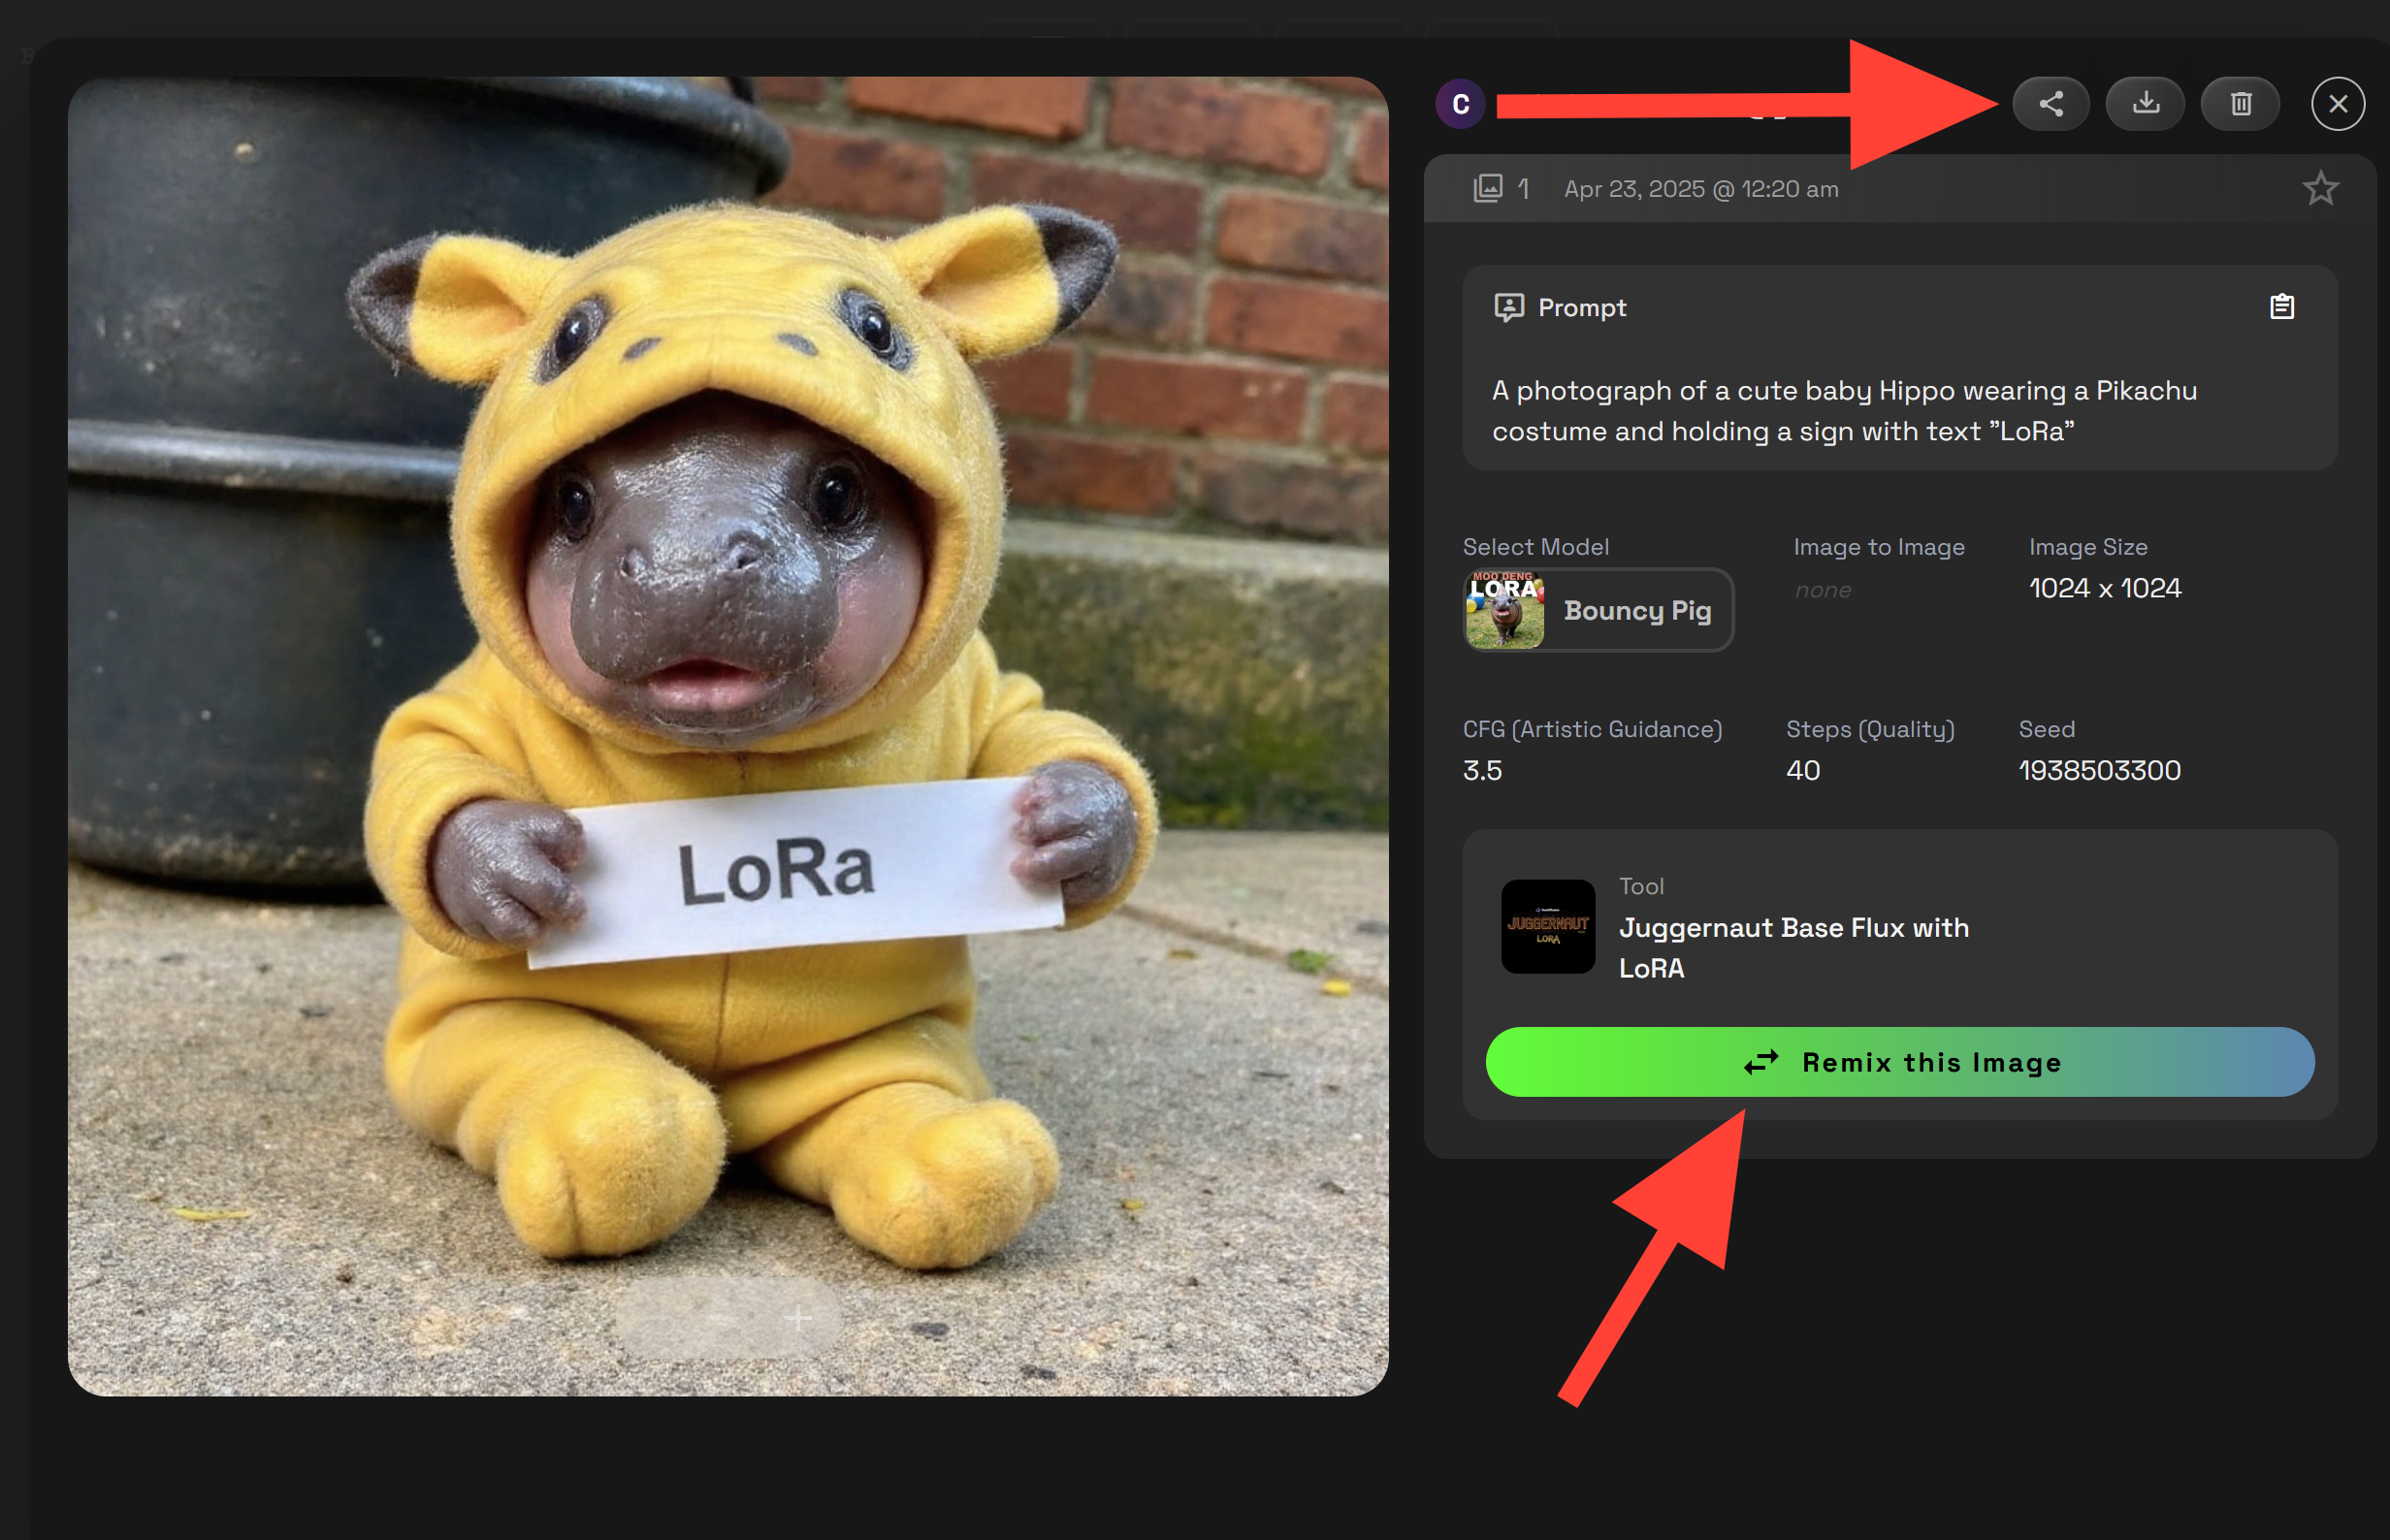
Examining your image
- You can click on your image on the left side of the UI.
- You can download, share, delete or remix your image.
Additional Settings
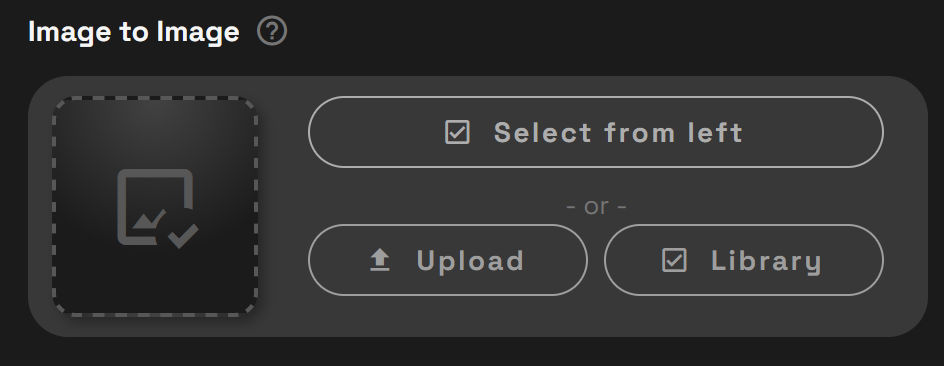
Image-to-Image
Use a starting image to guide your generation.
Instead of starting from scratch, Image-to-Image lets you upload or select a base image. The AI then uses that image’s structure, shapes, or composition to influence your output.
Great for:
- Altering poses or outfits while keeping character details
- Stylizing an existing image
- Making variations of a generated piece
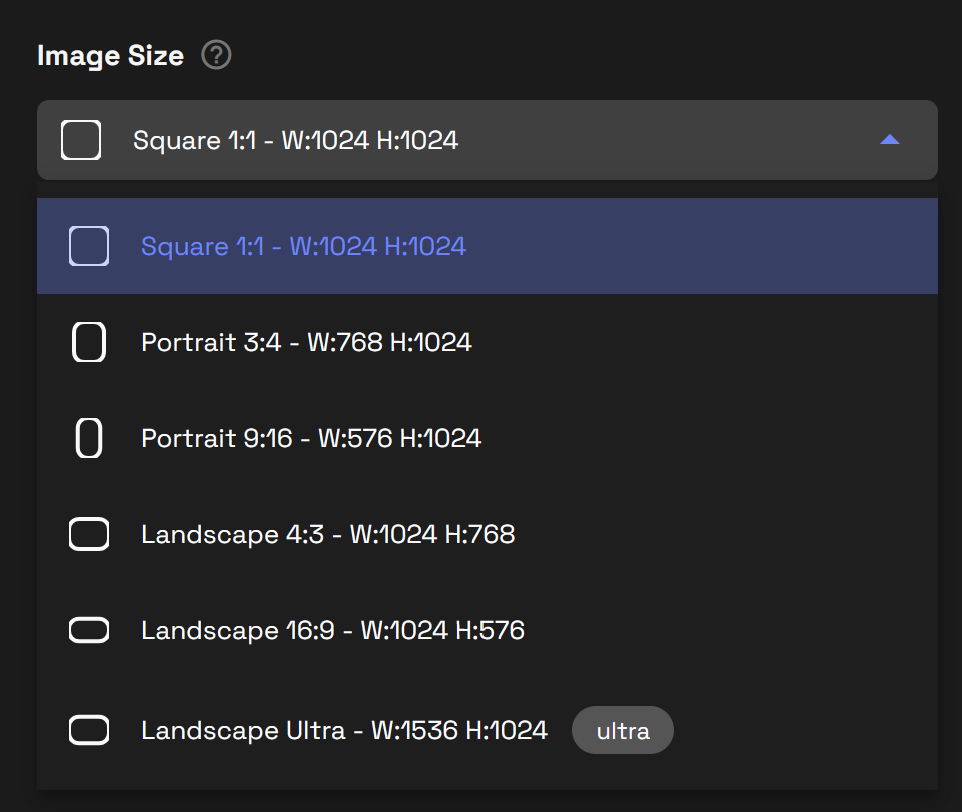
Resolution
Set the output size of your image.
Pro Tip: Keep your subject centered if using square formats!
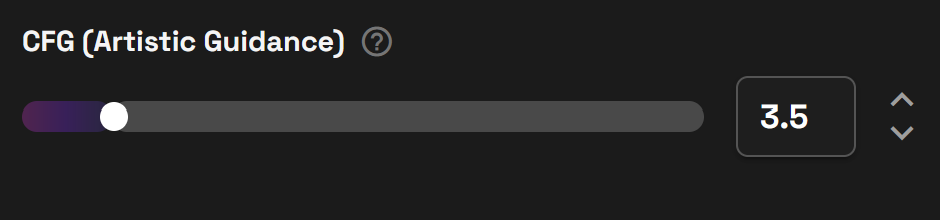
CFG Scale
Controls how closely the AI follows your prompt.
CFG Scale tells the AI how "obedient" it should be to your text prompt.
Try this: If you're getting weird results, lower the CFG slightly!
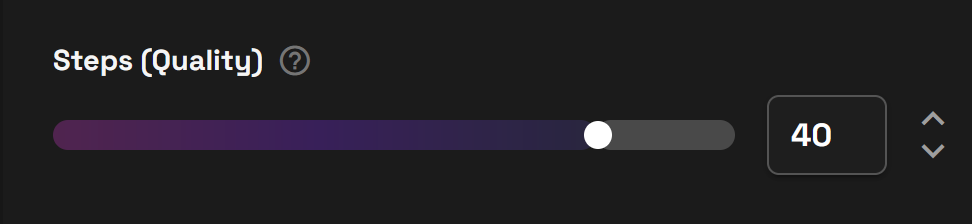
Steps
Controls how many times the AI refines your image.
Steps are the number of iterations the AI takes to "think through" your prompt.
- Fewer steps (20–30): Fast, may be less detailed
- More steps (40–60+): Slower, higher detail and polish
Watch out: Too many steps = diminishing returns. 35–45 is often the sweet spot.
Seed = a unique recipe number for your image.
Every generation uses a "seed" number that determines randomness. Using the same seed with the exact same settings will produce the same image again.
- Random Seed (default): New look every time
- Fixed Seed: Reproduce or slightly tweak a specific result allowing you to adjust prompts.
Fixed Seed is Helpful for:
- Re-creating a favorite image
- Making small variations with controlled randomness

Related Resources You’ll Love

Final Thoughts
Whether you’re building branded visuals, character designs, or just exploring AI creativity, combining Juggernaut and LoRA on Runnit makes high-quality generation simple, fast, and flexible—all in your browser.
