


Sketch to Render: Transform Your Drawings into Stunning AI Art on Runnit
Have you ever wanted to see a simple sketch evolve into a breathtaking, detailed masterpiece? With Sketch to Render in Runnit, you can easily bring your drawings to life. This step-by-step guide will show you how to use this tool to transform your ideas, whether you’re a hobbyist or a professional artist. This tool is currently only available for Enterprise users.
Why Use Runnit for Sketch to Render?
Runnit platform makes Sketch to Render incredibly simple and accessible. Here's why it's the perfect tool for artists:
- Ease of Use: A user-friendly interface designed to get you from idea to result in minutes.
- Cloud-Based Power: No need to invest in expensive hardware or learn complex workflows with Runnit we take care of all of that for you.
How to Use Sketch 2 Render on Runnit
Step 1: Log in to RunDiffusion
Visit RunDiffusion and log in to your account. If you’re new to the platform, sign up easily with your email address.
Step 2: Access Runnit
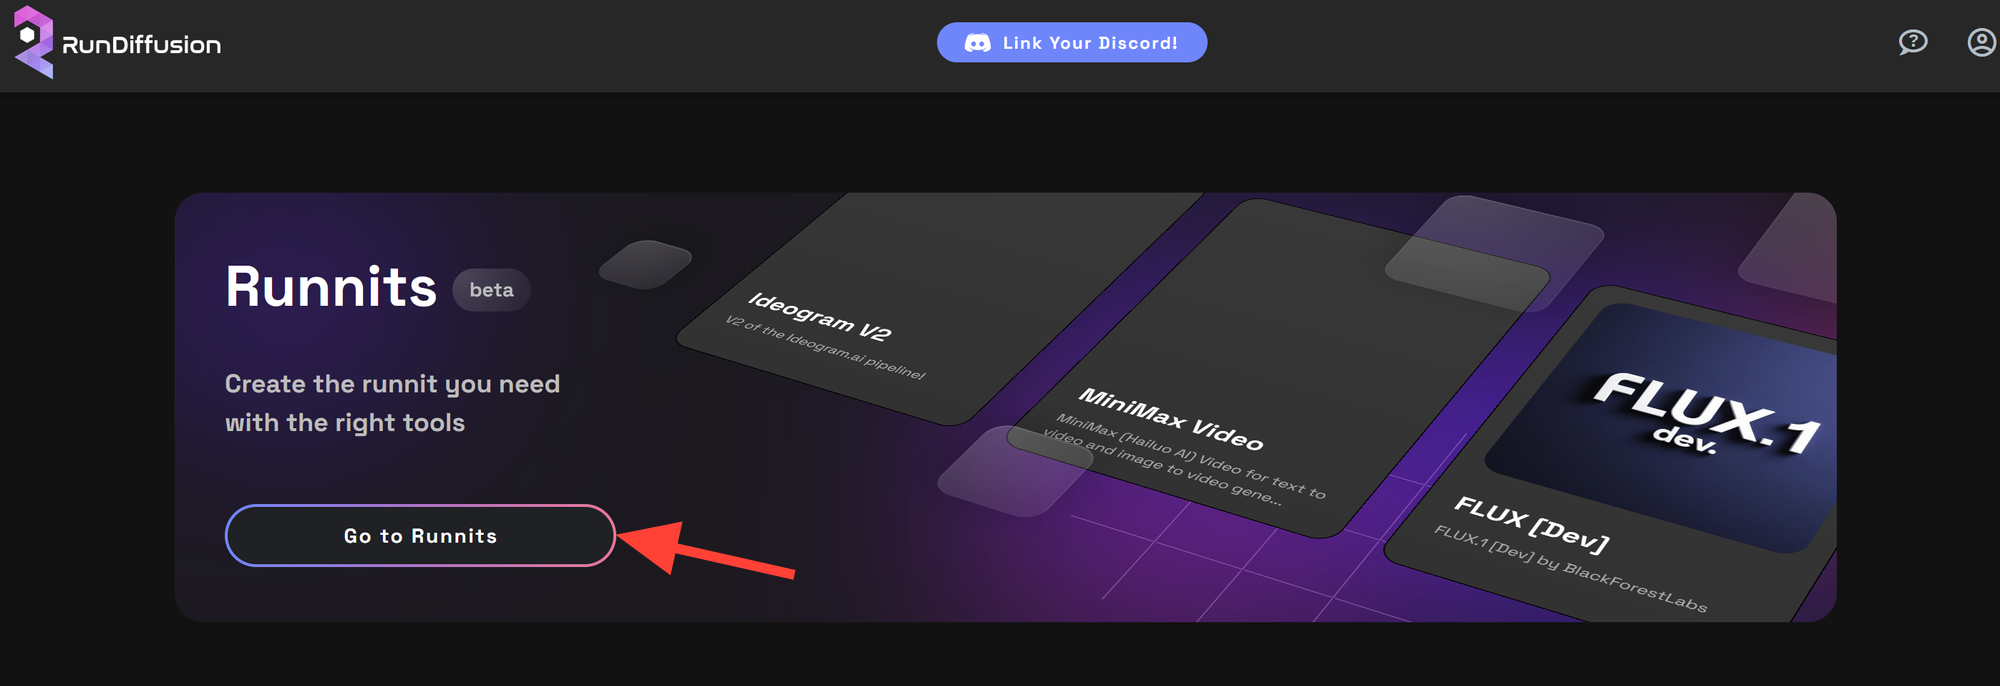
Once logged in, click Go to Runnit at the top of the application list to access your Runnit dashboard.
Step 3: Create or Open a Runnit
Create a new Runnit or open an existing one.
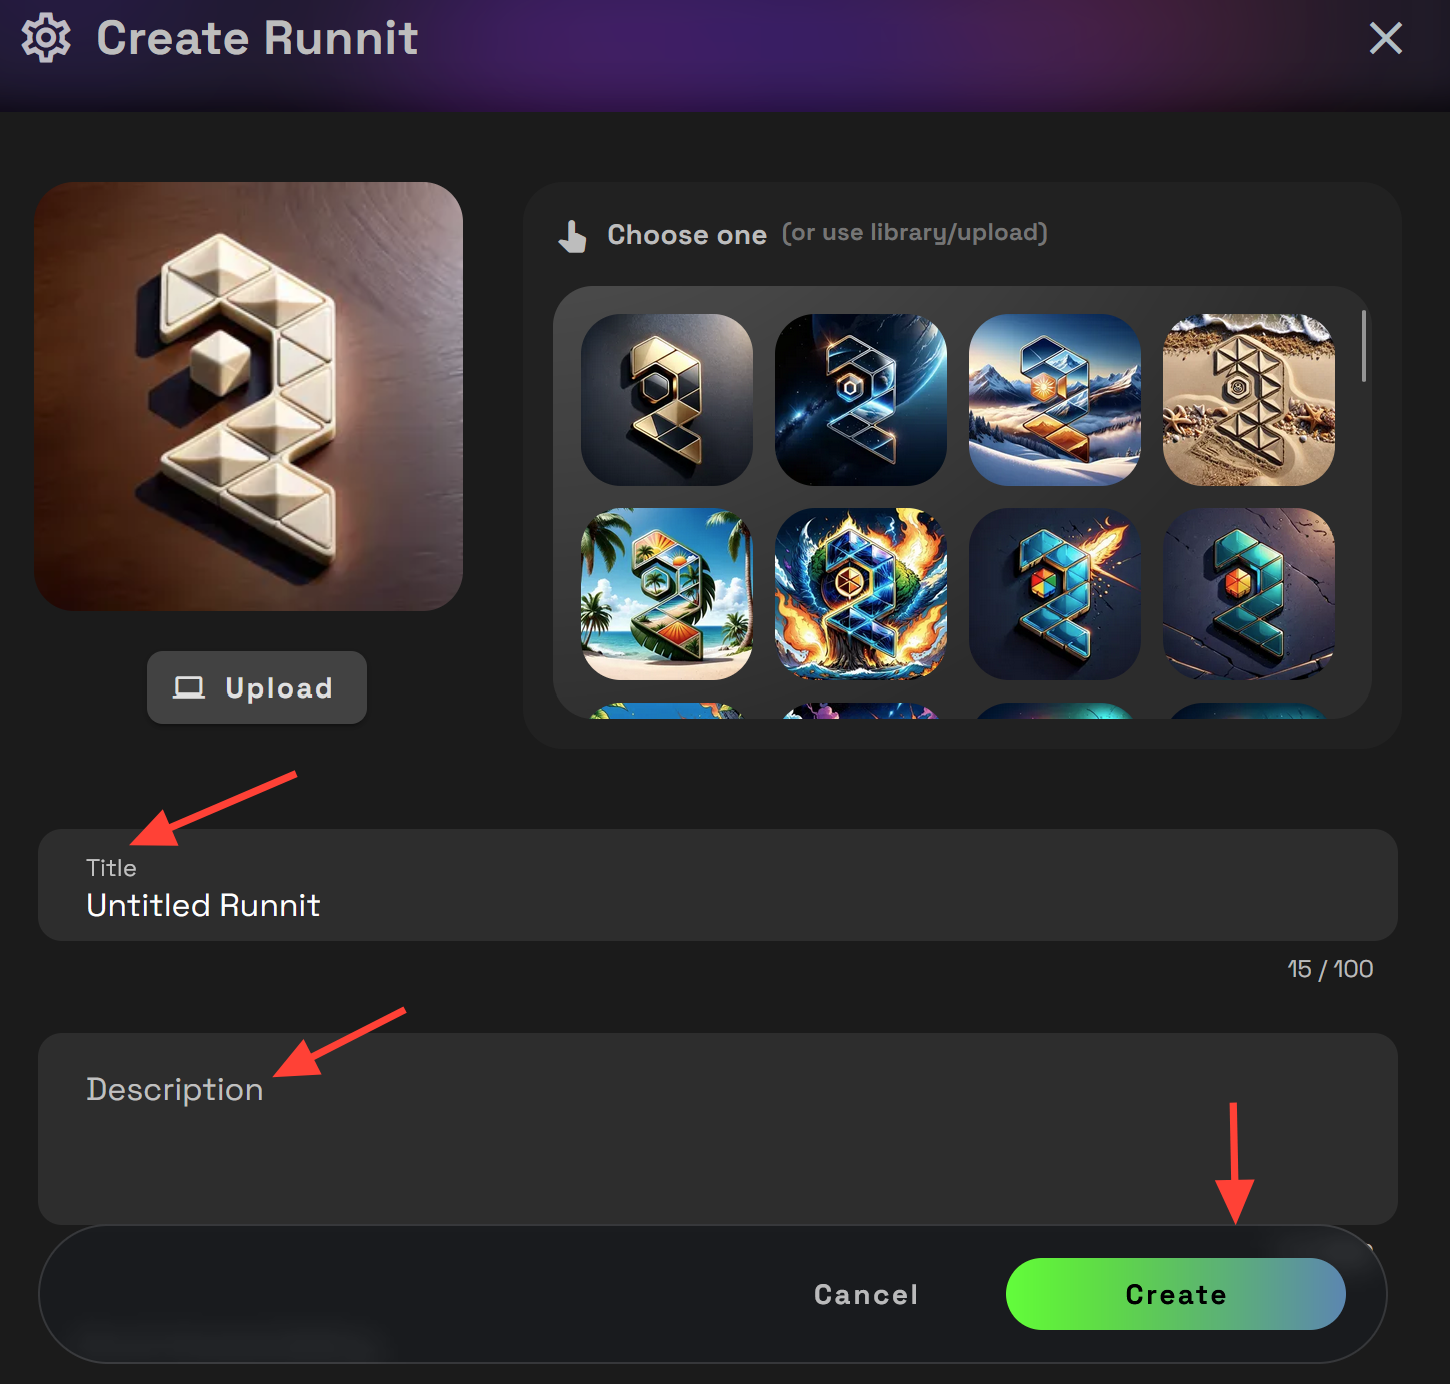
Add a title and short description to your Runnit, then click Create.
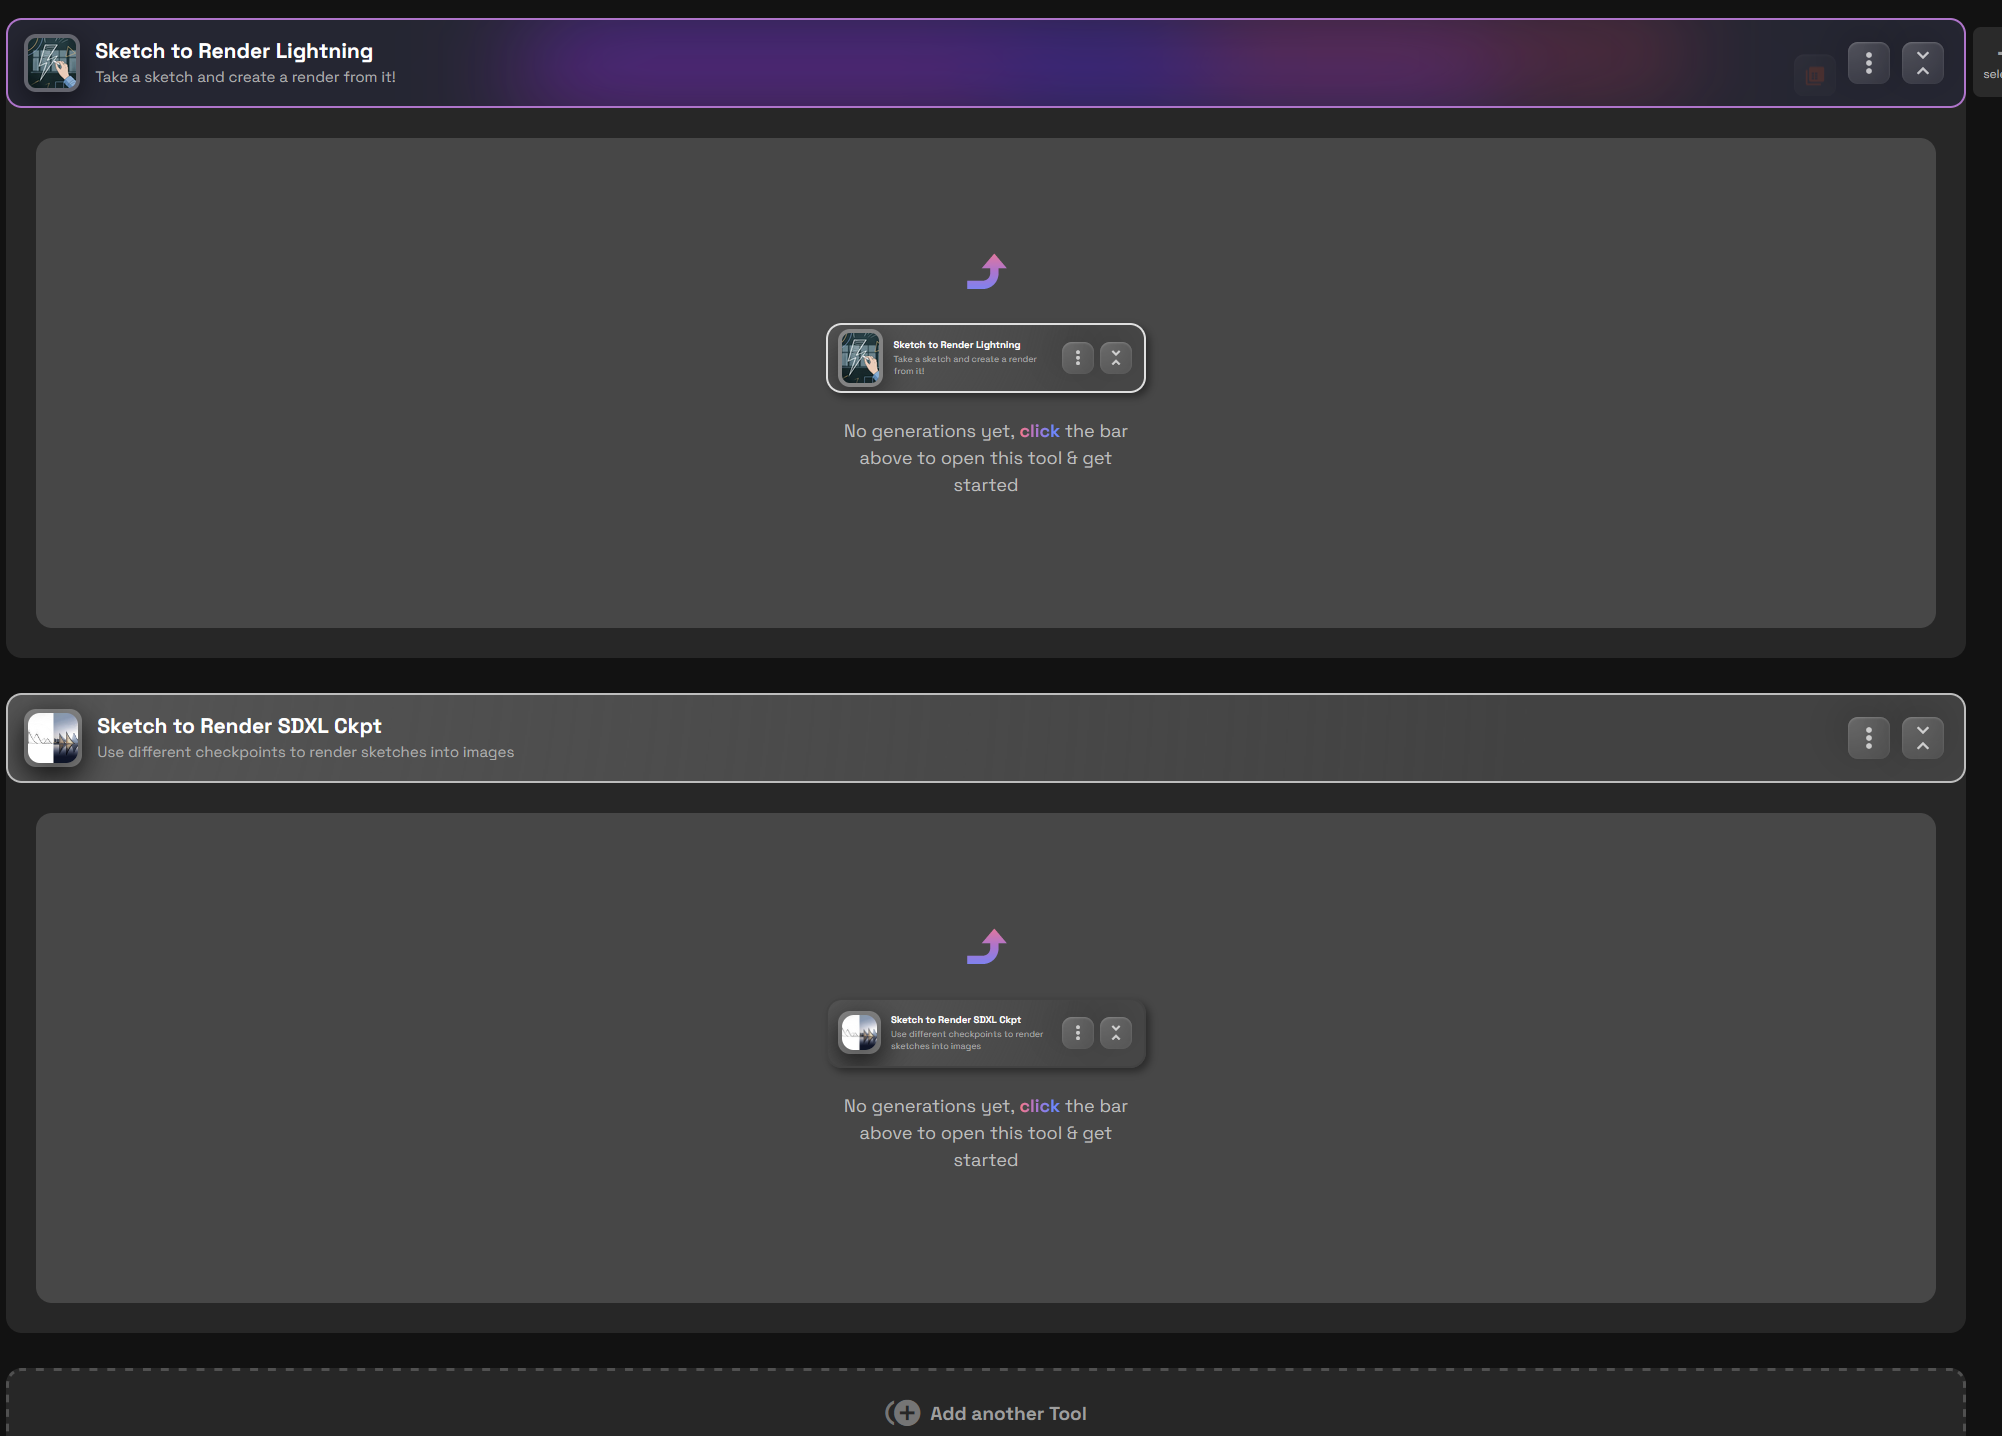
Step 4: Add the Sketch to Render Tool
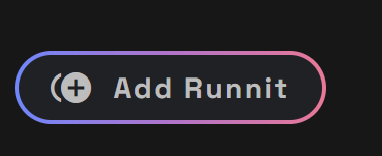
In your Runnit, click Add Another Tool at the bottom.

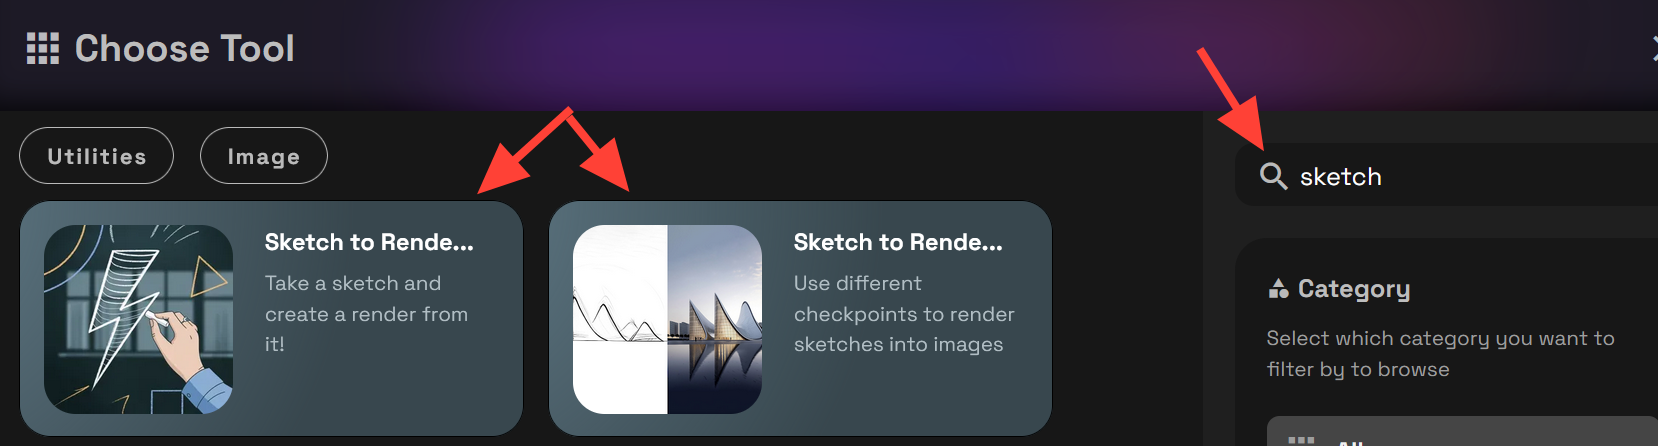
Search for Sketch to Render in the top-right search bar. Click to add the tool to your Runnit.
You can add one or both Sketch to Render tools. Both offer the same customizable settings.
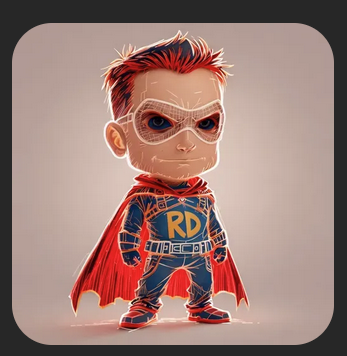
Step 5: Draw or upload a Sketch
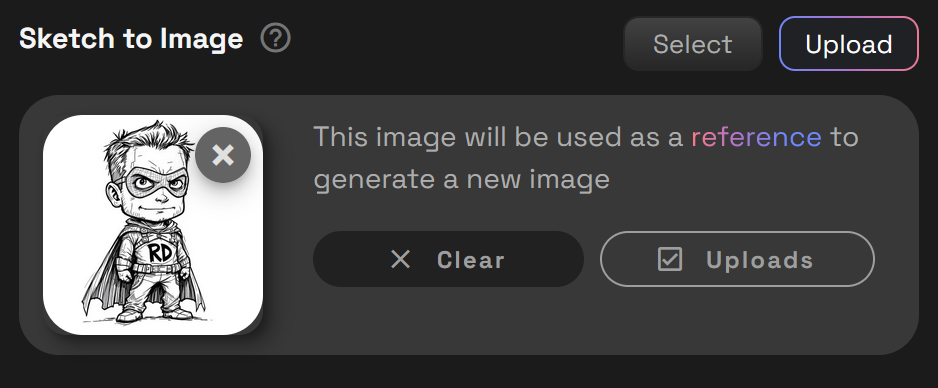
You can use a hand-drawn pencil sketch, a digital drawing, or even have the AI generate a basic outline for you. For this tutorial, we’ll upload a simple sketch labeled “RD” for RunDiffusion.

Step 6: Adjust your Settings
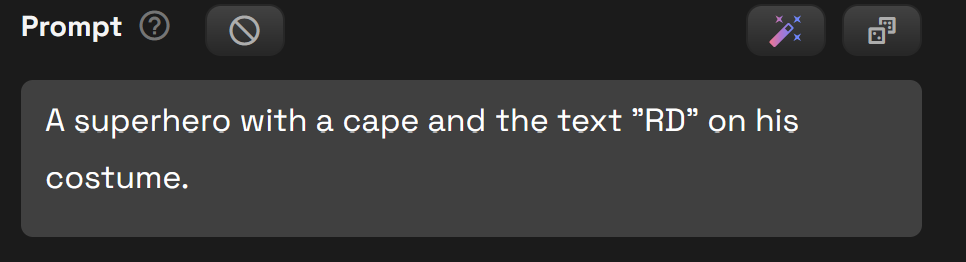
Write a Prompt: Enter a detailed description of what you’d like the final image to look like.
Upload Your Sketch: Click Upload and select an image from your computer or choose one from your library.
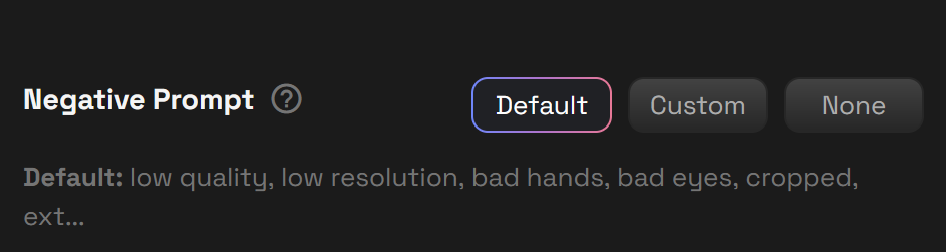
Custom vs. Default Negative Prompts: Stick with the default settings for now, or switch to custom if you want full control.
Adjust Strength: Use the slider to set the strength:
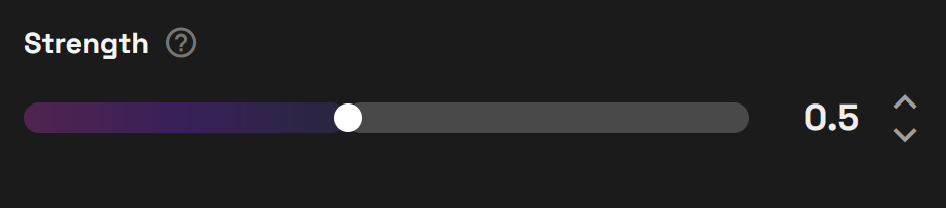
- 0.1: Minimal influence from the sketch.

- 1.0: The sketch strongly defines the final result.
- 0.5: A balanced starting point (default setting).
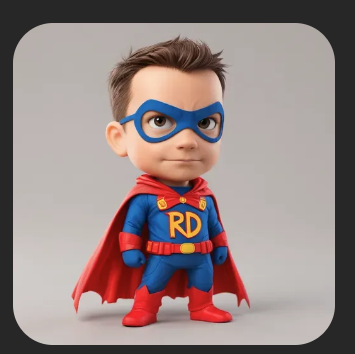
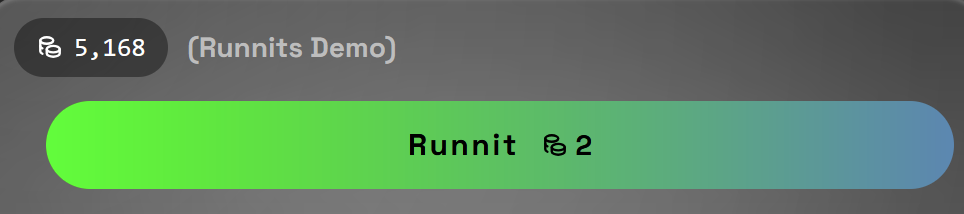
Step 7: Runnit!
Click the Runnit! button in the bottom-right corner to generate your image. In just seconds, your sketch will transform into a stunning render!
Admire your creation!
💡 Tips for Best Results
- Clean Sketches: While the AI can handle rough outlines, cleaner sketches generally yield better results.
- Specific Prompts: Be precise and descriptive, but try to limit your prompt to around 75 words for clarity.
- Strength Adjustments: Experiment with the strength slider to find the best balance for your sketch. Avoid setting the strength too high as it may cause the sketch to overpower the final image.
- Use the Image-to-Image Tool: Add an IMG2IMG tool to further refine and perfect your artwork.
Further Reading
Learn the Basics of Runnit
Explore inpainting Pro for Runnit
Generate AI Videos with Runnit
