


Introduction
Creating unique AI art often requires custom models and datasets. This updated tutorial on training a LoRa with Kohya offers a streamlined process, surpassing the older version's usability. For those who prefer, the previous tutorial is still available. Follow this step-by-step guide to enhance your training this guide was updated on 3/20/2025.
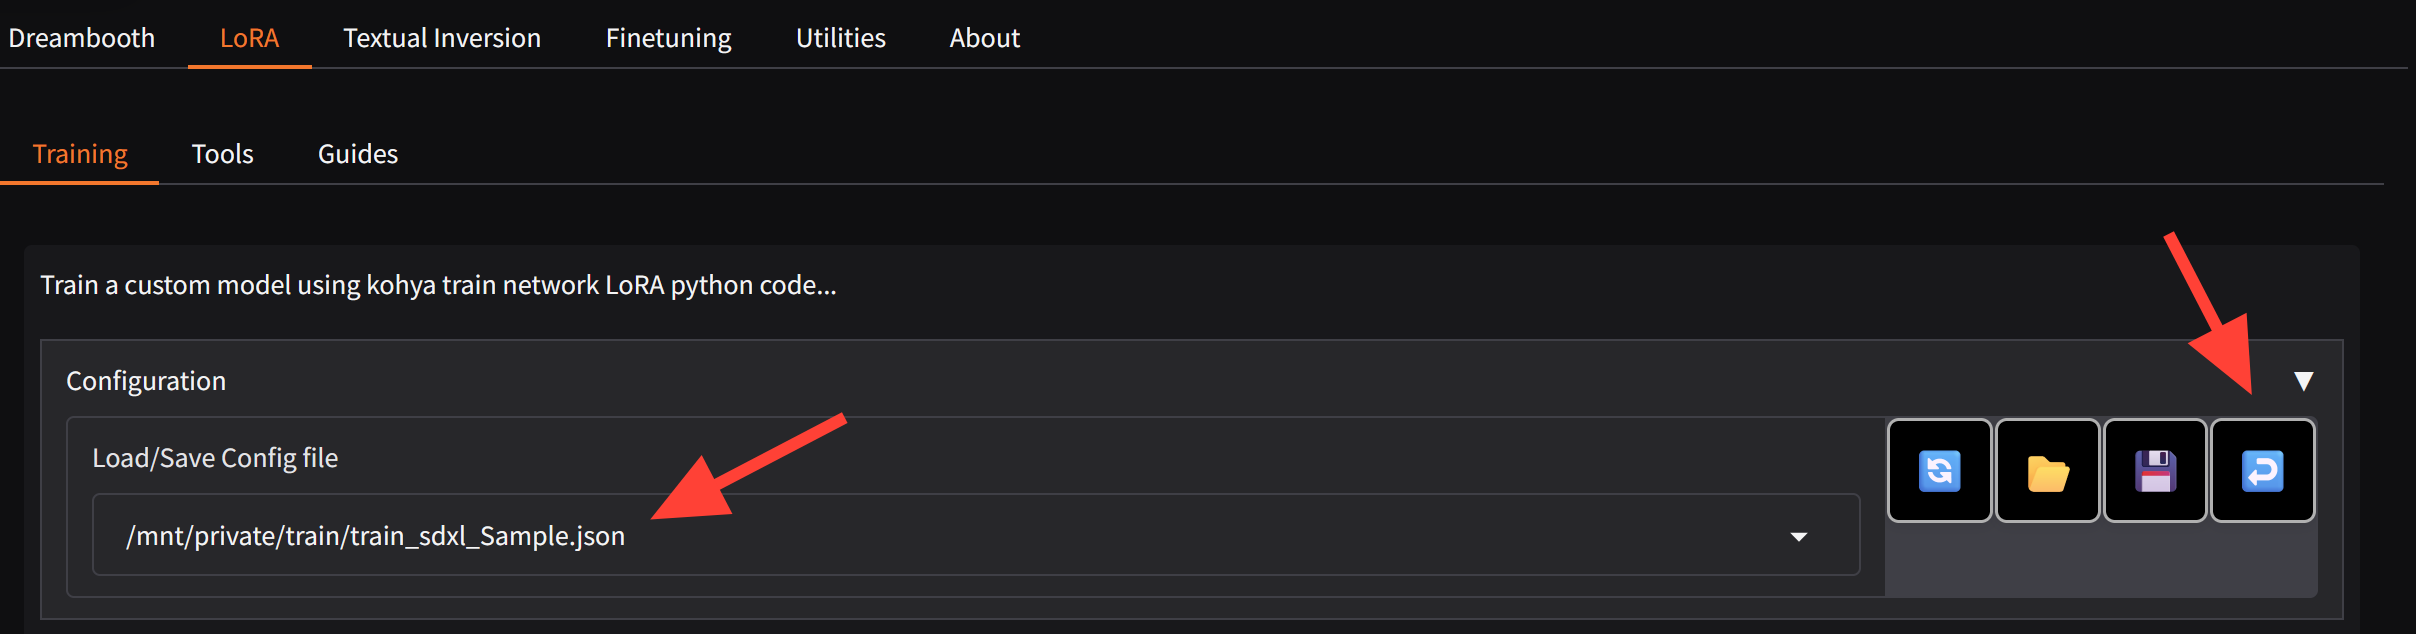
Update: I have uploaded a configuration file to train SDXL Lora. File name is: train_sdxl_Sample.json To use it place it in your train folder and load it on the configuration Lora tab use the path /mnt/private/train/train_sdxl_Sample.json then click on the enter button to load the settings.
Step 1: Launching Kohya
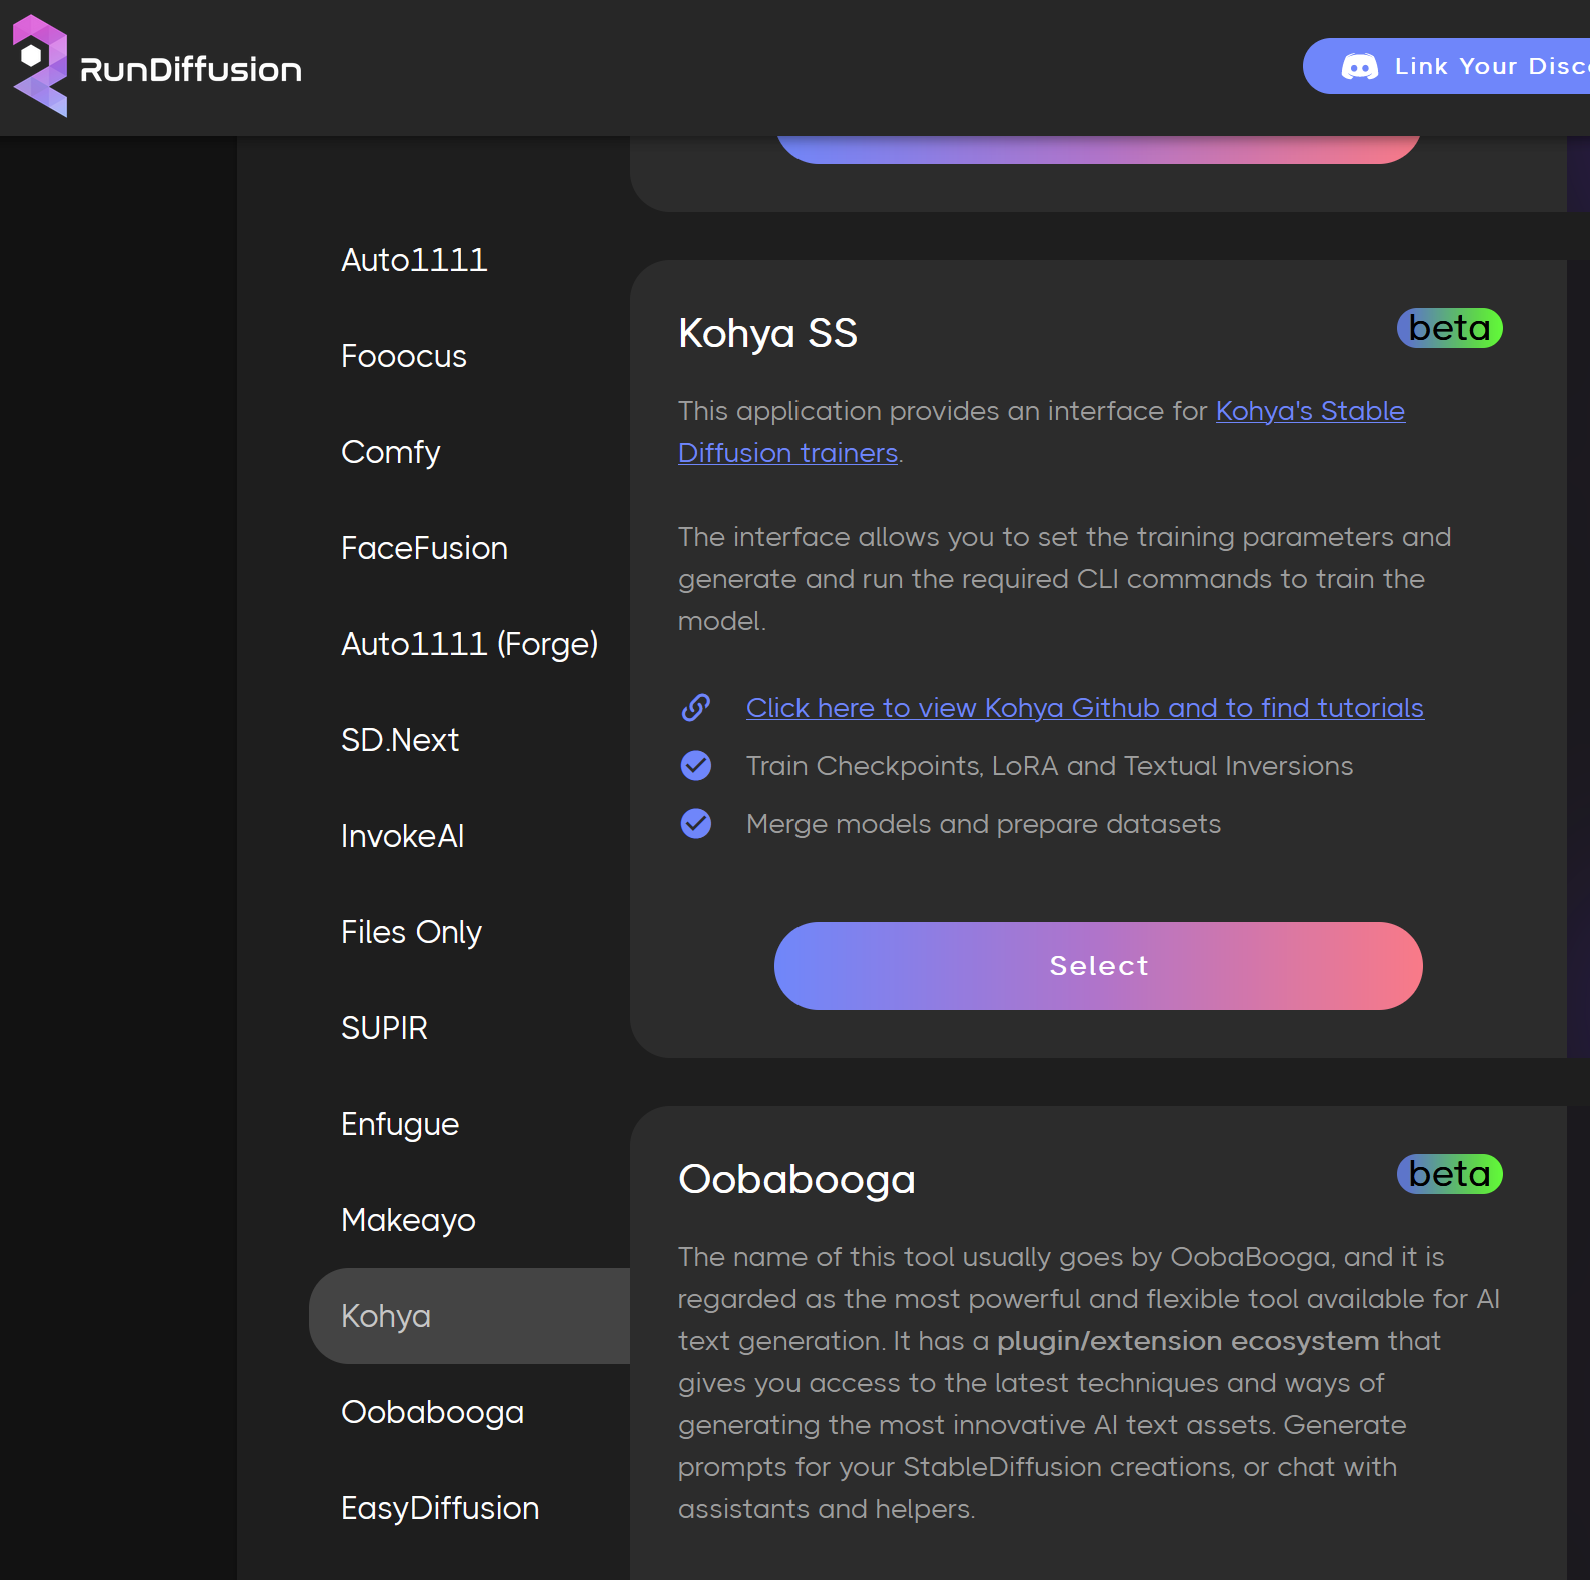
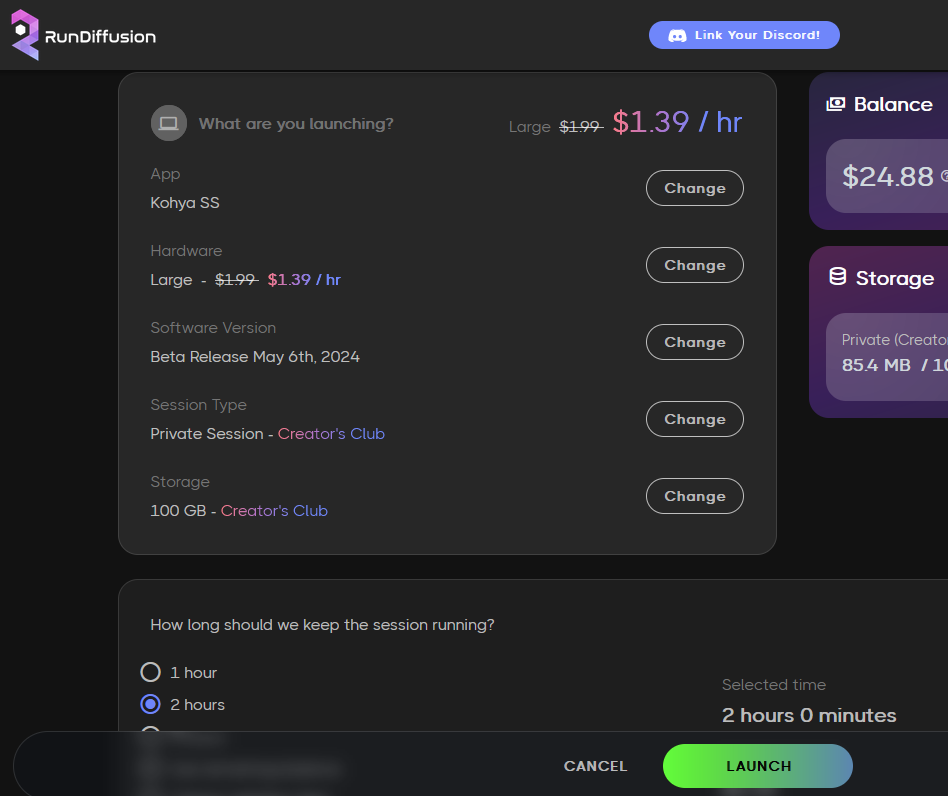
Launch: Start Kohya on a Large server. In some instances a medium may be sufficient but I recommend a large.
Navigate: Go to the Lora tab.
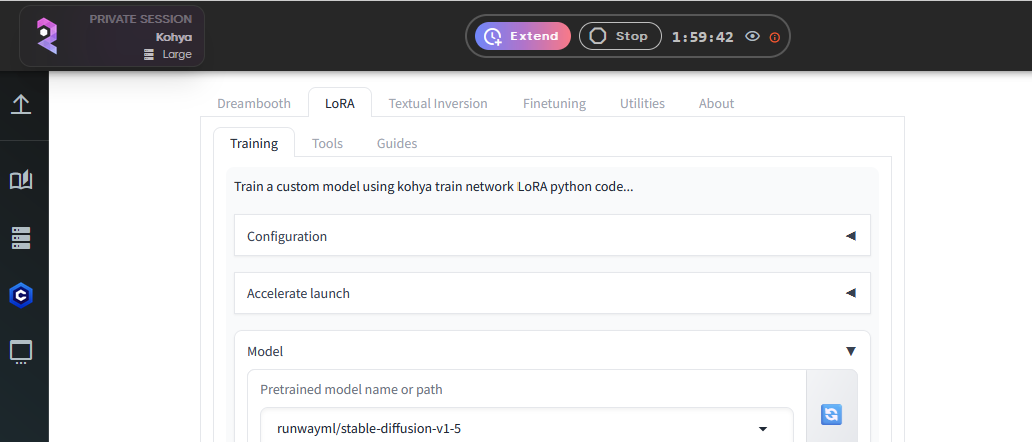
Step 2: Data Preparation
This tutorial assumes you already have a dataset of images and text files prepared.
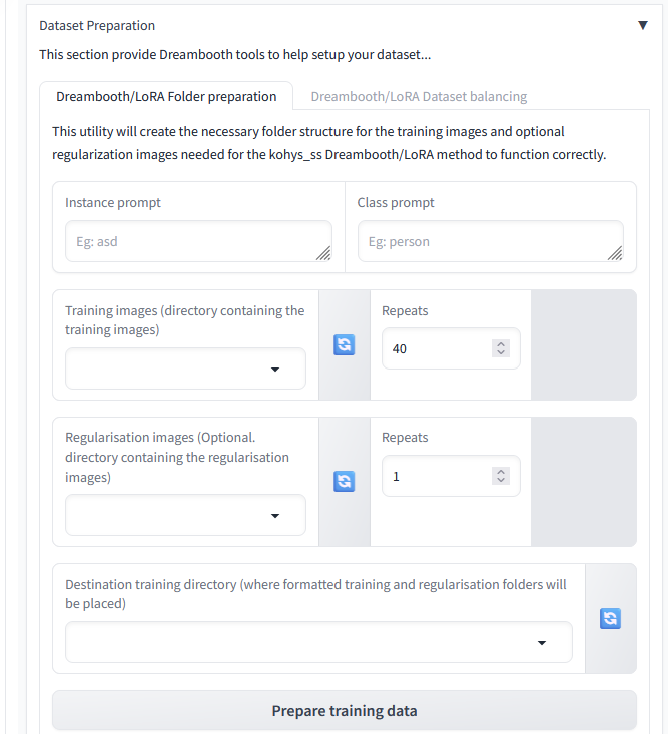
Instance Prompt: What would trigger your image if someone typed it in as a Token in a prompt.
Class Prompt: Person, style, etc
Training Images: /mnt/private/train/(you folder name with your images and captions)/
Repeats: 20-40
Regularization Images: If you are training a person you may wish to setup regularization images but not necessary for this tutorial right now.
Destination Training Direction: /mnt/private/train/ ← That / is important don’t forget those and avoid extra spaces after them it can throw an error.Then click Prepare Training Data This will create a series of folders that we can then use to train our Lora. Now you can minimize this section by clicking on Data Preparation again.
Step 3: Metadata (Optional can skip)
Metadata title: Optional title for model metadata
Data Metadata Author: Your name
Metadata License: If you want to include a license for your model.
Metadata tags: Any tags you wish to add separate them by commas.
Step 4: Model
Pretrained Model: stabilityai/stable-diffusion-xl-base-1.0
Trained Model output name: Write the name of your model.
Image Folder: /mnt/private/train/img/
Training Comment: Personal preference if you want to add any notes here like what words to use to trigger the model.

Step 5: Model Folders
Output Directory for trained model: /mnt/private/train/model/
Logging Directory: /mnt/private/train/log/
Step 6: Parameters
There are many ways to train a Lora. Here is a simple one to get you started. Will we use a preset which will fill out most of it for us.
Presets: SDXL - Lora AI_Now prodigy v1.0
Epochs: You may edit this standard I between 5-10
Network Rank: 64
Network Alpha: 32

Advanced
Save every N Steps: If you have the storage I like to do every 100-200 steps and test them all until I’m happy.

Samples
Samples every N Steps: 100
Sample Sampler: This is up to you and is a matter of preference.
Sample Prompt: a mouse, 8k resolution, photograph, good quality --n bad quality,poor quality, blurry, bad composition --w 1024 --h 1024 --d 3456, --l 6.5, --s 28

After you start your training you can go to to /mnt/private/train/model/sample/ and it will save there images depending on how often you told it to save samples.
Additional Info
- Max Steps: This refers to the total number of steps the training process will execute. Each step processes a batch of data through the model.
- Total Epochs: An epoch is a complete pass through the entire training dataset. The total epochs indicate how many times the model will see the entire dataset during training.
Typically, the number of steps per epoch is calculated by dividing the size of the dataset by the batch size.
Finally! Now Click Start Training at the bottom. It should train until it completes all the steps or epochs you set in the parameters. After you click the start training button the UI will not indicate any changes. You need to check the logs to see if training started.

Step 7: How to Check Logs
On the left click the below symbol to open up the logs.You can then watch as it trains!

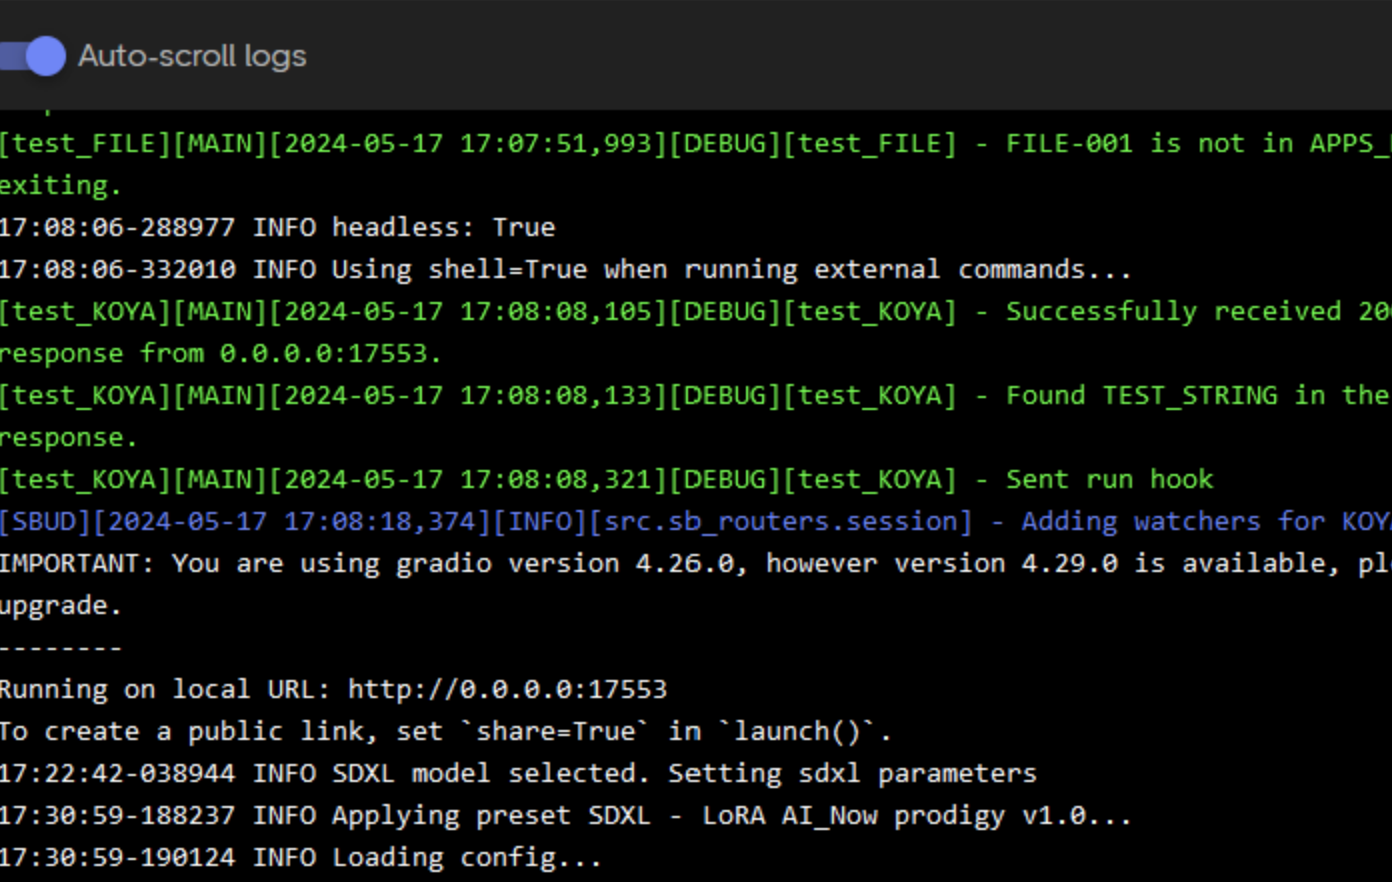
Sometimes server manager will stop showing you logs. But don't worry they are still being recorded. Go to the main Logs folder.
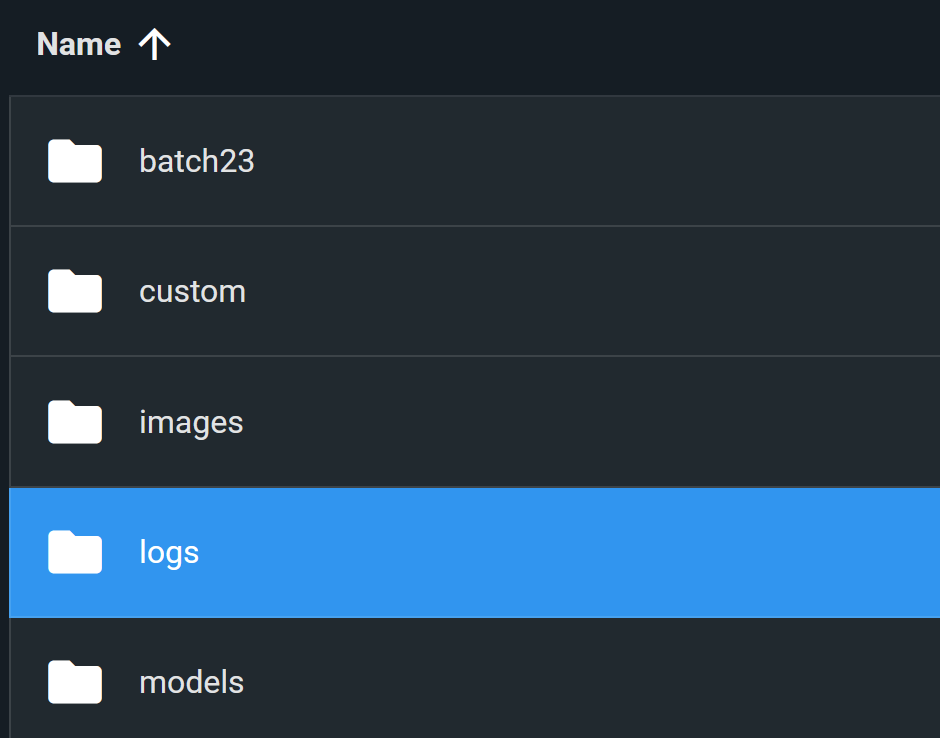
Look for a Log with the name Kohya and the appropriate date. You can open that and review the training. You may need to close it and open again sometimes to help it refresh.

Step 8: How to Test your new Lora safetensor files!
Go to /mnt/private/train/model/ folder you had your files saved to. Now let's go ahead and move them them to /mnt/private/models/lora/custom/sdxl/
A good way to test is to use the XYZ tutorial here
Navigating the Challenges of Kohya Training
Kohya training can initially seem challenging due to the various configurations and steps involved, but it is also highly rewarding and useful. By following the basic steps outlined in this guide, you will build a solid foundation for successful training. Once you are comfortable with the fundamentals, don't hesitate to start tweaking settings and experimenting with different parameters. Each adjustment brings you closer to creating a finely-tuned AI model tailored to your specific needs. Remember, the journey may require some patience and persistence, but the end result is well worth the effort.
