


A great addition to Automatic1111 suite on RunDiffusion is PBRemTools, a powerful tool designed to enhance your AI image generation workflow. This guide will walk you through accessing and utilizing PBRemTools within Automatic1111 on RunDiffusion, ensuring you can take full advantage of this feature.
What is PBRemTools?
PBRemTools is a versatile tool that allows for advanced image manipulation and refinement within the Automatic1111 interface. It provides functionalities like mask creation and background removal. This opens up a lot of possible workflows. This tutorial will show you how to do batch directories.
Why Use PBRemTools?
PBRemTools offers powerful capabilities for AI image processing within Automatic1111 on RunDiffusion. Here are key reasons to use PBRemTools:
- Photobashing: Quickly removes backgrounds, allowing seamless integration of multiple images into cohesive artworks, saving time and effort.
- Enhanced img2img: Provides precise masks for selective transformations, enabling controlled and refined edits for colors, textures, and styles.
- Transparent Logos: Easily isolates and refines graphical elements to create polished, high-quality transparent logos for branding and design.
- Background Replacement: Easily take characters from one scene and place them in another as part of your img2img workflow.
- Workflow Efficiency: Automates background removal and mask creation, enhancing productivity and allowing you to focus on creative aspects.
PBRemTools expands your creative possibilities and streamlines your workflow, making it an indispensable tool for digital artists and AI enthusiasts.
How to Access PBRemTools in Automatic1111 on RunDiffusion
Step 1: Launch Automatic1111
To get started, you need to launch the Automatic1111 interface on RunDiffusion. Follow these steps:
- Log into your RunDiffusion account.
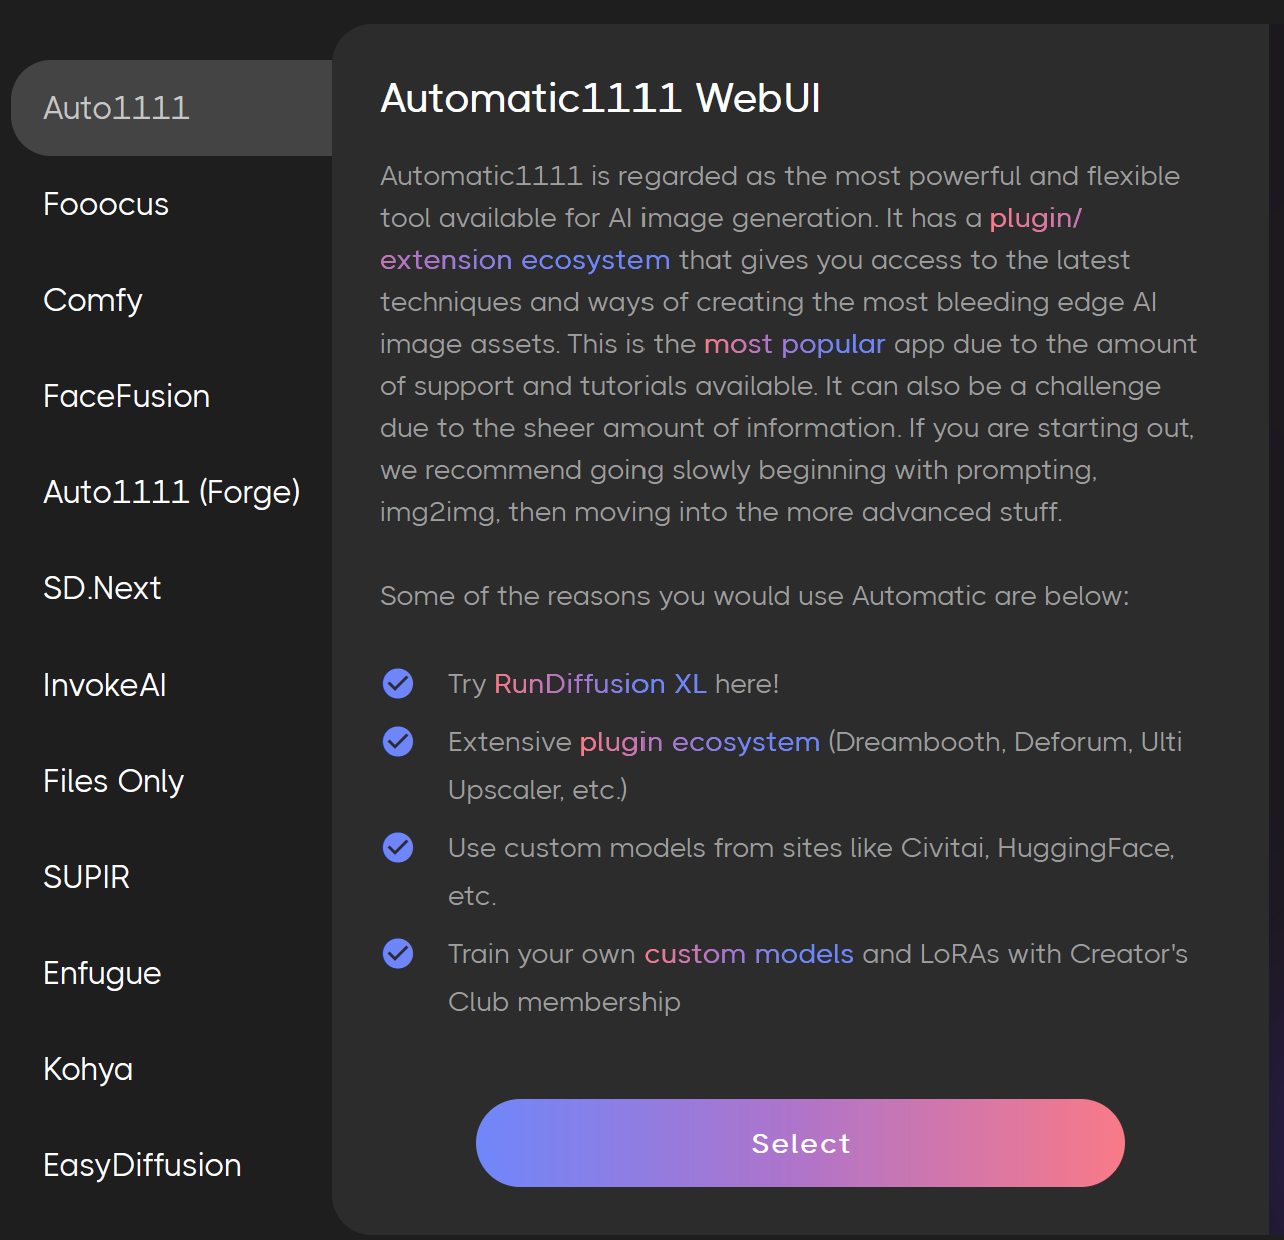
- Navigate to Auto1111 and click select.
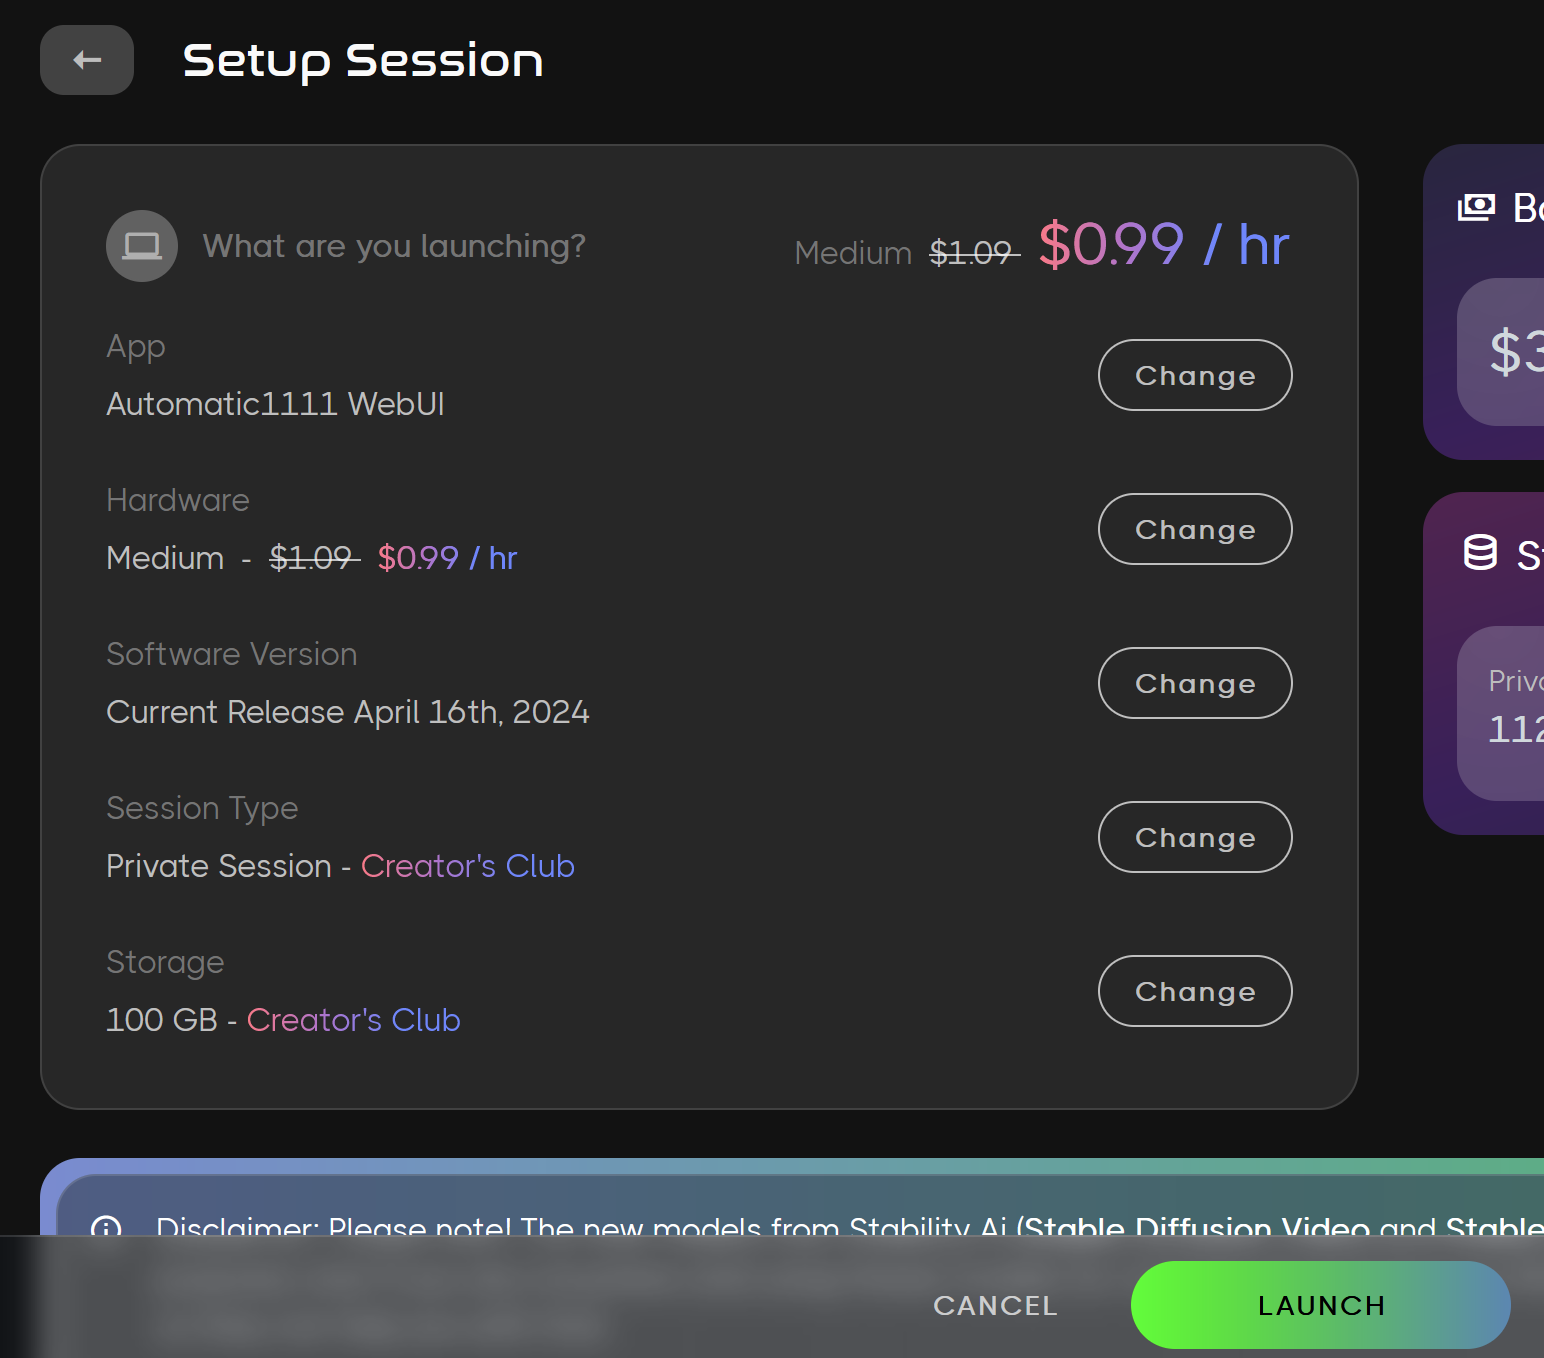
- Click on the Automatic1111 application to launch it.
Step 2: Access the PBRemTools Tab
Once you are in the Automatic1111 interface:
- Locate the PBRemTools tab on the menu bar.
- Click on the PBRemTools tab

Step 3: Create the Necessary Directories
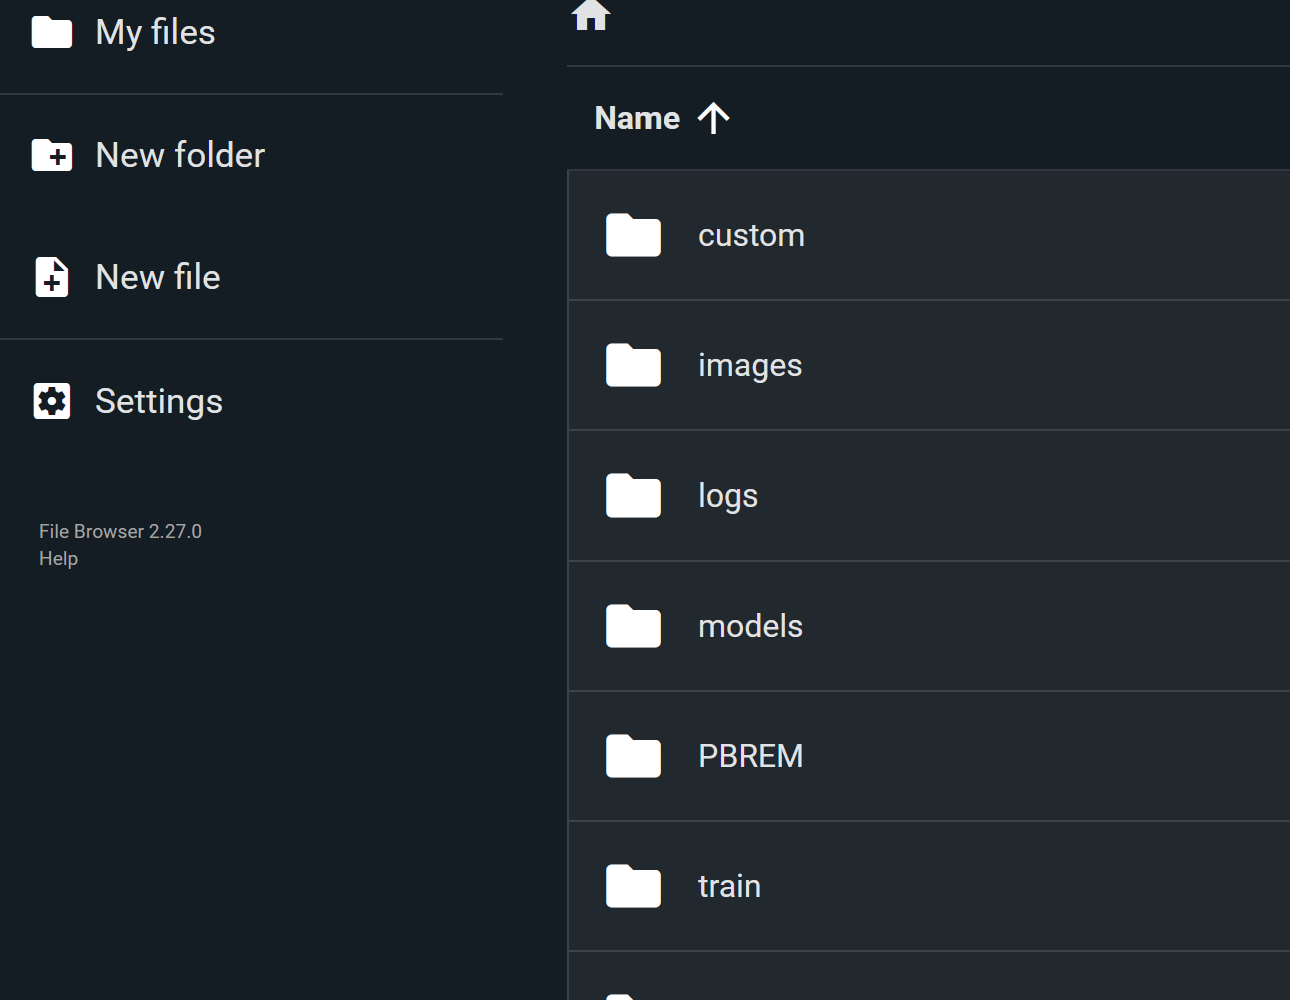
PBRemTools requires you to make some directories to store the processed images and generated masks. The names aren't important but here is an example on how to set them up in the example I created a folder called PBREM and inside two subdirectories:
- Open the file manager.
- Create a new folder under the
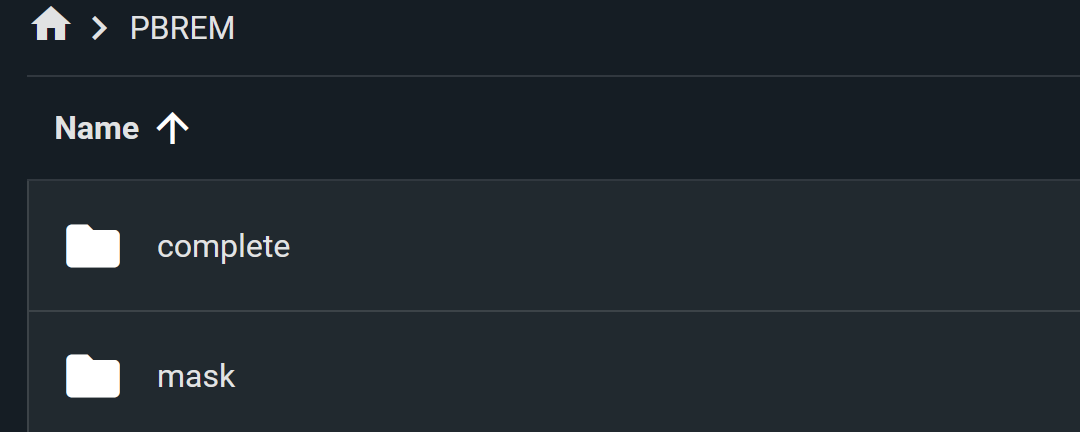
mnt/private/directory (This is the base directly for everyone). Name this folder according to your project or the content you are working on. - Inside your new folder, create two subdirectories:
mnt/private/[your_folder]/completefor storing the processed images with the background removed.mnt/private/[your_folder]/maskfor storing the masks generated by PBRemTools.
Step 4: Upload Your Original Images
With the directories set up, you can now upload your original images that you want to process:
- Navigate to your new folder under
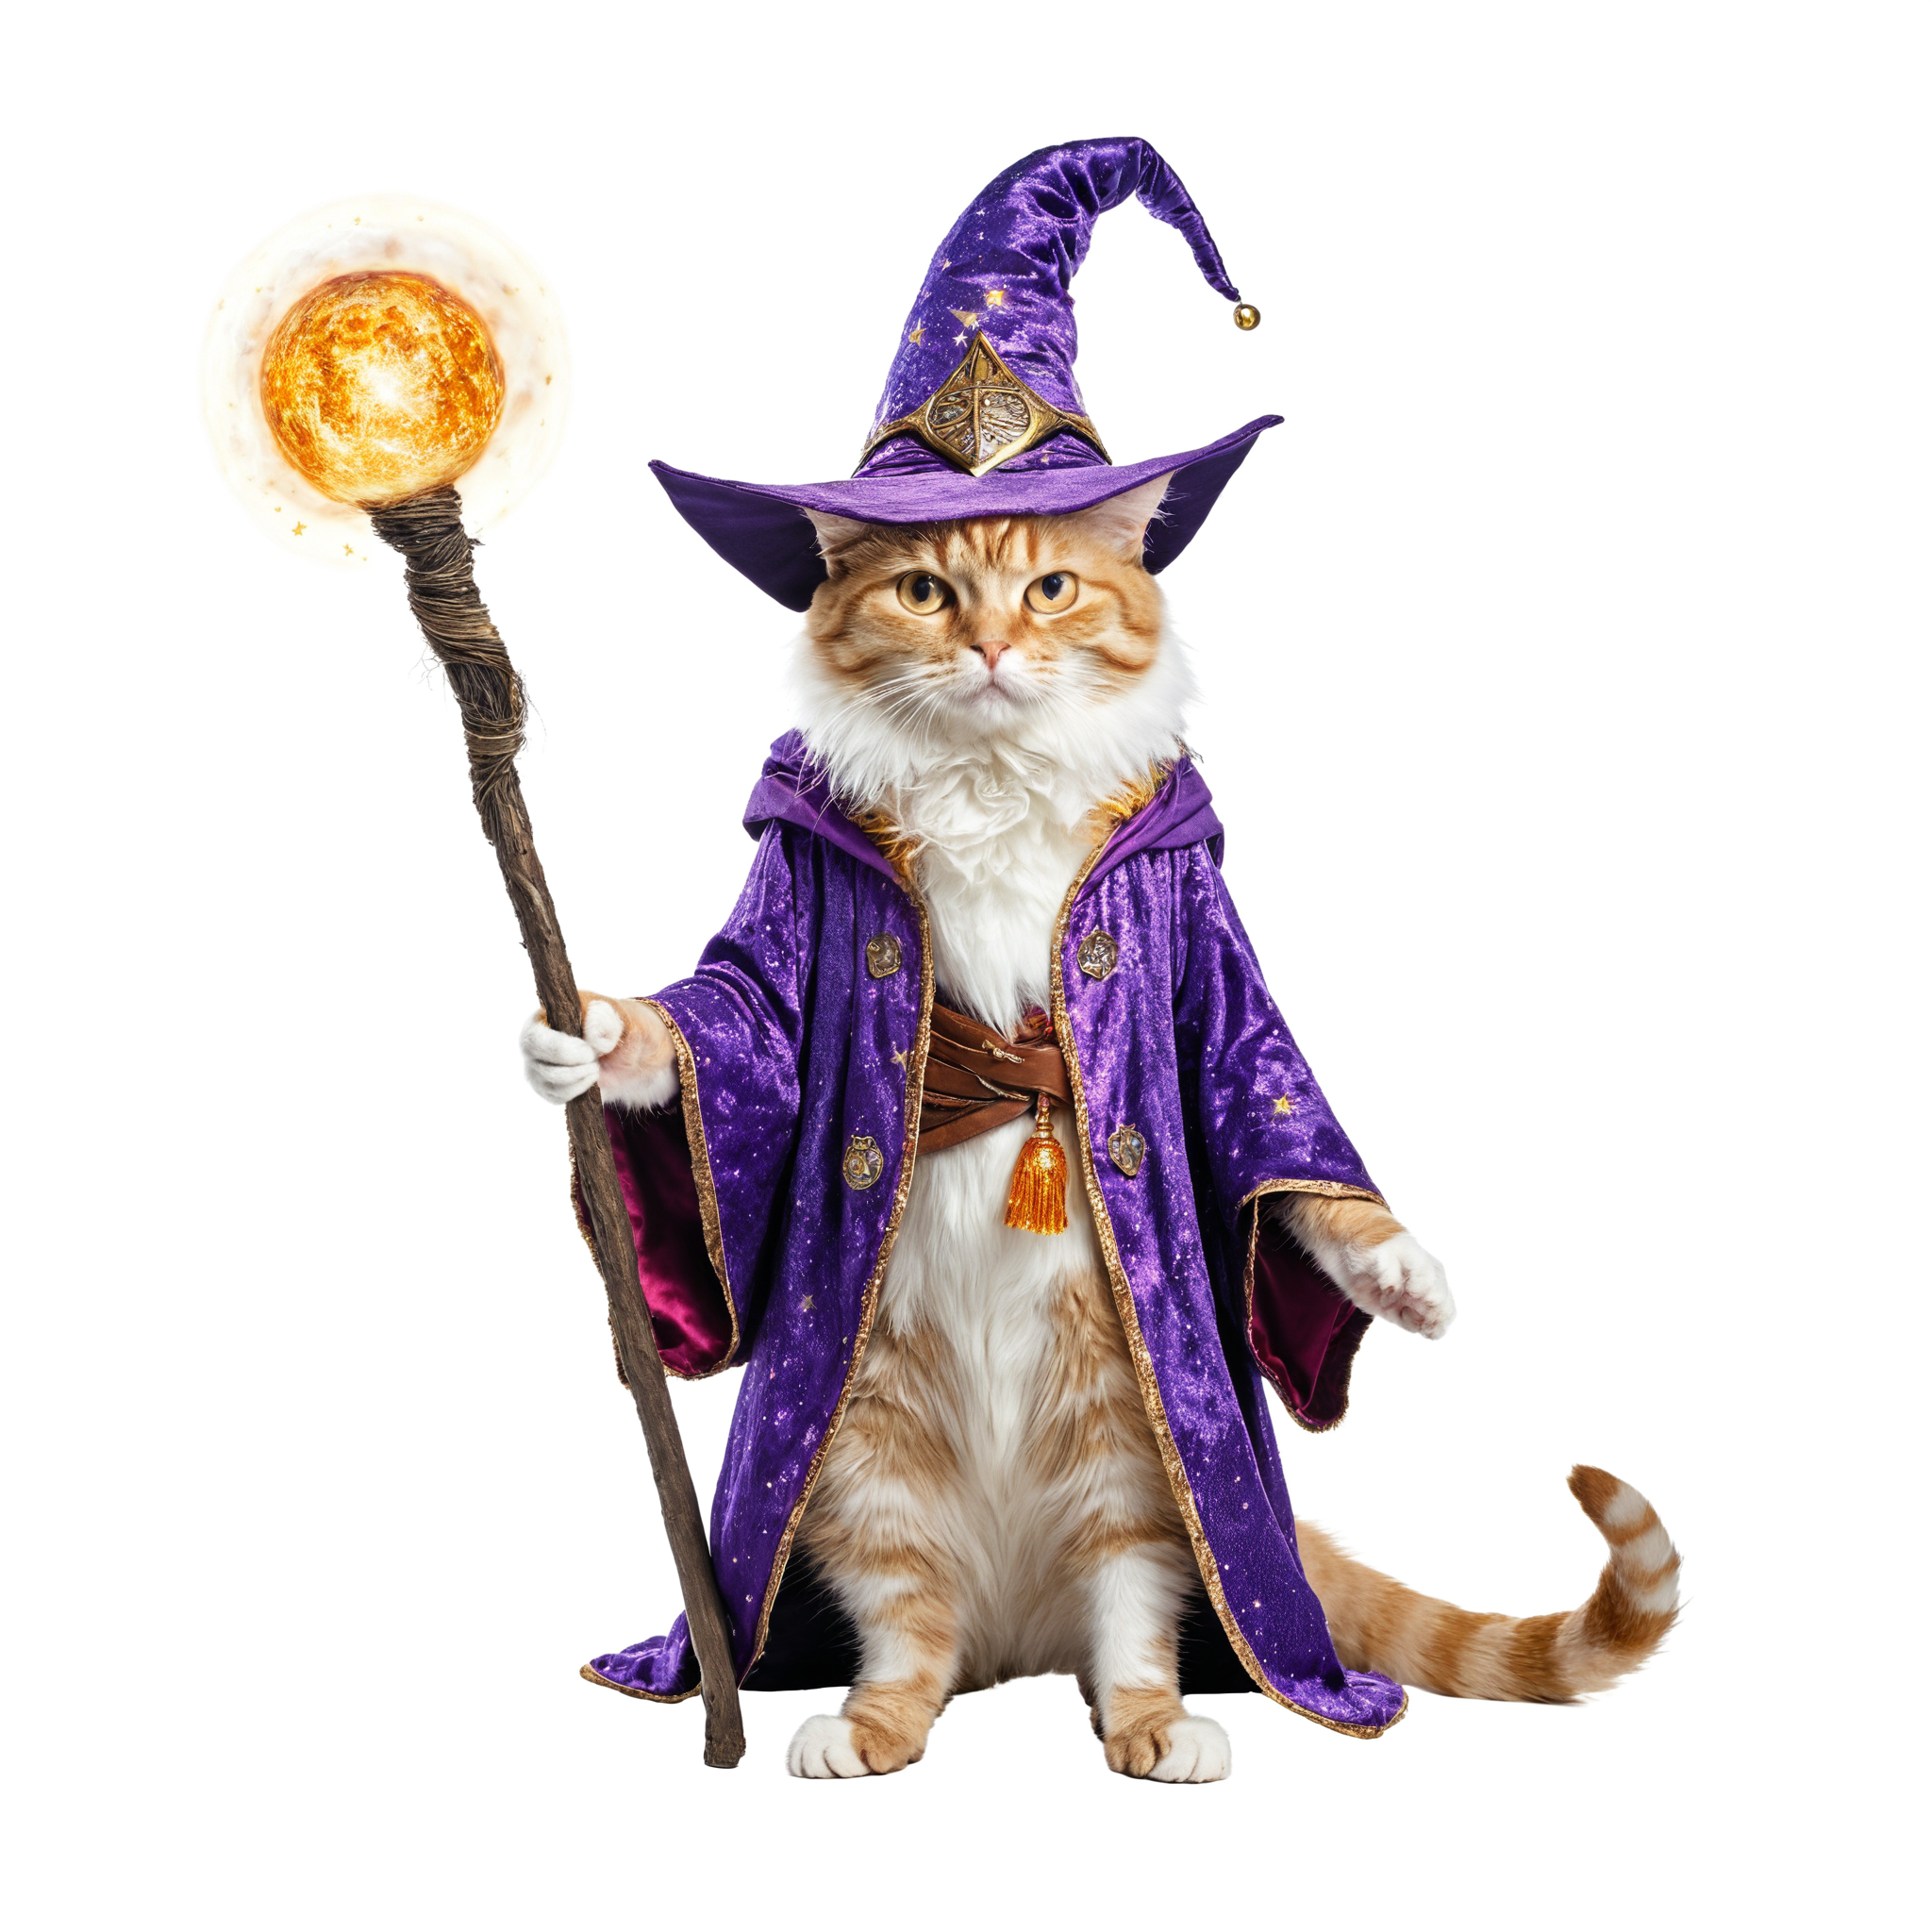
mnt/private/PBREM. - Upload your original images into this folder. These images will be processed by PBRemTools to create masks(
mnt/private/PBREM/mask/)and transparent images with their backgrounds removed(mnt/private/PBREM/complete).
Step 5: Utilize PBRemTools Features
PBRemTools offers various tools for image refinement. Here’s a basic workflow:
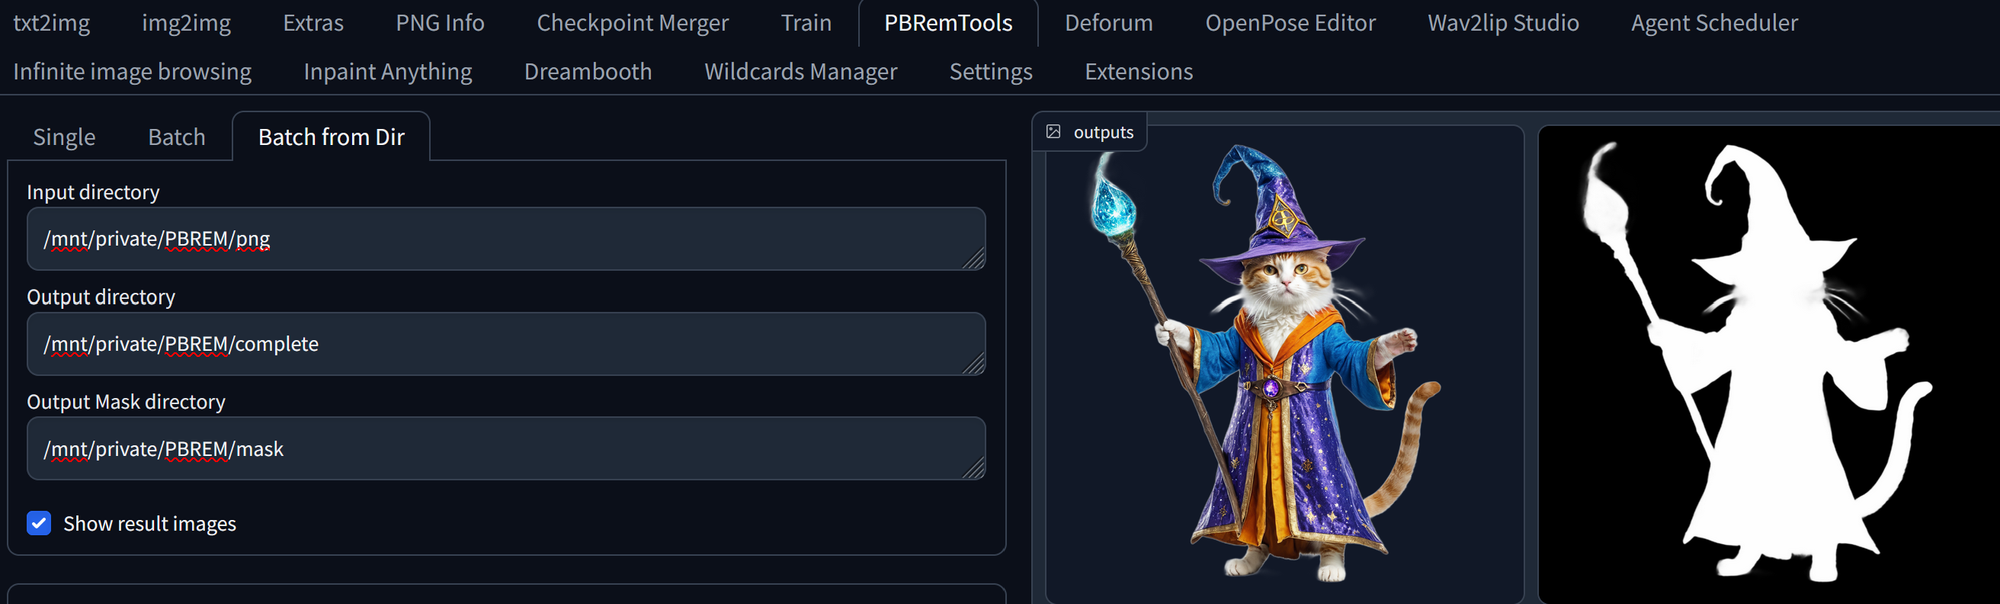
- Select the 'Batch from Dir' option within PBRemTools.
- Specify the directories:
- Input directory:
mnt/private/[your_folder]/ - Output directory:
mnt/private/[your_folder]/complete/ - Output Mask directory:
mnt/private/[your_folder]/mask/
- Input directory:
- Run PBRemTools to process the images in batch mode. The tool will create transparent images with the background removed and corresponding masks for each image and place the complete images into the appropriate directories.
Step 6: Review and Use the Processed Images and Masks
Once PBRemTools has processed your images:
- Navigate to the 'Complete' directory to review the images with the background removed.
- Navigate to the 'Mask' directory to review the generated masks.
- Use these processed images and masks in your projects or further refine them using other tools in Automatic1111. Images with the backgrounds removed are great for Photobashing in Krita or Photoshop. Masks are great for inpainting tools such as the Img2Img tab.
Conclusion
PBRemTools significantly enhances the capabilities of Automatic1111 on RunDiffusion, providing advanced tools for image manipulation and refinement. By following the steps outlined in this guide, you can easily access and utilize PBRemTools to produce high-quality, AI-generated images.
For more in-depth tutorials and tips, visit our RunDiffusion Learning resources, such as the Prompt Guide and Basic LoRa Training with Kohya.
Explore the full potential of PBRemTools today and elevate your AI art to new heights with RunDiffusion!
