


If you're using RunDiffusion's Runnit platform, you now have the power to upload your own custom LoRA models opening up creative possibilities for fine-tuned control over character, style, and subject generation. This guide will walk you through how to add and use an existing LoRA on Runnit. If you don't have a LoRa already you can train one with our Lora Trainer.
Why Use Custom LoRA on Runnit?
Whether you're training on stylized portraits, anime characters, niche art styles, or commercial product imagery, LoRAs give you granular control without needing to train full models.
Video Tutorial
Step-by-Step: Uploading a LoRA to Runnit
Step 1: Log In to RunDiffusion
Head to app.rundiffusion.com and log into your account.
Step 2: Navigate to the Runnit Platform Home
Click or go to: https://app.rundiffusion.com/runnit/home
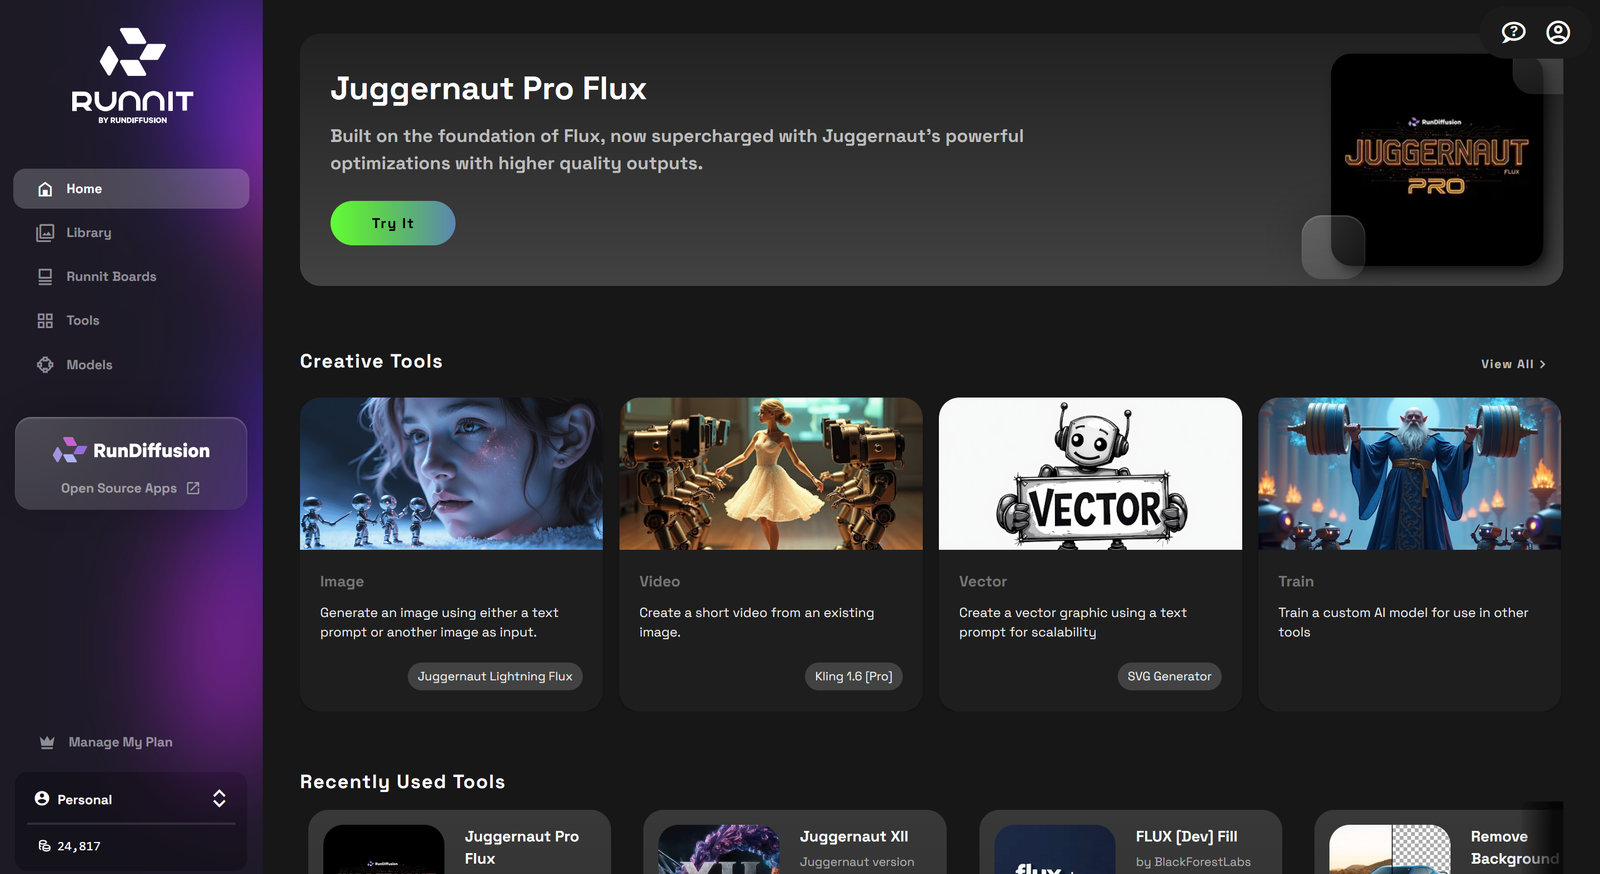
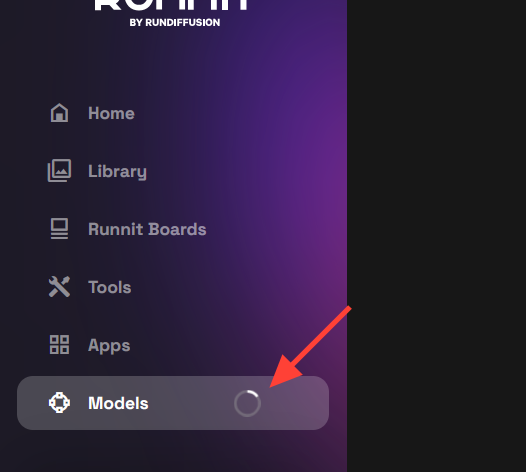
Step 3: Click Models in the Left Sidebar
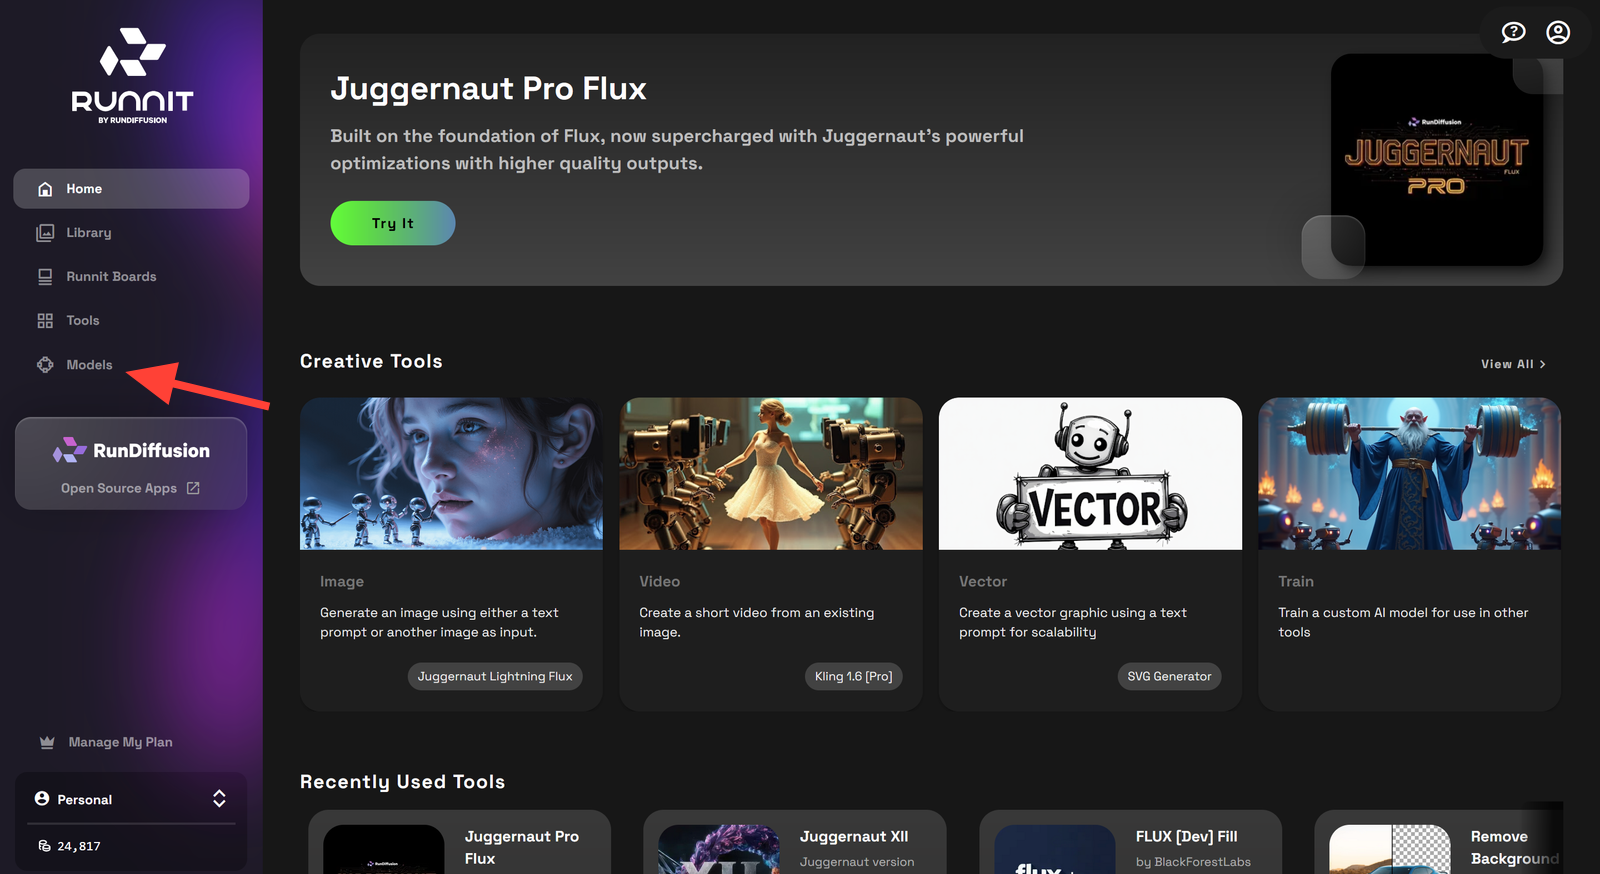
Step 4: Click Train
You’ll see a new section dedicated to training and uploading LoRA models.
Step 5: Upload Your LoRA
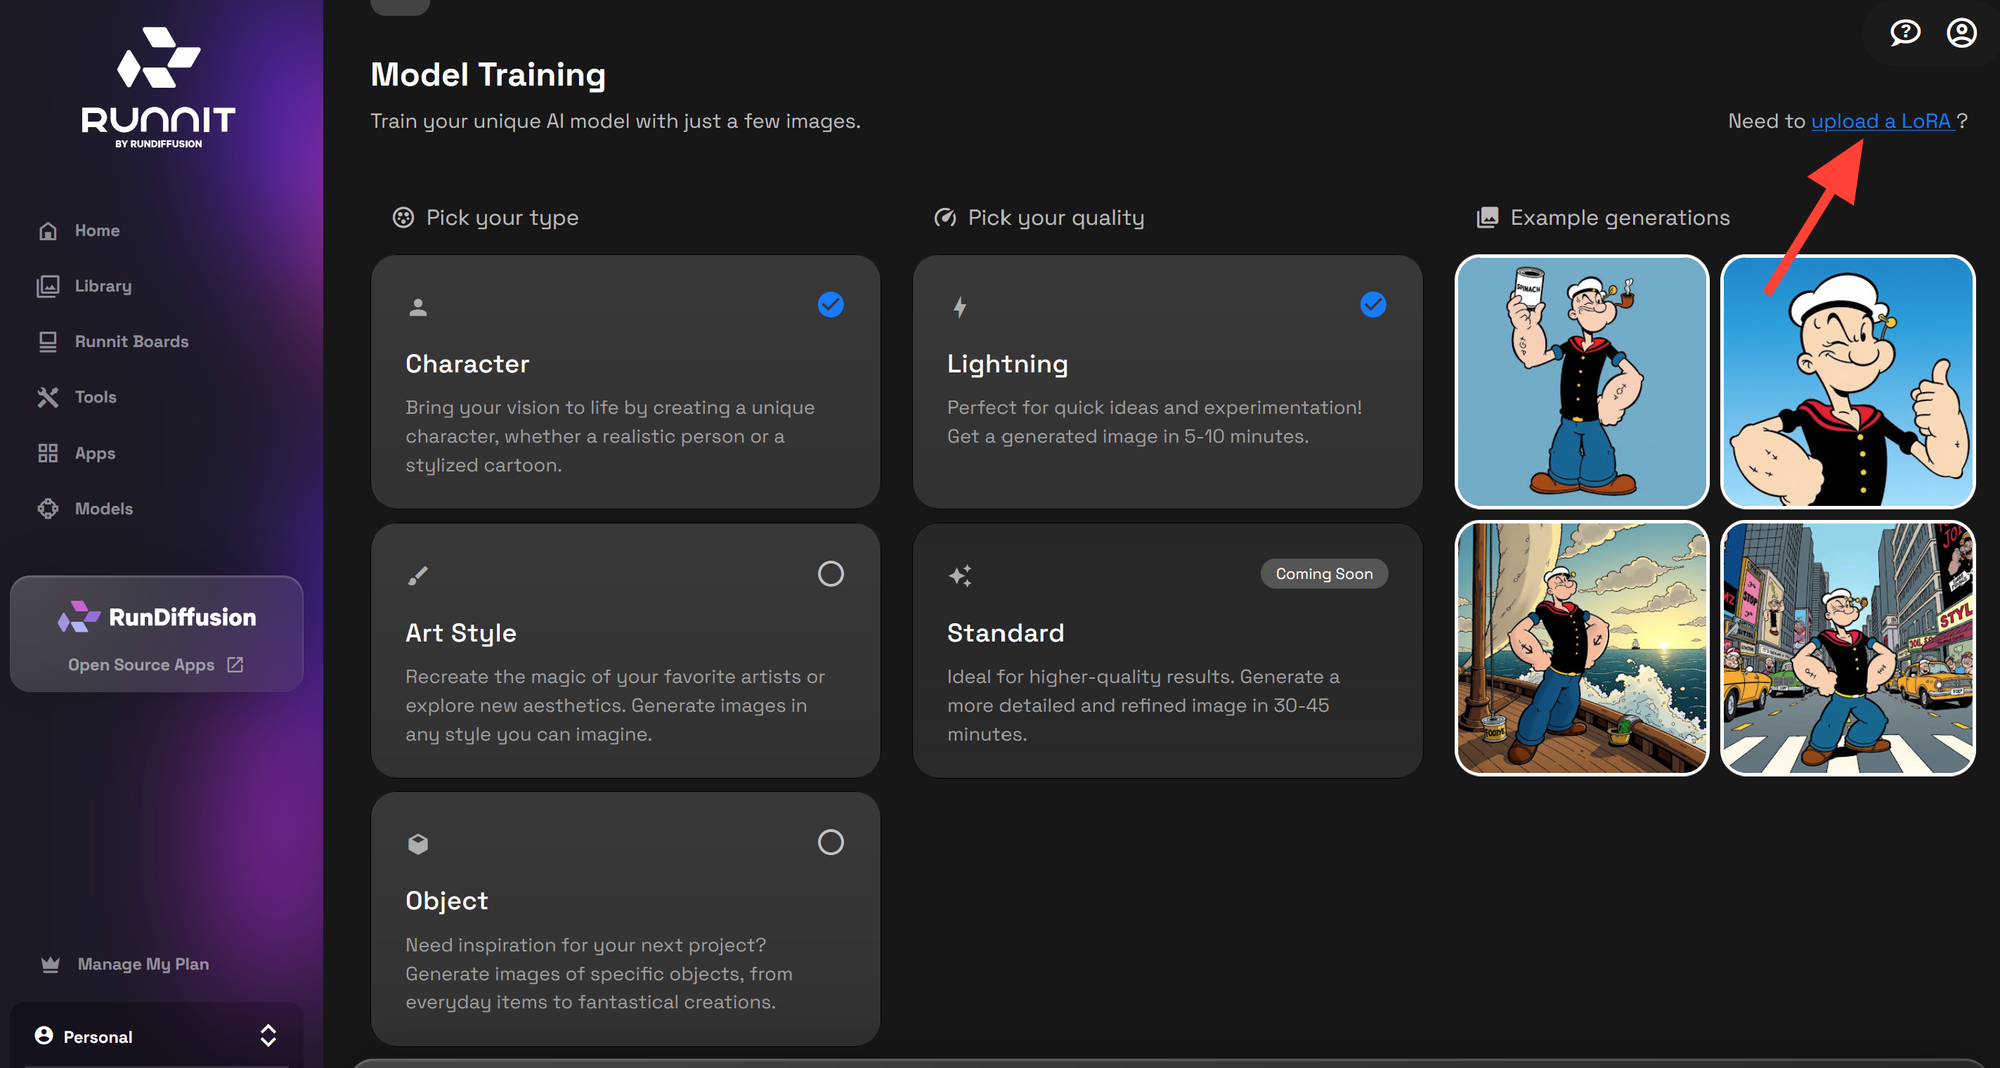
In the top-right corner, click upload a LoRA.
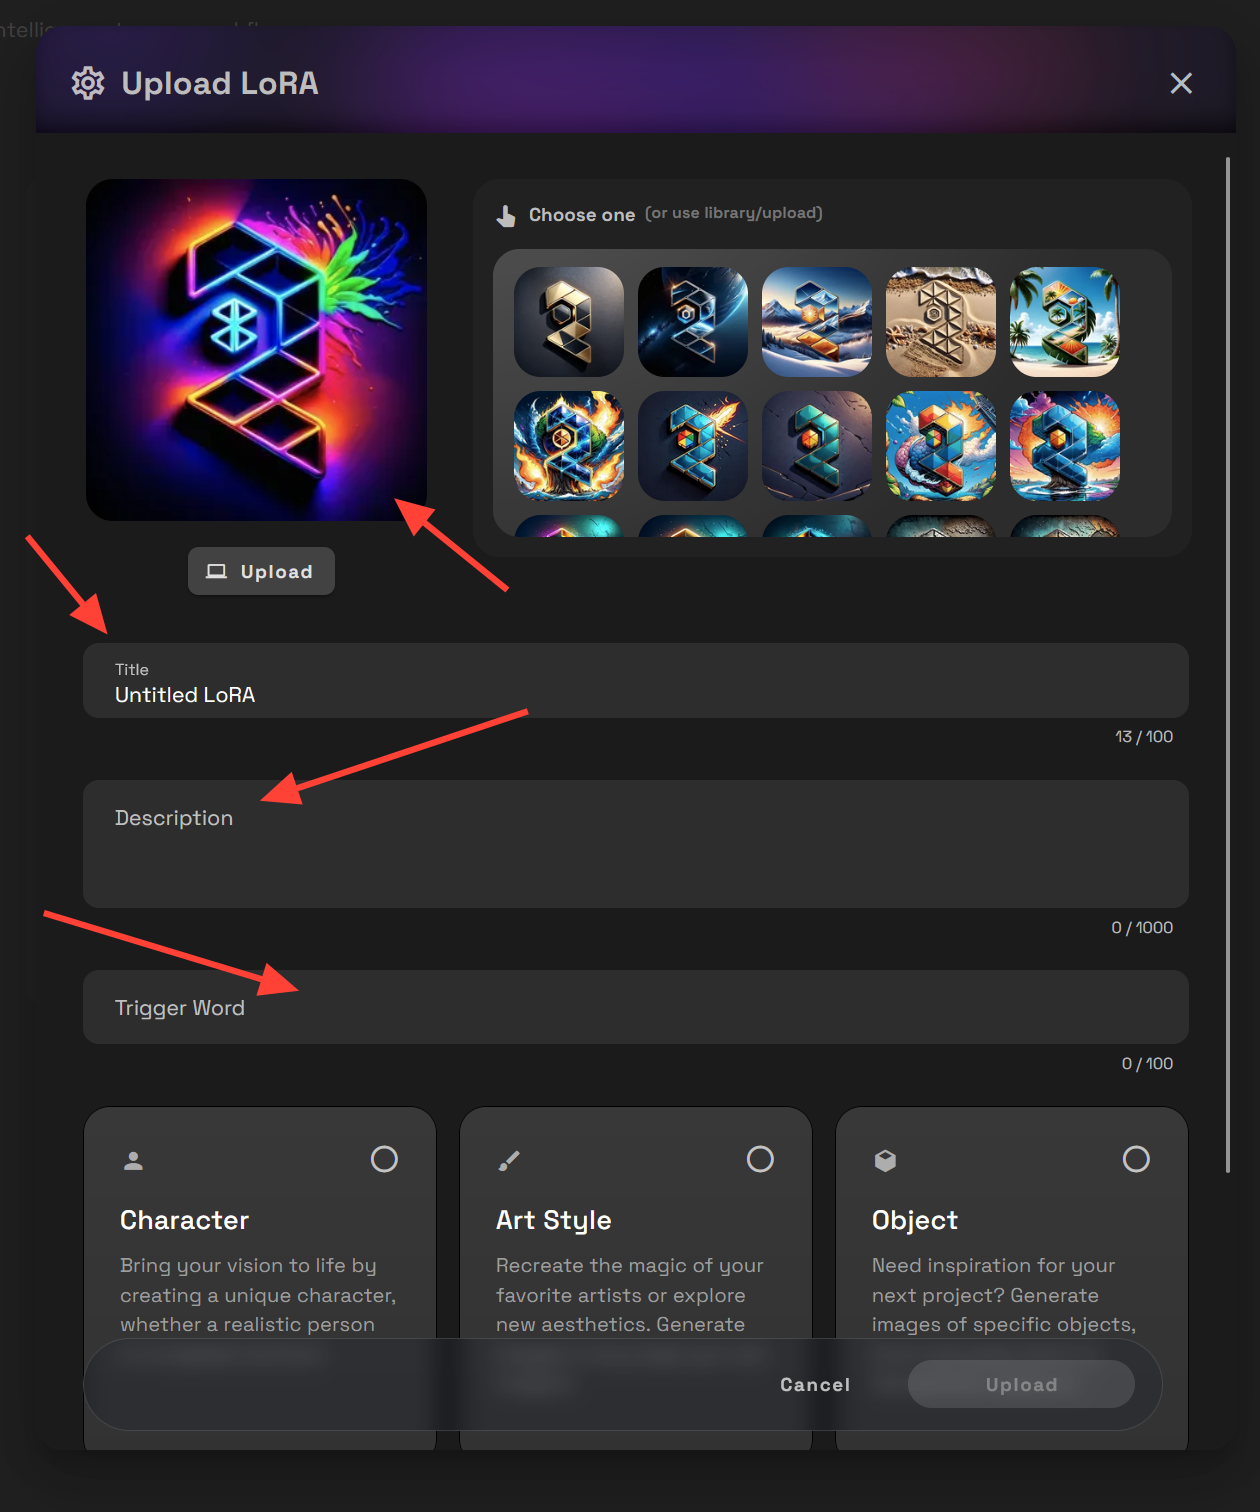
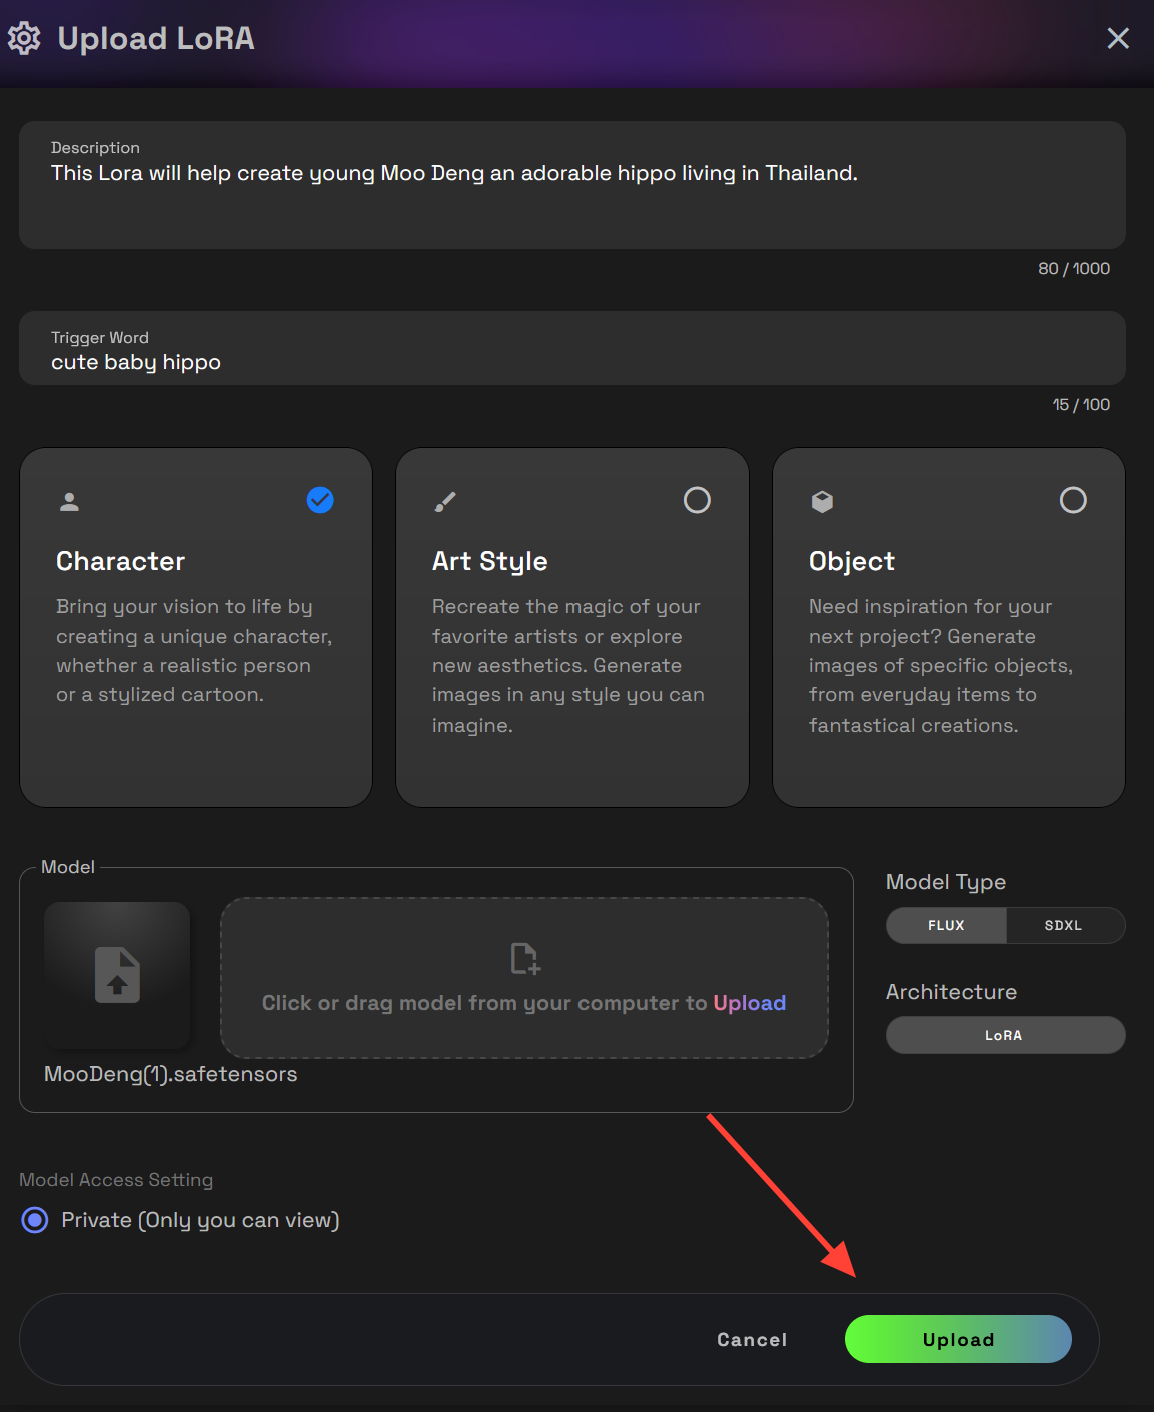
Step 6: Fill Out the Upload Form
Add the following details:
- Upload or Choose a Picture
- Title – The name of your LoRA.
- Description – A short summary of your LoRa this is helpful if you are on a team with multiple users.
- Trigger Word – The activation word that prompts the LoRA in your generation. This will help you remember the trigger word in the future if you forget.
Step 7: Set the LoRA Type & Upload
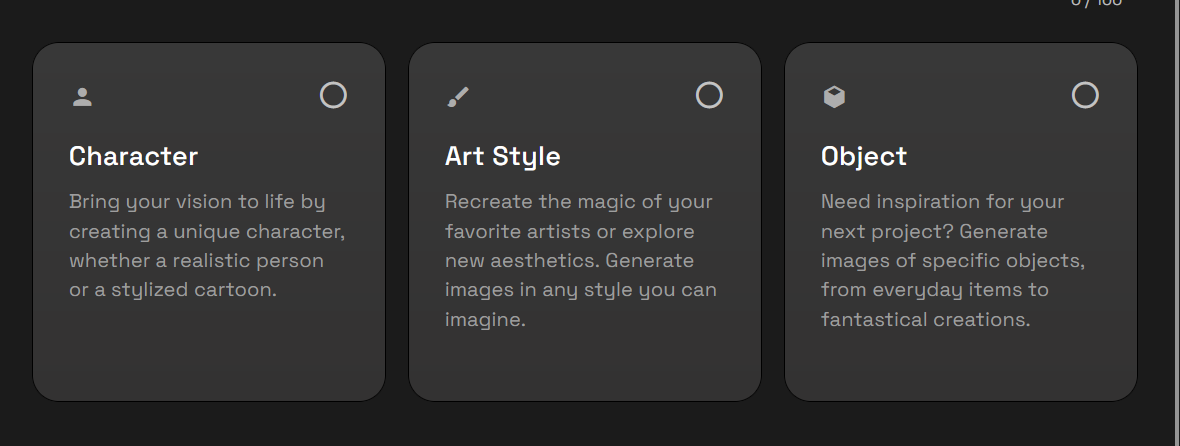
Choose one: Character, Art Style or Subject.
- Character: Bring your vision to life by creating a unique character, whether a realistic person or a stylized cartoon.
- Art Style: Recreate the magic of your favorite artists or explore new aesthetics. Generate images in any style you can imagine.
- Object: Need inspiration for your next project? Generate images of specific objects, from everyday items to fantastical creations.
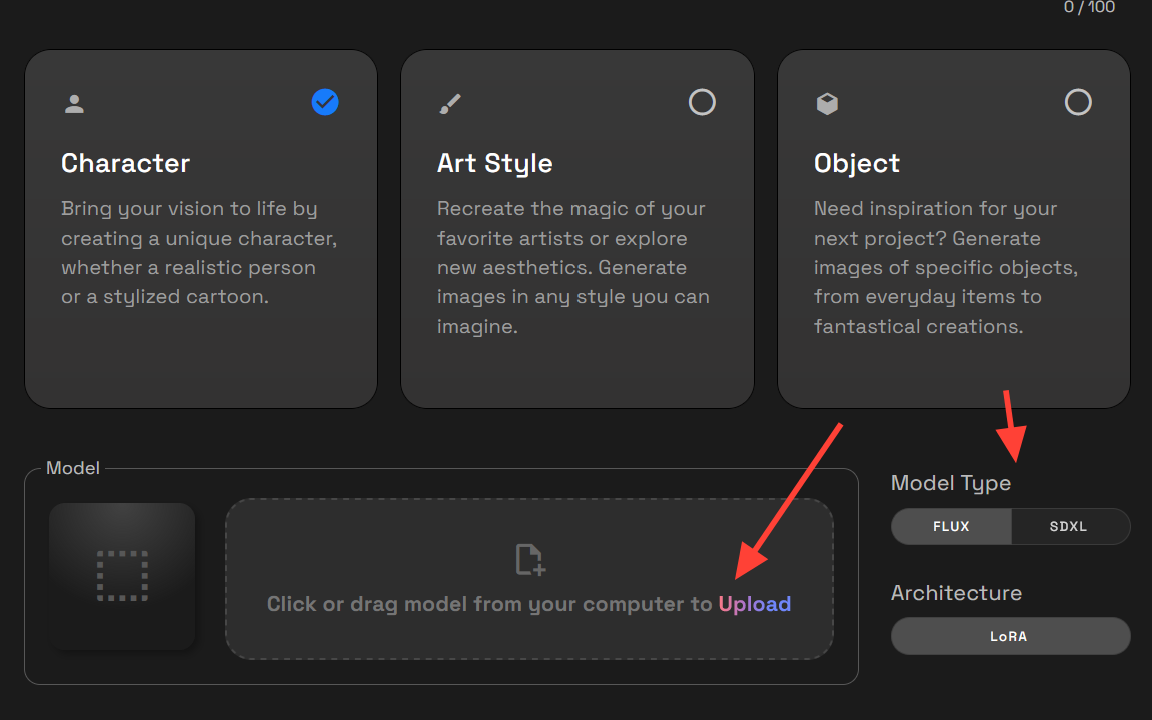
Step 9: Upload your Lora and Select Model Type
Drag and drop your Lora or click upload and select it from your hard drive. Then select Model type Flux or SDXL
Step 9: Click Upload to Confirm
Now click Upload in the bottom right.
You will see a notification that will let you know the Lora is uploading.
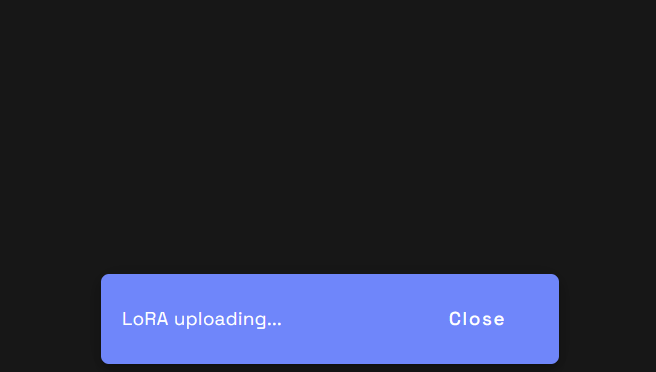
You can see the progress of your model uploading on the left.
Step-by-Step: Using your LoRA on Runnit
Step 1: Locate Your LoRA
Once uploaded, your LoRA appears under Models. Click the image of your new LoRA.

Step 2: Choose an Option
You’ll see two options:
- Use this model – Auto-loads it into the appropriate engine
- Flux → Juggernaut Base / Dev
- SDXL → SDXL Bolt

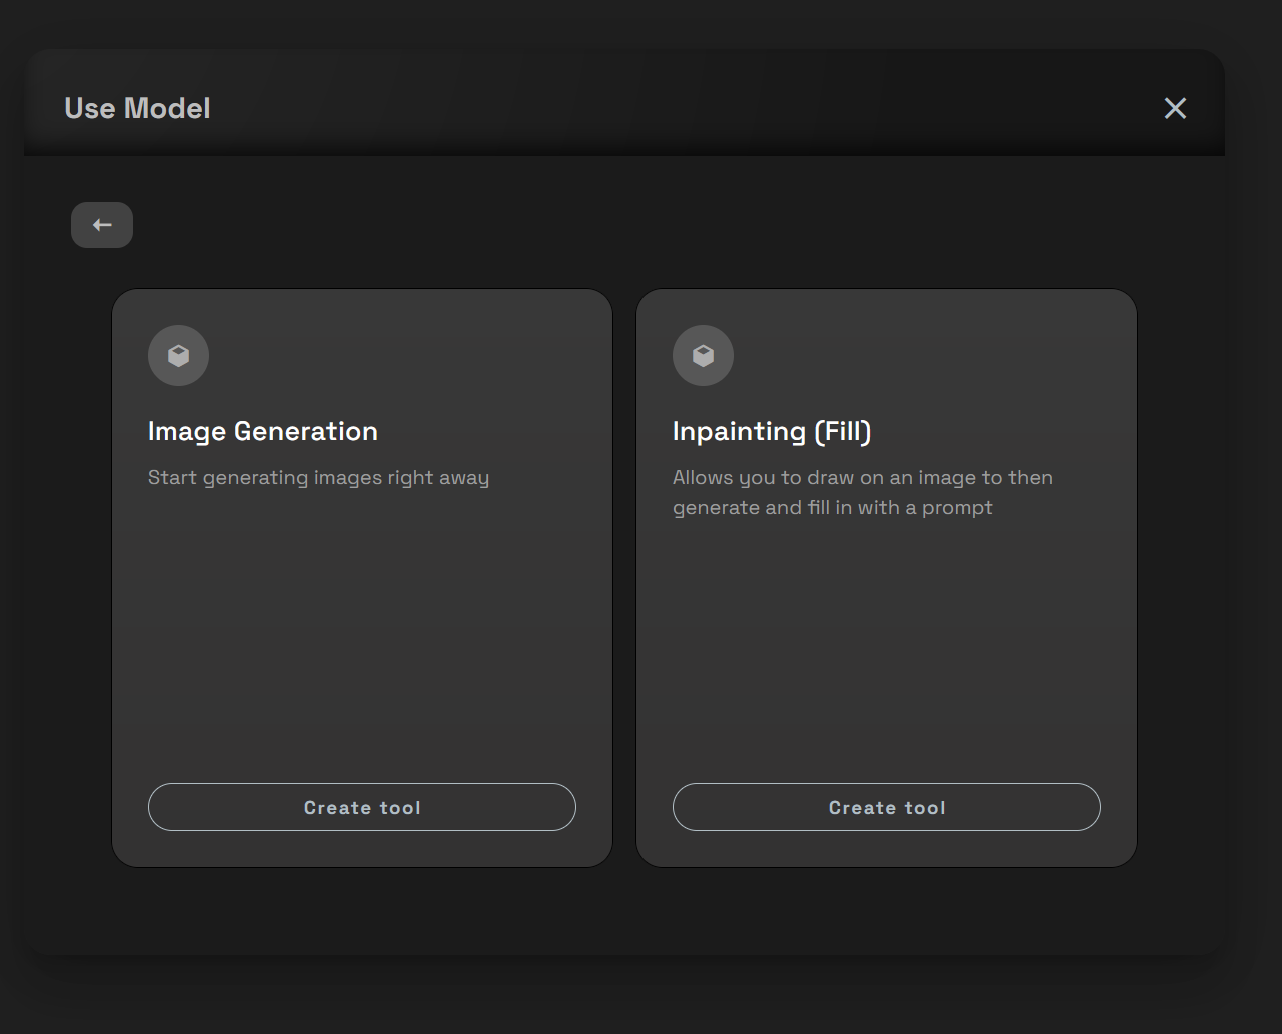
Step 3: Pick a Mode
- Image Generation – For standard prompt-to-image
- Inpainting (Fill) – For editing or filling sections of an image
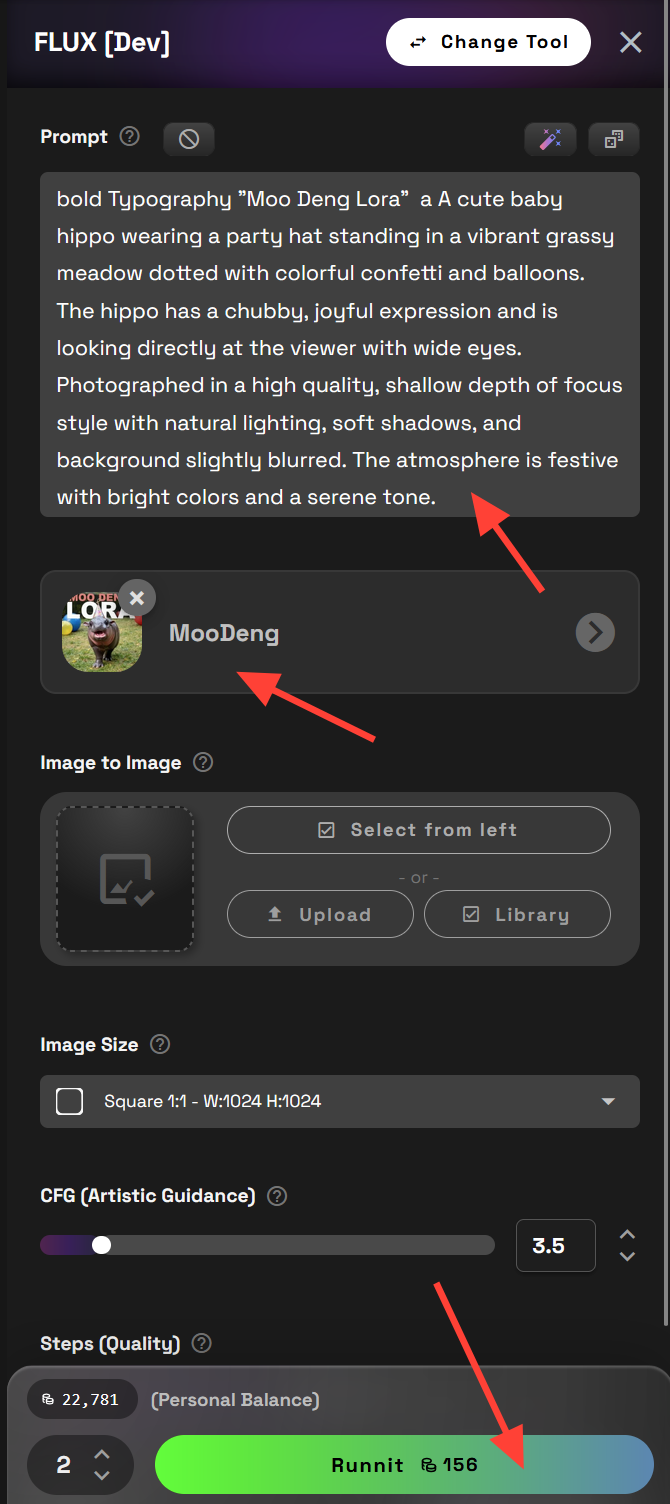
Step 4: Prompt & Generate
- For a Flux Lora, it’ll auto-load the Flux [Dev] model
- Your LoRA will appear below the prompt area, already active
- Write your prompt and click Runnit to generate images
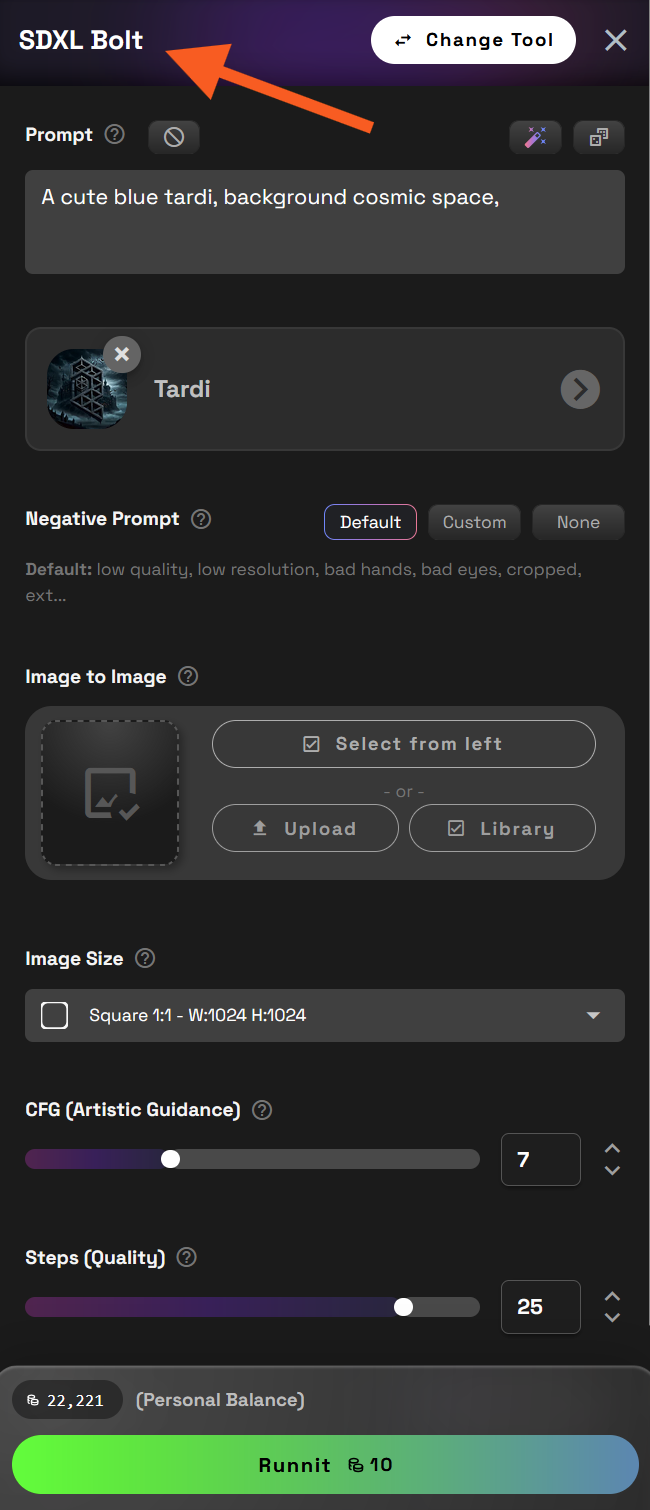
SDXL Lora will give a similar layout but use SDXL BOLT instead of Flux [DEV].
✅ Pro Tips for Better Results
- Use your Trigger Word clearly in your prompt
- Test short prompts first — see how strongly the LoRA influences output before adding complexity.
- Rename LoRAs clearly — use the Description field so teams can easily identify which LoRA does what.
