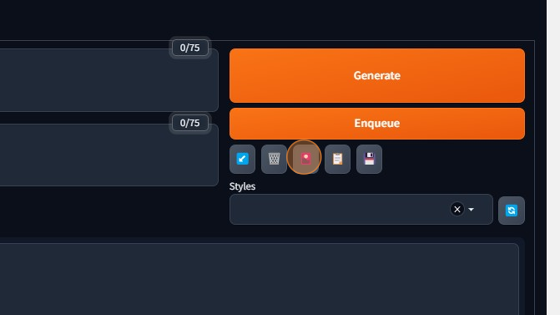
To use the preinstalled LoRA models we start on the righthand side of txt2img or img2img under the generate button. There will be a red button called "show extra networks"
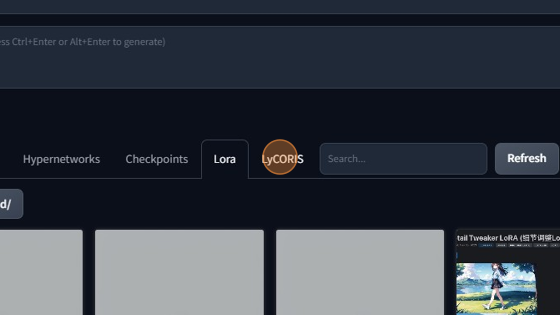
This will bring up a menu that has the following networks.
- Textual inversions
- Hypernetworks
- Checkpoints
- LoRA
- LyCORIS
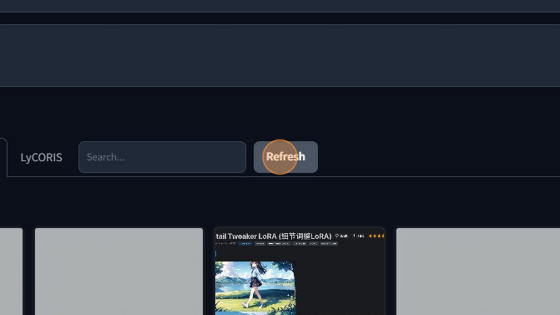
We will select "LoRA" and here you will see all preinstalled loras for non Creative club members, along with Creative club members. However, further down, we'll show you how Creative club members can import any custom Lora they choose.
Once you have found the lora of your choosing, simply click on it to enter it into your prompt.Done!

Creators club members only: To import your own custom LoRA models, we must first head into our file browser at the top right of the webui.
Then click on Auto1111
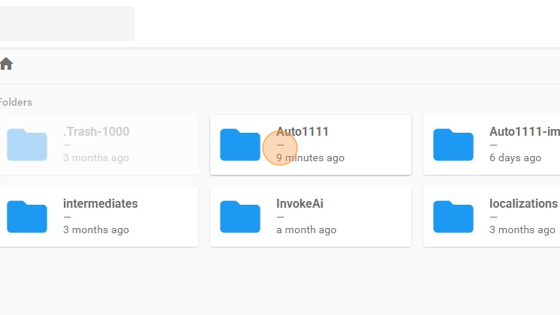
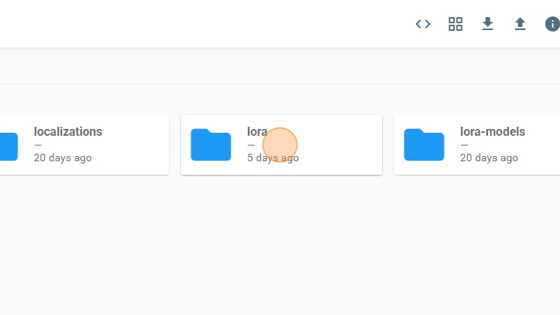
Then choose "LoRA"
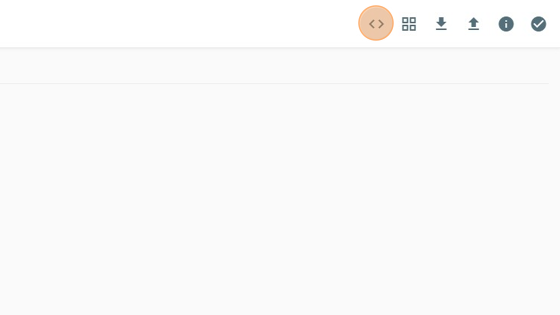
Then open the terminal with the < > button at the top right.
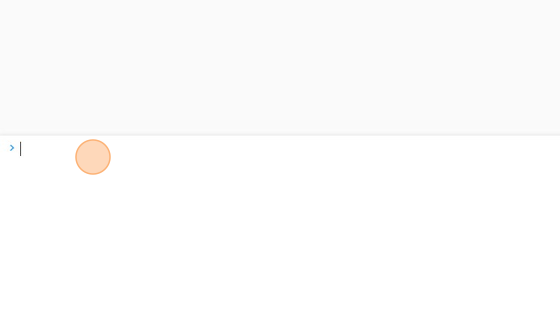
Once inside the terminal type "aria2c" then paste your download link. On sites like Civitai this can be found by right clicking the blue "download now" button and copying the download link from the window that pops up.
the terminal should look like the following:
aria2c https://civitai.com/api/download/models/88158
Once imported, always remember to click "refresh" on the extra networks tab to grab any new imported models to your session.