There are times when you will need to compare models. You may need to determine which one is the best for a prompt you are working on for a project. It may also be beneficial when you begin training and merging models. With that in mind let me show you real quick way in Automatic 1111 to compare 2 models.
Step 1: Start up Automatic1111
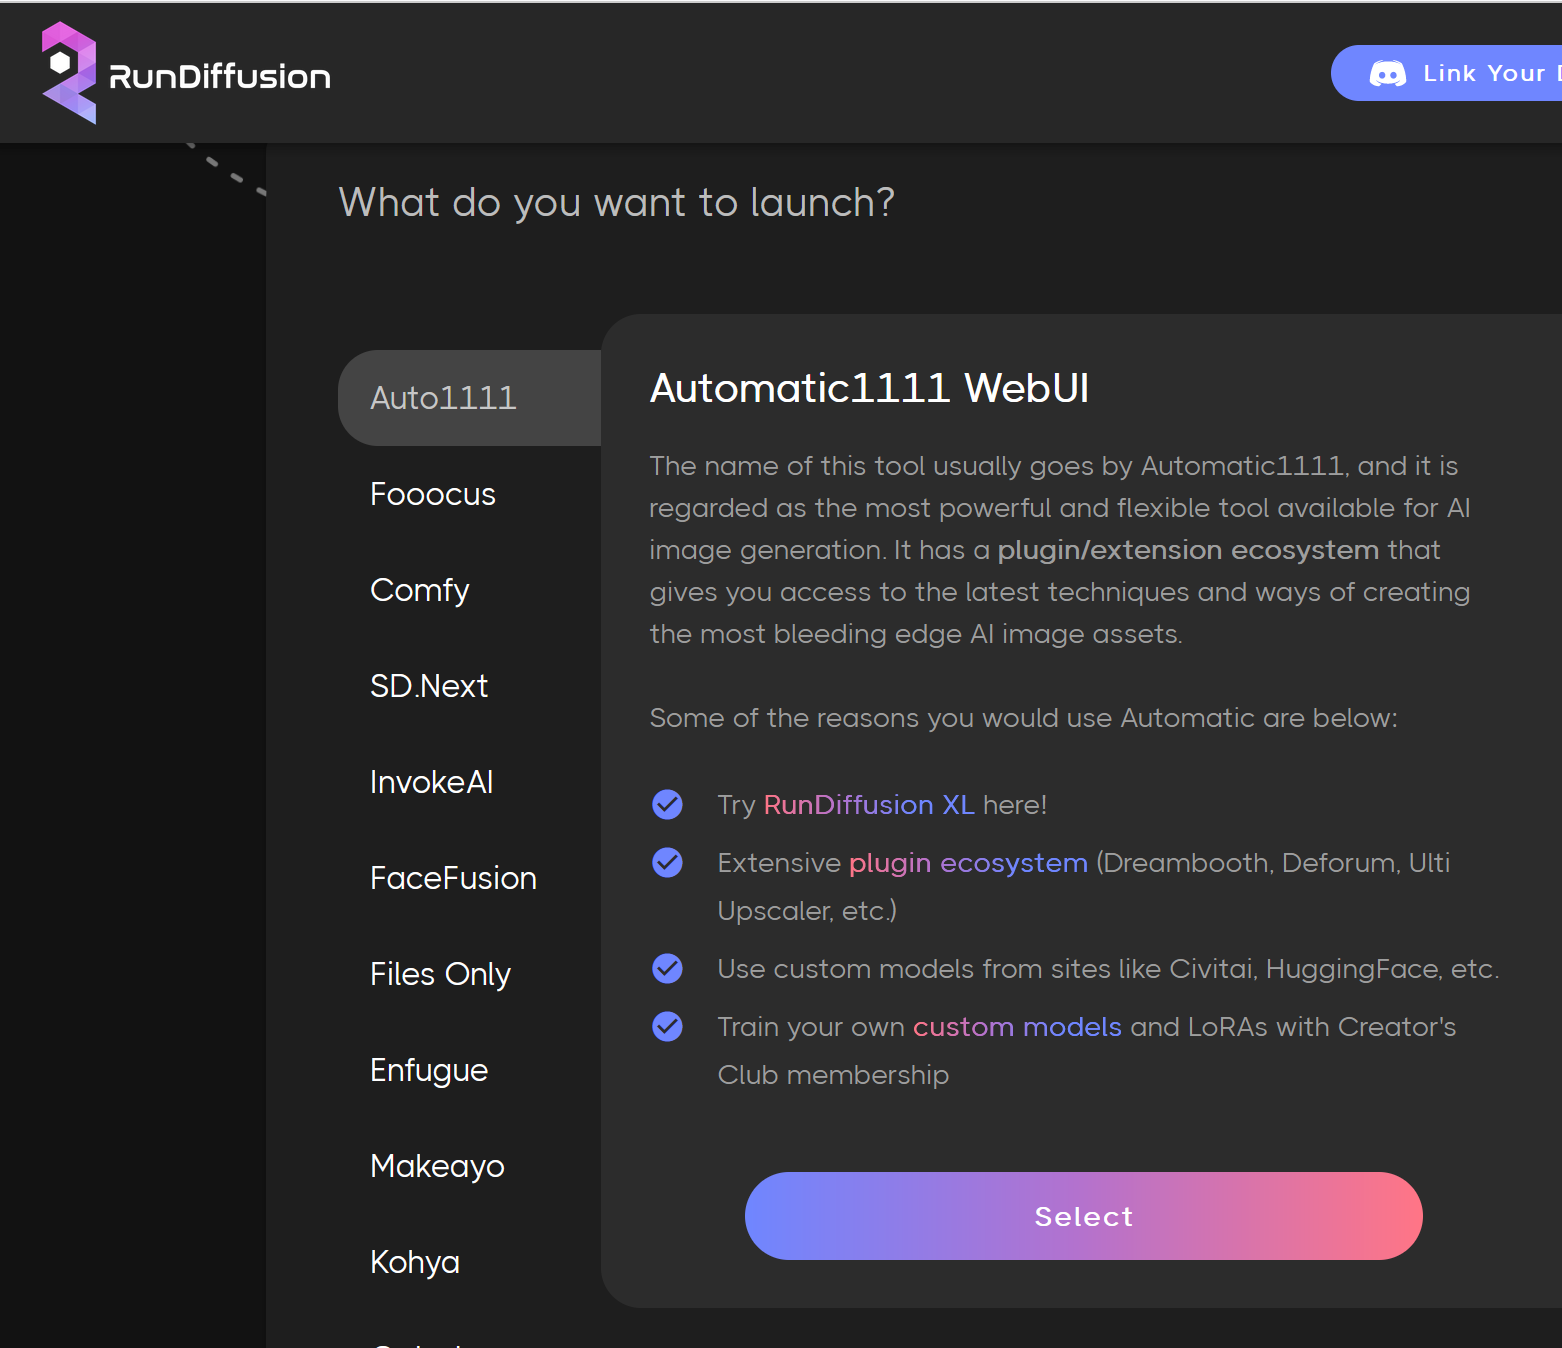
Select Auto1111 and hit select.

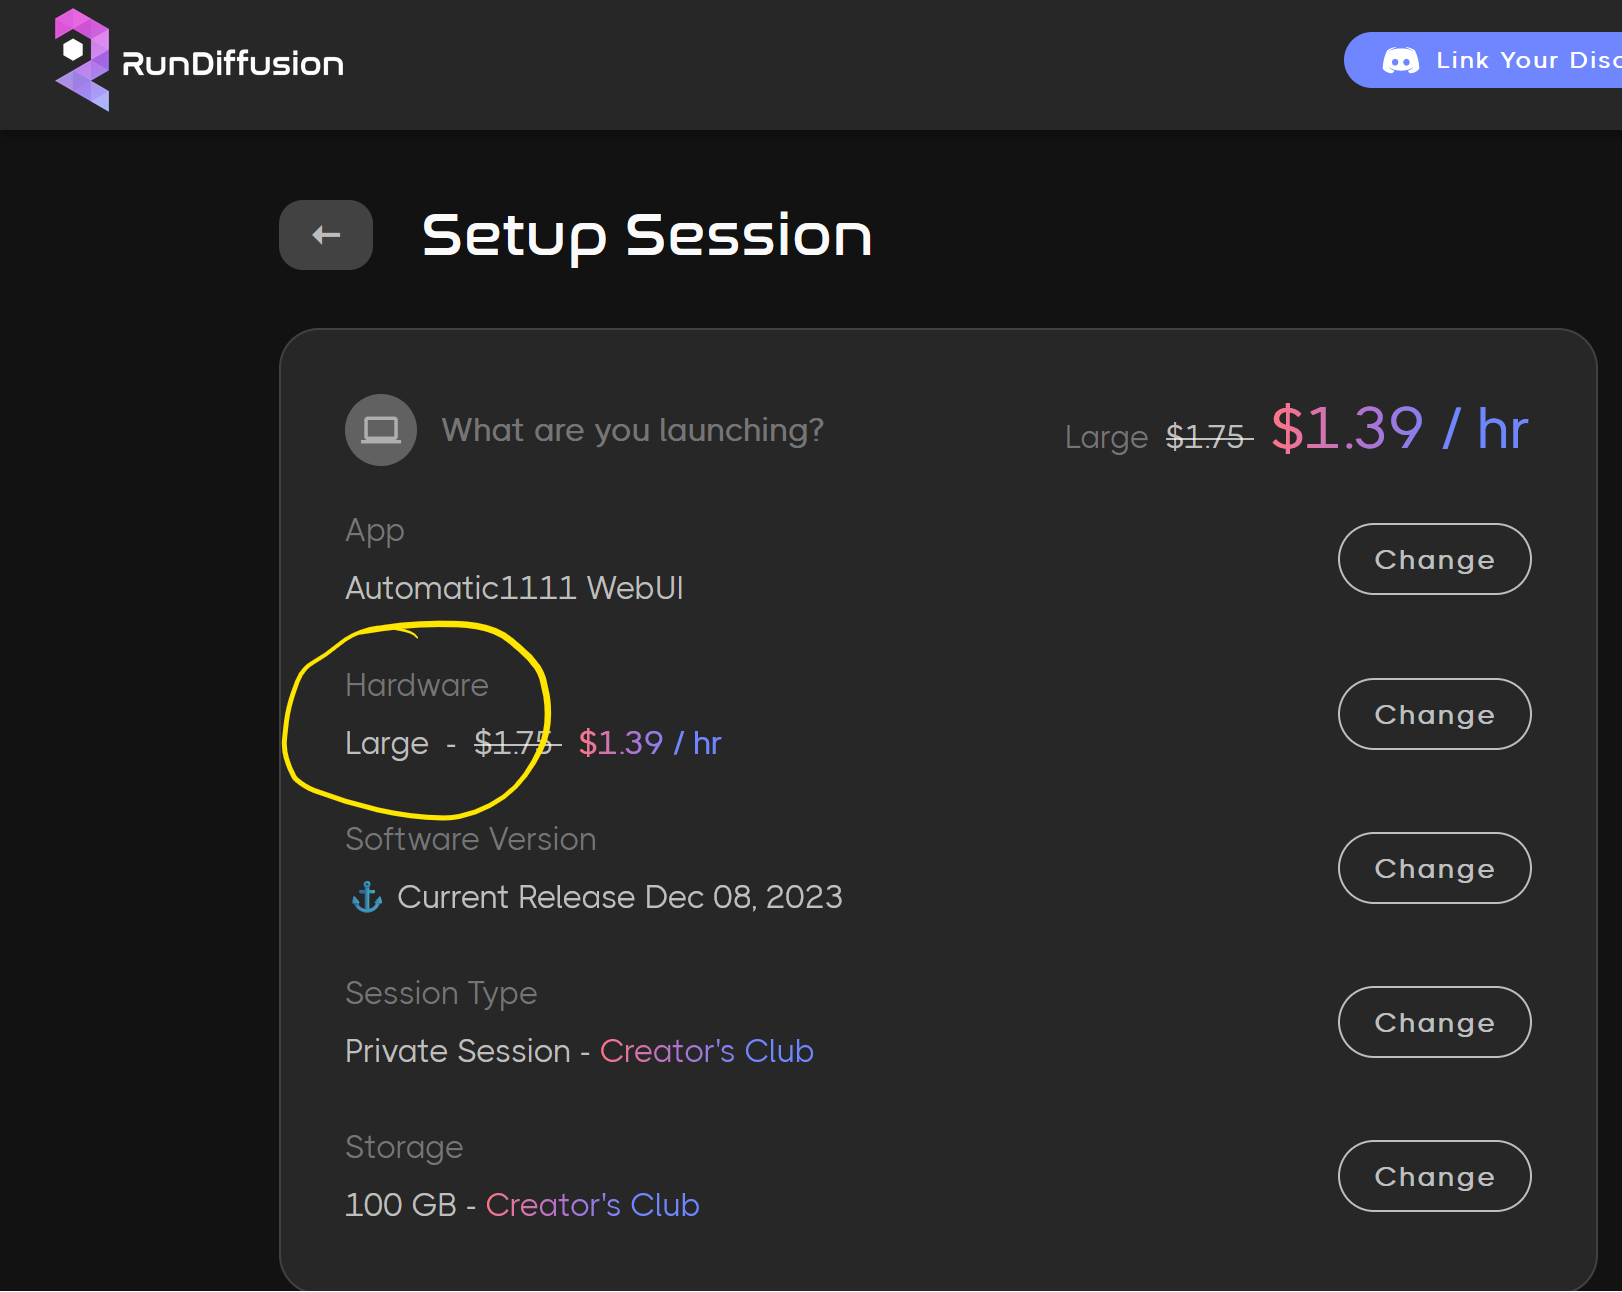
Then on the next page make sure you are on a Medium or Large box. I tested it on both. Medium works but large is faster.

Step 2: Change the Settings
Let’s let Automatic1111 have more than 1 checkpoint (model) available at a time this will save on load and image generation time. Click on the Settings tab first. Then on the left hand side click on stable diffusion. Then you’ll want to change where it says 1 to 2 for “Maximum number of checkpoints loaded as the same time.
Don't forget to click on Apply Settings.

Step 4: Set Up our XYZ Plots
Click on the txt2img tab next.
Scroll down to Script. Click the dropdown error and select X/YZ Plot
With XYZ plot selected it will give you access to a few more fields. In the X type field select checkpoint name. Our X Values we will select two of the models we want to compare. Then uncheck draw legend because it can sometimes throw errors. Since we have two models we know that the model we select first will generate first and be on the left hand side and the second model will be on the right hand side.
Now compare the two models. I am trying to generate a cute mouse eating a blueberry while wearing a Santa hat with snow next to a window. You can see which model followed my prompt so I know that of these two models for this type of image I shouldn't use the base model.


