Below is a guide for loading in custom models from sites like Civitai, huggingface and Google drive, aswell as importing dirrectly to your storage from the Civitai loader.
Civitai Loader:
Once a server has been launched, you will see a blue button on the left-hand side of the screen with the Civitai logo. Clicking this will open up a search menu where you can imput the name of the Model/LoRA you are wanting to download.
Once you search the Model/LoRA, simply click download underneith the selected Model/LoRA and it will download and store in the proper file location, That's it!
The last step in this process is to refresh your browser for the Model/LoRA to show up in the list of Models/LoRA's.*
Custom models can also be downloaded from Civitai or HuggingFace. Note that Pay as you go members without a subscription have only 5GB of storage, so they should stick to LoRAs or smaller pruned checkpoints so they don't go over 5GB. Creators Club gives access to 100GB of storage.
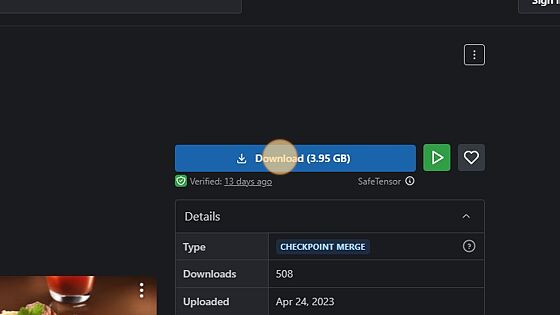
Navigate to your model download, this example is using Crystal-Clear2 from Civitai
Right-click "Download (3.95 GB)" and click " Copy link address"
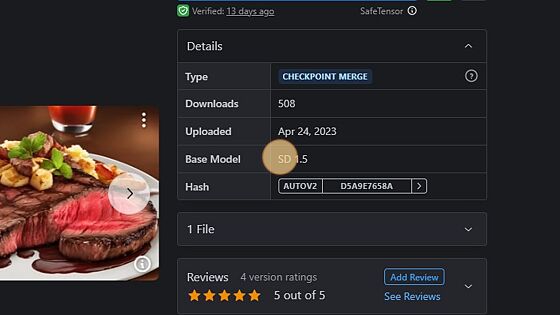
Note the model version, as this is important to which folder it goes into later on.
Switch tabs to your private file browser
Open "Models"
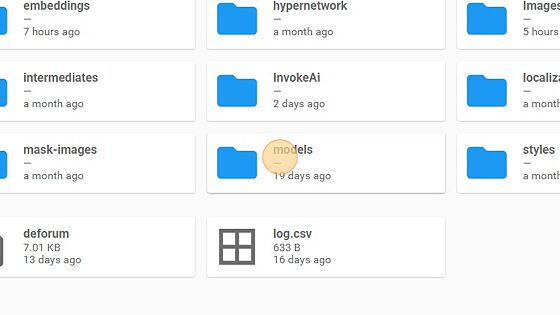
For Stable Diffusion Checkpoint models, use the checkpoints folder. For LoRA use lora folder and so on.
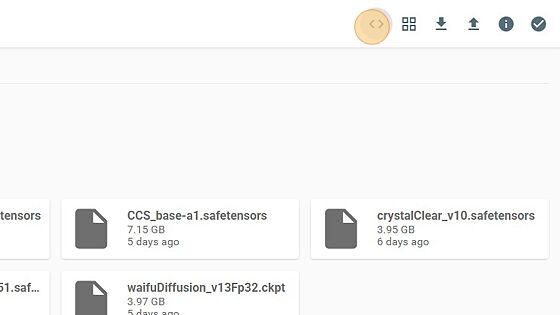
Once in the correct version folder, open up the "terminal" with the " < > " button at the top right corner of the window. Or if you don't see that button choose "Toggle Shell" from the file browser menus.
In the terminal window you will want to type as follows:aria2c https://civitai.com/api/download/models/54461
For faster downloads, you can use multiple connections to download it faster, try 8 connections witharia2c -x8 https://civitai.com/api/download/models/54461
For google drive downloads, obtain the link address and use the code: gdown --fuzzy pastelinkhere
Once this line has been entered, click enter and let download. Once you have seen "Download complete" you can move onto the next step.
You may also upload a ZIP file and use the following command to unzip the file in your desired directory. "Unzip Filename here". You must be in your desired directory before opening the console for this to work.
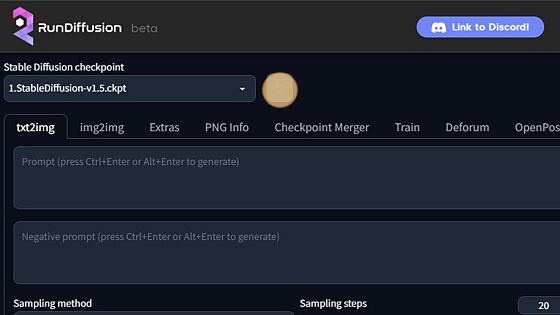
If you are using Auto1111 you will want to click the "end button" beside the checkpoint changer to "refresh" the list after a new download.
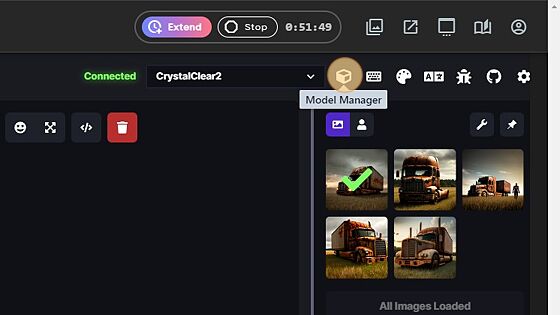
For invokeAi, once you have a server spun up, click on "Model Manager"
Click here.
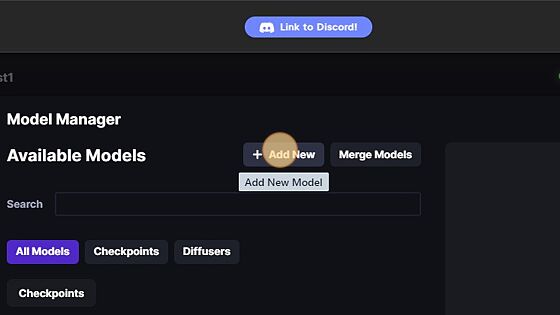
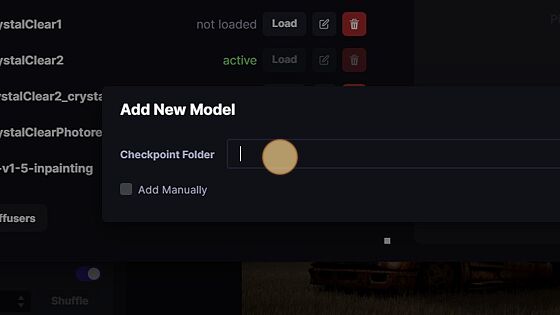
Click "Add New"
Click "Add Checkpoint / Safetensor Model"

In this field, you will want to type: /mnt/private/models
After you have typed the correct address, click "Find models"
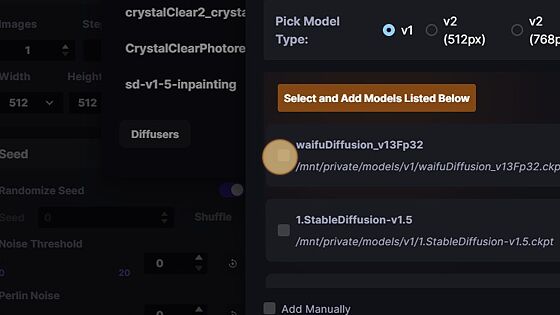
A list will populate with all available models in your models' directory. Once you have "checked off" each model you want loaded in, click "Add Selected" as seen below;

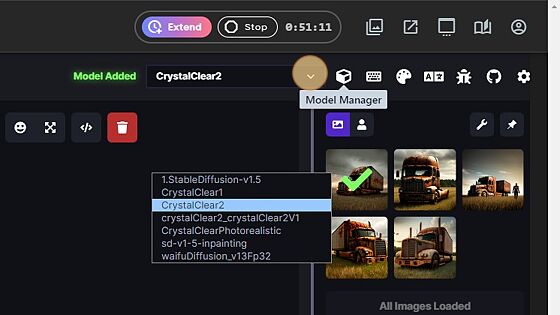
The last step is to go back to the "Model Selector" and choose which newly added model you want to generate with!