


Sketch to Render on RunDiffusion
Sketch to Render is one of the fastest ways to turn an early idea into a polished visual. Instead of starting from a blank prompt, you can upload a rough sketch, line drawing, concept outline, or design reference and use AI to transform it into a more finished render.
On RunDiffusion, this workflow is especially useful for architecture, fashion, and product design. You can keep the structure of your sketch while exploring materials, lighting, camera angles, environments, colors, and presentation styles.
Watch the walkthrough below to see the full Sketch to Render process inside RunDiffusion, from uploading your sketch to selecting a model and generating the final image.
What Is Sketch to Render?
Sketch to Render is an image generation workflow where your uploaded sketch acts as the visual foundation for the final image. The prompt gives the model creative direction, while the sketch helps guide layout, silhouette, proportions, and composition.
You can use it to move from:
- a hand-drawn building concept to an architectural visualization
- a fashion silhouette to a styled editorial concept
- a product doodle to a polished industrial design render
- a floor plan or massing sketch to a more detailed presentation image
- a rough object shape to a realistic product visualization
This makes Sketch to Render useful during early ideation, client presentations, moodboarding, and rapid design exploration.
Why Use RunDiffusion for Sketch to Render?
RunDiffusion’s gives you access to high-quality image models in one streamlined platform. Instead of managing complex setup steps, you can upload your sketch, select a model, choose a resolution, describe the result you want, and run the generation.
This is helpful when you need to quickly test multiple creative directions without slowing down the design process.
For best results, we recommend using one of these models for Sketch to Render:
These models are strong options when you want the uploaded sketch to guide the image while still allowing the prompt to refine style, detail, lighting, and realism.
How to Use Sketch to Render on RunDiffusion
Follow these steps to turn your sketch into a rendered image.
-
Login to your RunDiffusion account.
-
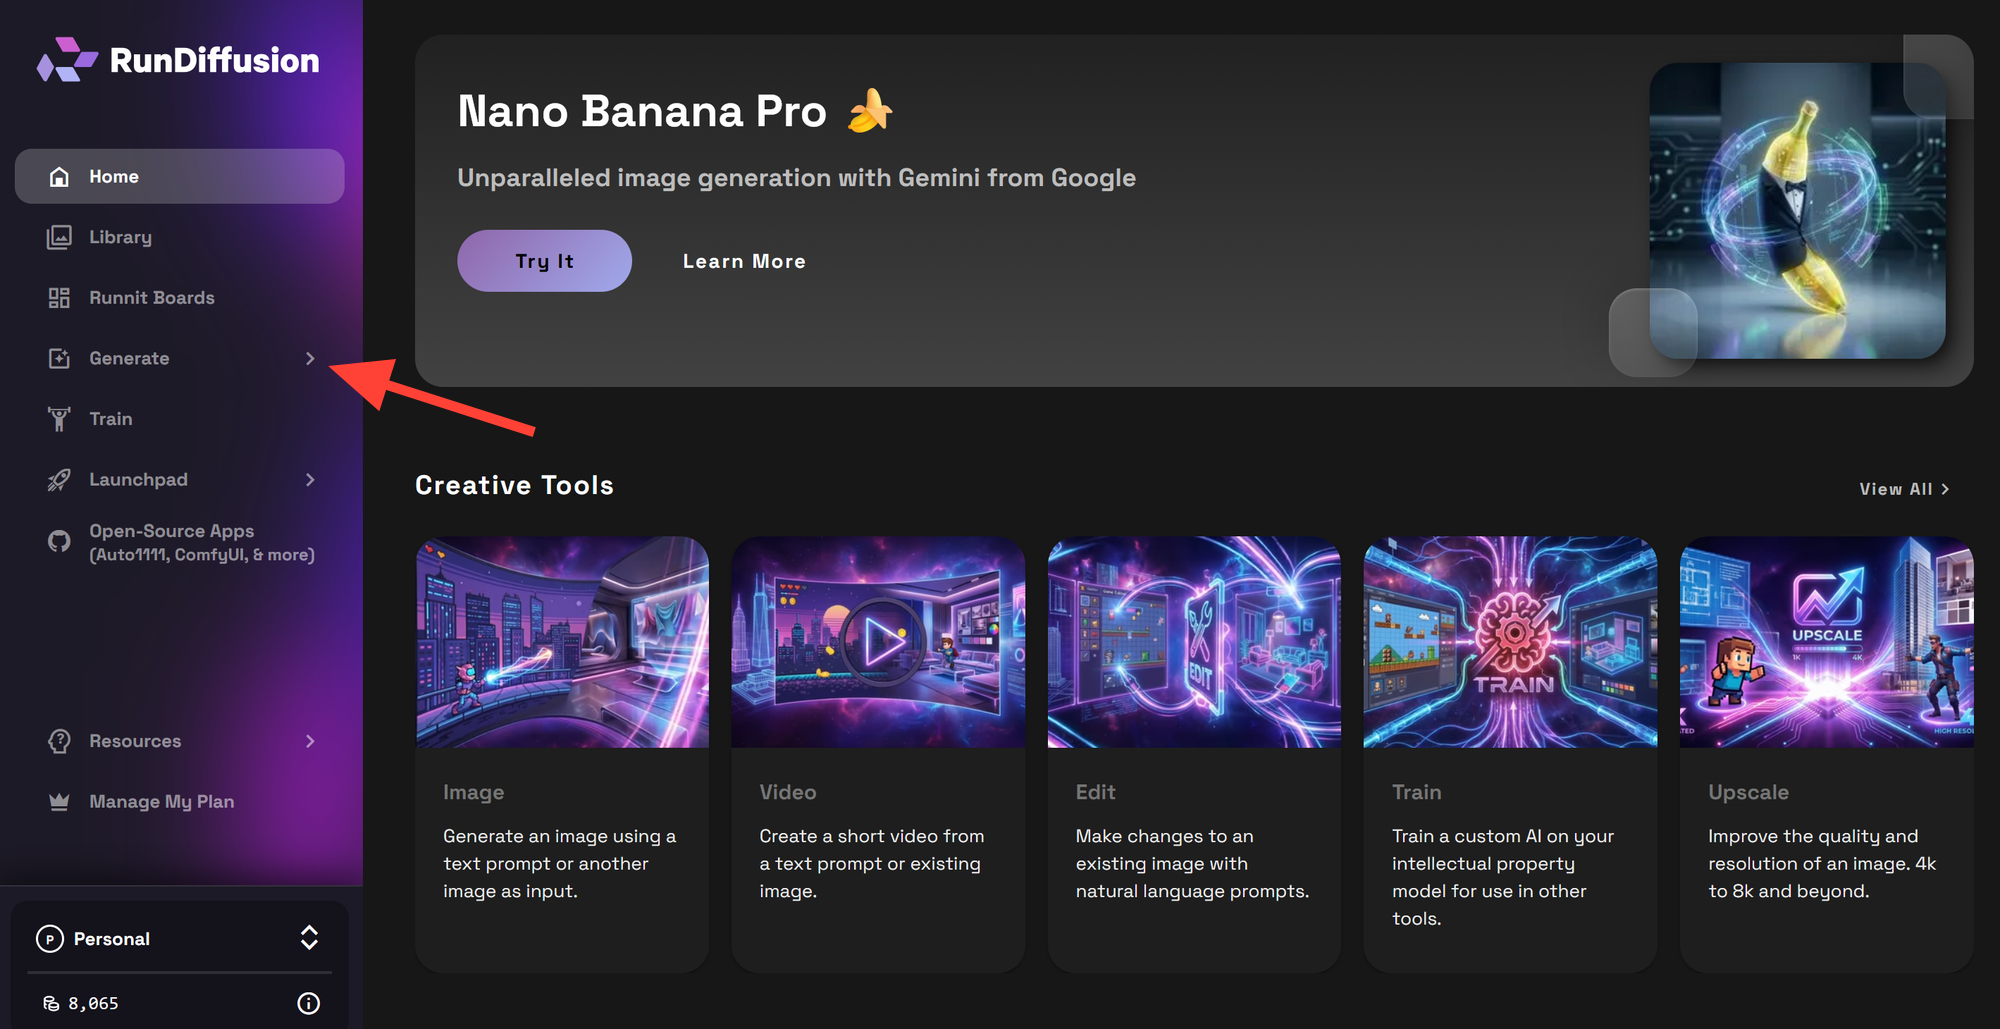
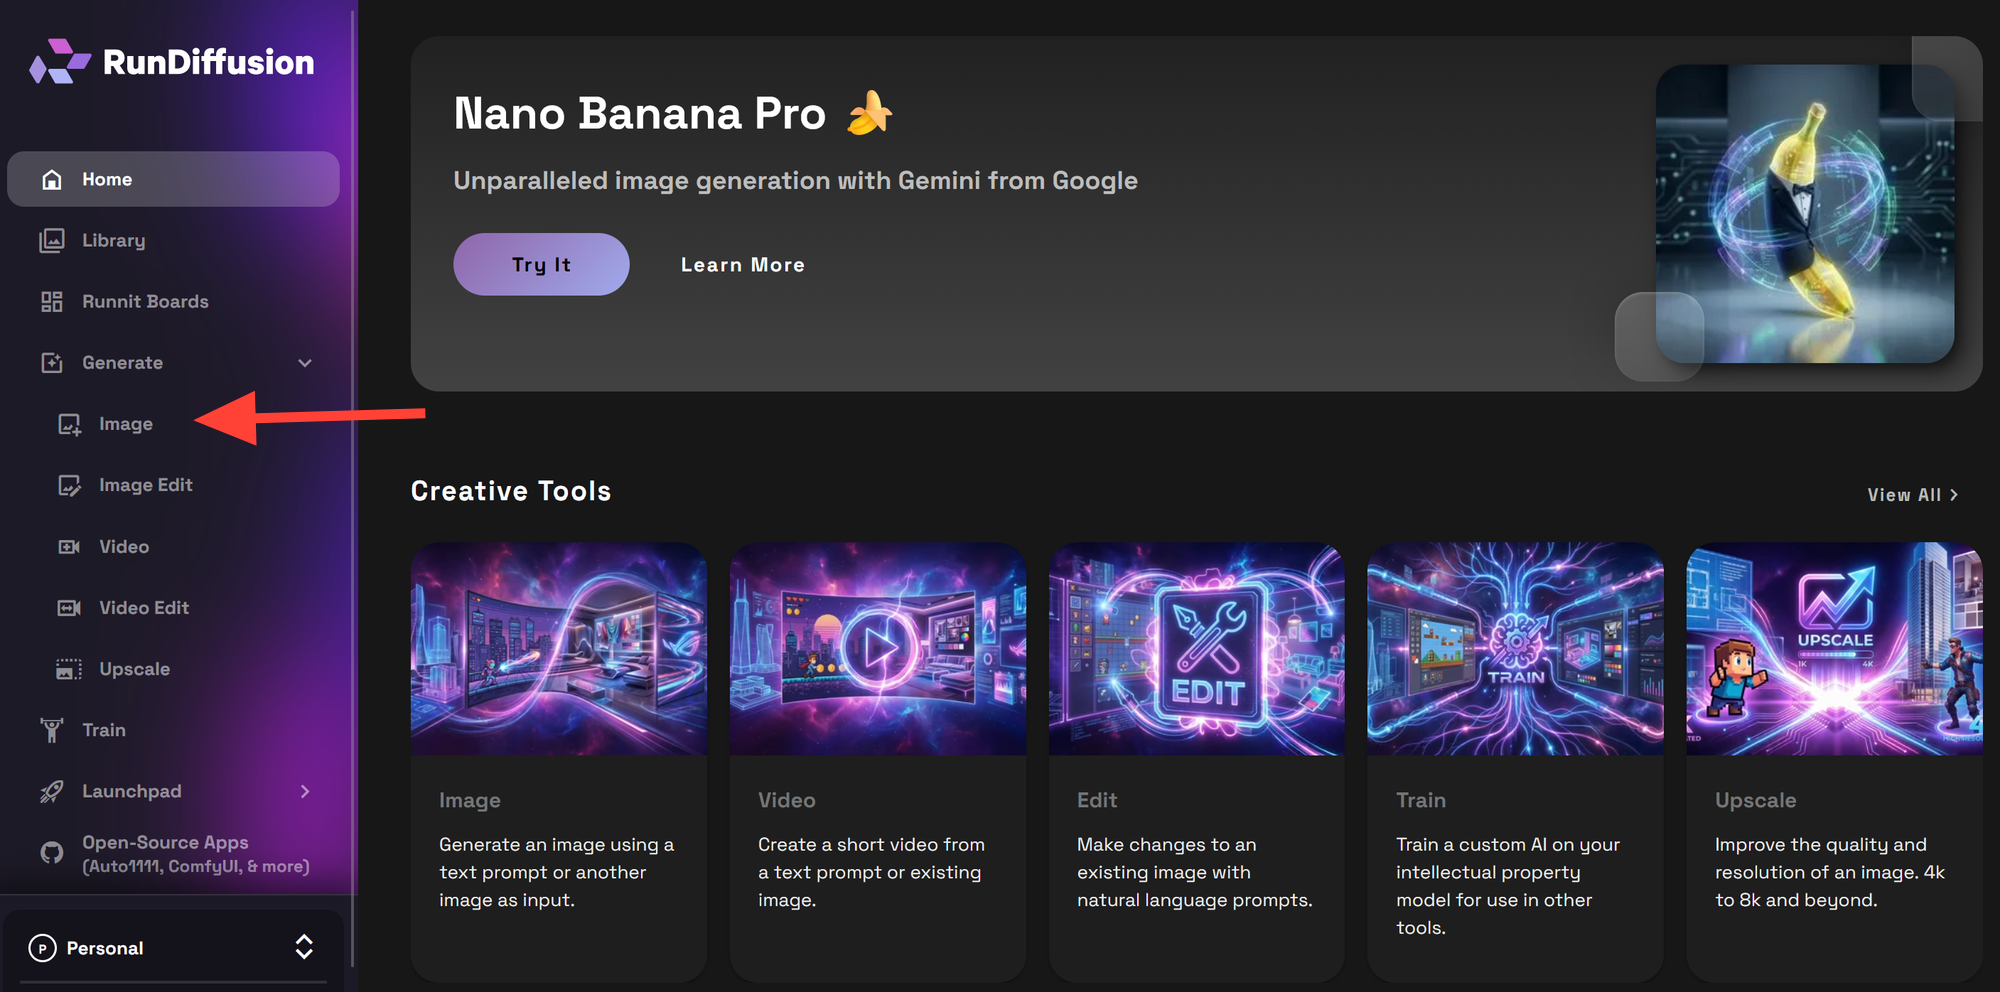
You will be automatically redirected to RunDiffusion’s Runnit Platform. In the left sidebar, click Generate.
-
Then click on Image.
-
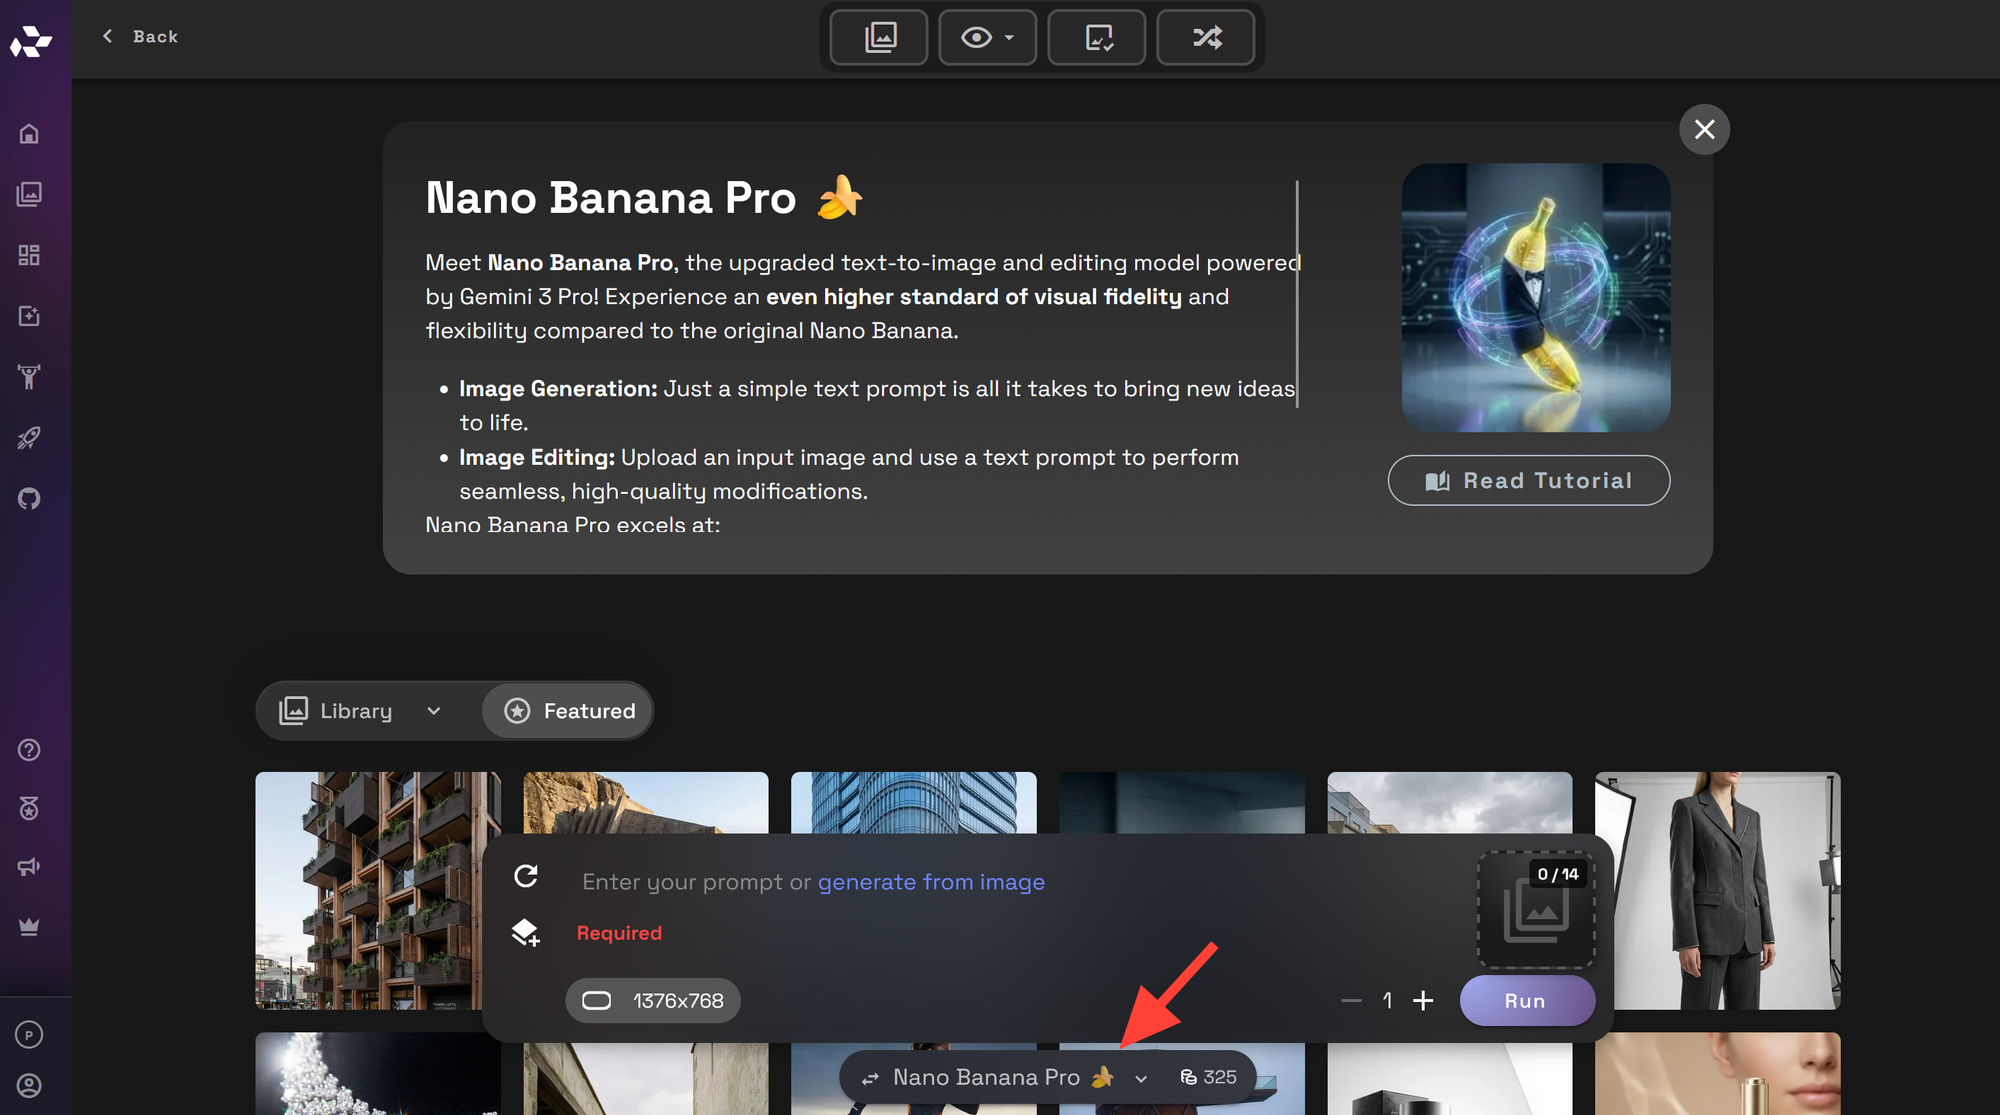
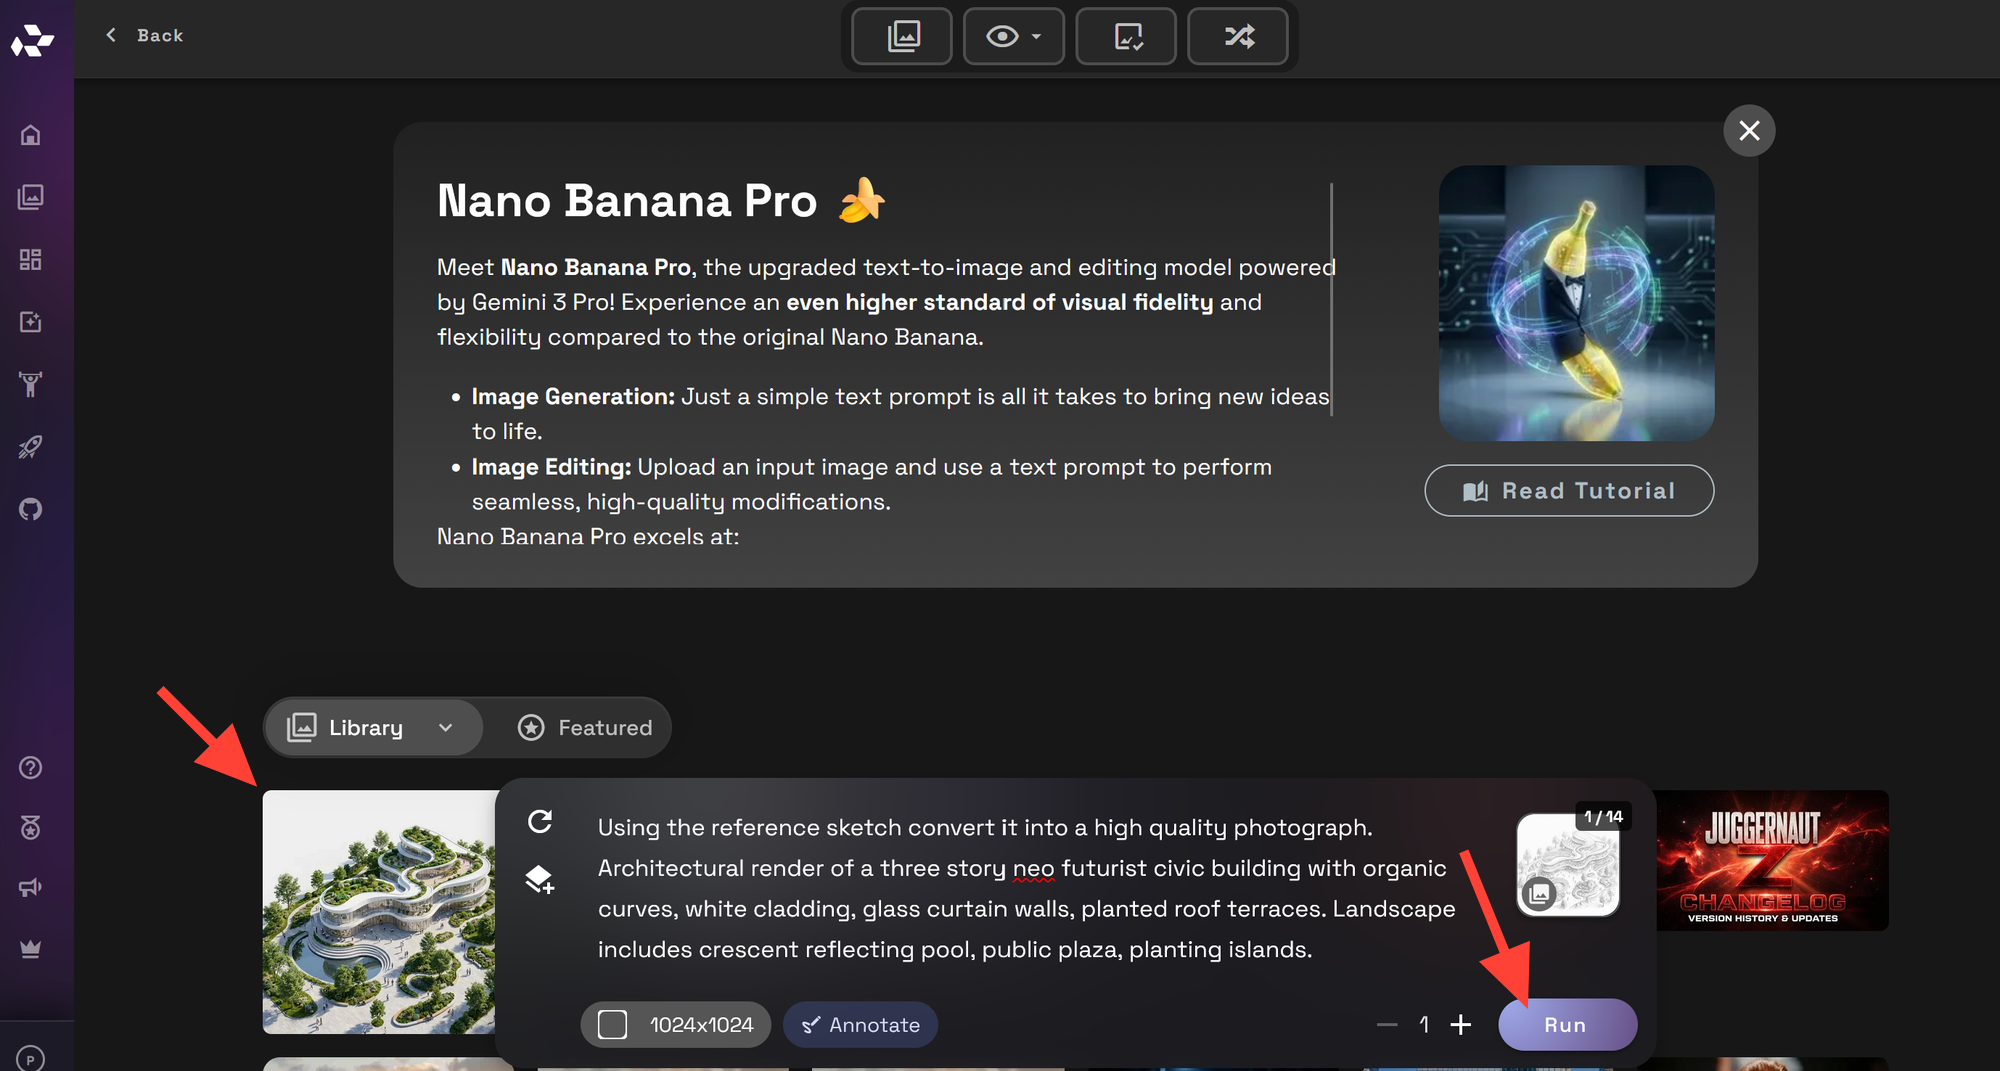
At the bottom of the tool, click Model and select one of the recommended options: Nano Banana Pro, Nano Banana 2, Seedream 4.5 and ChatGPT 2.0.
-
Next upload your sketch as the image input. This can be a hand sketch, digital drawing, scanned concept, line art, rough massing study, fashion silhouette, or product outline.
For best results, use a sketch that clearly communicates the main shape, composition, or design intent.
-
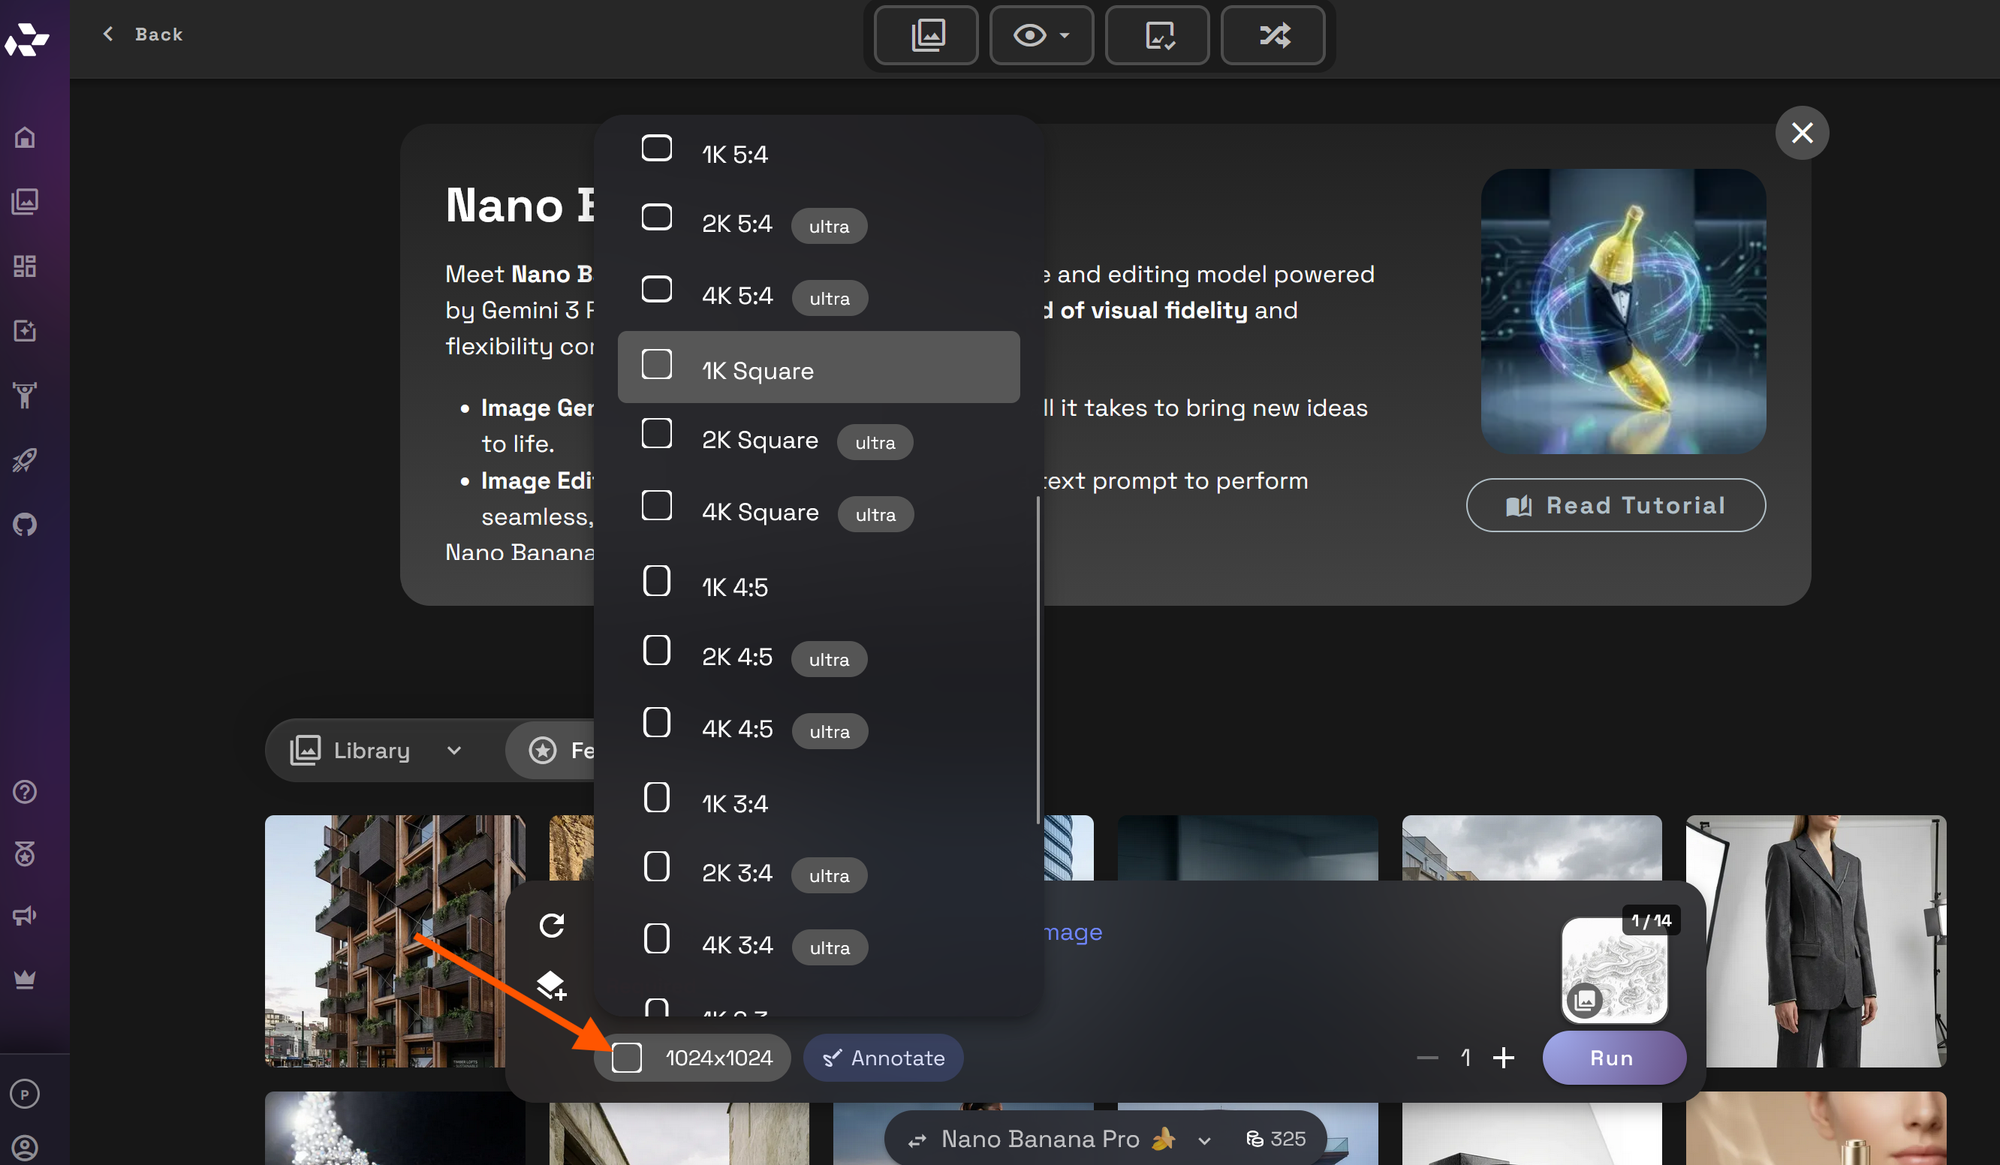
Choose the resolution that fits your goal. Try to match the resolution to your image resolution so that it is easier to compare the results.
-
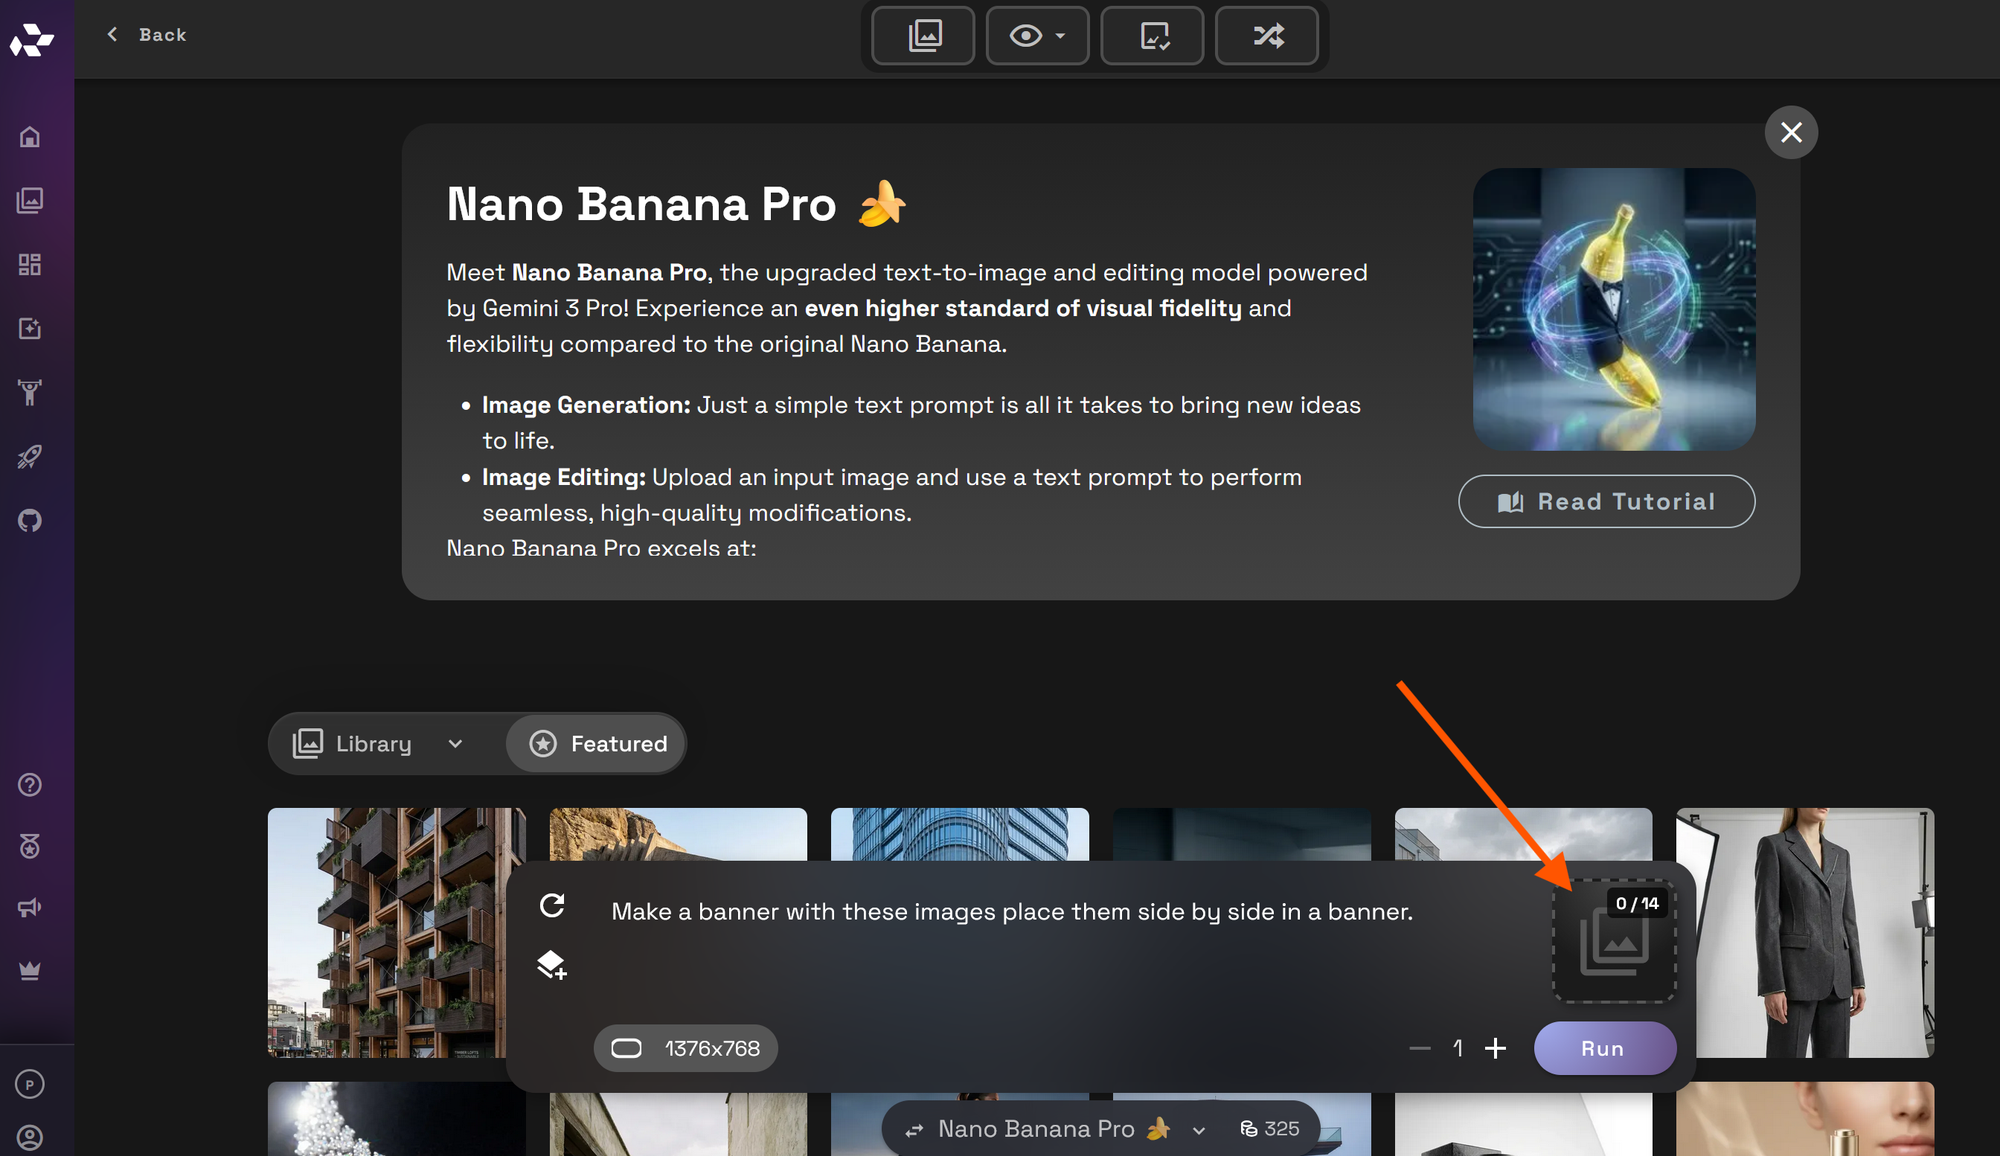
Write a prompt that explains what the final render should become. Include the subject, style, materials, lighting, environment, and level of realism.
A strong prompt usually answers:
- What is the sketch supposed to become?
- What style should the render use?
- What materials should appear?
- What lighting or mood should the image have?
- Should the result look realistic, conceptual, editorial, cinematic, technical, or minimal?
Basic Prompt:
Convert the pencil drawing reference image into a realistic photograph.Advanced Prompt:
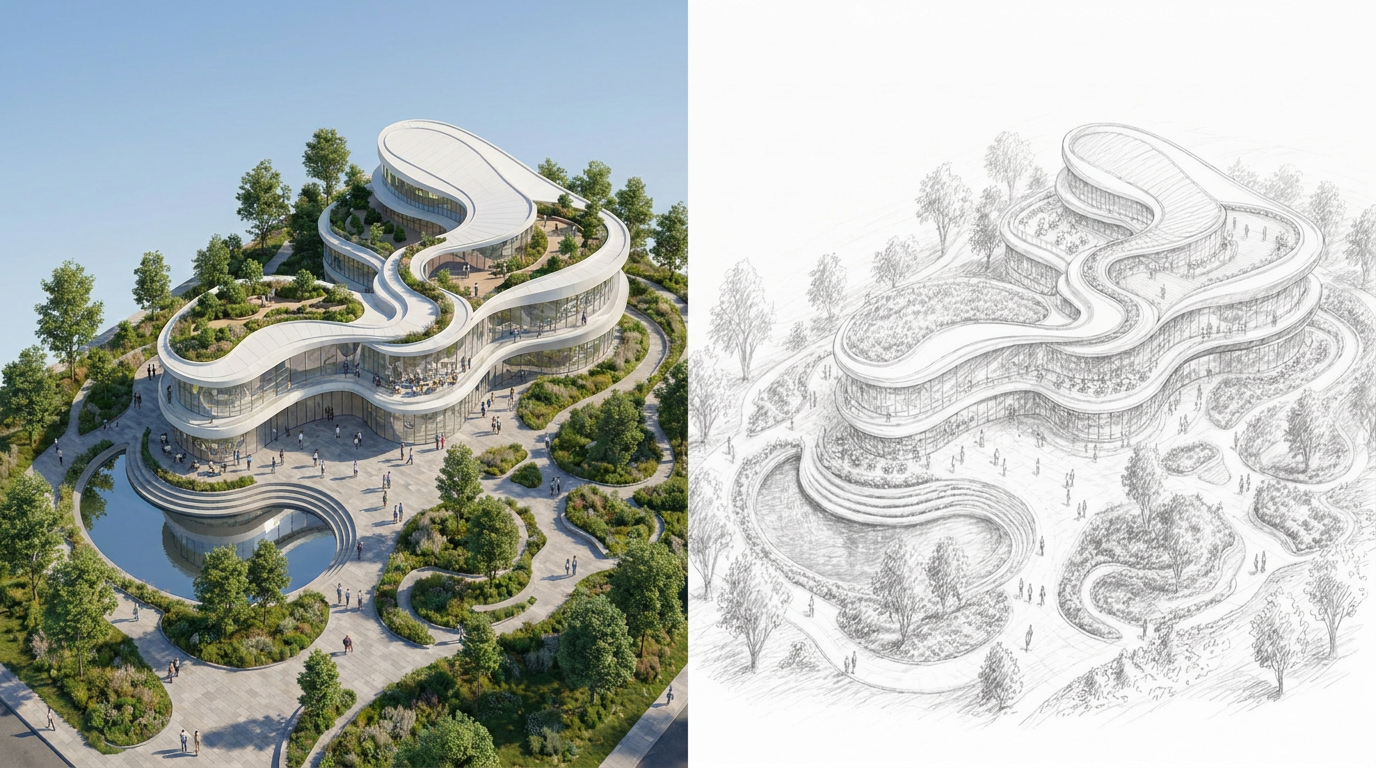
Using the reference sketch convert it into a high quality photograph. Architectural render of a three story neo futurist civic building with organic curves, white cladding, glass curtain walls, planted roof terraces. Landscape includes crescent reflecting pool, public plaza, planting islands.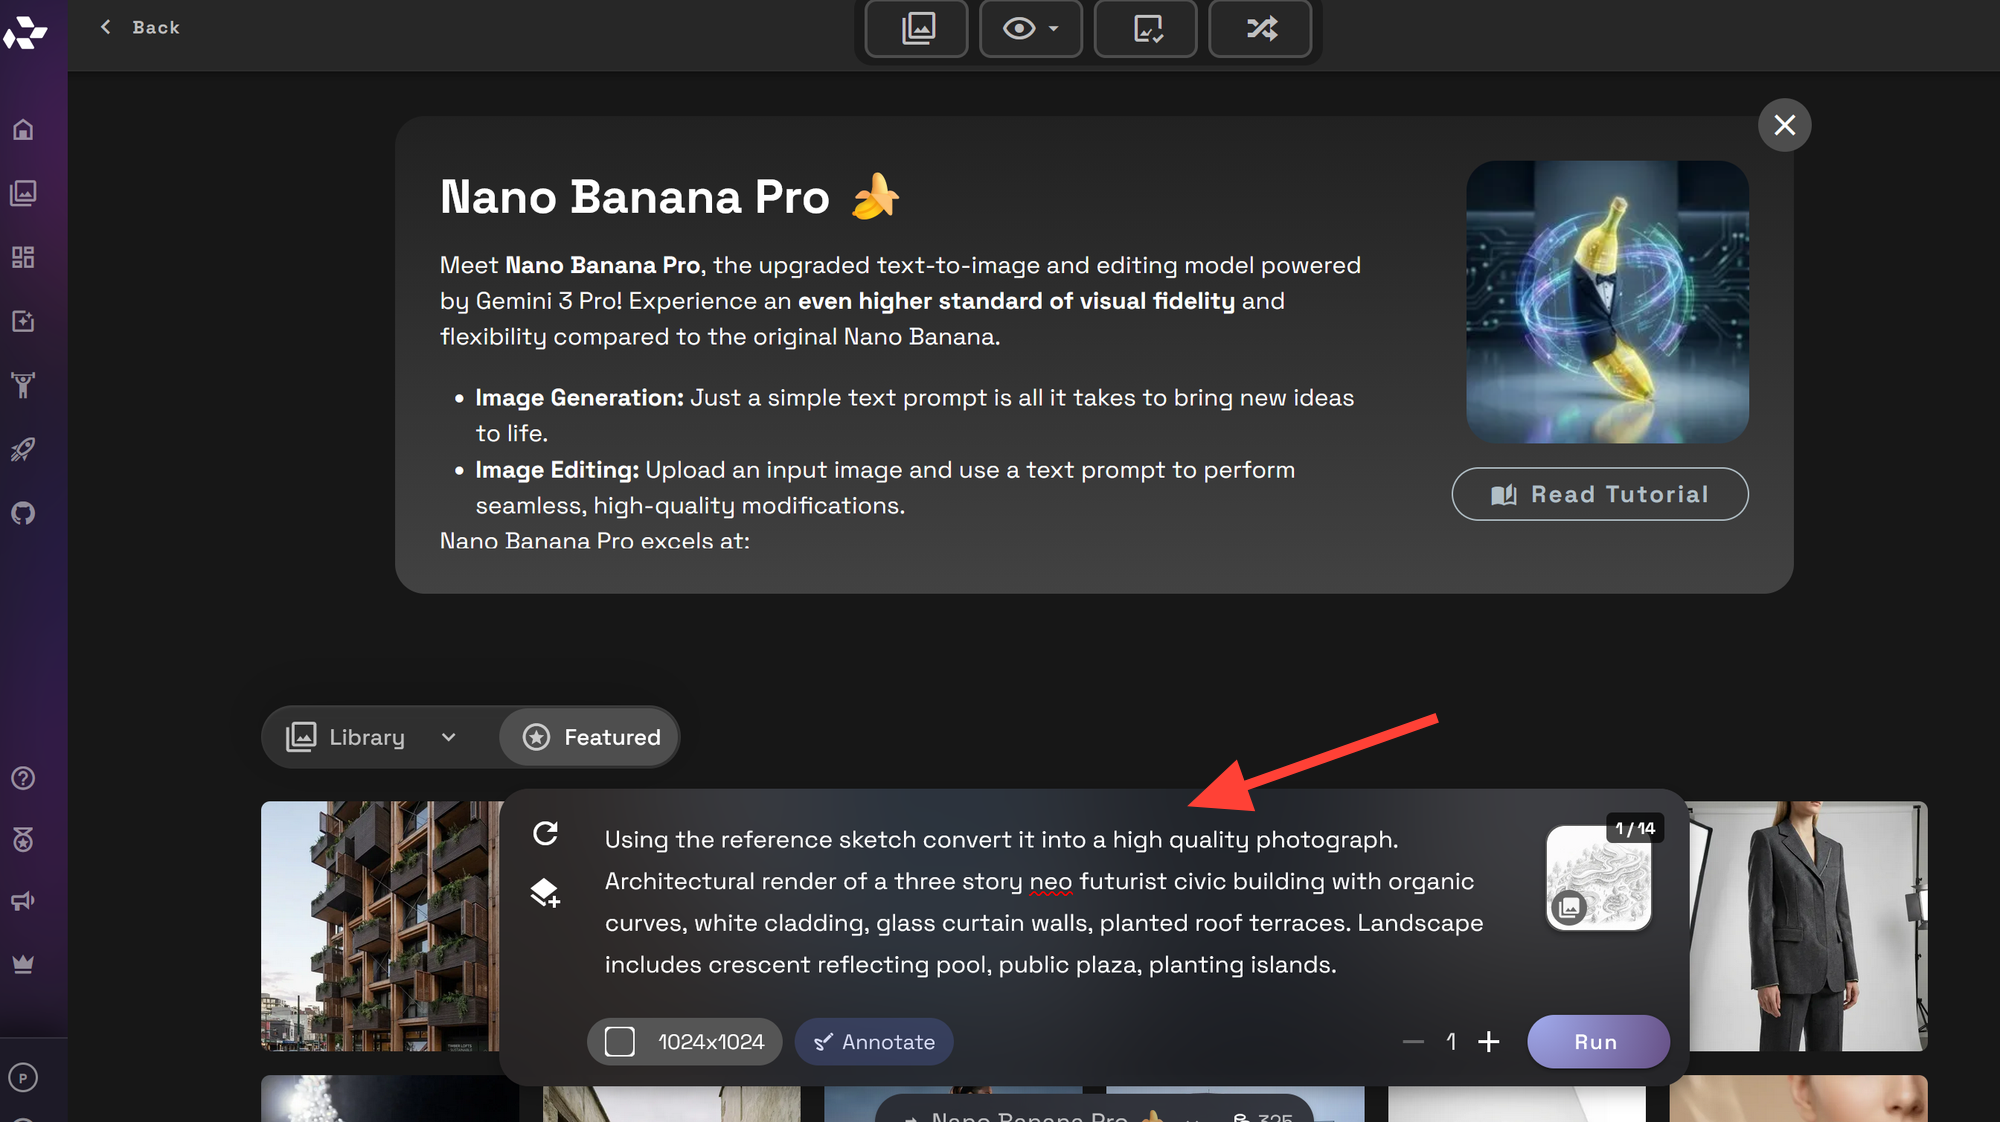
-
Click Run to generate your image. Review the result, adjust your prompt if needed, and run additional variations until the output matches your direction. Your render will appear in your library.
Sketch to Render for Architecture
Architecture is one of the strongest use cases for Sketch to Render. You can start with a rough elevation, interior layout, massing sketch, or facade concept and quickly explore how it might look as a developed render.
Use this workflow for:
- exterior building concepts
- residential facade studies
- interior design sketches
- landscape and site ideas
- early client presentation visuals
- material and lighting exploration
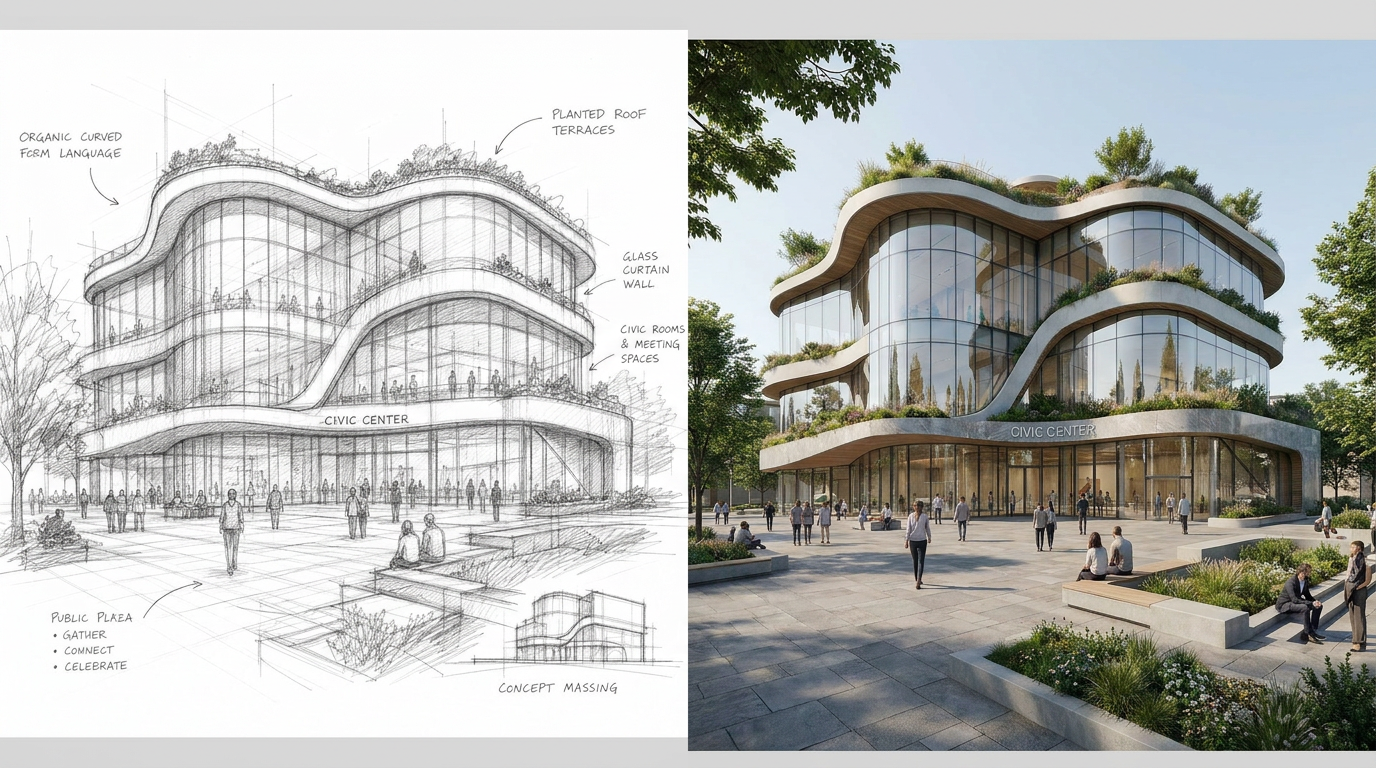
Prompt Example: Using the reference sketch, convert it into a high quality architectural photograph. Create a realistic three story civic building with organic curved form language, glass curtain walls, planted roof terraces, and an open public plaza in front. Preserve the overall massing and design direction from the sketch, and render it as a professional exterior architectural visualization with realistic materials, daylight lighting, people in the plaza, landscaping, and a polished contemporary atmosphere.
For architecture, be specific about materials, time of day, camera angle, and environment. A rough sketch can define the structure, but the prompt should define the design language.
Prompt Tips for Better Sketch to Render Results
A good sketch gives the model structure. A good prompt gives it direction.
Use clear language like:
- “based on the uploaded sketch”
- “preserve the overall shape and composition”
- “turn this into a realistic architectural render”
- “use the sketch as the garment silhouette”
- “keep the product proportions from the sketch”
- “add realistic materials and lighting”
Avoid vague prompts like “make this better” or “render this.” The model needs to know what kind of render you want.
Common Mistakes to Avoid
Uploading a Sketch That Is Too Ambiguous
If the sketch does not clearly show the subject, the model may invent details that do not match your intent. Use clean lines and a clear focal subject whenever possible.
Forgetting to Describe Materials
Materials are especially important for architecture, fashion, and product design. Add terms like concrete, glass, brushed metal, wool, silk, leather, ceramic, carbon fiber, or matte plastic.
Using a Prompt That Conflicts With the Sketch
If your sketch shows a small chair but your prompt asks for a skyscraper, the model may produce unpredictable results. Keep the prompt aligned with the sketch.
Choosing the Wrong Resolution Too Early
Start with practical resolutions for exploration. Once you find a strong direction, increase resolution or refine the result for presentation.
Final Thoughts
Sketch to Render helps bridge the gap between rough ideas and finished visuals. By uploading a sketch, choosing a strong model, and writing a clear prompt, you can create polished AI renders for architecture, fashion, and product design directly inside RunDiffusion.
Start simple, generate variations, refine your prompt, and use the best result as a foundation for your next design decision.
Continue Your Architecture Workflow
Sketch to Render is a strong starting point for turning rough ideas into clear architectural visuals. From here, you can keep developing the concept with related RunDiffusion workflows.
- Use Render to White Card to simplify the concept into a clean massing-focused study.
- Use Facade and Texture Exploration to test exterior materials like stone, brick, glass, metal, and wood.
- Explore the full RunDiffusion Architecture AI Solutions on RunDiffusion for more tools built around concepting, visualization, and presentation.
For larger teams, studios, and organizations, visit RunDiffusion Enterprise.
